
Home>Home & Furniture>Kitchen>DIY Kitchen Remodel: Step-by-Step Guide
Kitchen
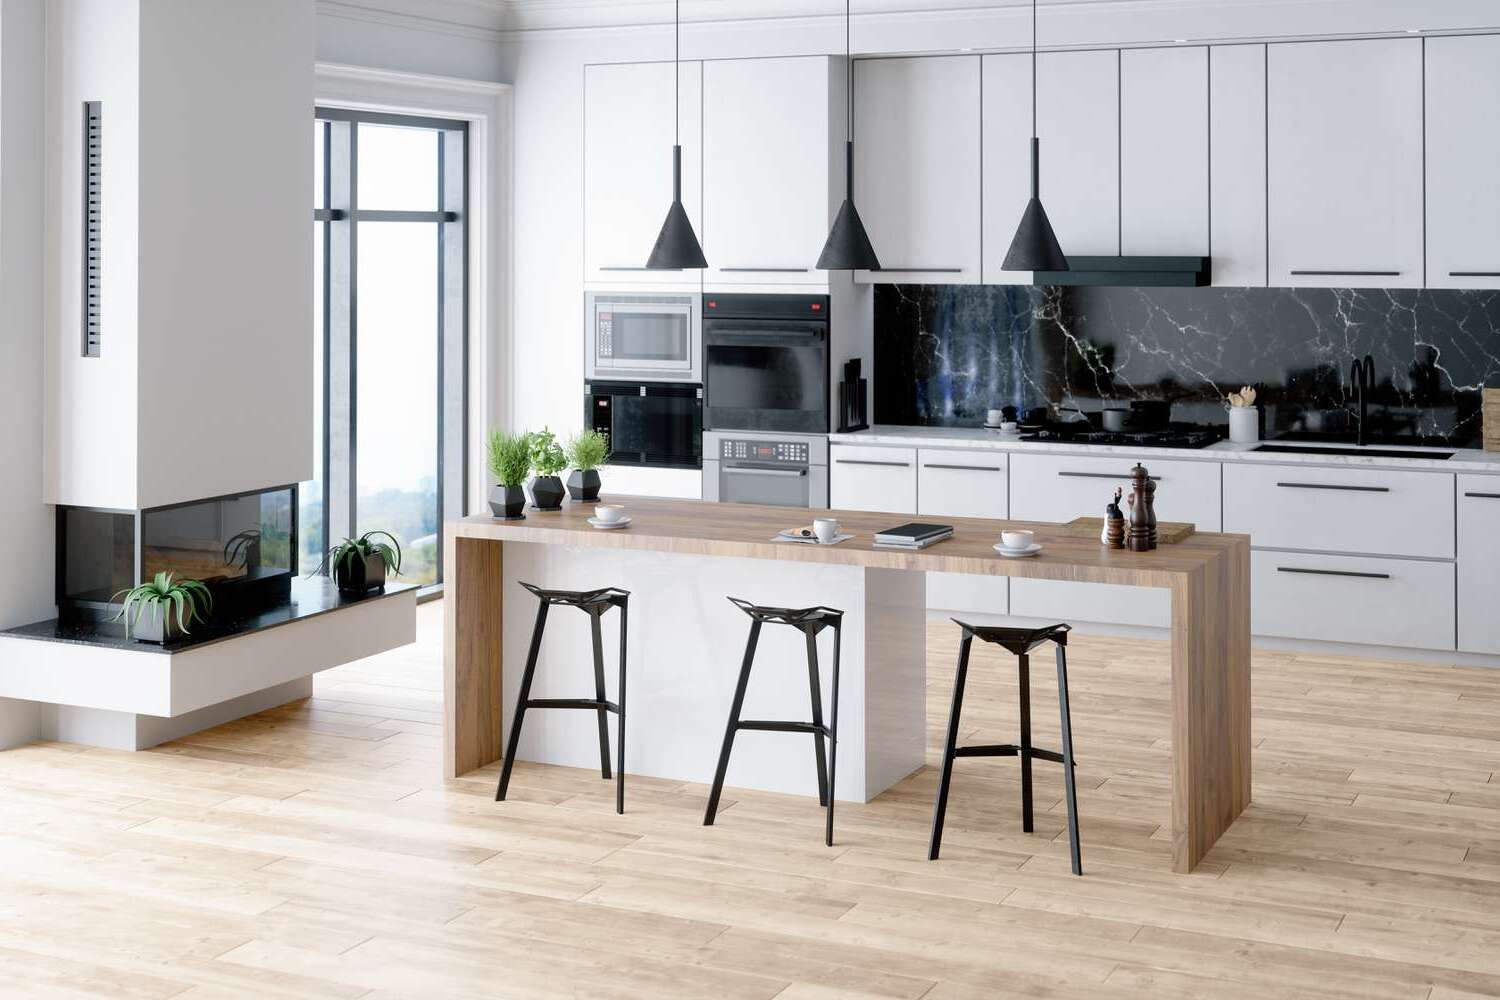
DIY Kitchen Remodel: Step-by-Step Guide
Published: August 2, 2024
Transform your kitchen with our DIY remodel guide! Step-by-step instructions, expert tips, and budget-friendly ideas to create your dream kitchen. Start today!
(Many of the links in this article redirect to a specific reviewed product. Your purchase of these products through affiliate links helps to generate commission for Twigandthistle.com, at no extra cost. Learn more)
Taking on a DIY kitchen remodel might seem big, but breaking it down makes it easier. This guide will show you how to plan, budget, and tackle each step, from tearing out the old to putting in the new. Doing a remodel yourself not only saves money but also gives you the chance to make your kitchen truly yours. Whether you’re a seasoned DIYer or new to home projects, you can transform your space with some patience and effort. Get ready to roll up your sleeves and turn your kitchen dreams into reality.
Getting Ready for Your Kitchen Remodel
Plan Your Design: Sketch your new kitchen layout. Decide on the placement of appliances, cabinets, and countertops.
Set a Budget: Determine how much you can spend. Include costs for materials, tools, and any professional help you might need.
Gather Materials and Tools: Make a list of everything required. Common items include paint, tiles, cabinets, screws, and a drill.
Clear the Workspace: Remove all items from the kitchen. Empty cabinets, clear countertops, and move appliances out of the way.
Turn Off Utilities: Shut off water, gas, and electricity to avoid accidents. Locate the main shut-off valves and switches.
Safety Gear: Wear safety goggles, gloves, and a dust mask. Ensure you have a first aid kit nearby.
Protect Surfaces: Cover floors and nearby rooms with drop cloths or plastic sheeting to prevent damage and dust spread.
Check for Permits: Some remodels require permits. Check local regulations to ensure compliance.
Inspect for Issues: Look for mold, leaks, or structural problems. Address these before starting the remodel.
Create a Timeline: Outline each step of the project. Allocate time for demolition, installation, and finishing touches.
Essential Materials and Tools
Materials:
- Cabinets: New or refaced cabinets to store kitchen items.
- Countertops: Surfaces for preparing food, often made of granite, quartz, or laminate.
- Backsplash Tiles: Decorative tiles for the wall area between countertops and cabinets.
- Paint: For walls, cabinets, or trim.
- Flooring: Materials like tile, hardwood, or vinyl for the kitchen floor.
- Sink and Faucet: Essential for washing dishes and food prep.
- Lighting Fixtures: Overhead lights, under-cabinet lights, or pendant lights.
- Hardware: Knobs, handles, and hinges for cabinets and drawers.
- Plumbing Supplies: Pipes, fittings, and sealants for sink installation.
- Electrical Supplies: Wires, outlets, and switches for lighting and appliances.
Tools:
- Measuring Tape: For accurate measurements of spaces and materials.
- Level: Ensures surfaces are even.
- Screwdriver Set: For assembling cabinets and installing hardware.
- Power Drill: Speeds up the process of drilling holes and driving screws.
- Saw: Cuts wood, countertops, or tiles.
- Tile Cutter: Specifically for cutting backsplash tiles.
- Paintbrushes and Rollers: For applying paint smoothly.
- Caulk Gun: Applies caulk around sinks, countertops, and backsplashes.
- Pliers: Useful for gripping and bending materials.
- Utility Knife: Cuts through various materials like drywall or flooring.
- Safety Gear: Gloves, goggles, and masks to protect yourself during work.
Required Skills and Time Commitment
Skill Level: Advanced
Time Required: 4-6 weeks
- Planning and Design: 1 week
- Demolition: 2-3 days
- Electrical and Plumbing: 1 week
- Flooring Installation: 3-4 days
- Cabinet Installation: 1 week
- Countertop Installation: 2-3 days
- Backsplash and Painting: 1 week
- Final Touches and Cleanup: 3-4 days
Detailed Instructions for Each Step
Plan Your Remodel
- Measure your kitchen.
- Sketch a layout.
- Decide on a budget.
Gather Materials and Tools
- Purchase cabinets, countertops, and flooring.
- Get tools like a drill, saw, and measuring tape.
Demolition
- Remove old cabinets and countertops.
- Take out old flooring.
- Dispose of debris properly.
Install New Flooring
- Clean the subfloor.
- Lay down new flooring material.
- Ensure it’s level and secure.
Assemble and Install Cabinets
- Follow manufacturer instructions to assemble cabinets.
- Secure cabinets to walls using a drill.
- Check alignment with a level.
Install Countertops
- Measure and cut countertops to fit.
- Secure them to cabinets with adhesive.
- Seal edges to prevent water damage.
Update Plumbing and Electrical
- Install new sink and faucet.
- Update lighting fixtures.
- Ensure all connections are secure and leak-free.
Paint and Finish Walls
- Choose a durable, washable paint.
- Apply primer, then paint.
- Touch up any areas as needed.
Add Backsplash
- Measure and cut backsplash tiles.
- Apply adhesive and place tiles.
- Grout and seal tiles.
Final Touches
- Install hardware on cabinets.
- Add decorative elements like rugs or curtains.
- Clean up the workspace.
Enjoy your newly remodeled kitchen!
Helpful Tips and Tricks
Plan everything before starting. Measure twice, cut once. Budget for unexpected costs. Use painter's tape to mark cabinet placements. Label all parts when disassembling. Rent tools instead of buying.
Common mistakes include not turning off the water supply, forgetting to check for wall studs, and skipping the primer before painting. Avoid using cheap materials for high-use areas like countertops.
Alternatives: Instead of granite, consider butcher block or laminate. For flooring, vinyl planks can mimic hardwood. Use peel-and-stick backsplash tiles for an easy update.
Estimating the Cost
Cabinets: Pre-made cabinets cost around $2,000 to $5,000. Custom cabinets can go up to $10,000 or more. Budget-friendly option: Repaint existing cabinets for about $200 to $600.
Countertops: Laminate countertops cost $10 to $40 per square foot. Granite or quartz can range from $50 to $100 per square foot. Budget-friendly option: Butcher block countertops cost around $30 to $40 per square foot.
Flooring: Vinyl flooring costs $2 to $5 per square foot. Hardwood or tile ranges from $5 to $15 per square foot. Budget-friendly option: Peel-and-stick vinyl tiles cost about $1 to $2 per square foot.
Backsplash: Ceramic tiles cost $5 to $15 per square foot. Glass tiles range from $15 to $30 per square foot. Budget-friendly option: Peel-and-stick backsplash tiles cost around $1 to $3 per square foot.
Paint: A gallon of paint costs $20 to $50. You might need 2 to 3 gallons for a kitchen. Budget-friendly option: Look for paint on sale or use leftover paint from other projects.
Lighting: Basic light fixtures cost $20 to $50 each. High-end fixtures can go up to $200 or more. Budget-friendly option: Use LED strip lights for under-cabinet lighting, costing about $20 to $30.
Sink and Faucet: A basic sink costs $100 to $300. Faucets range from $50 to $200. Budget-friendly option: Look for combo deals or sales at home improvement stores.
Appliances: Basic appliances (stove, fridge, dishwasher) cost around $1,500 to $3,000. High-end appliances can go up to $10,000 or more. Budget-friendly option: Look for used or refurbished appliances.
Tools: Basic tools like a drill, screwdriver set, and measuring tape cost around $100 to $200. Budget-friendly option: Borrow tools from friends or rent them from a hardware store.
Total estimated cost: $4,000 to $20,000, depending on choices and materials. Budget-friendly remodel: Around $2,000 to $5,000.
Unique Variations and Customizations
Cabinets: Instead of traditional wood, consider bamboo or reclaimed wood for a more eco-friendly option. For a modern look, try high-gloss laminate or stainless steel. Paint cabinets in bold colors like navy blue, emerald green, or matte black for a striking effect.
Countertops: Swap out standard granite for quartz, concrete, or butcher block. For a budget-friendly option, use laminate with a faux stone finish. Add a waterfall edge for a contemporary touch.
Backsplash: Use subway tiles in unique patterns like herringbone or chevron. For a rustic feel, try reclaimed wood or tin tiles. Peel-and-stick tiles offer an easy and affordable way to update the look.
Flooring: Replace old tiles with luxury vinyl planks that mimic wood or stone. Cork flooring provides a soft, eco-friendly alternative. For a classic look, consider checkerboard tiles in black and white.
Lighting: Install pendant lights over the island or sink for focused lighting. Use under-cabinet lighting to brighten countertops. For a vintage vibe, try Edison bulbs or industrial-style fixtures.
Hardware: Swap out old handles and knobs for brushed nickel, matte black, or brass finishes. For a unique touch, use leather pulls or ceramic knobs with intricate designs.
Walls: Paint walls in neutral tones like soft gray or beige for a timeless look. For an accent wall, use bold colors or wallpaper with geometric patterns. Shiplap adds a farmhouse feel.
Appliances: Choose stainless steel for a sleek, modern look. For a retro vibe, consider colored appliances in shades like mint green or cherry red. Energy-efficient models save on utility bills.
Sink: Upgrade to a farmhouse sink for a rustic touch. For a modern kitchen, try an undermount sink with a pull-down faucet. Copper sinks add warmth and character.
Island: Add a kitchen island with open shelving for extra storage. Use a contrasting countertop material to make it stand out. For added functionality, include a built-in wine rack or microwave shelf.
Eco-Friendly Remodeling Tips
Plan: Start by making a detailed plan. Measure your kitchen, list materials needed, and set a budget.
Reuse: Use existing cabinets and appliances if they are in good condition. A fresh coat of eco-friendly paint can make old cabinets look new.
Reclaimed Wood: For countertops or shelves, consider using reclaimed wood. It adds character and reduces waste.
Bamboo: Install bamboo flooring. Bamboo grows quickly, making it a sustainable choice.
Recycled Glass: Use recycled glass tiles for backsplashes. They come in various colors and add a unique touch.
Low-VOC Paint: Choose low-VOC (volatile organic compounds) paint. It’s better for indoor air quality.
Energy-Efficient Appliances: Replace old appliances with energy-efficient models. Look for the Energy Star label.
LED Lighting: Install LED lights. They use less energy and last longer than traditional bulbs.
Composting: Set up a compost bin for kitchen scraps. It reduces waste and provides nutrient-rich soil for gardening.
Water-Saving Fixtures: Install water-saving faucets and fixtures. They reduce water usage without sacrificing performance.
Recycling Station: Create a recycling station in your kitchen. Make it easy to sort and recycle materials.
Natural Cleaning Products: Use natural cleaning products. They are less harmful to the environment and your health.
Insulation: Improve insulation around windows and doors. It helps maintain temperature and reduces energy bills.
Solar Panels: If possible, install solar panels. They provide renewable energy and can lower electricity costs.
Greenery: Add indoor plants. They improve air quality and add a touch of nature to your kitchen.
Your New Kitchen Awaits
You've tackled a DIY kitchen remodel like a pro. From planning to the final touches, every step brought you closer to a space that's uniquely yours. Remember, patience and attention to detail are key. Mistakes happen, but they're just part of the learning process. Celebrate each milestone, no matter how small. Your hard work has paid off, transforming your kitchen into a functional, beautiful space. Enjoy cooking, entertaining, and making memories in your revamped kitchen. Keep this experience in mind for future projects. You've proven you can handle a big task with creativity and determination. Now, take a step back, admire your work, and relish the satisfaction of a job well done. Happy cooking!
How do I start planning a kitchen remodel?
Begin by setting a budget. Then, measure your space and make a list of what you want to change. Sketch a rough layout and decide on the style you like.
What tools will I need for a kitchen remodel?
You’ll need a measuring tape, screwdrivers, hammer, drill, level, saw, and safety gear like gloves and goggles. A utility knife and pliers might come in handy too.
Can I do a kitchen remodel by myself?
Yes, but it depends on your skill level. Simple tasks like painting or installing cabinets can be DIY. For plumbing or electrical work, you might need a professional.
How long does a kitchen remodel take?
It varies. A small remodel might take a few weeks, while a full renovation could take a few months. Planning and ordering materials can also add time.
What should I prioritize in a kitchen remodel?
Focus on functionality first. Make sure your appliances and workspaces are in the right spots. Then, think about storage and lighting. Finally, choose finishes like countertops and backsplashes.
How can I save money on my kitchen remodel?
Reuse existing cabinets if they’re in good shape. Shop sales for appliances and materials. Do some of the labor yourself, like painting or demolition.
What are common mistakes to avoid in a kitchen remodel?
Don’t skip planning. Avoid cheap materials that won’t last. Make sure to measure accurately and double-check before cutting anything. Don’t forget about permits if needed.