
Home>Home & Furniture>Kitchen>DIY Kitchen Decor Ideas
Kitchen
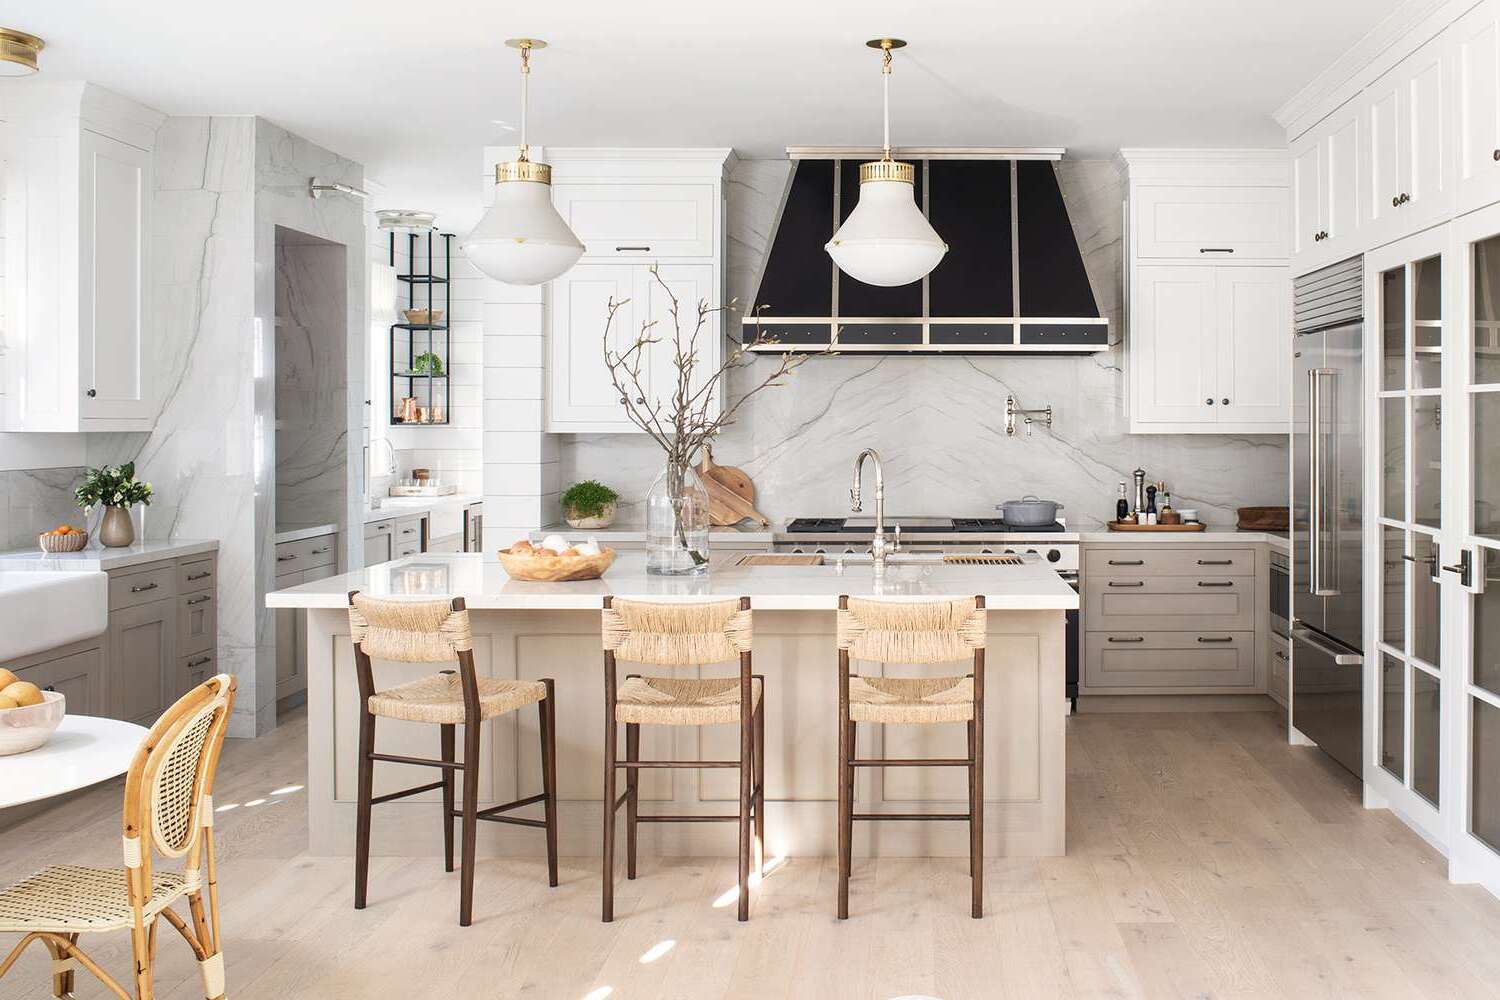
DIY Kitchen Decor Ideas
Published: July 29, 2024
Discover creative and budget-friendly DIY kitchen decor ideas to transform your cooking space. From wall art to storage solutions, get inspired to revamp your kitchen today!
(Many of the links in this article redirect to a specific reviewed product. Your purchase of these products through affiliate links helps to generate commission for Twigandthistle.com, at no extra cost. Learn more)
Revamping your kitchen doesn’t have to cost a fortune. With a bit of creativity and some elbow grease, you can transform your cooking space into a cozy haven. DIY kitchen decor offers a fun, budget-friendly way to personalize your home. Whether you’re looking to add a splash of color, create unique storage solutions, or simply freshen up your space, there are countless projects to try. No need for expensive renovations or professional help; you can make a big impact with just a few simple changes. Let’s dive into some easy and inspiring ideas.
Getting Ready for Your Project
Plan Your Design: Sketch out your ideas on paper. Decide on colors, themes, and materials.
Gather Materials: Make a list of all the supplies you'll need. This might include paint, brushes, stencils, and new hardware.
Clear the Area: Remove items from countertops and walls. This gives you a clean workspace.
Clean Surfaces: Wipe down walls, cabinets, and counters. Dirt and grease can ruin your project.
Set Up Workspace: Lay down drop cloths to protect floors. Set up a table for tools and materials.
Safety Gear: Wear gloves, goggles, and a mask. This protects you from dust, fumes, and sharp objects.
Ventilation: Open windows or use fans. Proper airflow helps with paint fumes and dust.
Test Colors: Paint a small area first. This ensures you like the color before committing.
Measure Twice: Double-check measurements before cutting or drilling. This avoids mistakes and wasted materials.
Organize Tools: Keep tools within reach. This saves time and keeps your project running smoothly.
Gather Your Supplies
- Paint: Freshen up cabinets or walls with a new color. Choose a durable, washable type for kitchens.
- Paintbrushes and Rollers: Use different sizes for detailed work and larger surfaces.
- Painter’s Tape: Protect edges and create clean lines.
- Sandpaper: Smooth surfaces before painting or staining.
- Screwdriver Set: Tighten or replace cabinet handles and knobs.
- Measuring Tape: Ensure accurate measurements for shelving or wall art.
- Level: Keep shelves and frames straight.
- Drill: Make holes for screws or anchors.
- Screws and Anchors: Secure shelves or heavy decor items.
- Wood Stain: Enhance or change the color of wooden items.
- Sealant: Protect painted or stained surfaces from moisture.
- Decorative Hardware: Update cabinet knobs, handles, or hooks.
- Adhesive Hooks: Hang lightweight items without drilling.
- Shelf Brackets: Support new or existing shelves.
- Decorative Backsplash Tiles: Add style behind the stove or sink.
- Tile Adhesive and Grout: Install and secure backsplash tiles.
- Utility Knife: Cut tiles, wallpaper, or other materials.
- Wallpaper: Add patterns or textures to walls.
- Scissors: Cut wallpaper, fabric, or other materials.
- Fabric: Make curtains, tablecloths, or chair covers.
- Sewing Kit: Stitch fabric items.
- Hot Glue Gun: Attach lightweight decor items.
- Decorative Shelves: Display kitchen items or decor.
- Picture Frames: Showcase art or photos.
- Chalkboard Paint: Create a writable surface for notes or recipes.
Skill Level and Time Commitment
Skill Level: Beginner
Time Required: 2-4 hours
Painting Cabinets: Freshen up your kitchen by painting the cabinets. This project is simple and can be done in a few hours.
Installing a Backsplash: Peel-and-stick tiles make this task easy. It can be completed in an afternoon.
Adding Open Shelves: Install floating shelves to display dishes or decor. This takes about 2 hours.
Changing Cabinet Hardware: Swap out old handles and knobs for new ones. This quick update takes around 1 hour.
Creating a Chalkboard Wall: Paint a section of wall with chalkboard paint. This fun project takes about 2 hours, including drying time.
How to Do It: Step-by-Step
Plan Your Theme
- Decide on a color scheme.
- Choose a style (modern, rustic, vintage).
Paint the Walls
- Pick a color that matches your theme.
- Use painter's tape to protect edges.
- Apply primer, then paint.
Add a Backsplash
- Measure the area.
- Choose tiles or peel-and-stick options.
- Apply adhesive, then place tiles.
Install Open Shelving
- Find studs in the wall.
- Use a level to mark shelf placement.
- Secure brackets, then place shelves.
Update Cabinet Hardware
- Remove old handles and knobs.
- Measure and mark new placements.
- Screw in new hardware.
Create a Chalkboard Wall
- Choose a wall or cabinet door.
- Apply chalkboard paint.
- Let it dry, then season with chalk.
Add Under-Cabinet Lighting
- Measure the length of cabinets.
- Choose LED strip lights.
- Attach lights with adhesive backing.
Decorate with Plants
- Choose low-maintenance plants.
- Place them in decorative pots.
- Arrange on shelves or countertops.
Hang Artwork
- Select kitchen-themed prints or photos.
- Use picture hooks or adhesive strips.
- Arrange in a gallery wall or single pieces.
Organize with Jars and Containers
- Transfer dry goods to clear jars.
- Label jars for easy identification.
- Arrange on shelves or in cabinets.
Add a Rug or Mat
- Choose a washable kitchen rug.
- Place in high-traffic areas.
- Ensure it has a non-slip backing.
Install a Pot Rack
- Choose a wall-mounted or ceiling rack.
- Use anchors for secure installation.
- Hang pots and pans for easy access.
Personalize with Textiles
- Pick colorful dish towels and oven mitts.
- Hang towels on hooks or oven handles.
- Coordinate with your color scheme.
Helpful Hints and Tips
Use peel-and-stick tiles for a quick backsplash update. They’re easy to apply and remove without damaging walls.
Repurpose old jars as storage containers. Paint lids or add labels for a personalized touch.
Install open shelves to display dishes or cookbooks. Floating shelves create a modern look and provide extra storage.
Add a chalkboard wall for notes, recipes, or doodles. Use chalkboard paint on a small section or an entire wall.
Change cabinet hardware to give cabinets a fresh look. New knobs and handles can make a big difference.
Use under-cabinet lighting to brighten countertops. LED strips are easy to install and energy-efficient.
Create a coffee station with a small cart or corner shelf. Keep mugs, coffee, and accessories organized in one spot.
Hang a pegboard for pots, pans, and utensils. It saves space and keeps frequently used items within reach.
Paint cabinets for a budget-friendly makeover. Choose a color that complements the rest of the kitchen.
Add a rug or mat to bring warmth and color. Choose one that’s easy to clean and fits the kitchen’s style.
Common mistakes to avoid:
Skipping prep work before painting. Clean and sand surfaces for better paint adhesion.
Overloading open shelves. Keep them organized and not too cluttered.
Ignoring lighting. Proper lighting makes a kitchen more functional and inviting.
Using too many colors. Stick to a cohesive color scheme to avoid a chaotic look.
Neglecting measurements. Measure spaces accurately before buying or installing items.
Alternatives for materials or methods:
Instead of peel-and-stick tiles, use removable wallpaper for a temporary backsplash.
Use baskets or bins instead of jars for storage. They can be easily moved and cleaned.
Try magnetic strips for knives and metal utensils instead of a pegboard.
Use contact paper to line shelves or drawers for an easy-to-clean surface.
Instead of painting cabinets, use cabinet wraps or decals for a less permanent change.
Budgeting for Your DIY
Paint: A gallon of paint costs around $30. You might need two gallons, so that's $60.
Cabinet Hardware: New handles and knobs for cabinets can cost about $2 each. If you have 20 cabinets, that's $40.
Backsplash Tiles: Simple tiles cost about $1 per square foot. For a 20-square-foot area, that's $20. Add $10 for grout and adhesive.
Shelving: Basic shelves cost around $15 each. Two shelves would be $30.
Lighting: New light fixtures can be found for $25 each. Two fixtures would cost $50.
Tools: Basic tools like a screwdriver, paintbrushes, and a level might total $30 if you don't already have them.
Total Cost: Adding everything up, the total is around $240.
Budget-Friendly Alternatives:
- Paint: Use leftover paint or buy sample sizes for smaller areas.
- Cabinet Hardware: Look for second-hand options or use spray paint to refresh old hardware.
- Backsplash: Use peel-and-stick tiles, which can be cheaper and easier to install.
- Shelving: Repurpose old wood or use crates for a rustic look.
- Lighting: Consider LED strip lights which can be cheaper and easier to install.
Personalize Your Kitchen Decor
Alternative Materials: Use reclaimed wood for shelves or countertops to add a rustic touch. Try peel-and-stick tiles for a quick backsplash update. Consider chalkboard paint on a section of the wall for a fun, writable surface.
Colors: Go bold with bright colors like teal or mustard for cabinets. Opt for neutral tones like beige or gray for a more modern look. Use contrasting colors for a dynamic effect, such as black and white.
Styles: For a vintage vibe, incorporate antique hardware and retro appliances. A minimalist approach can be achieved with sleek, handle-less cabinets and simple decor. Farmhouse style can be created with open shelving, mason jars, and shiplap walls.
Lighting: Swap out standard fixtures for industrial-style lights or pendant lamps. Add under-cabinet lighting for better task illumination. Use fairy lights in glass jars for a cozy, whimsical touch.
Storage Solutions: Install floating shelves for extra storage and display space. Use magnetic strips to hold knives and metal utensils. Create a pegboard wall for hanging pots, pans, and tools.
Personal Touches: Display family photos or artwork in the kitchen. Use custom labels for jars and containers. Add a personalized sign with your family name or a favorite quote.
Eco-Friendly Ideas for Your Project
Reclaimed Wood: Use old pallets or barn wood for shelves, countertops, or even a rustic kitchen island. Sand and seal the wood to make it food-safe.
Glass Jars: Repurpose glass jars for storage. They can hold spices, grains, or even utensils. Decorate them with paint or labels for a personalized touch.
Bamboo: Opt for bamboo cutting boards, utensils, or even flooring. Bamboo grows quickly, making it a sustainable choice.
Recycled Metal: Use old metal pipes or fittings for shelving brackets or pot racks. They add an industrial look while reusing materials.
Fabric Scraps: Create kitchen curtains, tablecloths, or napkins from leftover fabric. Mix and match patterns for a unique, colorful look.
Eco-friendly Paint: Choose low-VOC or zero-VOC paints for walls or cabinets. These paints are better for indoor air quality.
Cork: Use cork for bulletin boards, trivets, or even flooring. Cork is renewable and adds a warm, natural touch.
Upcycled Furniture: Give old furniture new life with a fresh coat of paint or new hardware. An old dresser can become extra kitchen storage.
Compostable Materials: Use compostable materials like jute or hemp for placemats, coasters, or even drawer liners.
Natural Stone: Opt for natural stone tiles or countertops. They are durable and add a timeless look to your kitchen.
Your Kitchen, Your Masterpiece
You've got the tools and ideas to transform your kitchen into a space that reflects your style. From painting cabinets to creating custom shelves, each project adds a personal touch. Don't be afraid to mix and match materials or experiment with colors. Remember, the goal is to make your kitchen a place where you love to spend time. Whether it's a small change like new hardware or a bigger project like a backsplash, every effort counts. Keep your budget in mind, but also allow room for creativity. The satisfaction of seeing your hard work pay off is worth every bit of effort. So grab your tools, roll up your sleeves, and start making your kitchen the heart of your home. Happy DIY-ing!
How can I make my kitchen look more stylish on a budget?
Use paint to refresh cabinets or walls. Add open shelves to display pretty dishes. Swap out old hardware for new knobs and handles. Use stick-on tiles for a backsplash.
What are some easy DIY projects for kitchen decor?
Create a chalkboard wall for notes and recipes. Make a herb garden with mason jars. Build a pot rack to hang your pans. Craft a custom spice rack.
How do I add more storage to my kitchen?
Install floating shelves. Use magnetic strips for knives and tools. Add hooks under cabinets for mugs. Use baskets and bins inside cabinets.
What materials are best for DIY kitchen projects?
Wood for shelves and racks. Mason jars for storage and decor. Chalkboard paint for walls or labels. Stick-on tiles for easy backsplash updates.
How can I personalize my kitchen space?
Display family photos or artwork. Use custom labels for jars and containers. Add a personalized sign with your family name. Use colorful rugs or curtains.
Are there any safety tips for DIY kitchen projects?
Always use proper tools and safety gear. Make sure shelves and racks are securely mounted. Be cautious with sharp tools and hot glue. Follow instructions carefully.