
Home>Home & Furniture>Kitchen>DIY Kitchen Cabinet Topper Ideas
Kitchen
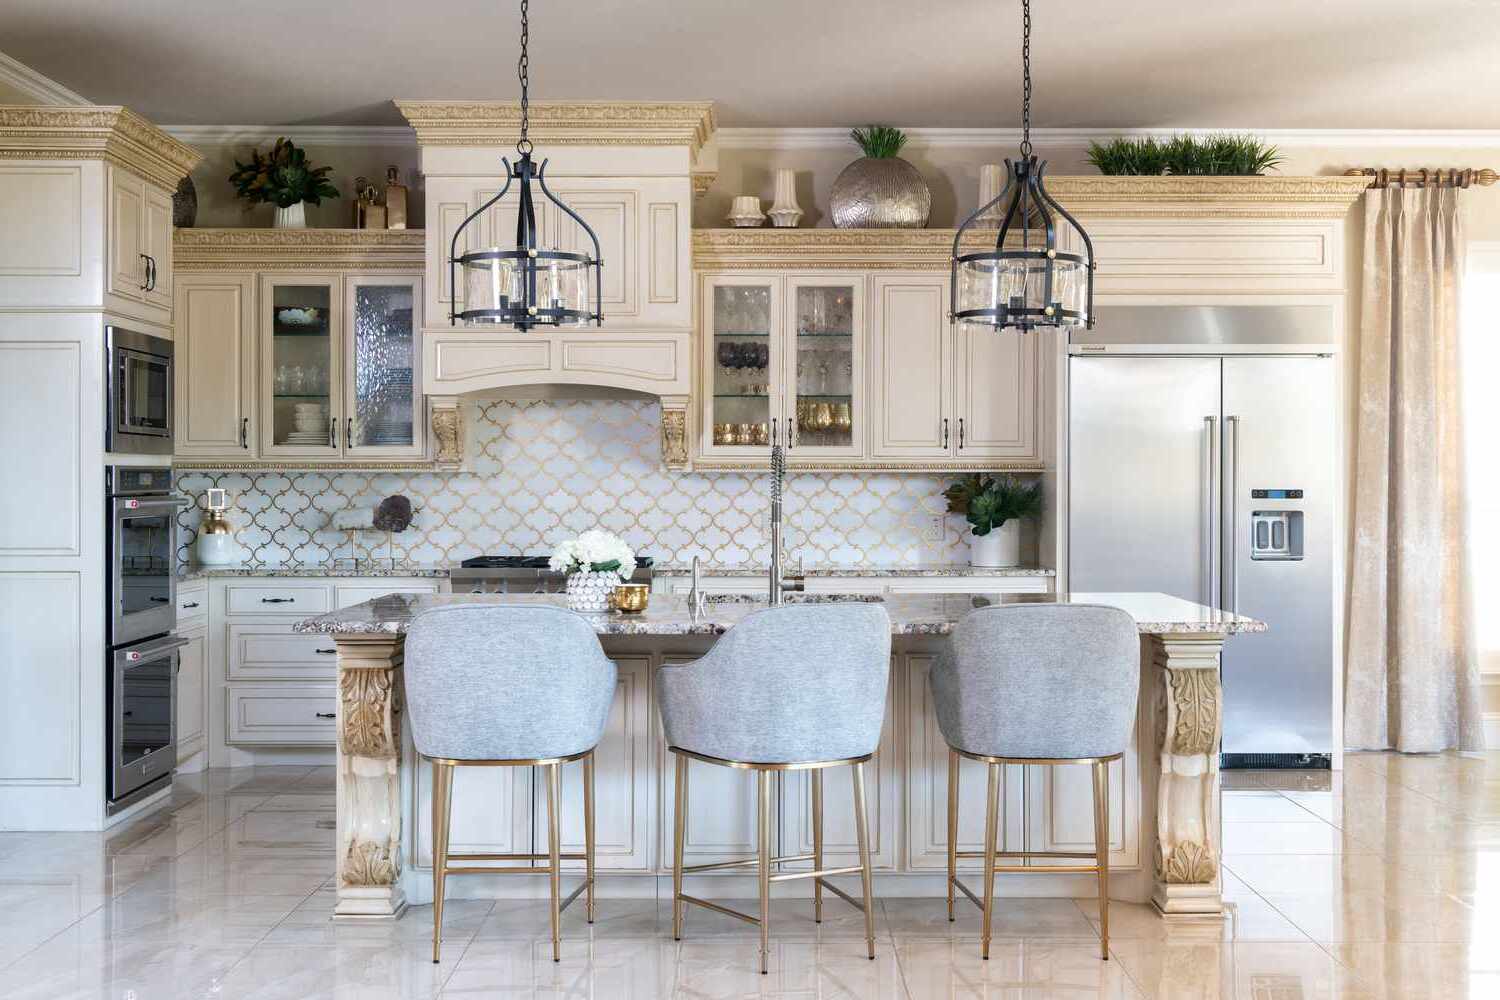
DIY Kitchen Cabinet Topper Ideas
Published: August 4, 2024
Discover creative DIY kitchen cabinet topper ideas to maximize storage and style in your kitchen. Transform unused space above cabinets with these inspiring and practical solutions.
(Many of the links in this article redirect to a specific reviewed product. Your purchase of these products through affiliate links helps to generate commission for Twigandthistle.com, at no extra cost. Learn more)
Adding toppers to your kitchen cabinets can transform your space without a hefty price tag. These simple projects can provide extra storage, display cherished items, or enhance the aesthetic appeal of your kitchen. Whether you're looking to close the gap between your cabinets and ceiling, or want to add some flair, there are countless options to consider. From crown molding to open shelving, the possibilities are endless. With just a bit of creativity and some basic tools, you can give your kitchen a fresh, new look. Get ready to roll up your sleeves and start your DIY cabinet topper adventure!
Getting Ready for Your Project
Measure: Use a tape measure to get the exact dimensions of your cabinet tops. Write these measurements down.
Gather Materials: Collect all necessary materials like wood, nails, screws, paint, and brackets. Make sure you have the right tools, such as a saw, drill, hammer, and paintbrushes.
Safety Gear: Wear safety goggles, gloves, and a dust mask. These protect your eyes, hands, and lungs from debris and dust.
Clear the Area: Remove any items from the tops of your cabinets. This gives you a clean workspace.
Workspace Setup: Set up a sturdy table or workbench. Lay down a drop cloth to catch any sawdust or paint drips.
Cutting Wood: Use a saw to cut wood pieces to the measured sizes. Double-check measurements before cutting to avoid mistakes.
Sanding: Sand the edges of the cut wood to smooth out any rough spots. This helps the paint adhere better.
Priming and Painting: Apply a coat of primer to the wood. Once dry, paint the wood in your desired color. Let it dry completely.
Pre-drill Holes: Pre-drill holes in the wood where screws or nails will go. This makes assembly easier and prevents wood from splitting.
Attach Brackets: Secure brackets to the wall and the wood pieces. Ensure they are level and sturdy.
Final Assembly: Attach the wood pieces to the tops of the cabinets using screws or nails. Make sure everything is aligned and secure.
Clean Up: Dispose of any debris, clean your tools, and put away safety gear. Enjoy your new cabinet toppers!
Gathering Materials and Tools
Plywood Sheets: Used for creating the structure of the cabinet topper. Choose a thickness that matches your existing cabinets.
Wood Screws: Essential for securing the plywood pieces together. Make sure they are long enough to hold the pieces firmly.
Wood Glue: Provides extra strength to the joints. Use it along with screws for a sturdy build.
Sandpaper: Smooths out rough edges and surfaces. Start with a coarse grit and finish with a fine grit for a polished look.
Primer and Paint: Prepares and finishes the wood. Primer helps the paint adhere better, while the paint adds color and protection.
Paintbrushes or Rollers: Apply primer and paint evenly. Brushes are good for detailed work, while rollers cover larger areas quickly.
Measuring Tape: Ensures accurate measurements. Double-check dimensions to avoid mistakes.
Circular Saw or Jigsaw: Cuts plywood sheets to the required size. A circular saw is great for straight cuts, while a jigsaw handles curves and intricate shapes.
Drill and Drill Bits: Makes holes for screws. Use the correct size bit for your screws to avoid splitting the wood.
Clamps: Holds pieces together while the glue dries. Keeps everything aligned and secure.
Level: Ensures your topper is perfectly horizontal. Prevents a lopsided final product.
Putty Knife: Applies wood filler to cover screw holes and imperfections. Makes the surface smooth and ready for painting.
Wood Filler: Fills gaps, holes, and imperfections. Choose a filler that matches your wood type.
Safety Gear: Includes gloves, safety glasses, and a dust mask. Protects you from splinters, dust, and fumes.
Skill Level and Time Commitment
Skill Level: Intermediate
Time Required: 4-6 hours
- Measure and Cut Materials: 1-2 hours
- Assemble the Frame: 1 hour
- Attach to Cabinets: 1 hour
- Paint or Stain: 1-2 hours
Detailed Instructions for Your DIY
Measure the Space:
- Use a tape measure to determine the height, width, and depth of the area above your cabinets.
- Write down these measurements.
Choose Materials:
- Select wood, MDF, or plywood for the topper.
- Decide on paint or stain for the finish.
Cut the Wood:
- Use a saw to cut the wood to the measured dimensions.
- Sand the edges to smooth them out.
Assemble the Topper:
- Use wood glue and nails to attach the pieces together.
- Ensure the structure is sturdy and square.
Paint or Stain:
- Apply primer if painting.
- Use a brush or roller to apply paint or stain.
- Let it dry completely.
Install the Topper:
- Lift the topper onto the cabinets.
- Secure it with screws from inside the cabinet.
Add Trim (Optional):
- Measure and cut trim pieces.
- Attach trim using wood glue and finishing nails.
- Paint or stain the trim to match.
Decorate:
- Place decorative items like plants, baskets, or vases on top.
- Arrange them to your liking.
Helpful Tips and Tricks
Measure Twice, Cut Once: Always double-check measurements before cutting materials. This avoids costly mistakes.
Use Lightweight Materials: MDF or plywood works well for toppers. They’re easy to cut and paint.
Pre-Drill Holes: Prevent wood from splitting by pre-drilling holes for screws.
Paint Before Installation: Painting pieces before attaching them to cabinets saves time and ensures even coverage.
Use Crown Molding: Adding crown molding gives a polished look. It’s simple to install and adds elegance.
Secure with Brackets: Use L-brackets for extra stability. Attach them inside cabinets to keep toppers secure.
Seal Gaps: Use caulk to seal gaps between toppers and ceiling. This gives a seamless finish.
Common Mistakes to Avoid:
Skipping Primer: Always use primer before painting. It helps paint adhere better and last longer.
Ignoring Leveling: Ensure toppers are level. Uneven toppers look sloppy and can cause issues later.
Using Heavy Materials: Avoid heavy wood or metal. They’re harder to work with and can strain cabinets.
Rushing the Process: Take your time. Rushing leads to mistakes and a less professional finish.
Alternatives for Materials or Methods:
Peel-and-Stick Panels: Easy to apply and remove, these panels offer a quick update without heavy tools.
Foam Crown Molding: Lightweight and easy to cut, foam molding mimics wood but is simpler to install.
Decorative Trim: Use decorative trim instead of full toppers. It’s less work but still adds style.
Wallpaper: Apply wallpaper to the space above cabinets for a pop of color or pattern without construction.
Estimating the Cost
Materials:
- Plywood: $50-$100 (depends on quality and size)
- Crown Molding: $30-$60 (for 8-10 feet)
- Wood Glue: $5-$10
- Wood Filler: $5-$10
- Sandpaper: $5-$10
- Paint or Stain: $20-$40
- Primer: $10-$20
- Screws/Nails: $5-$10
Tools:
- Measuring Tape: $5-$15
- Circular Saw: $50-$100 (or rent for $10-$20/day)
- Miter Saw: $100-$200 (or rent for $20-$30/day)
- Drill: $30-$60
- Paintbrushes/Rollers: $10-$20
- Putty Knife: $5-$10
Total Cost: $330-$665
Budget-Friendly Alternatives:
- Use MDF instead of plywood: $30-$60
- Skip Crown Molding: Save $30-$60
- Borrow Tools from friends or family: Save $100-$200
- Buy Second-Hand Tools: Save $50-$100
Total Cost with Alternatives: $150-$305
Different Ways to Customize
Materials: Instead of traditional wood, try reclaimed wood for a rustic look. Metal sheets can give a modern, industrial vibe. Glass panels can add a touch of elegance and make the space feel larger.
Colors: Paint the toppers in bold colors like navy blue or emerald green for a statement piece. Use pastel shades for a softer, more inviting feel. Chalkboard paint can turn the space into a functional message board.
Styles: Add crown molding for a classic, sophisticated look. Use open shelving to display decorative items or plants. Shiplap can create a farmhouse style, while geometric patterns can give a contemporary touch.
Lighting: Install LED strip lights underneath the toppers for a warm glow. Use pendant lights for a more dramatic effect. Recessed lighting can provide a sleek, modern look.
Storage: Incorporate hidden compartments for extra storage. Use baskets or bins to keep things organized. Add hooks for hanging utensils or mugs.
Decor: Place plants or herbs on top for a fresh, natural touch. Use decorative jars or vases to add color and texture. Display artwork or photographs to personalize the space.
Eco-Friendly Tips
Reclaimed wood can add a rustic charm to your kitchen. Look for old barn wood or pallets. Sand them down and apply a non-toxic finish.
Bamboo is a fast-growing, renewable resource. Use bamboo panels for a sleek, modern look. They are durable and easy to work with.
Recycled glass tiles can create a colorful, eco-friendly backsplash. These tiles come in various shapes and sizes, adding a unique touch.
Salvaged metal can be used for a more industrial style. Old metal sheets or even tin ceiling tiles can be repurposed.
Milk paint is an eco-friendly paint option. It’s made from natural ingredients and gives a vintage look to your cabinets.
Cork is another sustainable material. Use cork sheets to cover the top of your cabinets. It’s lightweight, sound-absorbing, and renewable.
Upcycled doors from old furniture can be cut and fitted as cabinet toppers. This adds character and reduces waste.
Natural stone remnants can be used for a luxurious touch. Look for leftover pieces from countertop installations.
Eco-friendly adhesives and finishes should be used to ensure the entire project remains sustainable. Look for water-based, low-VOC options.
Repurposed glass jars can be used for storage on top of cabinets. They are perfect for holding dry goods or small kitchen items.
Your Kitchen Awaits
Adding a kitchen cabinet topper can transform your space without breaking the bank. With some basic tools and a bit of creativity, you can achieve a custom look that fits your style. Whether you choose crown molding, open shelving, or a decorative panel, each option brings its own charm. Don’t forget to measure twice, cut once, and always use safety gear. The satisfaction of completing a DIY project is unmatched. Plus, you’ll have a unique feature that reflects your personal taste. So, gather your materials, roll up your sleeves, and get started. Your kitchen will thank you!
How can I add extra storage to my kitchen cabinets?
Install shelves or baskets on top of your cabinets. Use decorative bins to store items you don't use daily.
What materials work best for cabinet toppers?
Wood, metal, and glass are popular choices. Each offers a different look and feel, so pick what matches your kitchen's style.
Can I install lighting above my cabinets?
Absolutely! LED strip lights or puck lights can add a warm glow and highlight your decor.
How do I secure items on top of my cabinets?
Use non-slip mats or adhesive strips to keep items in place. This prevents them from sliding or falling.
What kind of decor works well on cabinet tops?
Plants, vases, and cookbooks are great options. They add color and personality to your kitchen.
Is it hard to clean the space above cabinets?
Not really. Use a duster or a vacuum attachment to reach up there. Regular cleaning keeps dust from building up.
Can I use the space above cabinets for functional storage?
Yes, store rarely used appliances or seasonal items up there. Just make sure they're easy to reach when needed.