
Home>Home & Furniture>Kitchen>DIY Free Kitchen Printables
Kitchen
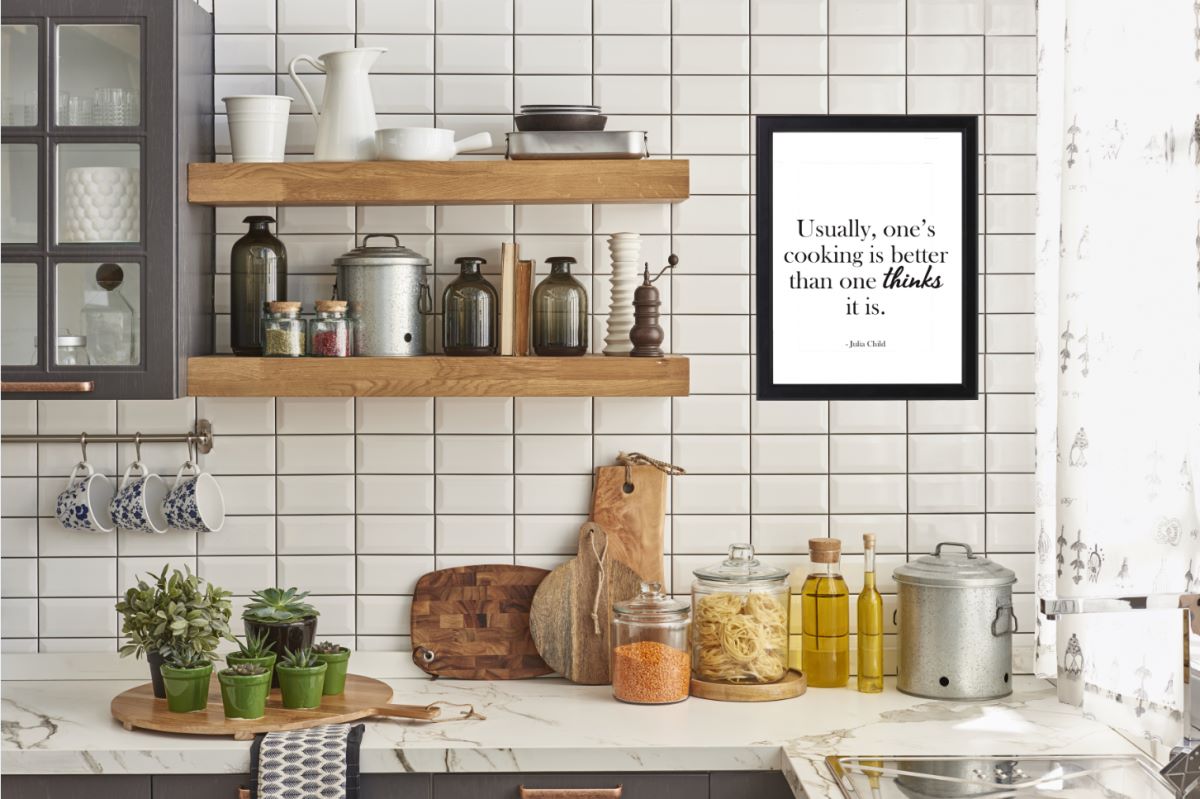
DIY Free Kitchen Printables
Published: August 1, 2024
Discover a variety of DIY free kitchen printables to organize, decorate, and enhance your kitchen space. Download and personalize these creative and functional designs today!
(Many of the links in this article redirect to a specific reviewed product. Your purchase of these products through affiliate links helps to generate commission for Twigandthistle.com, at no extra cost. Learn more)
Creating your own kitchen printables can add a personal touch to your cooking space. These handy tools help organize recipes, meal plans, grocery lists, and more. Besides being functional, printable designs can also enhance your kitchen’s decor. Whether you’re a seasoned DIY enthusiast or new to crafting, you'll find making free kitchen printables easy and fun. Plus, you can customize them to match your style and needs. Dive into the world of DIY kitchen printables and transform your kitchen into a more organized, beautiful space without spending a dime!
Getting Ready for Your Project
Gather Supplies: Collect printer paper, ink, scissors, and tape or glue. Ensure your printer is in good working condition.
Choose Designs: Find printable designs online that match your kitchen's theme. Save these files on your computer.
Check Printer Settings: Adjust your printer settings to the highest quality for the best results. Make sure the paper size matches the design size.
Prepare Workspace: Clear a flat surface for cutting and assembling. Keep scissors, rulers, and glue within reach.
Print Test Page: Print a test page to check colors and alignment. Adjust settings if needed.
Cut Carefully: Use sharp scissors or a paper cutter to trim the printables. Follow the lines precisely.
Assemble: Attach pieces using glue or tape. Ensure everything is aligned properly.
Safety Tips: Keep scissors and glue away from young children. Work in a well-lit area to avoid mistakes.
Clean Up: Dispose of any scraps and unused materials. Store your tools properly for future projects.
What You Will Need
Materials and Tools Needed
- Printer: Essential for printing your designs. Make sure it has enough ink.
- Paper: Use high-quality paper for better results. Cardstock works well for durability.
- Computer: Needed to design or download printables. Ensure it has design software or access to printable templates.
- Design Software: Programs like Canva or Adobe Illustrator help create custom designs.
- Scissors: For cutting out the printables. Sharp scissors make cleaner cuts.
- Laminator (optional): Laminating your printables makes them more durable, especially for kitchen use.
- Hole Punch (optional): Useful if you want to hang your printables or bind them together.
- Magnets or Adhesive Tape: For attaching printables to surfaces like the fridge or walls.
- Ruler: Helps measure and cut straight lines.
- Markers or Pens: For adding personal touches or writing on the printables.
How Much Time and Skill Are Needed?
Skill Level: Beginner
Time Required: 1-2 hours
- Find Printables: Search online for free kitchen printables.
- Download Files: Save the chosen designs to your computer.
- Print Designs: Use a home printer or visit a local print shop.
- Cut and Trim: Use scissors or a paper cutter to trim the edges.
- Frame or Laminate: Place the printables in frames or laminate them for durability.
- Hang or Display: Choose spots in your kitchen to showcase your new decorations.
Follow These Steps
Choose Your Design:
- Search online for free kitchen printable designs.
- Select a design that fits your kitchen's theme.
Download the File:
- Click on the download link provided.
- Save the file to your computer.
Open the File:
- Use a PDF reader or image viewer to open the downloaded file.
Print the Design:
- Load your printer with high-quality paper.
- Adjust printer settings to ensure the best print quality.
- Print the design.
Cut the Printables:
- Use scissors or a paper cutter to trim any excess paper.
- Follow the lines or guides provided in the design.
Frame or Laminate:
- Place the printable in a frame for a polished look.
- Alternatively, laminate the printable for durability.
Display in Your Kitchen:
- Choose a spot in your kitchen to hang or place the printable.
- Use nails, hooks, or adhesive strips to secure it.
Enjoy Your New Decor:
- Admire your handiwork.
- Share your creation with friends and family.
Helpful Tips and Tricks
Use high-quality paper for printing. Regular printer paper might not hold up well in a busy kitchen. Cardstock or laminated sheets work better.
Choose the right size. Make sure your printables fit where you plan to use them. Measure your space before printing.
Use clear fonts. Fancy fonts can be hard to read, especially from a distance. Stick to simple, bold fonts.
Add magnets or adhesive strips. This makes it easy to attach your printables to the fridge or walls.
Customize colors to match your kitchen decor. Most printables can be edited in programs like Canva or Photoshop.
Print extras. If you’re making labels or recipe cards, print a few extra in case of spills or damage.
Organize by category. Group similar printables together, like recipes, meal plans, or shopping lists, for easy access.
Common mistakes to avoid:
Skipping the proofread. Typos can make your printables look unprofessional.
Ignoring printer settings. Make sure your printer is set to the highest quality for the best results.
Using low-resolution images. Blurry images can ruin the look of your printables.
Alternatives for materials or methods:
Dry-erase boards. Instead of paper, use a dry-erase board for meal plans or shopping lists.
Chalkboard paint. Create a chalkboard surface on a wall or cabinet door for a reusable writing space.
Digital options. Use apps or digital planners if you prefer not to use paper.
How Much Will This Cost?
Printer: $50-$150, depending on quality.
Ink Cartridges: $20-$60, depending on printer model.
Paper: $5-$15 for a pack of 100 sheets.
Laminator (optional): $20-$50.
Laminating Pouches (optional): $10-$20 for a pack of 50.
Scissors: $5-$10.
Ruler: $2-$5.
Double-sided Tape (optional): $3-$7.
Budget-friendly alternatives:
- Library or Print Shop: Print for $0.10-$0.50 per page.
- Skip Laminator: Use clear contact paper instead, $5-$10 per roll.
- Reuse Old Frames: Instead of laminating, place printables in old picture frames.
Ways to Customize Your Project
Alternative materials can make your kitchen printables stand out. Instead of regular paper, try cardstock for a sturdier feel. Laminating the printables can make them more durable and easy to clean. For a rustic look, print on kraft paper.
Colors can change the entire vibe of your kitchen. Use pastel shades for a soft, calming effect. Bold colors like red or navy can make a statement. Monochrome black and white can give a modern, sleek look.
Styles can also vary. Vintage designs with old-fashioned fonts and illustrations can add charm. Minimalist styles with clean lines and simple fonts can keep things modern. Whimsical designs with fun illustrations and playful fonts can make the kitchen feel more inviting.
Frames can add a touch of elegance. Use wooden frames for a natural look. Metal frames can give an industrial feel. Colorful frames can add a pop of color to your kitchen.
Mounting options can also be customized. Use magnets to stick them on the fridge. Clipboards can make it easy to change printables frequently. String and clothespins can create a casual, laid-back display.
Personalization can make your printables unique. Add family names or favorite quotes. Use custom illustrations that reflect your family's interests or hobbies.
Eco-Friendly Tips
Use recycled paper for printing. This reduces waste and saves trees. Old magazines or newspapers can be cut and used for decorative elements. Soy-based inks are an eco-friendly alternative to traditional inks. They are less harmful to the environment. Digital printables can be displayed on tablets or phones, eliminating the need for paper. Reusable stencils made from cardboard or plastic can be used multiple times. Natural dyes from vegetables or fruits can add color without chemicals. Upcycle old frames or clipboards to display your printables. Scrap fabric can be used to create unique borders or backgrounds. Compostable adhesives are a greener choice for sticking elements together. Solar-powered printers can reduce energy consumption.
Your DIY Kitchen Awaits
You've got all the tools now. Those free kitchen printables can transform your space without spending a dime. From meal planners to grocery lists, each printable adds a touch of organization and charm. Just print, cut, and stick them where you need. Your kitchen will look more organized, and you'll feel more in control. Plus, it's a fun project to do on a lazy afternoon. So, grab those scissors and get to work. Your kitchen will thank you.
How can I use free kitchen printables?
You can use free kitchen printables to label jars, create meal planners, or even make cute recipe cards. Just print, cut, and stick them where needed.
Where can I find free kitchen printables?
Websites like Pinterest, Etsy, and various DIY blogs offer a ton of free kitchen printables. Just search for what you need, and you'll find plenty of options.
Do I need special paper for printing?
Regular printer paper works fine, but using cardstock or sticker paper can make your printables more durable and professional-looking.
Can I customize these printables?
Some printables come in editable formats like PDF or Word files. You can add your own text or change colors before printing.
Are these printables reusable?
If you laminate them, you can use dry-erase markers to make them reusable. Perfect for meal planners or grocery lists!
What tools do I need to use them?
Basic tools like scissors, a printer, and possibly a laminator are all you need. For stickers, a craft knife might be handy.
How do I organize my kitchen with these printables?
Use them to label pantry items, create a weekly meal plan, or even make a cleaning schedule. They help keep everything neat and easy to find.