
Home>Home & Furniture>Kitchen>Budget-Friendly DIY Kitchen Backsplash Ideas
Kitchen
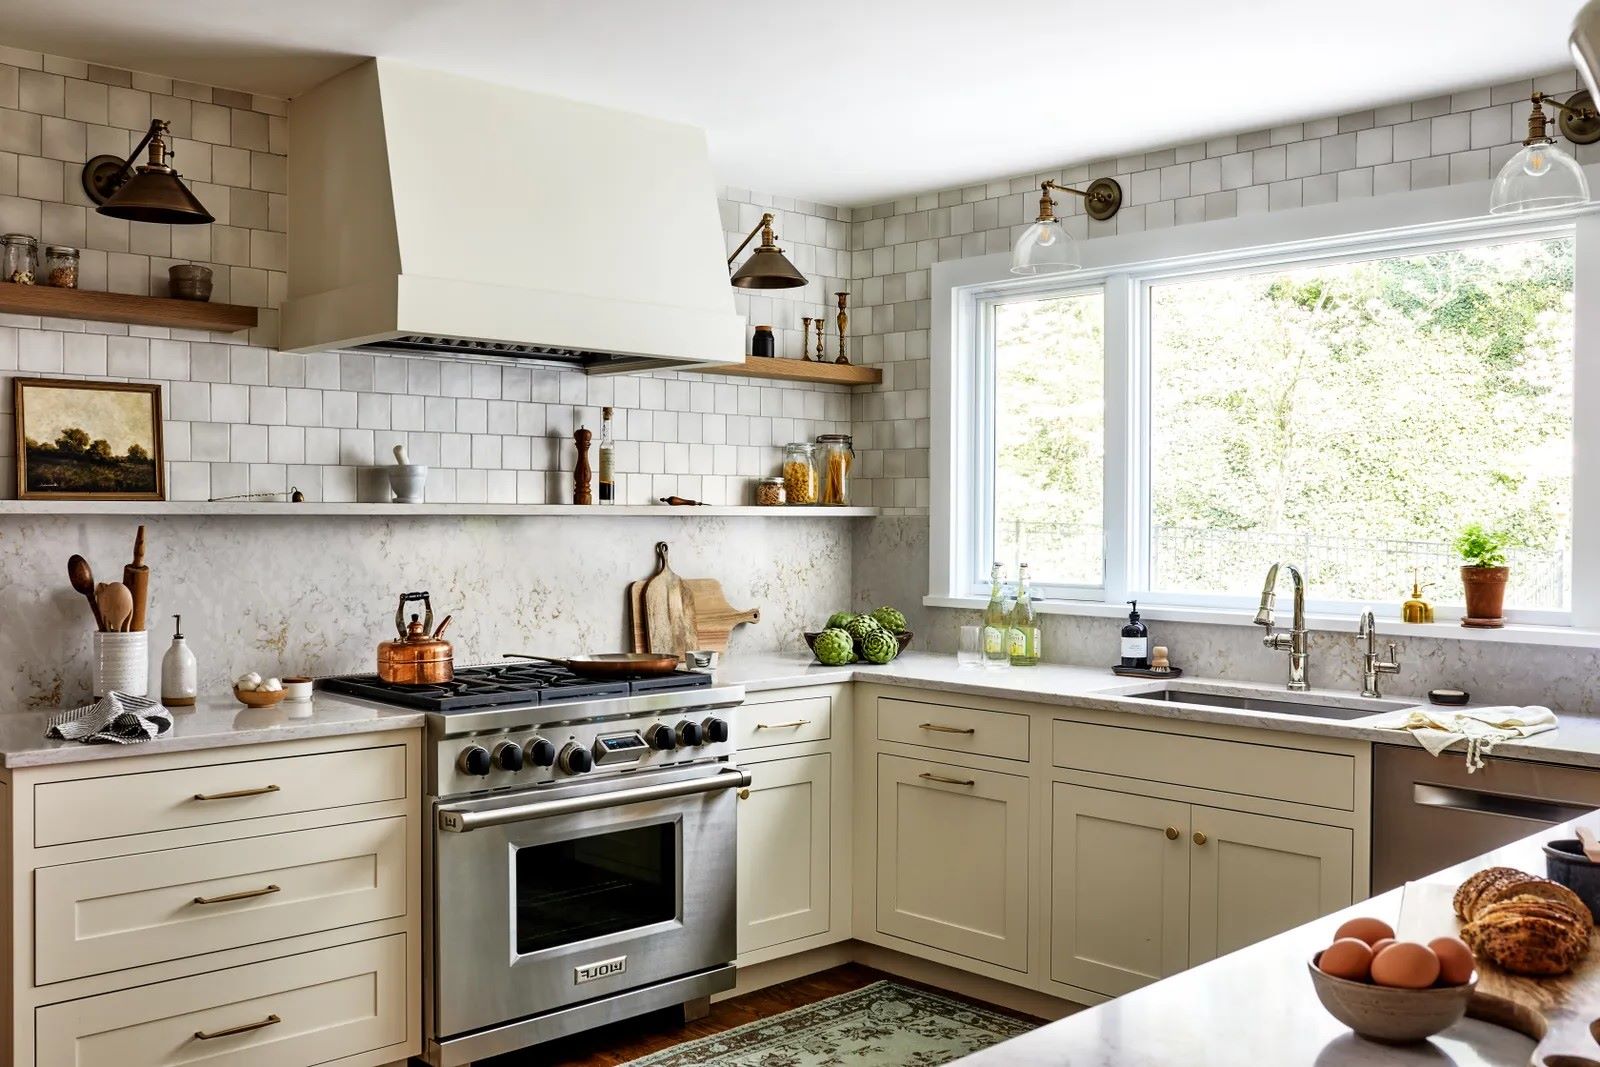
Budget-Friendly DIY Kitchen Backsplash Ideas
Published: July 24, 2024
Discover budget-friendly DIY kitchen backsplash ideas that transform your space. Get inspired with creative, cost-effective solutions to upgrade your kitchen's look.
(Many of the links in this article redirect to a specific reviewed product. Your purchase of these products through affiliate links helps to generate commission for Twigandthistle.com, at no extra cost. Learn more)
Adding a backsplash to your kitchen can give it a fresh look without spending much. Many believe that updating a backsplash requires hiring professionals or buying expensive materials, but that's not true. With creativity and some time, you can create a stunning backsplash all by yourself. There are plenty of options that won't break the bank and can be done with tools you probably already have at home. If you're ready to roll up your sleeves and get started, let's explore some simple, budget-friendly DIY ideas for your kitchen backsplash. It’s easier than you think!
Getting Ready for Your DIY Project
Measure the Area: Use a tape measure to get the exact dimensions of the backsplash area. Write down the height and width.
Choose Your Materials: Decide on the type of backsplash you want. Options include peel-and-stick tiles, beadboard, or even painted stencils.
Gather Tools: Collect all necessary tools like a utility knife, level, adhesive, sponge, and a notched trowel.
Clear the Workspace: Remove any items from countertops and cover them with a drop cloth to protect from debris.
Turn Off Power: Switch off the power to any outlets in the backsplash area to avoid electrical hazards.
Clean the Wall: Wipe down the wall with a damp cloth to remove grease and dust. A clean surface ensures better adhesion.
Mark Guidelines: Use a pencil and level to draw horizontal and vertical lines on the wall. These lines will help keep your tiles straight.
Cut Materials to Size: Pre-cut any tiles or panels to fit around outlets and edges. Use a utility knife or tile cutter for precision.
Wear Safety Gear: Put on safety goggles and gloves to protect your eyes and hands while cutting and installing materials.
Test Fit: Lay out a few tiles or panels without adhesive to see how they fit. Adjust as needed before final installation.
Gathering Materials and Tools
Materials:
- Peel-and-Stick Tiles: Easy to apply, these tiles come with adhesive backing. No need for grout or mortar.
- Tile Adhesive: For traditional tiles, this glue helps them stick to the wall.
- Grout: Fills gaps between tiles, ensuring a smooth, finished look.
- Tile Spacers: Small plastic pieces that keep tiles evenly spaced.
- Caulk: Seals edges and prevents water from seeping behind tiles.
- Primer: Prepares the wall surface, ensuring tiles stick properly.
- Paint: For painting a backsplash, choose durable, washable paint.
- Sealant: Protects painted or tiled surfaces from moisture and stains.
Tools:
- Measuring Tape: Ensures accurate measurements for cutting tiles.
- Level: Keeps tiles straight and even.
- Utility Knife: Cuts peel-and-stick tiles to fit.
- Tile Cutter: For cutting traditional tiles to size.
- Notched Trowel: Spreads tile adhesive evenly.
- Grout Float: Applies grout smoothly between tiles.
- Sponge: Cleans excess grout from tile surfaces.
- Caulk Gun: Applies caulk neatly along edges.
- Paintbrush/Roller: For applying primer and paint to the wall.
- Safety Gear: Includes gloves and goggles to protect hands and eyes.
Required Skills and Time Commitment
Skill Level: Intermediate
Time Required: 1-2 days
Peel-and-Stick Tiles:
- Skill Level: Beginner
- Time Required: 4-6 hours
Painted Backsplash:
- Skill Level: Beginner
- Time Required: 6-8 hours
Beadboard Panels:
- Skill Level: Intermediate
- Time Required: 1 day
Tin Tiles:
- Skill Level: Intermediate
- Time Required: 1 day
Reclaimed Wood:
- Skill Level: Advanced
- Time Required: 1-2 days
Instructions for a Stunning Backsplash
Gather Materials:
- Tiles (peel-and-stick, ceramic, or glass)
- Tile adhesive (if not using peel-and-stick)
- Grout (if using ceramic or glass tiles)
- Tile spacers
- Measuring tape
- Level
- Pencil
- Utility knife or tile cutter
- Sponge and bucket
- Safety goggles and gloves
Prepare the Surface:
- Clean the wall thoroughly to remove grease and dirt.
- Sand any rough spots to ensure a smooth surface.
- Use a level to check for evenness. If needed, apply a thin layer of spackle to even out the surface.
Measure and Plan:
- Measure the area where the backsplash will go.
- Plan the tile layout, starting from the center and working outward.
- Mark guidelines on the wall with a pencil to ensure straight rows.
Cut Tiles:
- Measure and mark tiles that need cutting.
- Use a utility knife for peel-and-stick tiles or a tile cutter for ceramic/glass tiles.
- Wear safety goggles and gloves while cutting.
Apply Adhesive:
- For peel-and-stick tiles, peel off the backing and press firmly onto the wall.
- For ceramic or glass tiles, apply tile adhesive to the wall with a notched trowel.
- Press tiles into the adhesive, using spacers to maintain even gaps.
Install Tiles:
- Start from the bottom center and work your way up and out.
- Press each tile firmly into place.
- Use spacers between tiles for consistent gaps.
Grout Tiles (if using ceramic or glass):
- Mix grout according to package instructions.
- Apply grout with a rubber float, pressing it into the gaps.
- Wipe off excess grout with a damp sponge.
- Let grout dry for the recommended time.
Clean Up:
- Wipe tiles with a damp sponge to remove grout haze.
- Clean tools and workspace.
Seal Grout (optional):
- Apply grout sealer to protect against stains and moisture.
- Follow the manufacturer's instructions for application and drying time.
Final Touches:
- Remove any remaining spacers.
- Touch up any areas with additional grout or adhesive as needed.
- Enjoy your new kitchen backsplash!
Helpful Tips and Clever Tricks
Plan your layout before starting. Measure the area and cut materials to size. This saves time and reduces waste.
Use peel-and-stick tiles for a quick, mess-free option. They come in various styles and are easy to install.
Consider beadboard panels. They are affordable, easy to paint, and give a classic look.
Repurpose materials like old wood or leftover tiles. This can add character and save money.
Seal your backsplash to protect it from moisture and stains. Use a clear sealant for a lasting finish.
Common mistakes to avoid:
Skipping surface prep. Clean and smooth the wall to ensure tiles stick properly.
Not using a level. Crooked tiles ruin the look. Use a level to keep lines straight.
Ignoring grout lines. Even spacing is crucial. Use spacers for uniform gaps.
Alternatives for materials or methods:
Vinyl wallpaper mimics tile and is easy to clean.
Chalkboard paint creates a writable surface, perfect for notes or recipes.
Metal sheets like stainless steel or copper add a modern touch and are easy to wipe down.
Estimating Your Project Costs
Tiles: Basic ceramic tiles cost around $1-$3 per square foot. For a 30-square-foot area, expect to spend $30-$90.
Adhesive: Tile adhesive costs about $10-$20 per gallon. One gallon covers approximately 30 square feet.
Grout: Grout costs around $10-$15 per bag. One bag covers about 30 square feet.
Tile Cutter: A manual tile cutter can be bought for $20-$40. Renting one costs about $10 per day.
Spacers: Tile spacers cost around $3-$5 per pack. One pack is usually enough for a small kitchen project.
Trowel: A notched trowel costs about $5-$10.
Grout Float: A grout float costs around $5-$10.
Sponge: A large sponge for cleaning grout costs about $2-$5.
Sealant: Tile sealant costs around $10-$20 per bottle. One bottle covers about 30 square feet.
Painter's Tape: A roll of painter's tape costs around $3-$5.
Total Estimated Cost: $98-$220
Budget-Friendly Alternatives:
Peel-and-Stick Tiles: These cost about $5-$10 per square foot. For a 30-square-foot area, expect to spend $150-$300. No adhesive, grout, or special tools needed.
Painted Backsplash: Use special kitchen paint costing around $20-$30 per gallon. One gallon covers about 350 square feet. Painter's tape and a few brushes will add another $10-$15.
Vinyl Decals: These cost about $1-$3 per square foot. For a 30-square-foot area, expect to spend $30-$90. No additional tools required.
Creative Variations and Personal Touches
Peel-and-Stick Tiles: These are easy to apply and come in various patterns and colors. Choose subway tiles for a classic look or mosaic tiles for something more intricate.
Painted Backsplash: Use stencils to create patterns on a painted wall. Opt for chalkboard paint to make a writable surface for notes and recipes.
Beadboard Panels: Install beadboard for a cottage-style kitchen. Paint it in a bright color or keep it white for a clean look.
Vinyl Decals: Apply vinyl decals for a temporary and customizable option. Choose geometric shapes or floral designs to match your kitchen's theme.
Reclaimed Wood: Use reclaimed wood for a rustic feel. Stain or paint the wood to match your kitchen's color scheme.
Metal Sheets: Install metal sheets like stainless steel or copper for an industrial look. These are easy to clean and add a modern touch.
Wallpaper: Use waterproof wallpaper for a quick and easy backsplash. Choose from bold patterns or subtle textures.
Mirrored Tiles: Install mirrored tiles to make a small kitchen appear larger. These add a touch of elegance and reflect light beautifully.
Cork Board: Use cork board for a functional and unique backsplash. Pin recipes, notes, and photos directly onto the backsplash.
Fabric with Glass Overlay: Place a piece of decorative fabric behind a glass panel. This allows for easy cleaning while adding a personal touch.
Brick Veneer: Apply brick veneer for a loft-style kitchen. Paint the bricks white or leave them natural for a cozy feel.
Penny Tiles: Use penny tiles for a quirky and fun backsplash. These small, round tiles can be arranged in various patterns and colors.
Chalkboard Paint: Create a chalkboard backsplash for a functional and fun space. Write recipes, grocery lists, or doodles directly on the wall.
Ceramic Plates: Break old ceramic plates and arrange the pieces in a mosaic pattern. This adds a personal and artistic touch to your kitchen.
Laminate Flooring: Use leftover laminate flooring as a backsplash. It's durable, easy to clean, and comes in various styles.
Eco-Friendly Ideas for Your Kitchen
Reclaimed Wood: Use old wood from pallets or barns. Sand it down, seal it, and arrange it in a pattern. This gives a rustic look and saves wood from landfills.
Recycled Glass Tiles: These tiles come from old bottles and windows. They add color and shine to your kitchen. Plus, they reduce waste.
Cork: Cork is renewable and easy to clean. Collect wine corks, cut them in half, and glue them to the wall. Seal with a clear coat for durability.
Peel-and-Stick Wallpaper: Find eco-friendly wallpaper made from recycled materials. It's easy to apply and remove, making it perfect for renters.
Chalkboard Paint: Paint a section of the wall with chalkboard paint. This creates a fun, writable surface. Use eco-friendly paint to keep it green.
Tin Ceiling Tiles: Repurpose old tin ceiling tiles. They add a vintage feel and are easy to clean. Look for them at salvage yards or online.
Broken Dishes: Use broken plates and cups to create a mosaic. This adds a unique, colorful touch and reuses items that might otherwise be thrown away.
Bamboo: Bamboo grows quickly and is very sustainable. Use bamboo panels or tiles for a sleek, modern look.
Fabric: Cover the wall with fabric remnants. Use a staple gun to attach the fabric, then seal with a clear, water-based finish.
Painted Plywood: Cut plywood into tiles, paint them, and arrange them in a pattern. This is a low-cost option that can be customized to fit any style.
Your Kitchen, Your Canvas
Creating a budget-friendly DIY kitchen backsplash isn't just about saving money. It's about adding a personal touch to your space. With materials like peel-and-stick tiles, paint, or even reclaimed wood, you can transform your kitchen without breaking the bank. Remember, the key is to plan well, measure twice, and take your time. Mistakes happen, but they're part of the learning process. Don't be afraid to experiment with colors and textures. Your kitchen should reflect your style and creativity. Plus, doing it yourself gives you a sense of accomplishment. So grab those tools, roll up your sleeves, and get started. Your dream kitchen is just a few steps away. Happy DIY-ing!
What materials can I use for a budget-friendly kitchen backsplash?
Peel-and-stick tiles, painted plywood, beadboard, and chalkboard paint are all affordable options. You can even use vinyl wallpaper or contact paper for a quick fix.
How do I install peel-and-stick tiles?
Clean the wall surface, measure and cut the tiles to fit, then peel off the backing and stick them on. Press firmly to ensure they adhere well.
Can I paint my existing backsplash?
Yes, you can! Clean the surface, sand it lightly, and apply a primer. Then, use a high-quality paint suitable for kitchens. Seal it with a clear topcoat for durability.
Are there any eco-friendly options for a backsplash?
Reclaimed wood, recycled glass tiles, and bamboo are great eco-friendly choices. They add a unique touch while being kind to the environment.
How do I maintain a DIY backsplash?
Regularly wipe it down with a damp cloth and mild soap. Avoid abrasive cleaners that can damage the surface. For tiles, reapply grout sealer annually to keep it looking fresh.
Can I use fabric as a backsplash?
Yes, you can! Attach fabric to the wall with liquid starch. It's easy to remove and change whenever you want a new look. Just peel it off and wash the wall.
How long does it take to install a DIY backsplash?
Depending on the material and size of your kitchen, it can take anywhere from a few hours to a weekend. Peel-and-stick tiles are the quickest, while more intricate designs may take longer.