
Home>Home & Furniture>Garage & Basement>How to Repair Basement Wall Leaks
Garage & Basement
How to Repair Basement Wall Leaks
Published: August 30, 2024
Learn how to repair basement wall leaks with our comprehensive guide. Discover effective methods, tools, and tips to keep your basement dry and damage-free.
(Many of the links in this article redirect to a specific reviewed product. Your purchase of these products through affiliate links helps to generate commission for Twigandthistle.com, at no extra cost. Learn more)
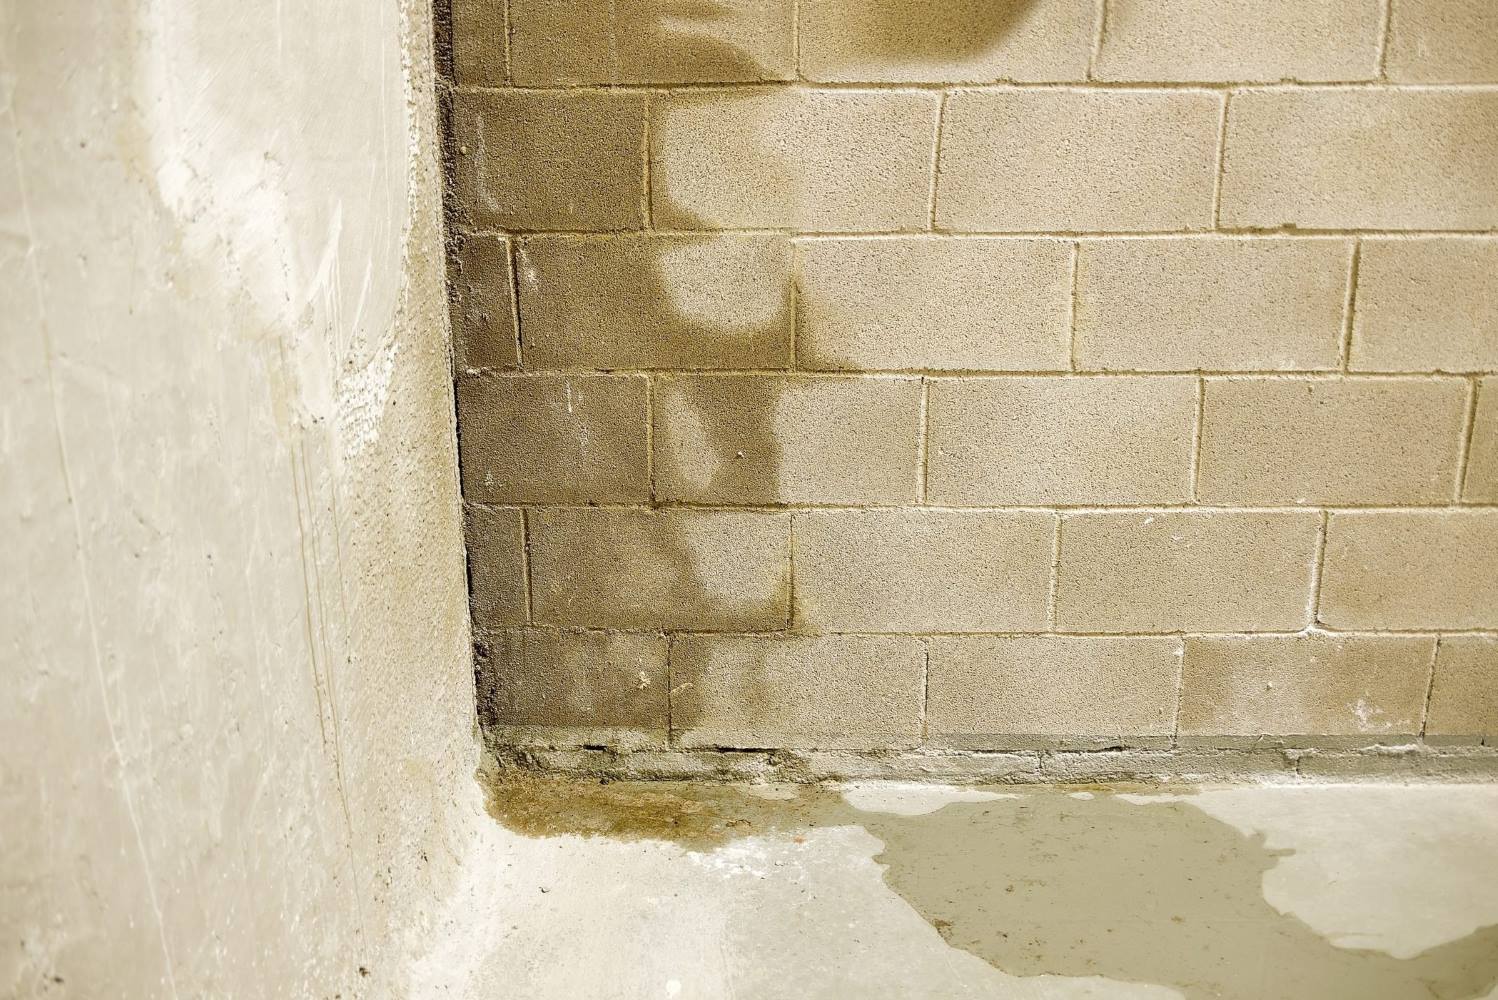
Basement wall leaks can be a real headache. Water seeping through basement walls can cause mold, damage, and even weaken the structure of your home. Knowing how to fix these leaks yourself can save money and prevent further issues. This guide will give you the basics on identifying the source of the leaks, the tools needed, and the steps to repair the walls effectively. Whether it's a small crack or a larger problem, with some patience and effort, you can tackle this DIY project and keep your basement dry and safe.
Getting Ready for the Repair
Inspect the Area: Look for cracks, damp spots, or mold. Identify where the water is coming from.
Gather Supplies: Get waterproof sealant, hydraulic cement, a trowel, a wire brush, safety goggles, gloves, and a mask.
Clear the Area: Move furniture, boxes, and other items away from the wall. Ensure you have enough space to work.
Clean the Wall: Use a wire brush to remove dirt, loose paint, and debris. This helps the sealant stick better.
Dry the Wall: Use fans or a dehumidifier to make sure the wall is completely dry before applying any materials.
Safety First: Wear safety goggles, gloves, and a mask to protect yourself from dust and chemicals.
Mix Materials: Follow the instructions on the hydraulic cement and waterproof sealant packages. Mix them in a well-ventilated area.
Prepare for Application: Have all tools and materials within reach. This makes the process smoother and quicker.
Check Weather: Ensure no rain is expected if you need to work on the exterior part of the wall.
Gathering Your Materials and Tools
Hydraulic Cement: This quick-setting cement stops active water leaks. It expands as it sets, creating a tight seal.
Concrete Patch: Used to fill cracks and holes in the wall. It provides a smooth, durable finish.
Masonry Sealer: A waterproof coating applied to the wall's surface to prevent future leaks.
Wire Brush: Cleans the wall surface, removing loose debris and old paint.
Chisel and Hammer: Used to widen cracks and remove loose concrete, ensuring a better bond for the patch.
Putty Knife: Spreads the hydraulic cement and concrete patch smoothly over cracks and holes.
Bucket: Holds water for mixing cement and cleaning tools.
Mixing Stick: Stirs the cement mixture to the right consistency.
Gloves: Protect hands from harsh chemicals and rough surfaces.
Safety Goggles: Shields eyes from dust and debris during cleaning and chiseling.
Drop Cloth: Protects the floor from spills and debris.
Sponge: Wipes away excess cement and cleans the wall surface.
Spray Bottle: Mists water onto the wall to help the cement adhere better.
Caulking Gun: Applies masonry sealer evenly along cracks and joints.
Level: Ensures the patched areas are even with the rest of the wall.
Skill Level and Time Commitment
Skill Level: Intermediate
Time Required: 4-6 hours
Steps:
- Identify the Leak: Takes about 30 minutes.
- Clean the Area: Approximately 1 hour.
- Apply Hydraulic Cement: Around 1-2 hours.
- Seal with Waterproofing Paint: 2-3 hours, including drying time.
Instructions for Fixing Basement Wall Leaks
Identify the Leak:
- Look for wet spots or water stains on the basement walls.
- Use a flashlight to inspect cracks or gaps.
Clean the Area:
- Scrub the wall with a wire brush to remove dirt and loose material.
- Wipe the area with a damp cloth to ensure it's clean.
Dry the Wall:
- Use a fan or dehumidifier to dry the wall completely.
- Wait until the wall is fully dry before proceeding.
Prepare the Crack:
- Use a chisel and hammer to widen the crack slightly, creating a V-shape.
- This helps the repair material adhere better.
Apply Hydraulic Cement:
- Mix hydraulic cement according to the package instructions.
- Use a trowel to press the cement into the crack, filling it completely.
- Smooth the surface with the trowel.
Seal the Wall:
- Once the cement is dry, apply a waterproof masonry sealer.
- Use a paintbrush or roller to cover the entire wall.
- Allow the sealer to dry as per the manufacturer's instructions.
Check for Additional Leaks:
- Inspect the wall again after a few days.
- Repeat the process if you find more leaks.
Maintain Proper Drainage:
- Ensure gutters and downspouts direct water away from the foundation.
- Consider installing a French drain if water pooling is an issue.
Monitor the Area:
- Regularly check the basement walls for new leaks.
- Address any issues promptly to prevent further damage.
Helpful Tips and Tricks
Identify the Source: Before starting repairs, find where the water is coming from. Look for cracks, gaps, or holes in the walls.
Clean the Area: Remove dirt, mold, and loose material from the wall. Use a wire brush or a pressure washer.
Use Hydraulic Cement: This type of cement expands as it dries, sealing cracks and holes effectively. Mix according to instructions and apply it to the affected areas.
Apply Waterproofing Paint: Once the cement is dry, coat the wall with waterproofing paint. This adds an extra layer of protection against moisture.
Install a Sump Pump: If water continues to seep in, consider installing a sump pump. It helps remove water from the basement, keeping it dry.
Check Gutters and Downspouts: Ensure gutters and downspouts direct water away from your home. Clogged or damaged gutters can cause water to pool around your foundation.
Grade the Landscape: Make sure the ground slopes away from your house. This prevents water from accumulating near the foundation.
Common Mistakes to Avoid:
- Ignoring Small Cracks: Small cracks can become big problems. Address them early.
- Using the Wrong Materials: Not all sealants and cements are suitable for basement walls. Use products designed for waterproofing.
- Skipping Surface Preparation: Failing to clean and prep the wall can lead to poor adhesion and ineffective repairs.
- Neglecting Exterior Solutions: Sometimes, the problem is outside. Don’t forget to check gutters, downspouts, and landscaping.
Alternatives for Materials or Methods:
- Epoxy Injections: For small cracks, epoxy injections can be an alternative to hydraulic cement. They bond the crack and prevent water from entering.
- Interior Drainage Systems: If leaks are persistent, consider installing an interior drainage system. It channels water to a sump pump.
- Exterior Waterproofing Membranes: For severe issues, applying a waterproof membrane to the exterior of the foundation can be more effective than interior solutions.
Estimating the Cost
Concrete Patch: $20 for a 10-pound bucket.
Hydraulic Cement: $15 for a 10-pound bucket.
Waterproofing Paint: $30 per gallon.
Wire Brush: $5.
Putty Knife: $7.
Caulking Gun: $10.
Caulk: $5 per tube.
Safety Gear: $15 for gloves and goggles.
Total Cost: Approximately $107.
Budget-Friendly Alternatives:
Concrete Patch: Use a smaller 5-pound bucket for $10.
Hydraulic Cement: Opt for a smaller 5-pound bucket for $8.
Waterproofing Paint: Choose a smaller quart size for $10.
Wire Brush: Use an old toothbrush or scrub brush.
Putty Knife: Use a plastic one for $2.
Caulking Gun: Borrow from a friend or neighbor.
Caulk: Use a smaller tube for $3.
Safety Gear: Use old gloves and safety glasses you already have.
Total Cost with Alternatives: Approximately $43.
Different Approaches and Customizations
Alternative materials can make a big difference. Instead of standard hydraulic cement, try using epoxy injections for a stronger seal. Polyurethane foam can also be a good option, expanding to fill cracks completely.
Colors can help you blend repairs with existing walls. Use tinted sealants or paintable waterproof coatings to match your basement's color scheme. Some sealants come in gray, white, or clear options.
Styles of repair can vary. For a modern look, use smooth finishes and clean lines. If you prefer a rustic style, consider using textured finishes or even exposed brick treatments.
Drainage systems can also be customized. Instead of a basic French drain, install a sump pump for extra protection. Exterior waterproofing membranes can be added for more comprehensive solutions.
Insulation can be added to your repair plan. Use foam board insulation or spray foam to keep your basement warm and dry. This can also help with energy efficiency.
Ventilation is another area to consider. Install vent fans or dehumidifiers to reduce moisture levels. This can prevent future leaks and mold growth.
Lighting can enhance your basement's look. Use LED lights or recessed lighting to brighten up the space. This can make your basement more inviting and functional.
Flooring options can also be customized. Instead of basic concrete, try waterproof vinyl or ceramic tiles. These materials are durable and can handle moisture well.
Furniture and decor can be adapted to suit your style. Use water-resistant furniture and mold-resistant fabrics to keep your basement looking great. This can make the space more comfortable and usable.
Storage solutions can be tailored to your needs. Install shelving units or storage bins that are elevated off the floor. This can protect your belongings from potential water damage.
Eco-Friendly Repair Tips
Eco-friendly materials can help fix basement wall leaks while being kind to the environment. Start by using recycled concrete or reclaimed bricks to patch up cracks. These materials reduce waste and give old items a new purpose.
For sealing, choose low-VOC (volatile organic compounds) sealants. These sealants release fewer harmful chemicals into the air, making them safer for your health and the planet. Natural hydraulic lime is another great option. It’s durable, breathable, and less energy-intensive to produce than cement.
When waterproofing, consider eco-friendly waterproofing membranes made from recycled rubber or other sustainable materials. These membranes provide excellent protection against moisture without harming the environment.
If you need to insulate, use recycled denim insulation or sheep’s wool insulation. Both options are effective at keeping your basement warm and dry while being biodegradable and non-toxic.
Finally, always try to reuse or recycle any leftover materials. For example, broken concrete pieces can be used in landscaping projects, and old bricks can be cleaned and reused in other building projects. This reduces waste and promotes a circular economy.
Keep Your Basement Dry
Fixing basement wall leaks isn't rocket science. Start by identifying the source of the leak. Once found, clean the area thoroughly. Use hydraulic cement to patch any cracks. For larger issues, consider applying a waterproof sealant. If water still seeps in, installing a drainage system might be necessary. Regularly check for signs of moisture to catch problems early. Remember, a dry basement means a healthier home. Don't let small leaks turn into big headaches. With a bit of effort, you can keep your basement dry and cozy.
How do I identify basement wall leaks?
Look for damp spots, water stains, or musty odors. Sometimes, you might even see puddles on the floor.
What tools do I need to fix basement wall leaks?
You'll need a chisel, hammer, wire brush, hydraulic cement, and a trowel. A shop vac can help clean up any water.
Can I fix basement wall leaks myself?
Absolutely! With the right tools and materials, most people can handle this DIY project.
What's the first step in repairing a leak?
First, clean the area around the leak. Use a wire brush to remove any loose debris or crumbling concrete.
How do I apply hydraulic cement?
Mix the hydraulic cement according to the package instructions. Press it into the crack with a trowel and smooth it out.
How long does hydraulic cement take to dry?
It usually sets in about 3-5 minutes and fully cures in a few hours. Be quick when applying it!
What if the leak persists after repair?
If the leak continues, you might need to seal the entire wall with a waterproofing paint or membrane.