
Home>Home & Furniture>Garage & Basement>DIY Guide: Insulating Basement Walls
Garage & Basement
DIY Guide: Insulating Basement Walls
Published: August 30, 2024
Learn how to insulate your basement walls with our comprehensive DIY guide. Improve energy efficiency, reduce moisture, and create a comfortable living space.
(Many of the links in this article redirect to a specific reviewed product. Your purchase of these products through affiliate links helps to generate commission for Twigandthistle.com, at no extra cost. Learn more)
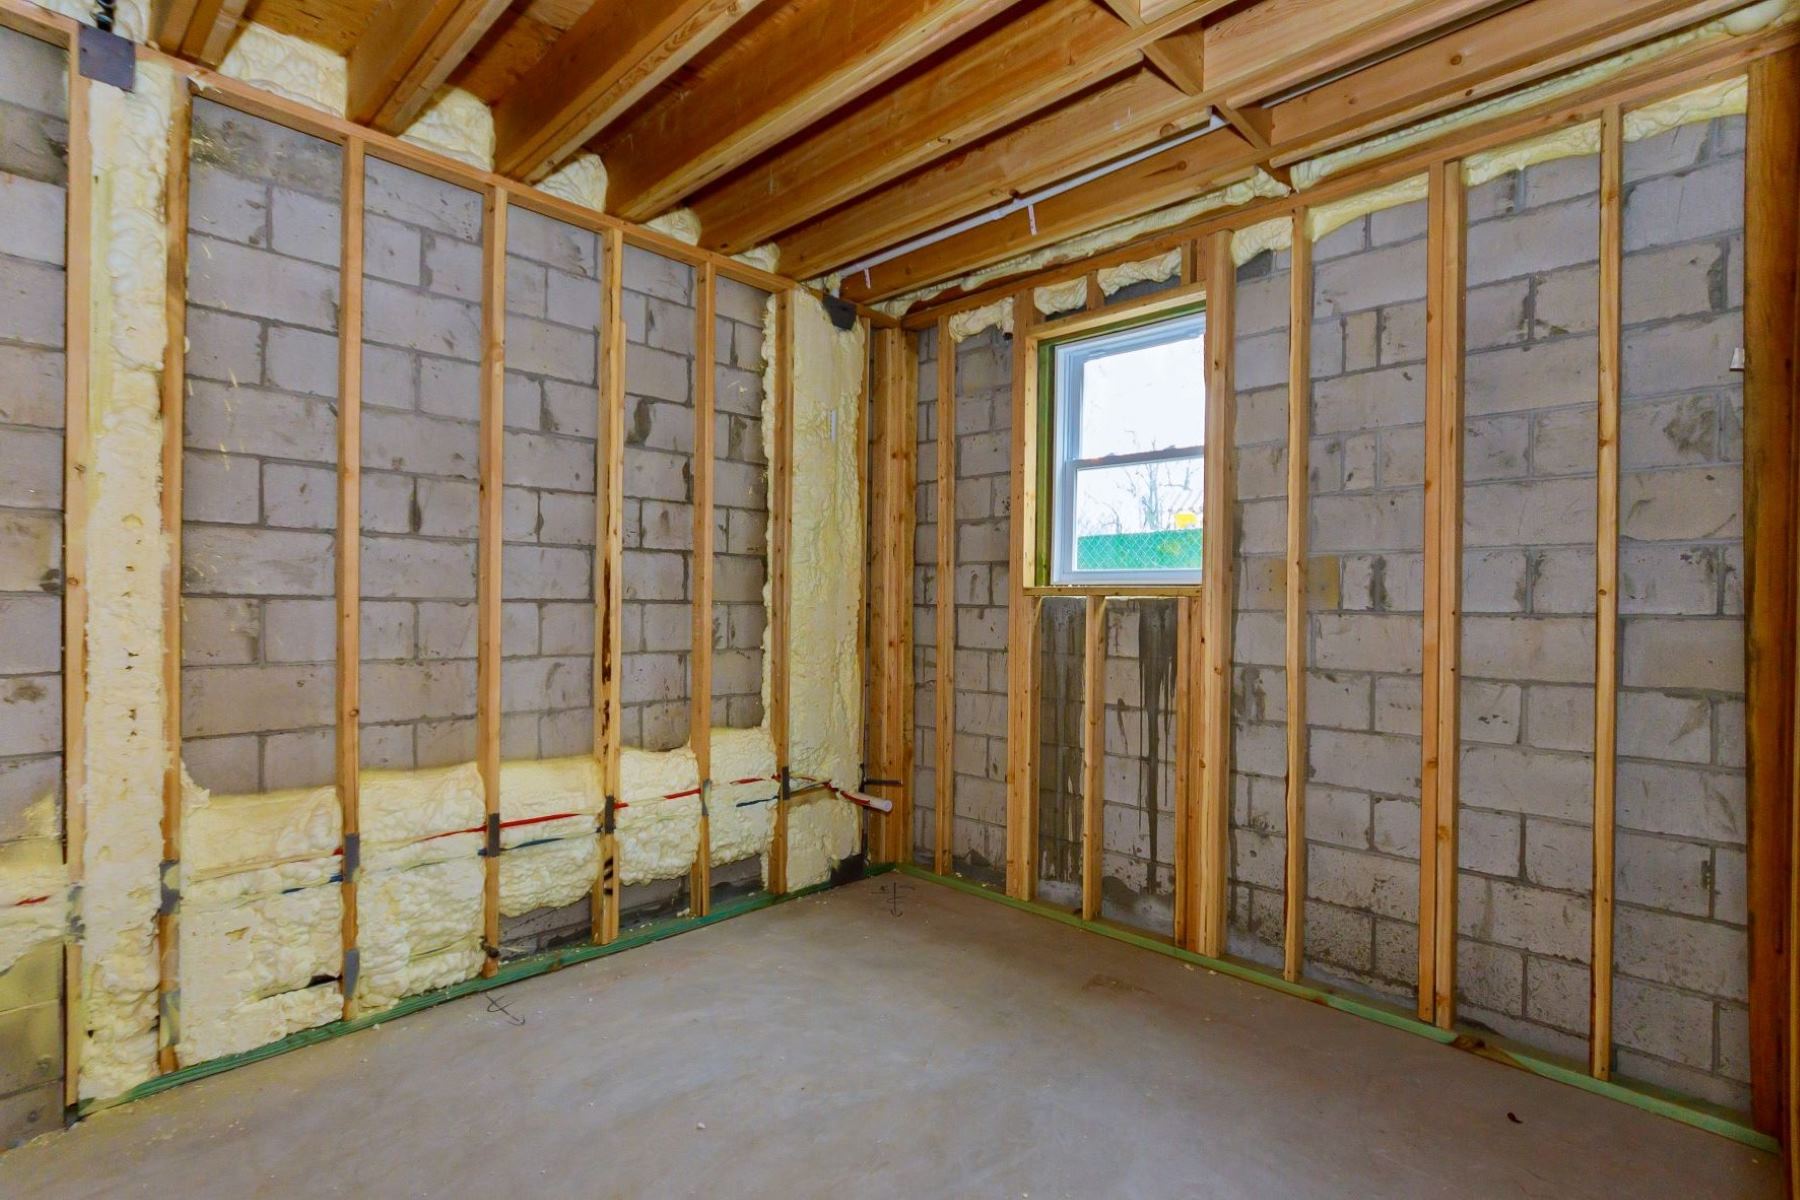
Insulating basement walls is a great way to make your home cozier and more energy-efficient. Cold air often seeps in through basement walls, making rooms chilly and heating bills higher. By adding insulation, you can create a barrier that keeps warmth inside during winter and heat out during summer. This project might seem intimidating, but with the right tools and a bit of patience, you can handle it yourself. Not only will you enjoy a more comfortable living space, but you'll also save money on energy costs. Plus, a well-insulated basement can increase your home's overall value.
Getting Ready for the Project
Gather Materials: Get insulation boards, adhesive, a utility knife, measuring tape, safety goggles, gloves, and a dust mask.
Clear the Area: Move any furniture or items away from the walls. Sweep and clean the floor to ensure a tidy workspace.
Check for Moisture: Inspect walls for any signs of dampness or leaks. Fix these issues before starting insulation to prevent mold growth.
Wear Safety Gear: Put on safety goggles, gloves, and a dust mask to protect yourself from dust and debris.
Measure and Cut: Measure the height and width of the walls. Cut insulation boards to fit using a utility knife.
Prepare Adhesive: Follow the instructions on the adhesive packaging. Apply it to the back of the insulation boards.
Install Insulation: Press the insulation boards firmly against the wall, ensuring they stick well. Use a level to make sure they are straight.
Seal Gaps: Use foam sealant to fill any gaps between the insulation boards and around windows or doors.
Ventilate Workspace: Open windows or use fans to keep the area well-ventilated while working.
Gather Your Materials and Tools
Insulation Material: Choose between fiberglass batts, foam board, or spray foam. Each has different benefits like ease of installation or higher R-value.
Vapor Barrier: A plastic sheet that prevents moisture from seeping through the walls, keeping the insulation dry.
Utility Knife: Essential for cutting insulation material to fit the wall dimensions.
Measuring Tape: Used to measure the walls accurately before cutting insulation.
Staple Gun: Needed to attach the vapor barrier securely to the walls.
Adhesive: Specifically for foam board insulation, this helps stick the boards to the walls.
Caulk and Caulk Gun: Used to seal any gaps or cracks in the walls before adding insulation.
Protective Gear: Gloves, safety glasses, and a dust mask protect you from insulation fibers and dust.
Drywall: If finishing the walls after insulation, drywall covers the insulation and provides a smooth surface.
Drywall Screws and Screwdriver: Necessary for attaching drywall to the studs.
Stud Finder: Helps locate wall studs for attaching drywall or insulation securely.
Foam Sealant: Expanding foam used to fill larger gaps and cracks.
Level: Ensures everything is installed straight and even.
Hammer and Nails: Basic tools for various tasks, like securing insulation or vapor barriers.
Saw: For cutting foam board or drywall to the correct size.
Insulation Supports: Metal rods or wires that hold insulation batts in place between wall studs.
Required Skills and Time Commitment
Skill Level: Intermediate
Time Required: 2-3 days
- Preparation: 2-4 hours
- Installing Insulation: 1-2 days
- Sealing and Finishing: 4-6 hours
Follow These Steps
Gather Materials and Tools
- Insulation boards or rolls
- Utility knife
- Measuring tape
- Adhesive or insulation fasteners
- Caulk and caulk gun
- Safety gear (gloves, goggles, mask)
Prepare the Walls
- Clean the walls to remove dust and debris.
- Check for any cracks or holes. Seal them with caulk.
Measure and Cut Insulation
- Measure the height and width of the walls.
- Use a utility knife to cut insulation boards or rolls to fit these measurements.
Install Insulation
- Apply adhesive to the back of the insulation boards.
- Press the boards firmly against the wall, starting from the bottom.
- For rolls, unroll and press them against the wall, securing with insulation fasteners.
Seal the Edges
- Use caulk to seal the edges where the insulation meets the wall, floor, and ceiling.
- Ensure there are no gaps for air to escape.
Check for Gaps
- Inspect the insulation for any gaps or loose areas.
- Fill any gaps with additional insulation or caulk.
Clean Up
- Dispose of any debris or leftover materials.
- Store tools and unused materials properly.
Safety Check
- Ensure the area is well-ventilated.
- Double-check that all safety gear is removed and stored.
Helpful Tips and Tricks
Use foam board insulation for a quick and effective solution. It’s easy to cut and install. Seal all gaps and cracks with spray foam or caulk before adding insulation. This prevents drafts and moisture. Install a vapor barrier on the warm side of the insulation to keep moisture out. Measure twice, cut once to avoid wasting materials. Label each piece of insulation to make installation smoother.
Common mistakes to avoid: Don’t skip sealing gaps and cracks. This can lead to moisture problems. Avoid using fiberglass insulation directly against concrete walls; it can absorb moisture and lead to mold. Don’t forget to wear protective gear like gloves and masks when handling insulation materials.
Alternatives for materials or methods: Instead of foam board, consider using mineral wool insulation. It’s fire-resistant and doesn’t absorb water. For a more eco-friendly option, use recycled denim insulation. If you prefer a different method, try spray foam insulation. It provides excellent coverage but can be more expensive and requires special equipment.
Estimating the Costs
Insulation Material: Rigid foam boards cost about $15-$20 per sheet. For a 500 sq. ft. basement, you'll need around 25 sheets, totaling $375-$500.
Adhesive: Construction adhesive for foam boards costs roughly $5 per tube. You might need 10 tubes, totaling $50.
Sealant: Spray foam sealant costs about $8 per can. You may need 5 cans, totaling $40.
Vapor Barrier: A roll of plastic sheeting costs around $30. One roll should be enough.
Drywall: Drywall sheets cost about $10 each. For 500 sq. ft., you need around 25 sheets, totaling $250.
Drywall Screws: A box of screws costs about $10.
Joint Compound: A bucket costs around $15.
Drywall Tape: A roll costs about $5.
Tools: Utility knife ($10), tape measure ($10), caulk gun ($10), drywall saw ($15), and a T-square ($10). Total for tools: $55.
Total Cost: Adding everything up, the total cost ranges from $850 to $925.
Budget-Friendly Alternatives:
- Use fiberglass batts instead of rigid foam boards. They cost about $0.50 per sq. ft., totaling $250 for 500 sq. ft.
- Borrow tools from friends or rent them to save on tool costs.
- Look for sales or discounts on materials at local hardware stores.
Different Approaches and Customizations
Materials: Instead of traditional fiberglass, consider spray foam for better air sealing or rigid foam boards for higher R-values. Mineral wool offers excellent fire resistance and soundproofing.
Colors: Use foil-faced insulation for a reflective surface that can brighten the basement. Paint the exposed insulation with fire-resistant paint in a color that matches your basement decor.
Styles: For a rustic look, cover the insulation with wood paneling. For a modern touch, use drywall and paint it with moisture-resistant paint. Add decorative wall panels or fabric to create a cozy atmosphere.
Alternative Methods: Instead of framing, use insulated concrete forms (ICFs) for a more integrated approach. Consider vapor barriers to prevent moisture issues. Use basement-specific insulation kits for a more straightforward installation process.
Eco-Friendly Options: Choose recycled denim insulation for an environmentally friendly option. Use natural cork panels for both insulation and a unique aesthetic. Consider sheep wool insulation for a sustainable and effective alternative.
Eco-Friendly Tips
Eco-friendly materials can make a big difference. Recycled denim insulation is a great option. Made from old jeans, it’s safe to handle and effective. Cork insulation is another good choice. Cork is renewable and has excellent insulating properties.
Sheep’s wool insulation is natural and sustainable. It absorbs moisture without losing its insulating ability. Cellulose insulation is made from recycled paper. It’s treated to resist fire and pests.
Reusing materials can save money and reduce waste. Old blankets or curtains can add an extra layer of insulation. Salvaged wood can be used to build framing for insulation.
Seal gaps with eco-friendly caulk or weatherstripping. This prevents drafts and keeps your basement warm. Reflective insulation can be used to reflect heat back into the room. It’s often made from recycled materials.
Natural paints and finishes can be used to protect insulation. They are free from harmful chemicals and better for the environment. Bamboo or reclaimed wood can be used for finishing touches.
Proper ventilation is important. It prevents moisture buildup and mold growth. Energy-efficient fans or ventilation systems can help.
DIY methods can be simple. Measure your walls carefully. Cut insulation to fit snugly. Secure it with staples or adhesive. Cover with a vapor barrier to protect from moisture.
Recycling any leftover materials is important. Many communities have programs for recycling insulation and building materials. Donate unused materials to local organizations or schools.
Using these eco-friendly methods and materials can make your basement more comfortable and sustainable.
Your Cozy Basement Awaits
Insulating basement walls isn't just about keeping warm. It's about energy efficiency, comfort, and saving money. With the right materials and a bit of elbow grease, you can transform that cold, uninviting space into a cozy retreat. Remember to seal any gaps, use vapor barriers, and choose the right insulation type for your needs. Don't rush the process; take your time to ensure everything's done correctly. Before you know it, you'll have a basement that's not only warm but also energy-efficient. So grab your tools, roll up your sleeves, and get started. Your cozy basement awaits!
How do I start insulating basement walls?
Begin by cleaning the walls. Remove any dirt, mold, or debris. Next, measure the area to determine how much insulation you need.
What type of insulation should I use?
Foam board and spray foam are popular choices. Foam board is easy to install and provides good R-value. Spray foam offers excellent insulation but can be tricky to apply.
Do I need a vapor barrier?
Yes, a vapor barrier helps prevent moisture from seeping into the insulation. This keeps your basement dry and mold-free.
How do I install foam board insulation?
Cut the foam boards to fit between the studs. Attach them using adhesive or screws. Seal the edges with tape or caulk to ensure no air gaps.
Can I insulate over existing drywall?
It's best to remove the drywall first. This allows you to properly seal and insulate the walls. If you must insulate over drywall, use spray foam for better coverage.
How thick should the insulation be?
Aim for at least 2 inches of insulation. This provides a good R-value and helps keep your basement warm.
What safety gear do I need?
Wear gloves, goggles, and a mask. Insulation materials can be irritating to the skin and lungs. Safety first!