
Home>Home & Furniture>Garage & Basement>DIY Garage Cabinets Guide
Garage & Basement
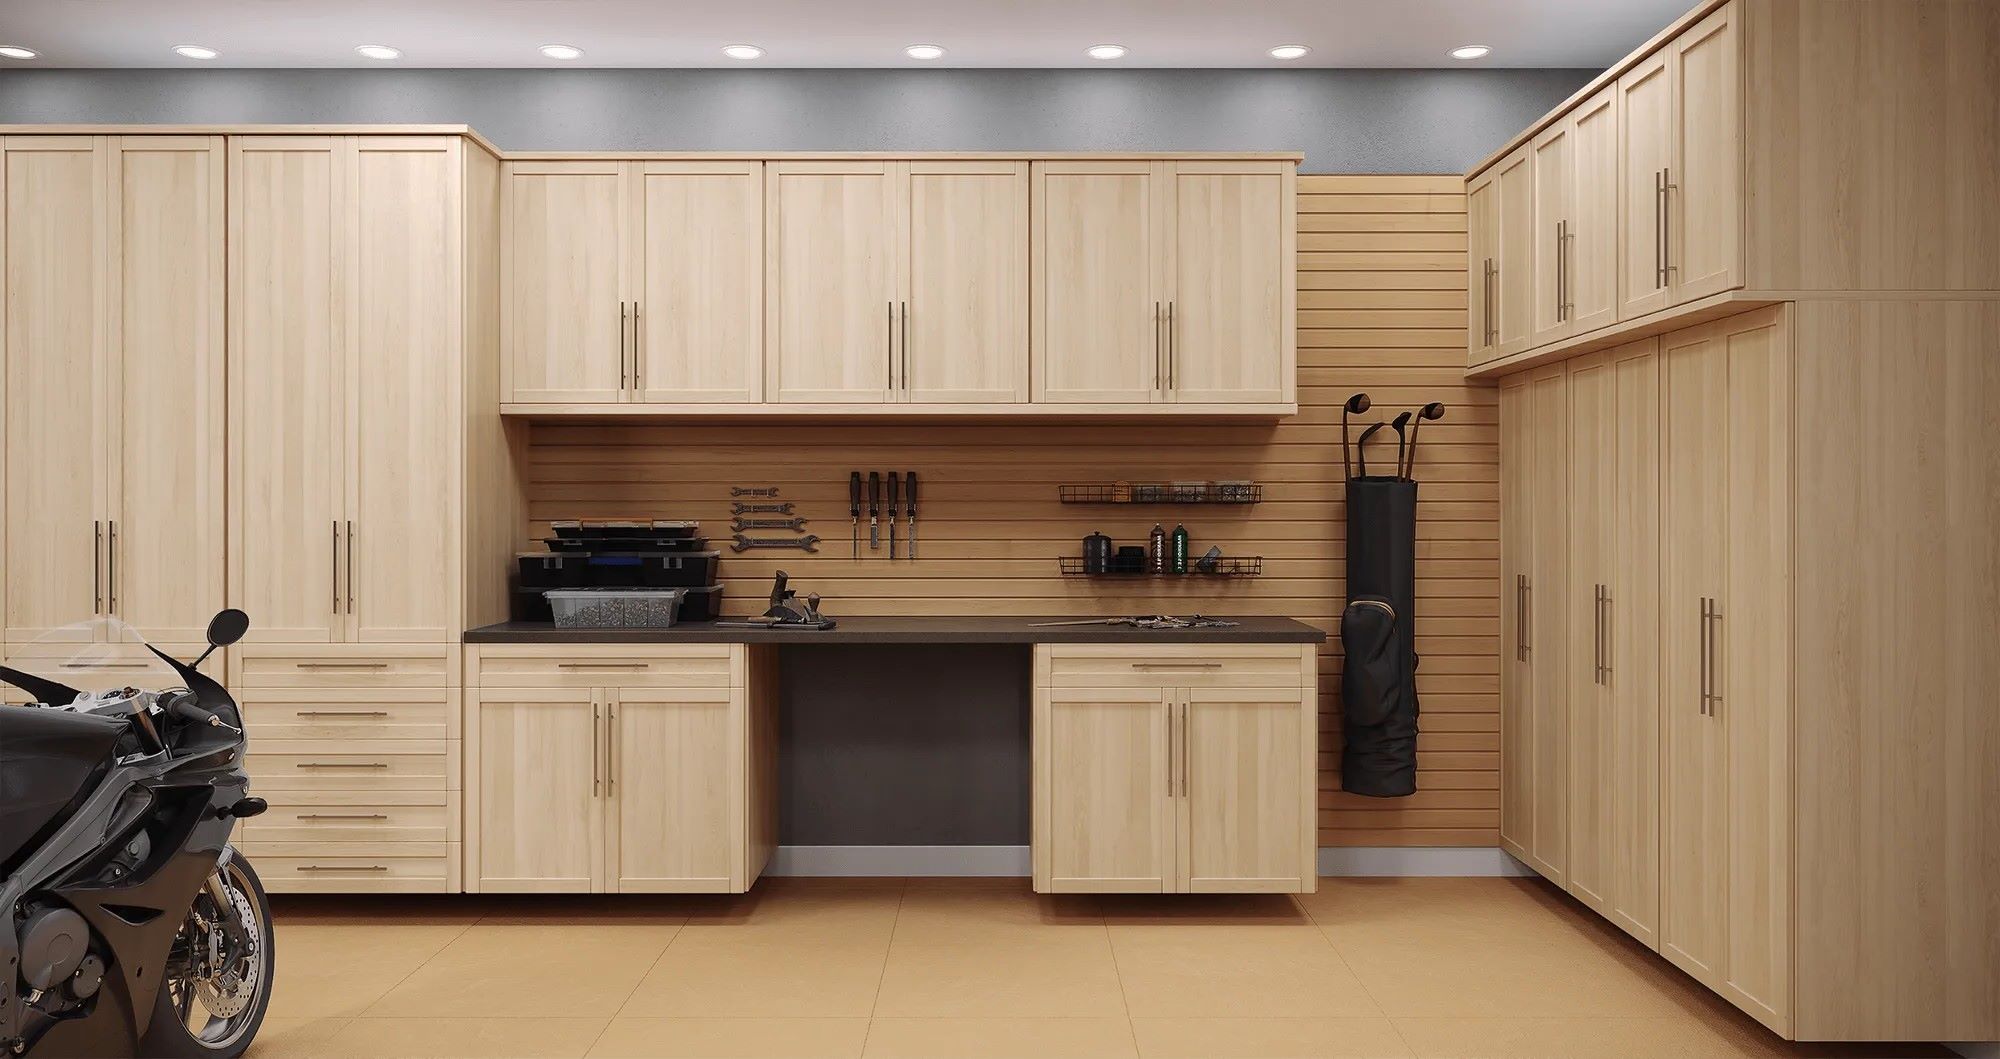
DIY Garage Cabinets Guide
Published: September 26, 2024
Transform your garage with our DIY Garage Cabinets Guide! Learn step-by-step instructions, tips, and tricks to create functional and stylish storage solutions.
(Many of the links in this article redirect to a specific reviewed product. Your purchase of these products through affiliate links helps to generate commission for Twigandthistle.com, at no extra cost. Learn more)
Want to organize your garage without spending a fortune? DIY garage cabinets might be the solution. Building your own cabinets can save money and let you customize your storage exactly how you need it. Whether you're a seasoned DIYer or just starting, this guide will walk you through the basic steps. You don't need fancy tools or a workshop full of equipment. With some basic materials and a bit of patience, you can create sturdy, functional storage for all your tools, sports gear, and more. Ready to get started? Let's dive into the world of garage organization!
Preparation
Measure Your Space: Use a tape measure to get accurate dimensions of your garage. Note the height, width, and depth where you plan to install cabinets.
Gather Materials: Collect all necessary materials like plywood, screws, hinges, and handles. Make sure to have a saw, drill, and screwdriver ready.
Create a Plan: Sketch a layout of your cabinets. Decide on the number of shelves, drawers, and doors. This helps in cutting materials accurately.
Clear the Area: Remove any items from the garage that might obstruct your work. Sweep the floor to avoid tripping hazards.
Set Up a Workspace: Designate a clean, flat area for cutting and assembling materials. Use sawhorses or a sturdy table.
Wear Safety Gear: Put on safety glasses, gloves, and a dust mask. This protects you from sawdust and sharp edges.
Check for Studs: Use a stud finder to locate wall studs. Mark these spots; they will support the weight of your cabinets.
Pre-Cut Materials: Cut all pieces according to your plan. Label each piece to avoid confusion during assembly.
Pre-Drill Holes: Pre-drill holes for screws to prevent wood from splitting. This makes assembly smoother.
Double-Check Measurements: Before assembling, double-check all measurements. Ensure everything aligns with your initial plan.
Materials and Tools Needed
- Plywood Sheets: These will form the main structure of your cabinets. Choose high-quality plywood for durability.
- Wood Screws: Essential for assembling the plywood pieces. Make sure to get screws that are the right length for your plywood thickness.
- Wood Glue: Provides extra strength to the joints. Use it along with screws for a sturdy build.
- Measuring Tape: Accurate measurements are crucial. A good measuring tape ensures your cuts are precise.
- Circular Saw: Needed for cutting the plywood sheets to size. A circular saw makes straight cuts easier.
- Drill: For making pilot holes and driving screws. A cordless drill is convenient for mobility.
- Clamps: Hold pieces together while the glue dries. Clamps ensure the pieces stay in place.
- Sandpaper: Smooths out rough edges. Use different grits for a fine finish.
- Paint or Stain: Adds a protective layer and improves appearance. Choose based on your desired look.
- Paintbrushes or Rollers: For applying paint or stain. Brushes are good for detail work, while rollers cover large areas quickly.
- Hinges: Attach the cabinet doors. Choose sturdy hinges that can support the door weight.
- Handles or Knobs: For opening the cabinet doors. Pick handles that match your garage style.
- Level: Ensures your cabinets are installed straight. A level helps avoid crooked installations.
- Safety Gear: Includes gloves, goggles, and a dust mask. Protect yourself from splinters, dust, and debris.
Skill Level and Time Required
Skill Level: Intermediate
Time Required: 1-2 weekends
- Planning and Measuring: 2-3 hours
- Cutting Materials: 3-4 hours
- Assembling Cabinets: 4-6 hours
- Mounting Cabinets: 3-4 hours
- Finishing Touches: 2-3 hours
Total Time: Approximately 14-20 hours
Step-by-Step Instructions
Gather Materials and Tools
- Plywood sheets
- Screws
- Wood glue
- Hinges
- Handles
- Drill
- Saw
- Measuring tape
- Level
- Sandpaper
- Paint or stain
Measure and Plan
- Measure the garage space.
- Sketch a design for the cabinets.
- Decide on the dimensions for each cabinet.
Cut the Plywood
- Cut plywood sheets into panels for the sides, top, bottom, and shelves.
- Sand edges to smooth rough spots.
Assemble the Cabinet Frame
- Attach the top and bottom panels to the side panels using screws and wood glue.
- Ensure corners are square using a level.
Install Shelves
- Measure and mark shelf positions inside the frame.
- Attach shelves with screws and wood glue.
Attach the Back Panel
- Cut a plywood piece for the back.
- Secure it to the frame with screws.
Install Doors
- Cut plywood for doors.
- Attach hinges to doors and then to the cabinet frame.
- Ensure doors are level and open smoothly.
Add Handles
- Mark positions for handles on doors.
- Drill holes and attach handles.
Finish the Cabinets
- Sand the entire cabinet to smooth surfaces.
- Paint or stain as desired.
- Allow to dry completely.
Mount Cabinets to Wall
- Locate wall studs in the garage.
- Drill holes through the back panel into studs.
- Secure cabinets to the wall with screws.
Organize Your Garage
- Place items inside the new cabinets.
- Enjoy your organized space!
Tips and Tricks
Measure Twice, Cut Once: Always double-check measurements before cutting materials. This saves time and prevents waste.
Use a Level: Ensure cabinets are straight and even. A level helps avoid crooked installations.
Pre-Drill Holes: Prevent wood from splitting by pre-drilling holes for screws.
Label Parts: Label each piece before assembly. This makes the process smoother and faster.
Use Quality Materials: Invest in good plywood or MDF. Cheap materials can warp or break.
Plan for Storage: Think about what you’ll store. Customize shelves and compartments accordingly.
Safety First: Wear safety goggles and gloves. Protect yourself from splinters and dust.
Common Mistakes to Avoid:
Skipping the Plan: Don’t start without a clear plan. This leads to mistakes and wasted materials.
Ignoring Wall Studs: Always anchor cabinets to wall studs. This ensures they’re secure and can hold weight.
Overloading Shelves: Don’t exceed weight limits. Overloaded shelves can sag or break.
Alternatives for Materials or Methods:
Reclaimed Wood: Use reclaimed wood for a rustic look. It’s eco-friendly and often cheaper.
Metal Cabinets: Consider metal if you need extra durability. They’re strong and easy to clean.
Ready-to-Assemble Kits: If building from scratch seems tough, use ready-to-assemble kits. They save time and effort.
Pegboards: Instead of cabinets, use pegboards for tools. They’re versatile and easy to install.
Cost Estimation
Plywood: $50 per sheet (4x8 feet). You'll need about 4 sheets, totaling $200.
Screws: $10 for a box of 100.
Wood Glue: $5 for a small bottle.
Hinges: $20 for a pack of 10.
Handles: $15 for a pack of 10.
Paint or Stain: $30 for a gallon.
Sandpaper: $10 for a pack.
Tools:
- Circular Saw: $60 (or borrow one).
- Drill: $50 (or borrow one).
- Clamps: $20 for a set.
- Measuring Tape: $10.
- Level: $15.
Total Cost: Approximately $445.
Budget-Friendly Alternatives:
- Use MDF instead of plywood: $30 per sheet, saving $80.
- Borrow tools from friends or family.
- Buy second-hand tools from thrift stores or online marketplaces.
- Use leftover paint or stain from previous projects.
Variations and Customizations
Materials: Instead of standard plywood, consider MDF (Medium-Density Fiberboard) for a smoother finish or OSB (Oriented Strand Board) for a more rugged look. For a more durable option, use metal sheets or plastic panels.
Colors: Paint cabinets in bold colors like red, blue, or green for a vibrant garage. For a more classic look, use neutral tones like white, gray, or black. Add a two-tone effect by painting the cabinet doors a different color from the frame.
Styles: Opt for a modern look with sleek, handle-less doors. For a rustic style, use reclaimed wood and add iron handles. Create an industrial vibe by incorporating exposed metal brackets and pipes.
Door Options: Use sliding doors instead of hinged ones to save space. Install glass doors to showcase tools and supplies. For a unique touch, use chalkboard paint on the doors for notes and reminders.
Shelving: Customize the interior with adjustable shelves to accommodate different-sized items. Add pull-out drawers for easy access to smaller tools. Install pegboards on the inside of doors for additional storage.
Hardware: Choose stainless steel handles for a sleek look. For a vintage feel, use antique brass knobs. Consider magnetic latches for a clean, handle-free appearance.
Lighting: Add LED strip lights under the shelves for better visibility. Install motion-sensor lights inside the cabinets for convenience. Use battery-operated puck lights for a quick and easy lighting solution.
Finishing Touches: Apply a clear coat for added protection and shine. Add decorative trim for a more polished look. Use stencils or decals to personalize the cabinet doors.
Sustainability Tips
Use reclaimed wood from old furniture or pallets. This reduces waste and gives your cabinets a rustic look. Bamboo plywood is another great option. It's strong, grows quickly, and is more sustainable than traditional wood. For the finish, choose low-VOC paints or stains. These have fewer harmful chemicals, making them safer for you and the environment.
Instead of buying new handles, repurpose old ones from other furniture. You can also use recycled metal for brackets and hinges. This not only saves money but also reduces the need for new materials.
When cutting and assembling, try to minimize waste by planning your cuts carefully. Use any leftover wood for shelves or small storage boxes. Finally, consider using eco-friendly adhesives that are water-based and free from harmful solvents.
Your Garage, Your Rules
Building your own garage cabinets isn't just about saving money. It's about creating a space that works for you. With some basic tools, a bit of elbow grease, and a clear plan, you can transform your garage into a well-organized haven. Remember, measure twice, cut once. Don't rush the process. Take pride in each step. The satisfaction of seeing your finished cabinets will be worth every minute spent. Plus, you'll have a story to tell every time someone admires your handiwork. So, grab your tools, roll up your sleeves, and get started. Your dream garage is just a few steps away.
How much does it cost to build DIY garage cabinets?
The cost depends on the materials you choose. Plywood is cheaper, while hardwood is pricier. On average, expect to spend between $200 and $500.
What tools do I need to build garage cabinets?
You'll need a circular saw, drill, measuring tape, level, screws, and wood glue. A sander and clamps can also be helpful.
How long does it take to build garage cabinets?
It usually takes a weekend. If you're experienced, you might finish faster. Beginners might need a bit more time.
Can I customize the size of my garage cabinets?
Absolutely! Measure your space first, then design cabinets to fit. Customizing ensures you maximize storage.
What type of wood is best for garage cabinets?
Plywood is durable and affordable. MDF is smooth but less sturdy. Hardwood is strong and looks great but costs more.
Do I need to paint or seal my garage cabinets?
Painting or sealing protects the wood from moisture and wear. Use a primer first, then a durable paint or sealant.
Are DIY garage cabinets sturdy enough for heavy tools?
Yes, if built correctly. Use strong materials and secure them well. Adding reinforcements can help support heavier items.