
Home>Home & Furniture>Doors & Windows>How to Repair a Cracked Windshield
Doors & Windows
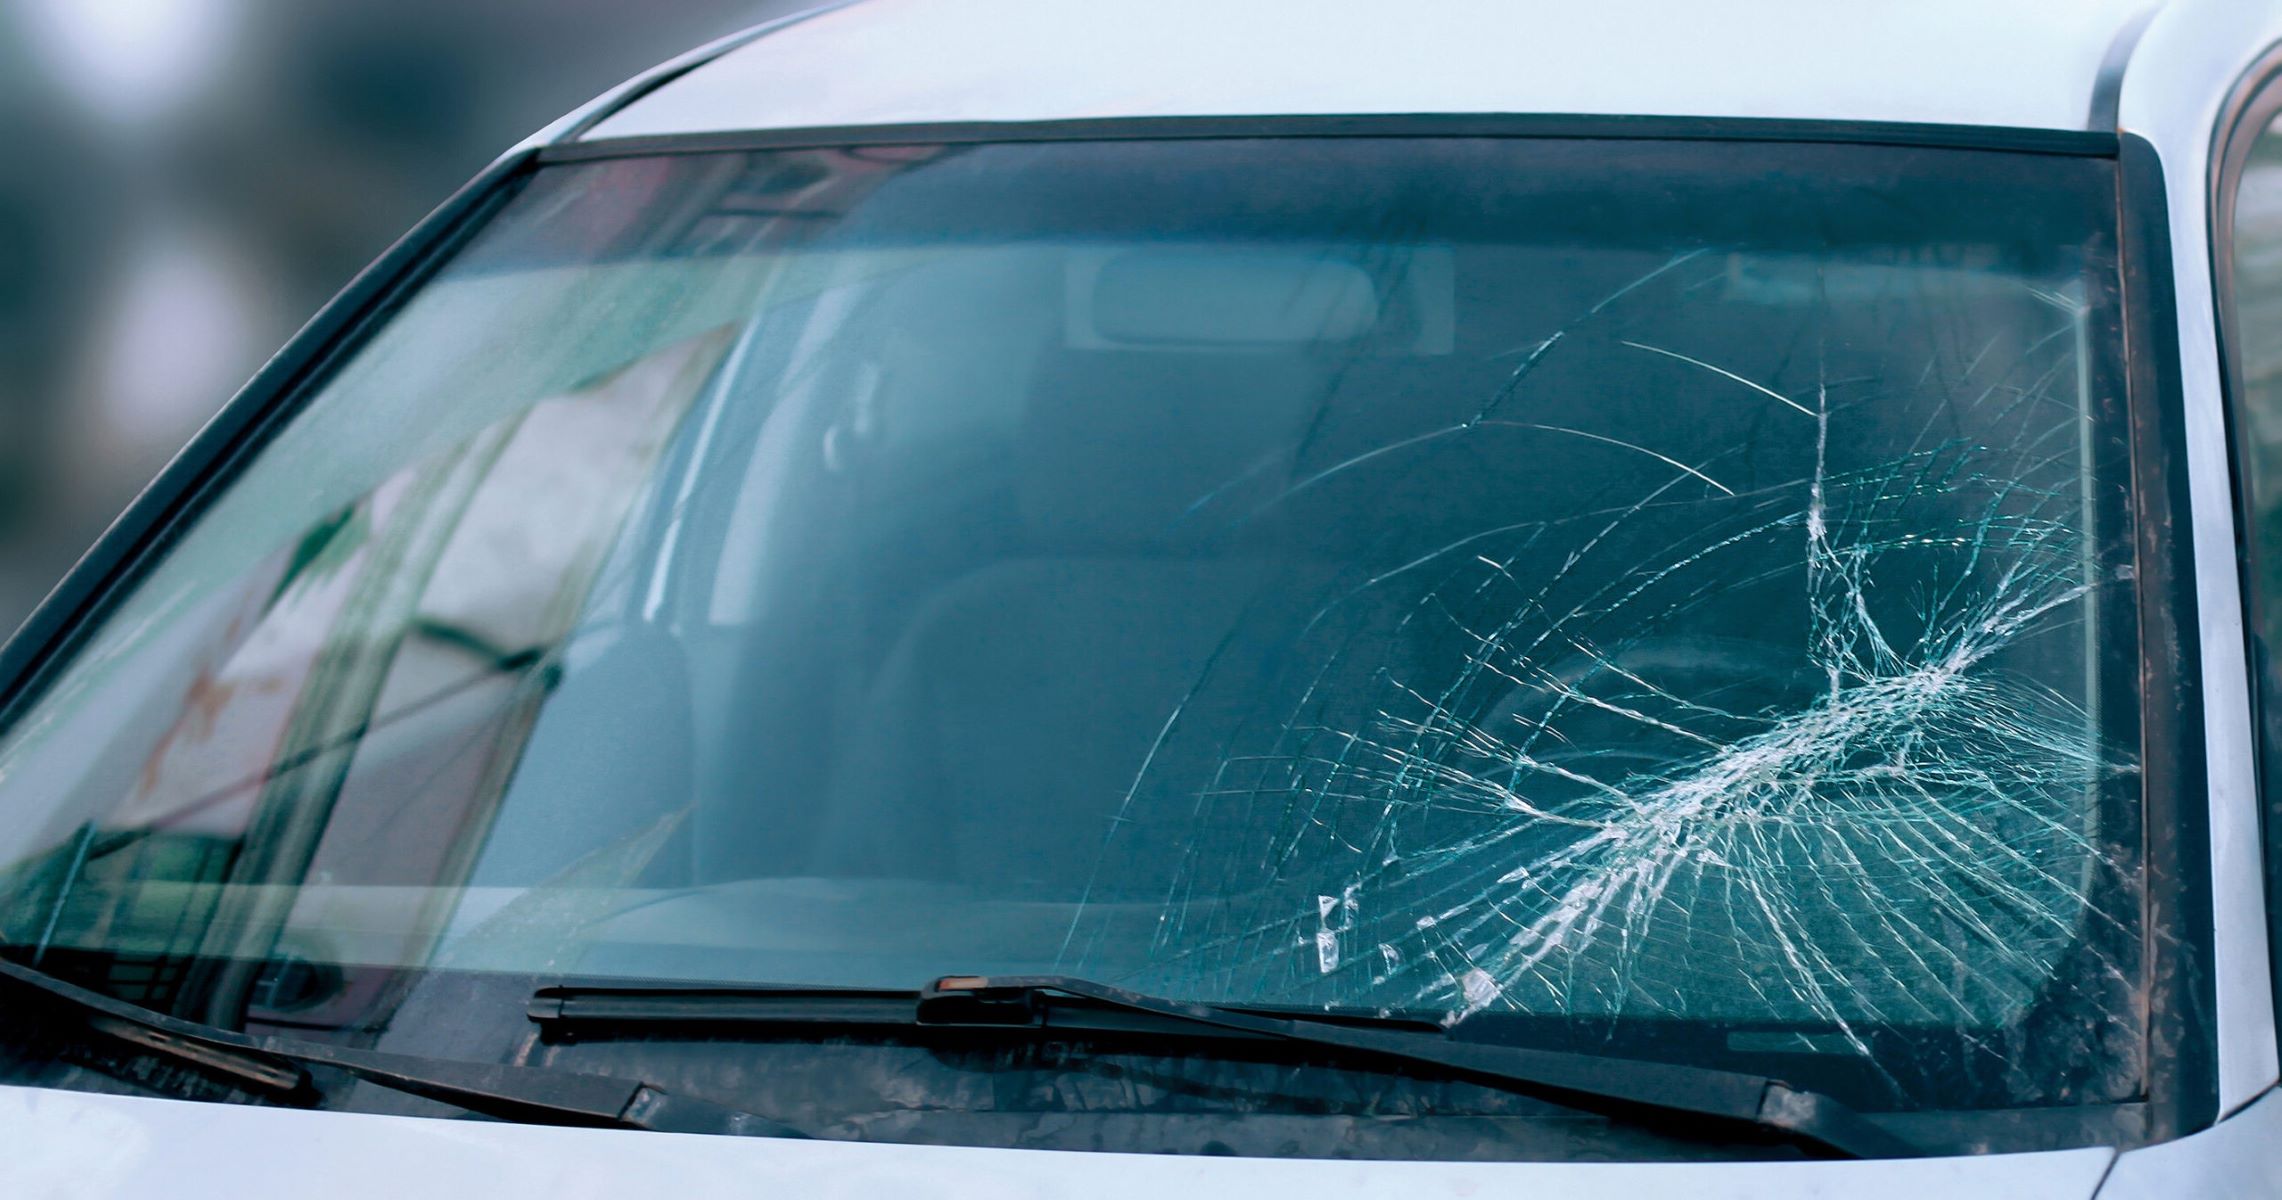
How to Repair a Cracked Windshield
Published: August 27, 2024
Learn how to repair a cracked windshield with our step-by-step guide. Save money and ensure safety by fixing minor cracks and chips before they become major issues.
(Many of the links in this article redirect to a specific reviewed product. Your purchase of these products through affiliate links helps to generate commission for Twigandthistle.com, at no extra cost. Learn more)
Ever noticed a small crack on your windshield and thought it was no big deal? That tiny crack can quickly grow, turning into a major problem if ignored. Fixing it yourself isn't as hard as you might think, and you can save a lot of money. With just a few tools and some patience, you can stop that crack from spreading and keep your windshield looking good. Before diving into the steps, let's get ready with everything needed. Safety first—always wear gloves and protective glasses. Ready to tackle this DIY project? Let's get started!
Getting Ready for the Repair
- Safety Gear: Wear gloves and safety goggles to protect your hands and eyes from glass shards.
- Clean the Area: Use glass cleaner to remove dirt and debris from the windshield. Make sure the crack is free of any particles.
- Dry the Windshield: Ensure the windshield is completely dry before starting the repair. Moisture can affect the adhesive.
- Choose a Repair Kit: Get a windshield repair kit from an auto parts store. These kits usually include resin, an applicator, and curing strips.
- Set Up Workspace: Park your car in a well-lit, shaded area. Direct sunlight can cause the resin to cure too quickly.
- Read Instructions: Carefully read the instructions that come with the repair kit. Each kit may have specific steps or requirements.
- Prepare the Resin: Follow the kit's instructions to prepare the resin. Usually, this involves mixing or loading it into an applicator.
- Apply the Resin: Use the applicator to inject resin into the crack. Make sure to fill the entire crack to prevent it from spreading.
- Use Curing Strips: Place curing strips over the filled crack. These strips help the resin to set properly.
- Allow to Cure: Let the resin cure for the recommended time. This usually takes about 30 minutes to an hour.
- Remove Excess Resin: After curing, use a razor blade to scrape off any excess resin from the windshield.
- Inspect the Repair: Check the repaired area to ensure the crack is fully sealed. If needed, repeat the process for better results.
What You Need: Materials and Tools
- Windshield Repair Kit: Contains resin, curing strips, and an injector. Essential for filling cracks.
- Glass Cleaner: Cleans the windshield before repair. Ensures no dirt or debris interferes.
- Razor Blade: Removes excess resin after curing. Helps achieve a smooth finish.
- Microfiber Cloth: Wipes the windshield clean without scratching. Keeps the surface clear.
- Safety Glasses: Protects eyes from glass shards. Important for safety.
- Gloves: Shields hands from resin and glass. Keeps hands clean and safe.
- UV Light or Sunlight: Cures the resin. Hardens the repair material.
- Masking Tape: Marks the area around the crack. Prevents resin from spreading.
- Alcohol Wipes: Cleans the area around the crack. Ensures the resin adheres properly.
- Pin or Needle: Removes air bubbles from the resin. Ensures a clear repair.
Skill Level and Time Commitment
Skill Level: Intermediate
Time Required: 1-2 hours
Steps:
- Clean the Area: 10 minutes
- Apply the Repair Kit: 30 minutes
- Let it Cure: 30 minutes
- Remove Excess Resin: 20 minutes
Important Keywords: Clean, Apply, Cure, Remove
Step-by-Step Guide to Fixing a Cracked Windshield
Assess the Damage
- Check the size and location of the crack.
- If the crack is larger than a dollar bill or in the driver's line of sight, consider professional help.
Gather Materials
- Windshield repair kit
- Safety gloves
- Razor blade
- Clean cloth
Clean the Area
- Put on safety gloves.
- Use a clean cloth to wipe away dirt and debris from the crack.
Apply the Repair Kit
- Follow the instructions on the repair kit.
- Usually, this involves attaching a device to the windshield and injecting resin into the crack.
Let the Resin Cure
- Allow the resin to dry as per the kit's instructions.
- This might take 30 minutes to an hour.
Remove Excess Resin
- Use a razor blade to scrape off any extra resin from the windshield surface.
Inspect the Repair
- Check if the crack is less visible.
- If needed, repeat the process for better results.
Helpful Tips and Tricks
Clean the Area: Use glass cleaner and a lint-free cloth to clean the cracked area. Dirt can interfere with the repair.
Use a Repair Kit: Purchase a windshield repair kit from an auto parts store. These kits usually include resin, a syringe, and curing strips.
Apply Resin: Follow the instructions on the kit. Typically, you’ll use the syringe to inject resin into the crack. Ensure the resin fills the entire crack.
Cure the Resin: Place the curing strip over the resin and let it sit in direct sunlight for about 15 minutes. The UV rays will harden the resin.
Remove Excess Resin: Once cured, use a razor blade to scrape off any excess resin. Be gentle to avoid scratching the glass.
Common Mistakes to Avoid:
- Ignoring Small Cracks: Small cracks can spread quickly. Repair them as soon as possible.
- Using Household Glue: Household adhesives won’t hold up to weather conditions.
- Skipping Cleaning: Dirt can prevent the resin from adhering properly.
Alternatives:
- Professional Repair: If the crack is too large or complex, consider professional help.
- Windshield Replacement: For extensive damage, replacing the windshield might be safer.
- Mobile Repair Services: Some companies offer mobile services, coming to your location for repairs.
Estimating the Cost of Repair
Windshield repair kit: $10-$20. These kits come with resin, applicator, and curing strips.
Glass cleaner: $3-$5. Needed to clean the windshield before starting the repair.
Razor blade: $1-$2. Used to remove excess resin after it cures.
Microfiber cloth: $2-$4. Helps in cleaning without scratching the glass.
UV light (optional): $10-$15. Speeds up the curing process of the resin.
Total cost: $16-$46 if you already have a UV light. If not, $26-$61.
Budget-friendly alternatives:
- Instead of a UV light, use sunlight to cure the resin. This saves $10-$15.
- Use an old t-shirt instead of a microfiber cloth. This saves $2-$4.
Different Methods and Customizations
Alternative materials can make a big difference. Instead of a standard resin kit, try using a UV-cured resin. This type hardens faster under sunlight, making the repair quicker.
Colors can also be customized. Some resins come with tinted options to match different windshield shades. This helps the repair blend in better with the rest of the glass.
Styles of repair kits vary. Professional-grade kits often include a bridge applicator for more precise resin application. These kits might be more expensive but offer a cleaner finish.
For a more eco-friendly approach, consider using a biodegradable resin. These resins are made from natural materials, reducing environmental impact.
DIY enthusiasts can also experiment with different application tools. Instead of the plastic applicators that come with most kits, try using a metal syringe for better control over the resin flow.
Protective measures can be customized too. Use a UV-blocking film over the repaired area to prevent future cracks from forming due to sun exposure.
For those who want a high-tech solution, some kits come with a smartphone app that guides you through the repair process step-by-step, ensuring you don't miss any crucial steps.
Budget-conscious individuals can opt for basic kits that include just the essentials: resin, applicator, and curing strips. These kits are cheaper but still effective for minor cracks.
Advanced users might prefer kits with vacuum pumps to remove air bubbles from the crack before applying resin. This ensures a stronger, more durable repair.
Customization can also extend to the finishing touches. Use a glass polish after the resin cures to make the windshield look as good as new.
Eco-Friendly Repair Tips
Eco-friendly resin kits are a great choice. These kits use non-toxic materials that are safer for the environment.
Reusing old tools like a razor blade or a sewing needle can help you avoid buying new ones.
Recycling broken glass is important. If the crack is too big to repair, take the windshield to a recycling center instead of throwing it away.
Solar-powered UV lights can be used to cure the resin. This method saves energy compared to electric UV lights.
Biodegradable cleaning solutions can clean the windshield before repair. These solutions are less harmful to the environment than chemical cleaners.
Reusable gloves made from sustainable materials can be used instead of disposable ones.
Natural fiber cloths can be used for cleaning instead of synthetic ones.
Eco-friendly packaging for repair kits reduces waste. Look for kits that use minimal or recyclable packaging.
Fixing That Windshield
Repairing a cracked windshield yourself saves money and gives a sense of accomplishment. Start by assessing the damage. Small chips and cracks can be fixed with a repair kit. Clean the area thoroughly, then apply the resin. Let it cure under sunlight or a UV lamp. For larger cracks, consider replacing the windshield. Safety first—wear gloves and eye protection. Remove the old windshield carefully, then install the new one using a strong adhesive. Allow it to set properly before driving. Regular maintenance helps prevent future damage. Avoid extreme temperatures and sudden impacts. If unsure, consult a professional. DIY projects like this build skills and confidence. Plus, they keep your car in top shape. So, next time you spot a crack, you'll know exactly what to do. Happy fixing!
How can I tell if my windshield crack is repairable?
If the crack is smaller than a dollar bill and not in the driver's line of sight, it can usually be repaired. Larger cracks or those near the edges might need a full replacement.
What tools do I need to fix a cracked windshield?
You'll need a windshield repair kit, which includes resin, a syringe, and curing strips. Also, have a clean cloth and some rubbing alcohol handy.
How long does it take to repair a windshield crack?
The whole process usually takes about 30 minutes to an hour, depending on the size of the crack and the drying time of the resin.
Can I drive immediately after repairing my windshield?
It's best to wait at least an hour to let the resin cure properly. Check the repair kit instructions for specific drying times.
Will a DIY repair make the crack invisible?
A DIY repair can make the crack less noticeable and prevent it from spreading, but it might not disappear completely. Professional repairs might yield better cosmetic results.
Is it safe to repair a windshield crack myself?
Yes, as long as you follow the instructions carefully and the crack is within repairable limits. If you're unsure, consult a professional.
How much money can I save by repairing my windshield myself?
DIY repairs can cost around $10-$20 for a kit, while professional repairs can range from $50 to $150. Replacing the entire windshield can cost even more.