
Home>Home & Furniture>Doors & Windows>How to DIY Ceramic Window Tint
Doors & Windows
How to DIY Ceramic Window Tint
Published: August 11, 2024
Learn how to DIY ceramic window tint with our step-by-step guide. Enhance privacy, reduce heat, and protect interiors with this cost-effective, professional-looking solution.
(Many of the links in this article redirect to a specific reviewed product. Your purchase of these products through affiliate links helps to generate commission for Twigandthistle.com, at no extra cost. Learn more)
Tinting your windows can make a big difference in comfort and privacy. Ceramic window tint is one of the best options because it blocks out heat and UV rays without darkening your view too much. Doing it yourself might seem tricky, but with patience and the right tools, you can achieve professional-looking results. Whether you want to save money, enjoy a fun project, or just like the idea of customized windows, this guide will help you get started. Get ready to tackle ceramic window tinting and transform your space step by step.
Getting Ready for Your Project
Gather Materials: Get ceramic window tint film, a spray bottle with soapy water, a squeegee, a utility knife, a heat gun, and a microfiber cloth.
Clean the Windows: Use a glass cleaner and microfiber cloth to remove all dirt, dust, and grime. Clean windows ensure the tint adheres properly.
Measure and Cut the Film: Measure the window dimensions and cut the tint film slightly larger than the window size. This allows for trimming later.
Set Up Workspace: Choose a clean, dust-free area to work in. Lay down a drop cloth to protect surfaces from water and adhesive.
Safety Tips:
- Wear Gloves: Protect hands from sharp edges and chemicals.
- Use Eye Protection: Prevent irritation from soapy water and adhesive.
- Ventilate Area: Ensure good airflow to avoid inhaling fumes from the adhesive.
Prepare the Film: Peel off the backing from the tint film. Spray the adhesive side with soapy water to prevent it from sticking immediately.
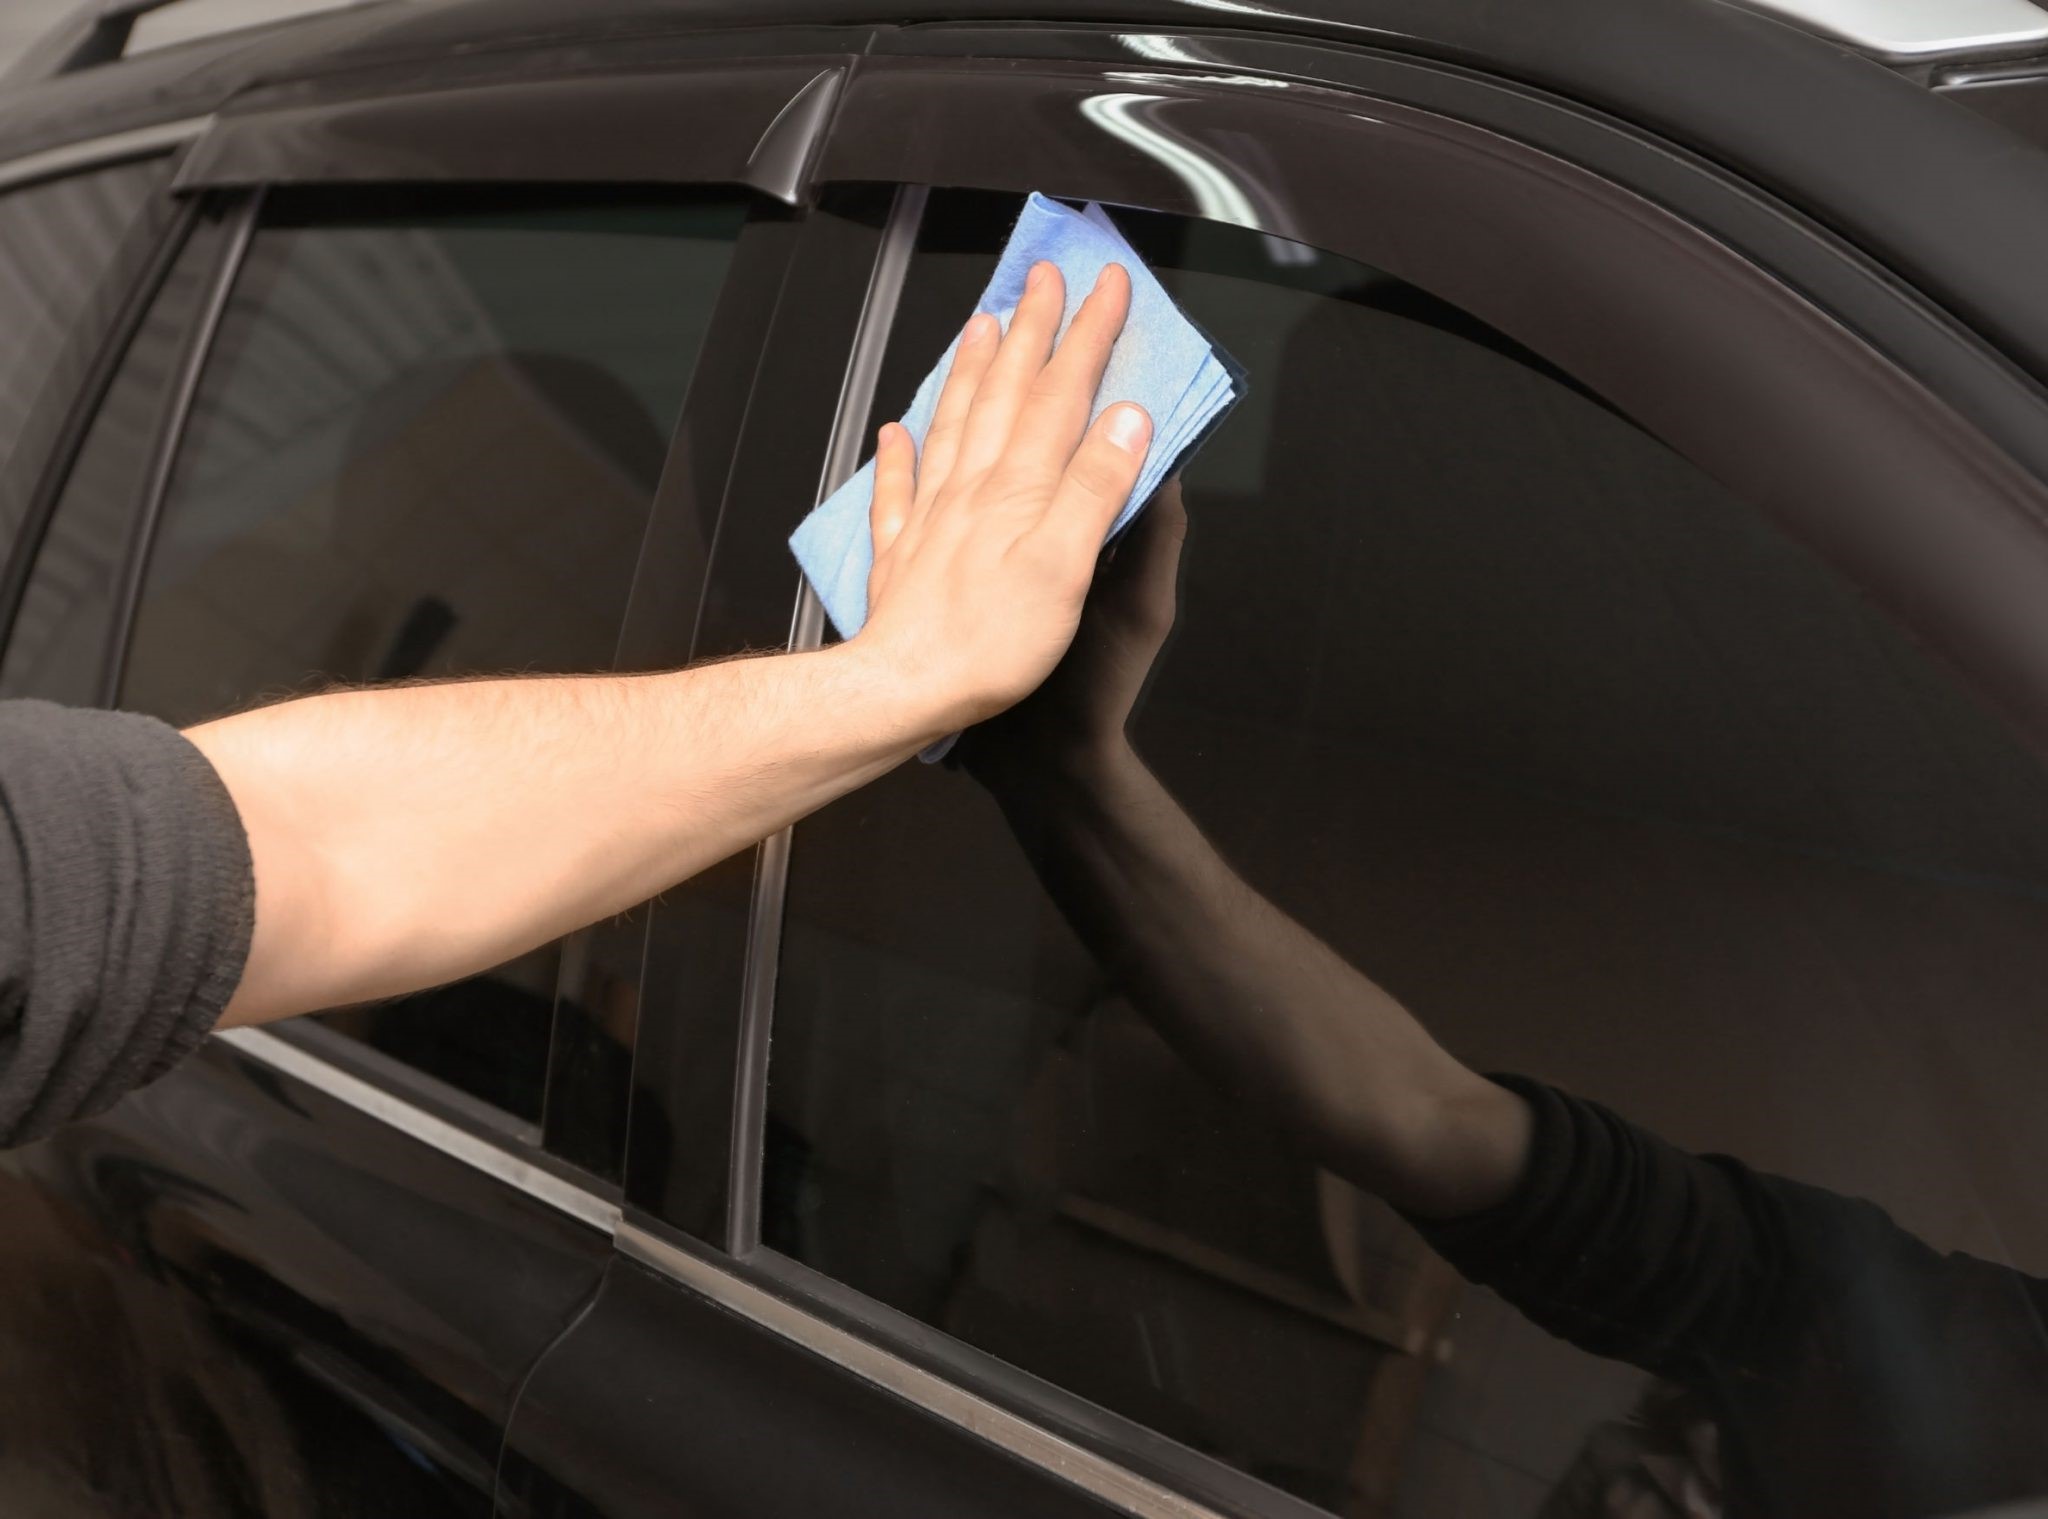
Apply the Film: Place the wet adhesive side of the film onto the window. Use the squeegee to smooth out bubbles and wrinkles, starting from the center and moving outward.
Trim Excess Film: Use the utility knife to carefully trim the excess film around the edges of the window.
Heat and Set: Use the heat gun to gently warm the film, helping it adhere better and removing any remaining bubbles.
Final Inspection: Check for any bubbles or imperfections. Smooth them out with the squeegee if needed.
What You Need to Get Started
- Ceramic Window Tint Film: This special film blocks UV rays and reduces heat. Choose the right size for your windows.
- Spray Bottle with Soapy Water: Helps in applying the film smoothly. Mix a few drops of baby shampoo with water.
- Squeegee: Removes air bubbles and smooths out the film. A small, rubber squeegee works best.
- Utility Knife: Cuts the film to the right size. Ensure it’s sharp for clean cuts.
- Heat Gun: Shrinks the film to fit curved surfaces. Use it carefully to avoid overheating.
- Lint-Free Cloth: Cleans the window before applying the film. Prevents dust and lint from getting trapped.
- Tape Measure: Measures the window dimensions accurately. Ensures the film fits perfectly.
- Razor Blade Scraper: Removes any old adhesive or dirt from the window. Keeps the surface clean for better adhesion.
- Plastic Card: Helps press the film into corners and edges. A credit card can work in a pinch.
- Paper Towels: Wipes away excess water and soap. Keeps the area dry and clean.
How Much Time and Skill You Need
Skill Level: Intermediate
Time Required: 2-4 hours
- Preparation: 30 minutes
- Cleaning Windows: 20 minutes
- Measuring and Cutting Tint: 40 minutes
- Applying Tint: 1-2 hours
- Final Touches: 30 minutes
Follow These Steps
Gather Materials:
- Ceramic window tint film
- Spray bottle with soapy water
- Squeegee
- Utility knife
- Microfiber cloth
- Measuring tape
- Heat gun (optional)
Clean the Window:
- Spray soapy water on the window.
- Wipe with a microfiber cloth until spotless.
- Ensure no dust or debris remains.
Measure and Cut the Film:
- Measure the window dimensions.
- Cut the film slightly larger than the window size.
Apply Soapy Water:
- Spray soapy water generously on the window.
- Ensure the entire surface is wet.
Peel the Film Backing:
- Carefully peel off the backing from the film.
- Avoid touching the adhesive side.
Position the Film:
- Place the adhesive side of the film onto the wet window.
- Adjust until it covers the entire window.
Smooth Out Bubbles:
- Use the squeegee to push out air bubbles.
- Start from the center, moving towards the edges.
Trim Excess Film:
- Use the utility knife to trim the extra film around the edges.
- Ensure a precise fit.
Final Touches:
- Use the squeegee to remove any remaining bubbles.
- If needed, use a heat gun to help the film adhere better.
Let it Dry:
- Allow the film to dry for at least 24 hours.
- Avoid rolling down the windows during this time.
Helpful Tips and Tricks
Clean the windows thoroughly before starting. Any dirt or dust will create bubbles under the tint.
Measure twice, cut once. Make sure your tint film is slightly larger than the window. You can trim the excess later.
Use a spray bottle with soapy water. This helps the film slide into place and prevents it from sticking too soon.
Apply the tint on a cool, shaded day. Direct sunlight can cause the film to dry too quickly, making it harder to adjust.
Use a squeegee to remove air bubbles. Start from the center and work your way out to the edges.
Trim the edges carefully with a sharp utility knife. Make sure the film fits perfectly within the window frame.
Let it dry for at least 24 hours before rolling the windows up or down. This ensures the tint adheres properly.
Common mistakes to avoid:
Skipping the cleaning step. Dirt and dust will ruin the finish.
Cutting the film too small. Always cut it slightly larger and trim the excess.
Not using enough soapy water. This makes it hard to adjust the film and remove bubbles.
Alternatives for materials or methods:
Pre-cut tint kits are available. These save time and reduce the risk of cutting errors.
Static cling window film can be easier to apply and remove. It’s a good option for temporary needs.
Professional installation is an option if you’re not confident in your skills. It costs more but ensures a perfect finish.
How Much Will It Cost?
Ceramic window tint: $100-$200 for a standard-sized car.
Application kit: $20-$30. This usually includes a squeegee, spray bottle, and utility knife.
Cleaning supplies: $10-$15. You'll need glass cleaner and microfiber cloths.
Heat gun: $20-$40. Helps to shrink the tint film for a better fit.
Budget-friendly alternatives:
- Instead of a heat gun, use a hairdryer: $10-$20.
- For cleaning, use a vinegar-water solution: $2-$5.
Total estimated cost: $150-$290.
Different Ways to Customize
Alternative Materials: Instead of ceramic tint, consider carbon film for a matte finish or metalized film for added durability. Dyed film offers a budget-friendly option, though it may fade over time.
Colors: Ceramic tints usually come in shades of gray or black, but you can choose bronze or blue tints for a unique look. Reflective tints add a mirrored effect, enhancing privacy.
Styles: For a sleek, modern appearance, opt for nano-ceramic tints. Gradient tints transition from dark to light, providing a stylish touch. Patterned tints like frosted or etched designs can add a decorative element.
Application Techniques: Use a heat gun for a smoother finish. Try pre-cut kits for easier installation. Double-layering tints can enhance UV protection and insulation.
Tools: Swap a standard squeegee for a felt-edged squeegee to avoid scratches. Use a spray bottle with a fine mist setting for better control. Employ a precision knife for cleaner edges.
Additional Features: Add a UV protection layer for extra sun defense. Consider anti-glare coatings to reduce eye strain. Security films can be combined with ceramic tints for added safety.
Maintenance: Use ammonia-free cleaners to avoid damaging the tint. Apply a protective sealant to prolong the tint's life. Regularly check for bubbles or peeling to maintain a flawless appearance.
Eco-Friendly Tips
Ceramic window tint can help reduce heat and UV rays entering your home. For an eco-friendly approach, consider these tips:
Reuse old tools: Instead of buying new tools, use items you already have. A squeegee, spray bottle, and utility knife from previous projects can work well.
Eco-friendly cleaner: Make a homemade cleaner using vinegar and water. This mix is effective and avoids harmful chemicals.
Recycled materials: Look for recycled ceramic film options. Some companies offer films made from recycled materials, reducing waste.
Energy-efficient film: Choose a film with high solar reflectance. This type of film reduces energy consumption by keeping your home cooler.
Proper disposal: Dispose of any waste responsibly. Recycle the backing paper and any leftover film pieces.
Natural light: Apply the tint in a way that still allows natural light to enter. This reduces the need for artificial lighting during the day.
Using these tips, you can make your DIY ceramic window tint project more sustainable and environmentally friendly.
Your DIY Ceramic Window Tint Project
You've got this! Applying ceramic window tint yourself saves money and gives a sense of accomplishment. Remember to gather all necessary tools like a heat gun, squeegee, and utility knife. Clean the windows thoroughly to avoid bubbles and imperfections. Measure twice, cut once. Patience is key when smoothing out the tint. If you mess up, don't sweat it; practice makes perfect. With each window, you'll get better. Soon, you'll enjoy the benefits of reduced heat, UV protection, and a sleek look. Plus, you'll have bragging rights for doing it yourself. So, roll up your sleeves, take your time, and enjoy the process. Your car or home will thank you for the upgrade. Happy tinting!
What tools do I need to install ceramic window tint?
You’ll need a squeegee, spray bottle, utility knife, heat gun, microfiber cloth, and the ceramic tint film.
How do I clean the windows before applying the tint?
Use a glass cleaner and a microfiber cloth to remove all dirt and debris. Make sure the windows are completely dry before starting.
Can I apply ceramic tint by myself?
Yes, you can! Just follow the instructions carefully, take your time, and be patient.
How do I cut the tint to fit my windows?
Measure the window dimensions and cut the tint slightly larger. Use a utility knife to trim the excess once it’s on the window.
How do I remove air bubbles during installation?
Use a squeegee to push the bubbles toward the edges. If stubborn bubbles remain, use a heat gun to soften the film and then squeegee again.
How long does it take for the tint to fully cure?
It usually takes about 3-5 days for the tint to fully cure. Avoid rolling down the windows during this time.
Is ceramic window tint better than regular tint?
Yes, ceramic tint offers better heat rejection, UV protection, and clarity compared to regular tint.