
Home>Home & Furniture>Doors & Windows>How to Build French Doors for Your Dining Room
Doors & Windows
How to Build French Doors for Your Dining Room
Published: September 14, 2024
Learn how to build elegant French doors for your dining room with our step-by-step guide. Enhance your home's aesthetic and functionality with these DIY tips and tricks.
(Many of the links in this article redirect to a specific reviewed product. Your purchase of these products through affiliate links helps to generate commission for Twigandthistle.com, at no extra cost. Learn more)
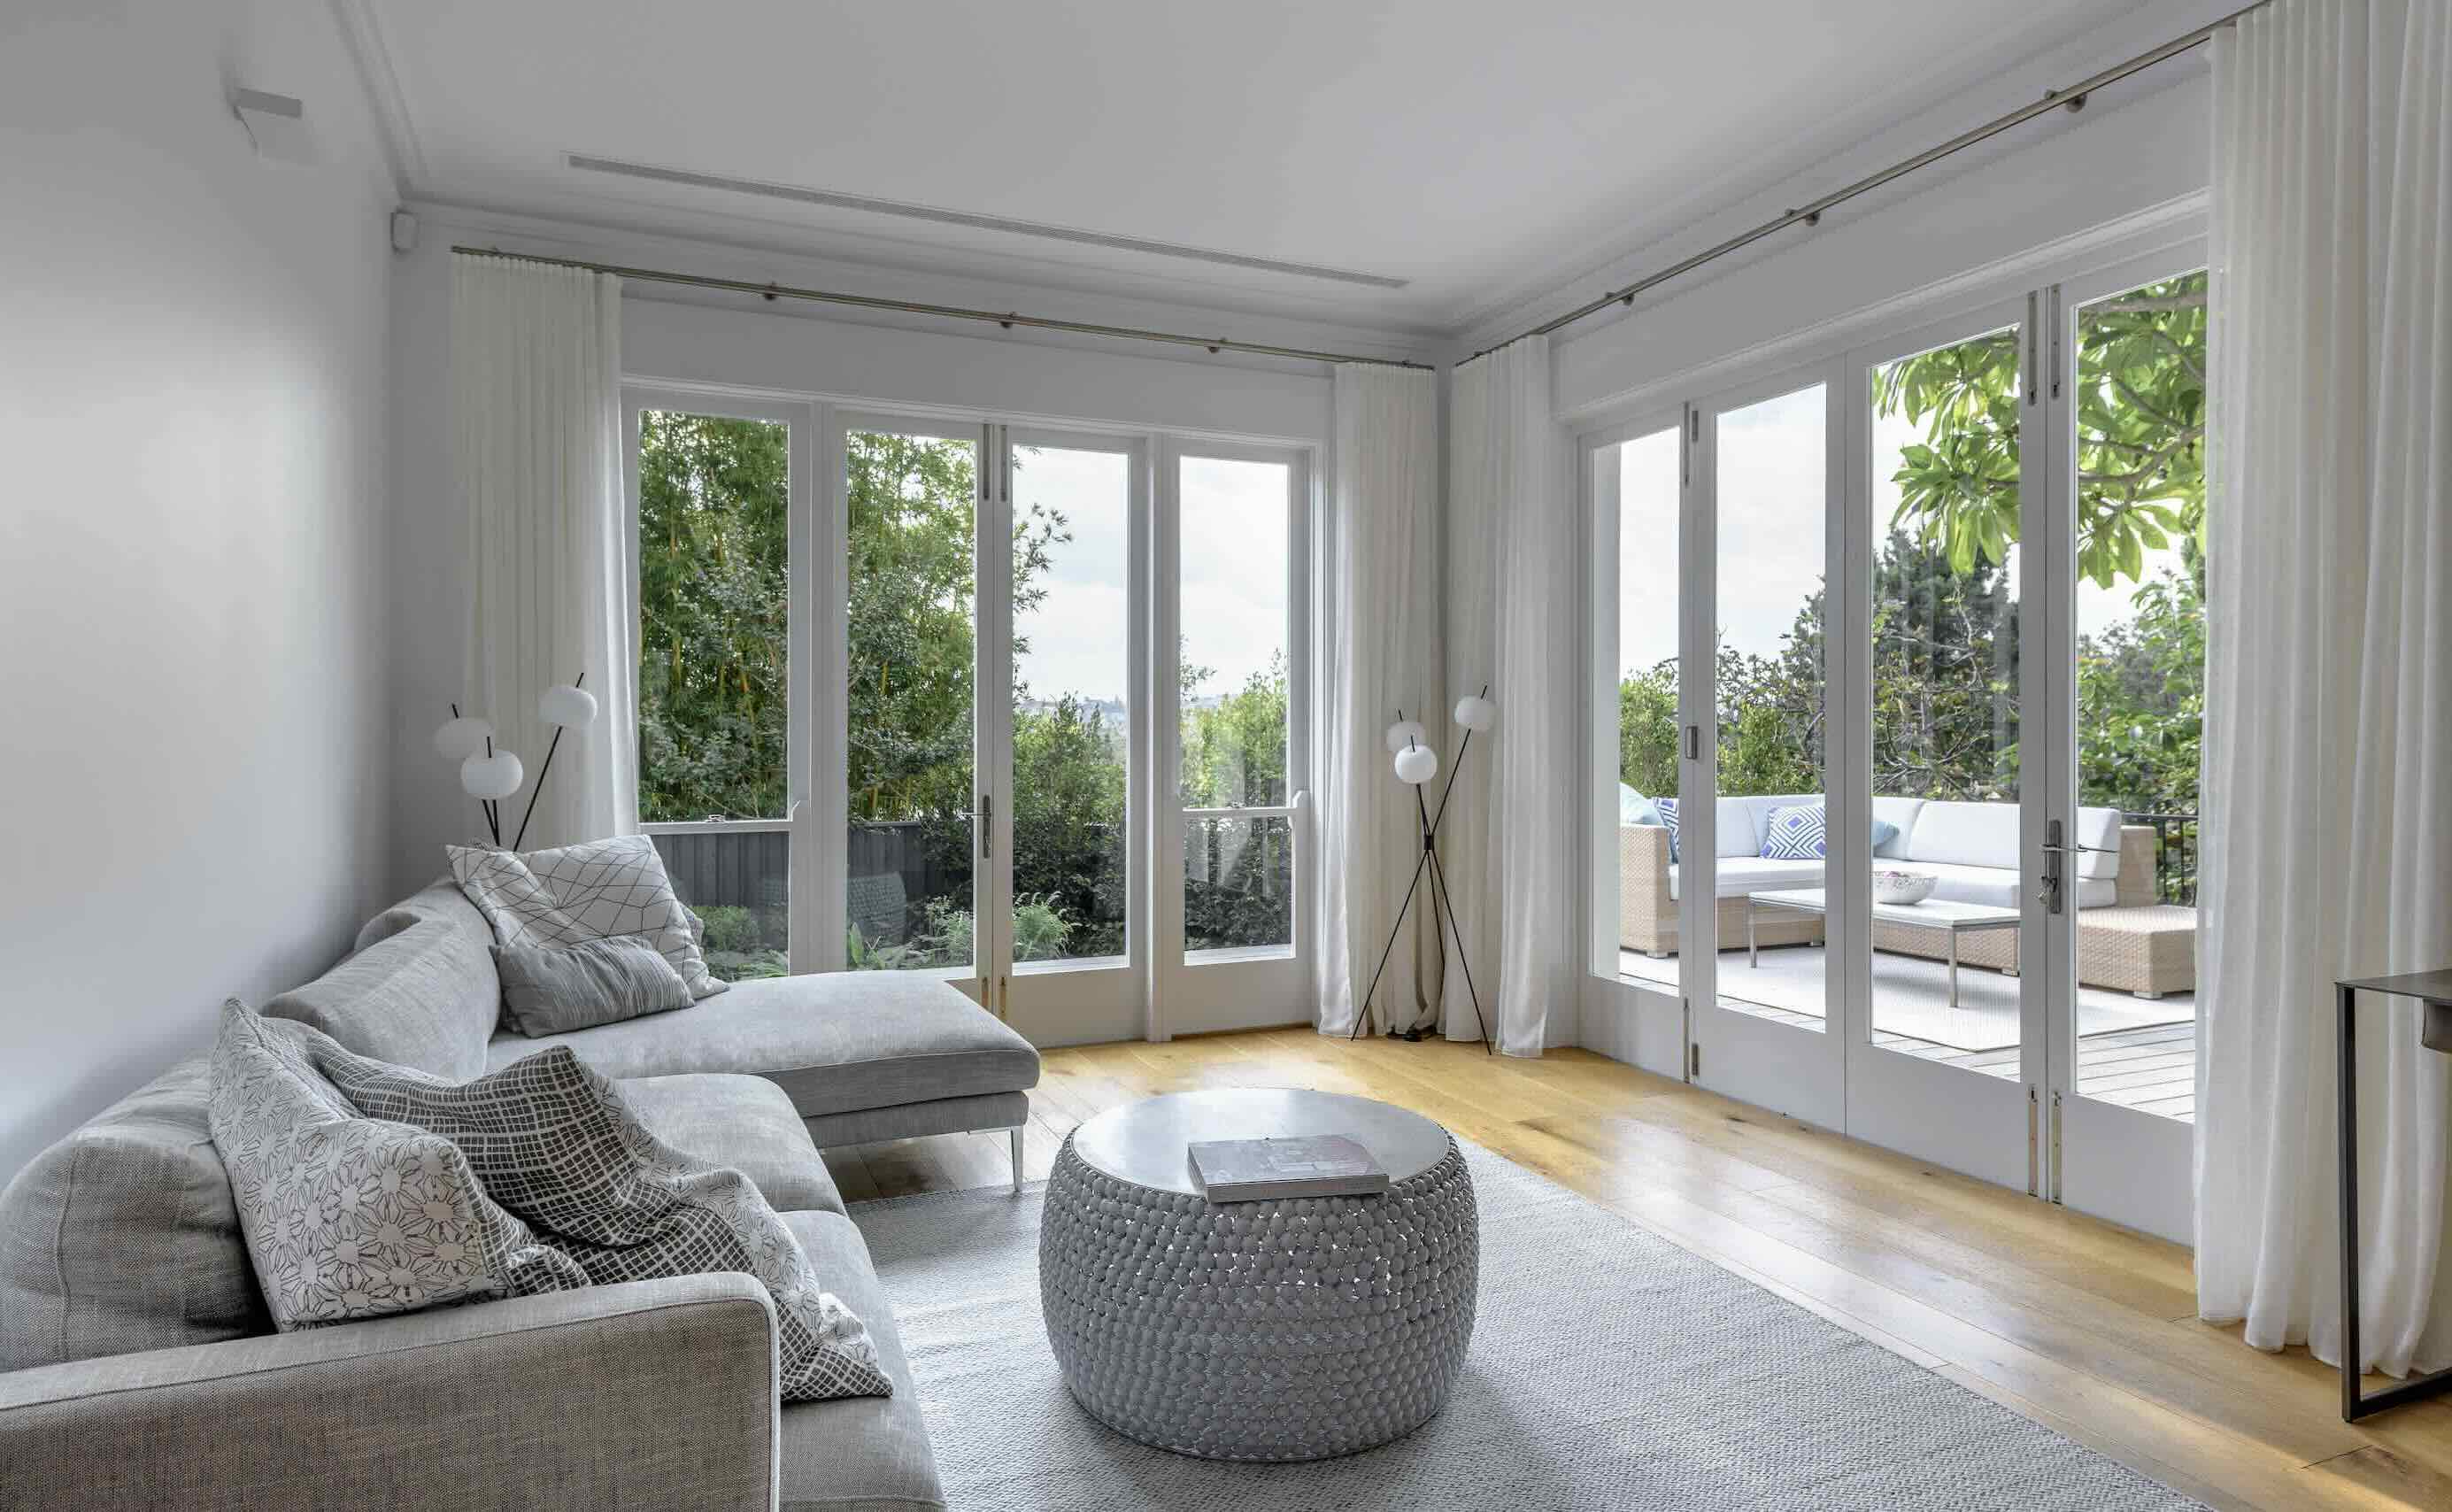
Thinking about adding a touch of elegance to your dining room? Building French doors can be a great DIY project that brings both style and functionality. These doors not only enhance the appearance of your space but also allow natural light to flood in, creating a warm and inviting atmosphere. Whether you're a seasoned DIY enthusiast or just starting out, making your own French doors is an achievable task with the right tools and materials. Let's dive into the basics and get you started on this exciting project, step by step.
Getting Ready for the Project
Measure the Doorway: Use a tape measure to get the exact dimensions of the doorway. Write down the width and height.
Gather Materials: Collect all necessary materials like wood, glass panels, hinges, screws, and door handles. Make sure everything is within reach.
Safety Gear: Wear safety goggles, gloves, and a dust mask. Protect your eyes, hands, and lungs from debris and dust.
Clear the Workspace: Remove any clutter from the area where you will be working. Ensure you have enough space to move around freely.
Prepare Tools: Lay out tools like a saw, drill, screwdriver, measuring tape, and level. Check that they are in good working condition.
Cut the Wood: Mark the wood according to your measurements. Use a saw to cut the pieces for the door frame and panels.
Sand the Wood: Smooth out rough edges with sandpaper. This helps in getting a clean finish and prevents splinters.
Pre-drill Holes: Drill holes for screws and hinges. This makes assembly easier and prevents the wood from splitting.
Paint or Stain: Apply paint or stain to the wood pieces. Let them dry completely before assembly.
Install Hinges: Attach hinges to the door frame and the door itself. Make sure they are aligned properly.
Fit Glass Panels: Carefully place glass panels into the door frame. Secure them with glazing points or clips.
Final Assembly: Put together all parts of the door. Use screws to secure the frame and panels.
Test the Door: Check that the door opens and closes smoothly. Make any necessary adjustments.
Clean Up: Dispose of any waste materials and put away tools. Clean the workspace to avoid accidents.
Materials and Tools Checklist
Materials:
- Wood: Choose high-quality wood like oak, pine, or mahogany for the door frame and panels.
- Glass Panels: Tempered glass is safer and more durable for the door windows.
- Hinges: Heavy-duty hinges will support the weight of the doors.
- Door Handles: Select handles that match your home’s decor.
- Wood Screws: Essential for assembling the door frame.
- Wood Glue: Provides extra strength to the joints.
- Sandpaper: Smooths out rough edges and surfaces.
- Paint or Stain: Finishes the wood to match your room’s style.
- Weatherstripping: Seals gaps to keep out drafts.
Tools:
- Tape Measure: Ensures accurate measurements for cutting wood and glass.
- Circular Saw: Cuts wood to the required dimensions.
- Miter Saw: Makes precise angled cuts for the door frame.
- Drill: Creates holes for screws and handles.
- Screwdriver: Tightens screws securely.
- Clamps: Holds pieces together while the glue dries.
- Chisel: Carves out spaces for hinges.
- Hammer: Taps pieces into place and drives nails if needed.
- Paintbrush or Roller: Applies paint or stain evenly.
- Safety Gear: Includes goggles, gloves, and a dust mask for protection.
Required Skills and Time Commitment
Skill Level: Advanced
Estimated Time Required: 2-3 days
- Measuring and Planning: 2-3 hours
- Cutting and Preparing Wood: 4-5 hours
- Assembling Door Frames: 3-4 hours
- Installing Glass Panels: 2-3 hours
- Sanding and Painting: 4-5 hours
- Hanging the Doors: 2-3 hours
Important Keywords: Advanced, 2-3 days, Measuring, Planning, Cutting, Preparing, Assembling, Installing, Sanding, Painting, Hanging
Detailed Building Instructions
Gather Materials and Tools
- Wood (for door frame)
- Glass panels
- Hinges
- Door handles
- Screws
- Wood glue
- Paint or stain
- Measuring tape
- Saw
- Drill
- Screwdriver
- Sandpaper
Measure the Doorway
- Measure the height and width of the doorway.
- Subtract 1/4 inch from each side for clearance.
Cut the Wood
- Cut wood pieces for the frame according to your measurements.
- Ensure two vertical pieces and two horizontal pieces.
Assemble the Frame
- Lay out the wood pieces on a flat surface.
- Apply wood glue to the joints.
- Screw the pieces together to form the frame.
Insert Glass Panels
- Measure and cut the glass panels to fit within the frame.
- Use wood strips to create slots for the glass.
- Insert glass panels into the slots.
- Secure with additional wood strips and glue.
Sand and Paint
- Sand the entire door frame to smooth out rough edges.
- Paint or stain the frame to your desired color.
- Allow it to dry completely.
Attach Hinges
- Mark hinge positions on the door frame.
- Screw hinges into place.
- Ensure they are evenly spaced.
Install Door Handles
- Mark positions for door handles.
- Drill holes for the handles.
- Attach handles securely.
Hang the Doors
- Hold the door in the doorway.
- Mark hinge positions on the door frame.
- Screw hinges into the doorway frame.
- Ensure the door swings smoothly.
Final Adjustments
- Check for any gaps or misalignments.
- Adjust hinges or sand edges if necessary.
- Ensure the doors close properly.
Helpful Tips and Tricks
Measure Twice, Cut Once: Always double-check measurements before cutting wood. This ensures pieces fit perfectly.
Use Quality Wood: Opt for hardwood like oak or maple. These types are durable and look great.
Pre-drill Holes: Prevent wood from splitting by pre-drilling holes for screws.
Sand Smooth: Sand all surfaces before assembly. Smooth wood makes painting or staining easier.
Use Clamps: Clamps hold pieces together while glue dries. This keeps everything aligned.
Weatherstripping: Add weatherstripping to the edges. This helps seal the doors and keeps drafts out.
Paint or Stain Before Assembly: Painting or staining pieces before assembly can save time and ensure even coverage.
Common Mistakes to Avoid:
Skipping Primer: Always use primer before painting. It helps paint adhere better and last longer.
Incorrect Hinge Placement: Ensure hinges are placed correctly. Misaligned hinges can cause doors to hang unevenly.
Not Leveling the Frame: Make sure the door frame is level. An uneven frame can cause doors to swing open or closed on their own.
Using Cheap Hardware: Invest in good-quality hinges and handles. Cheap hardware can break easily and ruin the look.
Alternatives for Materials or Methods:
Plywood Instead of Solid Wood: Plywood can be a cost-effective alternative. It’s also less likely to warp.
Pocket Screws: Use pocket screws for stronger joints. They’re hidden and provide a cleaner look.
Prefabricated Door Kits: Consider using a prefabricated French door kit. These kits come with pre-cut pieces and hardware, making assembly easier.
Glass Alternatives: Use acrylic panels instead of glass. Acrylic is lighter and less likely to break.
Budgeting for Your French Doors
Materials:
- Wood (for door frames): $100-$200
- Glass panels: $150-$300
- Hinges: $20-$40
- Door handles: $15-$50
- Weatherstripping: $10-$20
- Paint or stain: $20-$40
- Screws and nails: $10-$15
Tools:
- Saw: $50-$150
- Drill: $40-$100
- Screwdriver set: $10-$30
- Paintbrushes or rollers: $10-$20
- Measuring tape: $5-$15
- Level: $10-$30
- Safety gear (gloves, goggles): $10-$20
Total Cost: $460-$1,030
Budget-friendly alternatives:
- Reclaimed wood: $50-$100
- Second-hand glass panels: $50-$150
- Basic door handles: $10-$20
- Economy paint: $10-$20
- Borrowing tools from friends or family: Free
Total Cost with Alternatives: $250-$540
Creative Variations and Customizations
Materials: Instead of traditional wood, consider using metal or fiberglass for a modern look. Reclaimed wood can add a rustic charm.
Colors: Paint the doors in bold colors like navy blue, emerald green, or charcoal gray for a contemporary feel. For a classic touch, use white, cream, or soft pastels.
Glass Options: Use frosted glass for privacy, stained glass for a vintage vibe, or clear glass for an open, airy feel. Textured glass can add an interesting visual element.
Hardware: Swap out standard handles for antique brass, sleek stainless steel, or matte black hardware. Consider decorative hinges and locks to enhance the overall design.
Styles: For a farmhouse style, use shiplap or barn door elements. For a minimalist look, opt for clean lines and simple frames. Add molding or trim for a more traditional appearance.
Finishes: Experiment with different finishes like distressed, glossy, or matte to match your dining room's decor. Staining the wood can bring out its natural beauty.
Decorative Elements: Add decorative grilles or mullions to the glass panes for a unique touch. Consider etched designs or patterns on the glass for added flair.
Size: Customize the size of the doors to fit your space perfectly. Oversized doors can make a bold statement, while smaller doors can create a cozy atmosphere.
Installation: Consider pocket doors that slide into the wall for a space-saving option. Bi-fold doors can also be a practical and stylish choice.
Lighting: Install LED strips along the frame for a modern, illuminated effect. Sconce lights on either side of the doors can add elegance.
Eco-Friendly Building Tips
Reclaimed Wood: Use old wood from barns, pallets, or other structures. This reduces waste and gives your doors a unique look.
Low-VOC Paints: Choose paints with low volatile organic compounds. These are better for your health and the environment.
Energy-Efficient Glass: Install double-pane or low-emissivity glass. This helps keep your home warm in winter and cool in summer, saving energy.
Natural Finishes: Use natural oils or waxes instead of chemical-based finishes. These are safer and more eco-friendly.
Recycled Hardware: Find door handles, hinges, and locks from salvage yards or second-hand stores. This gives your doors character and reduces waste.
Sustainable Wood: If buying new wood, choose certified sustainable options like FSC-certified wood. This ensures the wood comes from responsibly managed forests.
Insulation Strips: Add weatherstripping around the doors to improve insulation. This helps reduce energy loss.
DIY Approach: Building the doors yourself saves on manufacturing energy and transportation emissions. Plus, it’s a fun project!
Your DIY Masterpiece Awaits
You've got all the tools, materials, and know-how to build stunning French doors for your dining room. Measure twice, cut once, and don't rush the process. Sanding and painting might seem tedious, but they make a world of difference. Hinges and handles should be sturdy and stylish. Remember, patience is key. If something doesn't fit right, take a step back and figure out why. It's all part of the learning curve. Once those doors swing open, you'll feel a sense of accomplishment that's hard to beat. Plus, you'll have a beautiful addition to your home that you crafted with your own hands. So, roll up your sleeves, grab your tools, and get started. Your dining room is about to get a whole lot more elegant. Happy building!
What materials do I need to build French doors?
You’ll need wood, glass panels, hinges, screws, wood glue, sandpaper, paint or stain, and a saw.
How long will it take to build French doors?
It usually takes about two weekends. One for cutting and assembling, another for painting and installing.
Can I use any type of wood?
Hardwoods like oak or maple are best. They’re durable and look great when finished.
Do I need special tools?
Basic tools like a saw, drill, screwdriver, and sander will do. A router can help with detailing.
How do I measure for the doors?
Measure the height and width of your door frame. Subtract about 1/4 inch from each side for clearance.
Is it hard to install the glass panels?
Not really. Cut the wood to create grooves for the glass, then secure with glazing points and putty.
Should I paint or stain the doors?
It’s up to you! Paint gives a modern look, while stain shows off the wood’s natural beauty.