
Home>Home & Furniture>Doors & Windows>How to Build a DIY Window Shelf
Doors & Windows
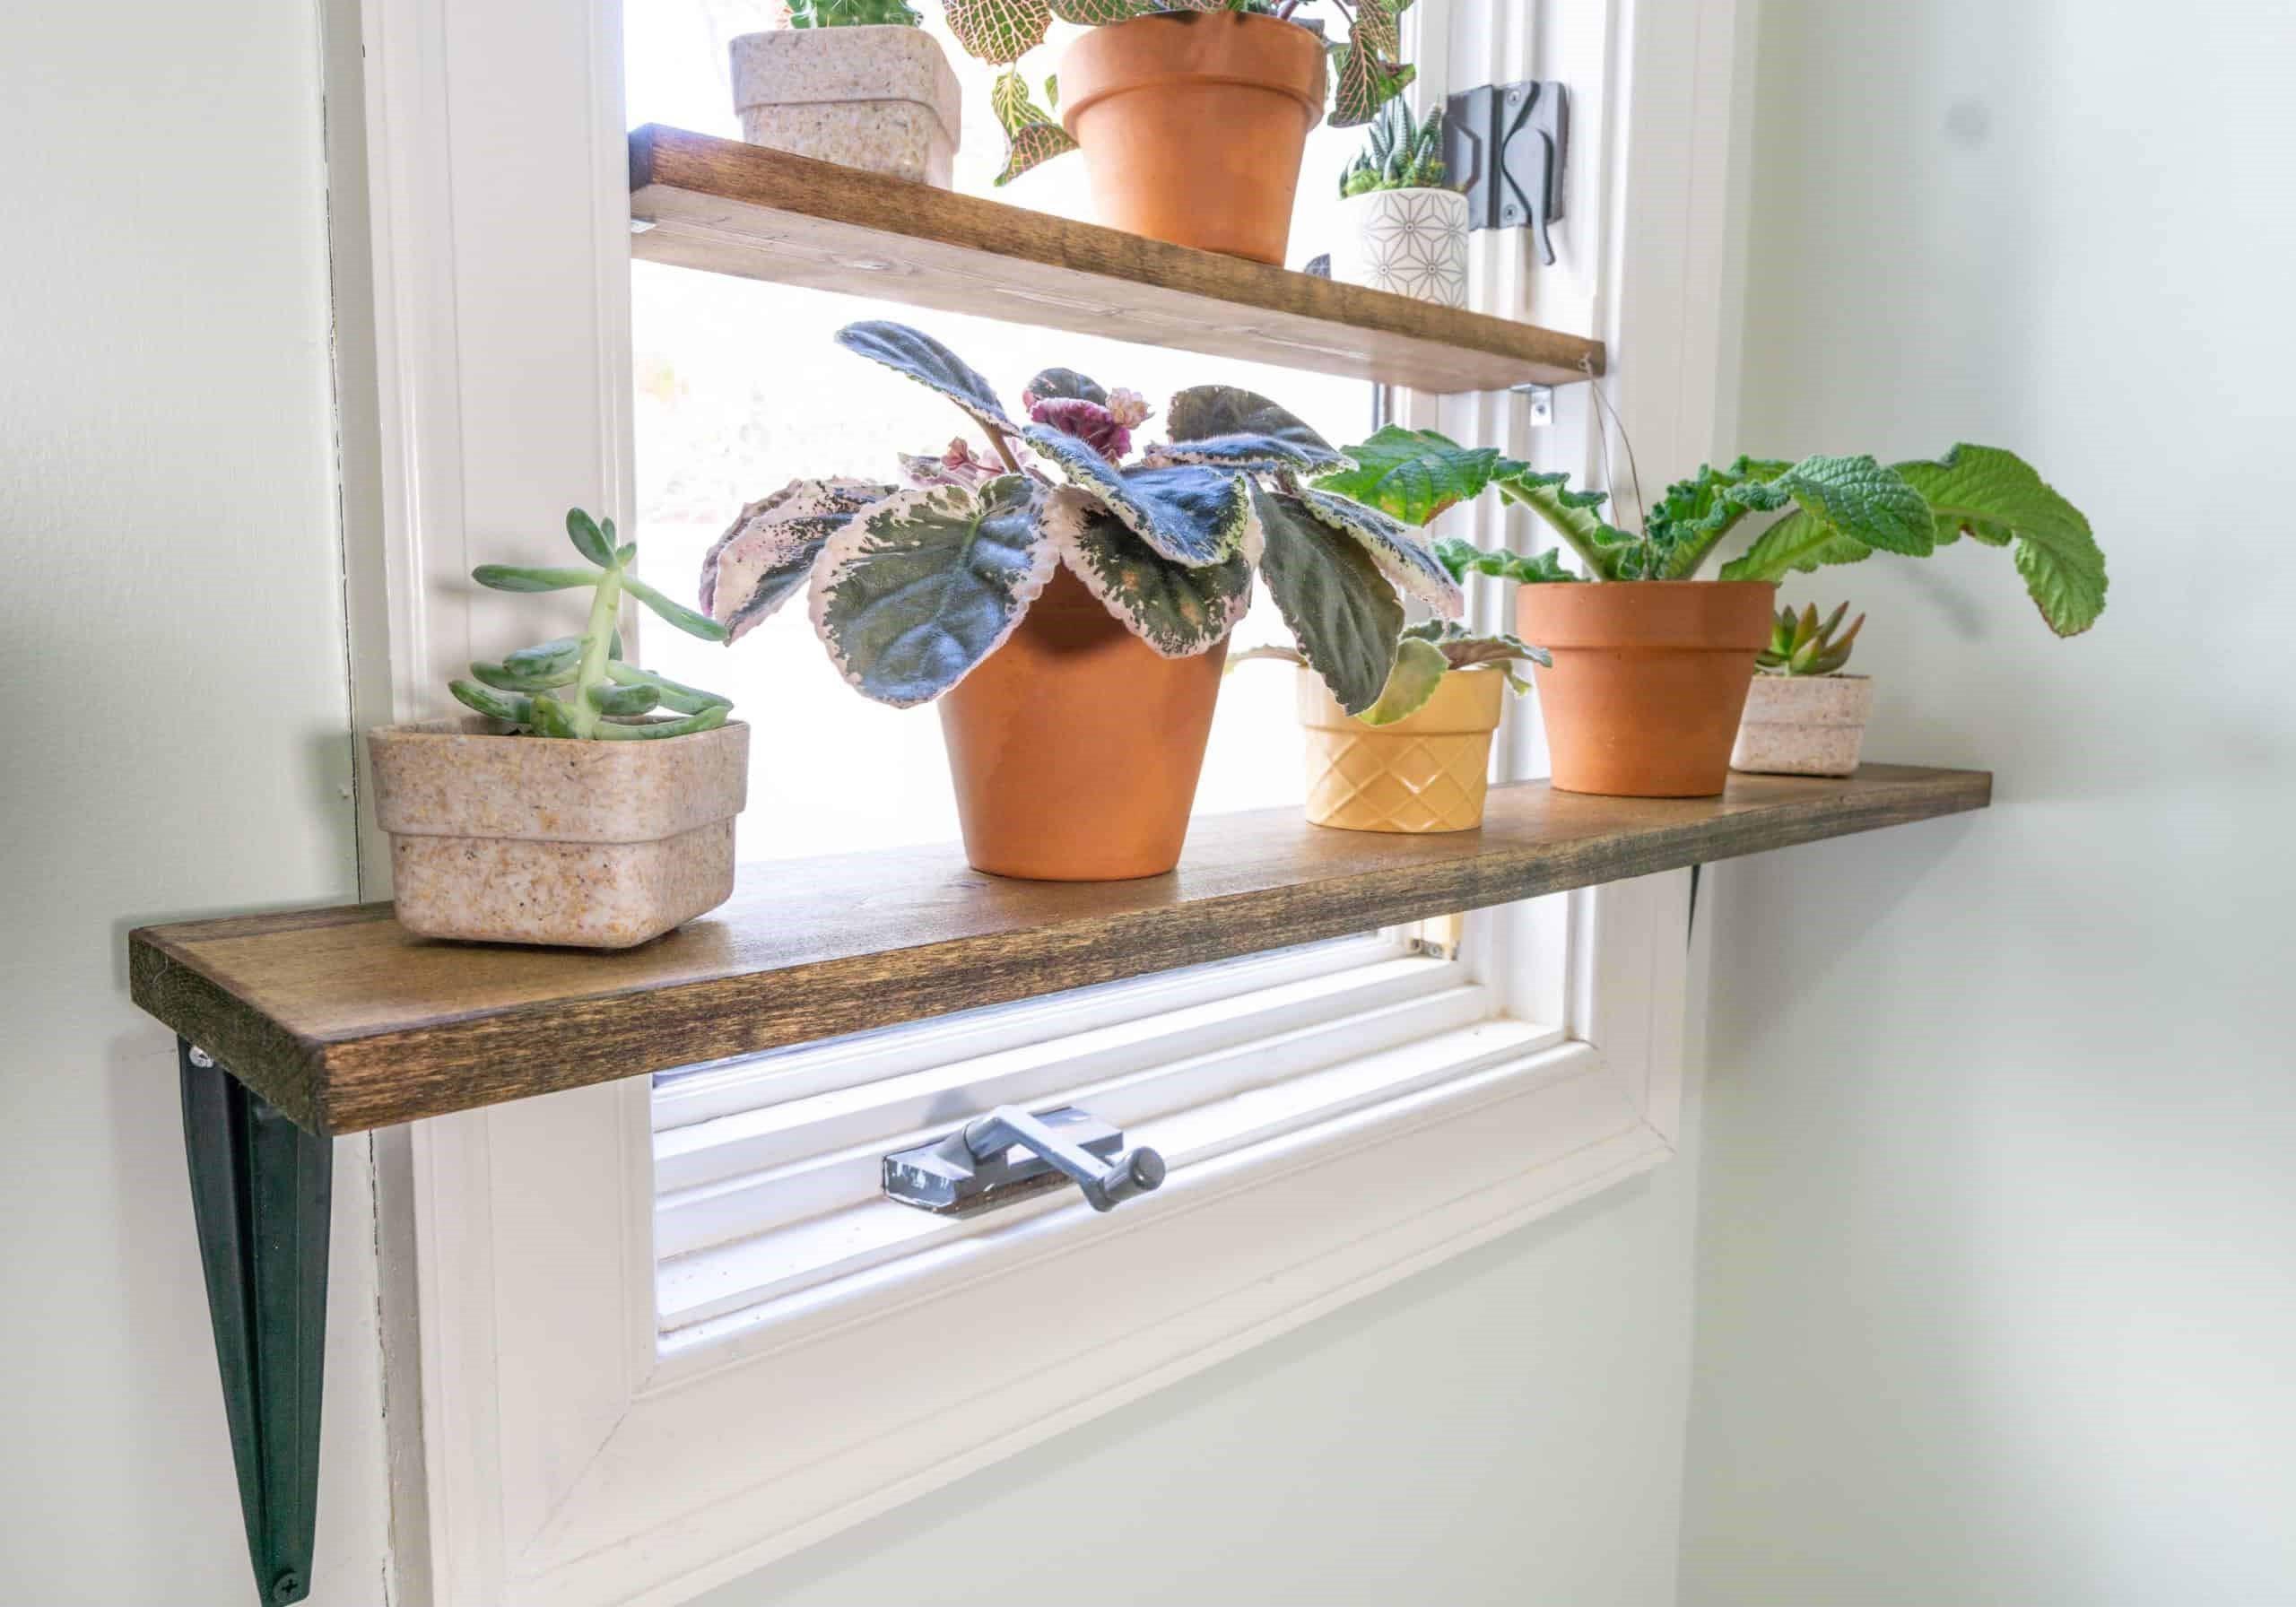
How to Build a DIY Window Shelf
Published: August 24, 2024
Learn how to build a DIY window shelf with our step-by-step guide. Perfect for adding extra storage or a decorative touch to any room. Easy, affordable, and stylish!
(Many of the links in this article redirect to a specific reviewed product. Your purchase of these products through affiliate links helps to generate commission for Twigandthistle.com, at no extra cost. Learn more)
Thinking about adding extra space and charm to your home? A DIY window shelf might be perfect. These handy shelves can brighten up any room, giving extra storage space while showcasing your favorite plants, books, or decorations. Don’t worry if you’re not a DIY expert; building one is simpler than it looks. You only need a few tools, some basic materials, and a little patience. This project is great for beginners and more experienced DIYers alike. Ready to get started? Let’s walk through what you’ll need and the steps to create your very own window shelf.
Getting Ready for Your Project
Measure the Window: Use a tape measure to get the exact width and depth of your window. Write these measurements down.
Choose Materials: Select sturdy wood like pine or oak. Make sure the wood is straight and free of knots.
Gather Tools: You’ll need a saw, drill, screws, sandpaper, level, and a measuring tape. Safety gear like goggles and gloves are also important.
Prepare the Workspace: Clear a large, flat area. Lay down a drop cloth to catch sawdust and protect surfaces.
Cut the Wood: Use the saw to cut the wood to the measured dimensions. Sand the edges to smooth out any rough spots.
Pre-Drill Holes: Mark where the screws will go and pre-drill holes to prevent the wood from splitting.
Safety Tips: Always wear goggles when cutting or drilling. Keep your workspace well-lit and ventilated.
Check for Level: Before attaching the shelf, use a level to ensure it will be straight. Adjust as needed.
Secure the Shelf: Use screws to attach the shelf to the window frame. Double-check that it’s sturdy and level.
Clean Up: Sweep up sawdust and put away tools. Make sure the area is tidy and safe.
Gather Your Materials and Tools
Materials:
- Wood Planks: These will form the main structure of your shelf. Choose a type of wood that matches your decor.
- Brackets: These metal supports will hold the shelf in place. Make sure they are sturdy enough to support the weight.
- Screws: Used to attach the brackets to the wall and the wood planks to the brackets. Ensure they are the right length for your materials.
- Wood Stain or Paint: This will give your shelf a finished look. Pick a color that complements your room.
- Sandpaper: Needed to smooth the edges of the wood planks before staining or painting.
Tools:
- Measuring Tape: Essential for measuring the dimensions of your window and the wood planks.
- Pencil: Used for marking where to cut and where to place the brackets.
- Saw: Needed to cut the wood planks to the desired length.
- Drill: Used for making holes for the screws and for attaching the brackets.
- Screwdriver: Helps in tightening the screws securely.
- Level: Ensures your shelf is straight and even.
- Paintbrush: Used for applying the wood stain or paint evenly.
These materials and tools will help you create a sturdy and attractive window shelf.
Skill Level and Time Commitment
Skill Level: Intermediate
Time Required: 3-4 hours
- Measure and Cut Wood: 30 minutes
- Sand and Smooth Edges: 20 minutes
- Assemble Shelf: 1 hour
- Attach Brackets: 30 minutes
- Install Shelf: 40 minutes
- Paint or Stain (Optional): 1 hour
Follow These Steps
Measure the Window:
- Use a tape measure to find the width of the window.
- Measure the depth you want for the shelf.
Choose and Cut Wood:
- Select a sturdy piece of wood.
- Cut the wood to match the window's width and desired depth.
Sand the Wood:
- Use sandpaper to smooth the edges and surface.
- Wipe away dust with a damp cloth.
Paint or Stain:
- Apply paint or stain to the wood.
- Let it dry completely.
Attach Brackets:
- Mark where the brackets will go on the wall.
- Use a level to ensure they are straight.
- Drill holes and attach the brackets with screws.
Install the Shelf:
- Place the wood on top of the brackets.
- Secure the shelf to the brackets with screws.
Check Stability:
- Gently press on the shelf to ensure it is secure.
- Adjust screws if needed.
Decorate:
- Add plants, books, or other items to your new window shelf.
Helpful Tips and Tricks
Measure your window frame accurately before cutting any materials. Use a level to ensure your shelf will be straight. Pre-drill holes to avoid splitting the wood. Sand the edges of your shelf for a smooth finish. Use brackets or L-brackets for extra support.
Common mistakes include not measuring properly, which can lead to a shelf that doesn't fit. Avoid using weak screws that can't support the weight. Skipping sanding can result in rough edges that might cause splinters.
For materials, consider using plywood instead of solid wood for a lighter option. Instead of brackets, you can use corbels for a decorative touch. If you don't have a power drill, a hand drill works too, though it might take longer.
Estimating Your Costs
Lumber: $20-$30 for a 6-foot board, depending on wood type.
Brackets: $10-$20 for a pair of sturdy metal brackets.
Screws: $5 for a box of wood screws.
Sandpaper: $5 for a pack.
Paint or Stain: $10-$15 for a small can.
Paintbrush: $3-$5.
Level: $10-$15.
Drill: $30-$50 if you don't already have one.
Total Cost: $93-$145.
Budget-Friendly Alternatives:
Lumber: Use reclaimed wood or pallet wood, often free or very cheap.
Brackets: Look for second-hand brackets at thrift stores or online marketplaces.
Paint or Stain: Use leftover paint from other projects or buy sample sizes.
Drill: Borrow from a friend or rent from a local hardware store.
Different Ways to Customize
Materials: Instead of using wood, try metal or glass for a modern look. Reclaimed wood adds a rustic touch, while bamboo offers an eco-friendly option.
Colors: Paint the shelf in bright colors like yellow or blue for a cheerful vibe. For a more classic look, use neutral tones like white or gray. Staining the wood can highlight its natural grain.
Styles: Add decorative brackets to give the shelf a vintage feel. Use floating shelf brackets for a sleek, minimalist appearance. Incorporate ornate carvings or molding for an elegant touch.
Shapes: Instead of a standard rectangular shelf, try a triangular or hexagonal shape. Create a corner shelf to maximize space.
Functions: Add hooks underneath for hanging plants or mugs. Install a small drawer for extra storage. Attach a mirror to the back for added functionality.
Finishes: Use a high-gloss finish for a polished look or a matte finish for a more subdued appearance. Apply a distressed finish for a vintage, shabby-chic style.
Eco-Friendly Suggestions
Reclaimed wood works great for a window shelf. Look for old pallets, barn wood, or leftover planks from other projects. Sand them down to remove splinters and give a smooth finish.
Eco-friendly paint or stain can add color without harmful chemicals. Look for water-based options with low VOCs (volatile organic compounds).
Use recycled glass or acrylic for the shelf surface. Old windows or glass doors can be cut to size. Acrylic can be found at thrift stores or recycling centers.
Natural brackets like wooden corbels or metal brackets from second-hand stores provide support. Avoid plastic brackets as they are less sustainable.
Bamboo is another option. It grows quickly and is very strong. Bamboo planks can be cut to size and used as shelves.
Natural oils like linseed or tung oil can seal and protect wood without toxic chemicals. These oils penetrate the wood, making it durable and water-resistant.
Upcycled materials like old drawer handles or knobs can be used as hooks or decorative elements. This reduces waste and adds unique character.
Solar-powered lights can be added to the shelf for a touch of eco-friendly lighting. These lights charge during the day and provide illumination at night.
Avoid adhesives with harmful chemicals. Use nails, screws, or eco-friendly glue to assemble the shelf. This ensures a sturdy build without compromising sustainability.
Repurpose old furniture parts. Legs from an old table or pieces from a broken chair can be transformed into shelf supports or decorative elements.
Your DIY Window Shelf Awaits
You've got all the steps to build your own DIY window shelf. From gathering materials to the final touches, you're ready to transform that window space. Remember, measuring accurately is key. Double-check those dimensions before cutting anything. When assembling, take your time to ensure everything fits snugly. A little patience goes a long way. Once it's up, you'll have a perfect spot for plants, books, or any other decor you fancy. Plus, you get the satisfaction of knowing you built it yourself. So grab those tools, roll up your sleeves, and get started. Your window shelf is just a few steps away from becoming a reality. Happy building!
What materials do I need for a DIY window shelf?
You'll need wood, brackets, screws, a saw, sandpaper, paint or stain, and a drill.
How do I measure for the shelf?
Measure the width of your window and decide how deep you want the shelf. Add a couple of inches to each side for brackets.
Can I use any type of wood?
Most types of wood will work, but pine or oak are popular choices. Just make sure it's sturdy and smooth.
How do I attach the brackets?
Use a drill to attach the brackets to the wall. Make sure they are level and secure before placing the shelf on top.
Should I paint or stain the shelf?
It's up to you! Paint gives a more finished look, while stain shows off the wood's natural grain.
How do I make sure the shelf is level?
Use a level when attaching the brackets and placing the shelf. Adjust as needed to ensure it's even.
Can I add decorations to the shelf?
Absolutely! Add plants, books, or knick-knacks to make it your own. Just don't overload it with too much weight.