
Home>Home & Furniture>Doors & Windows>How to Build a DIY Storm Shelter Door
Doors & Windows
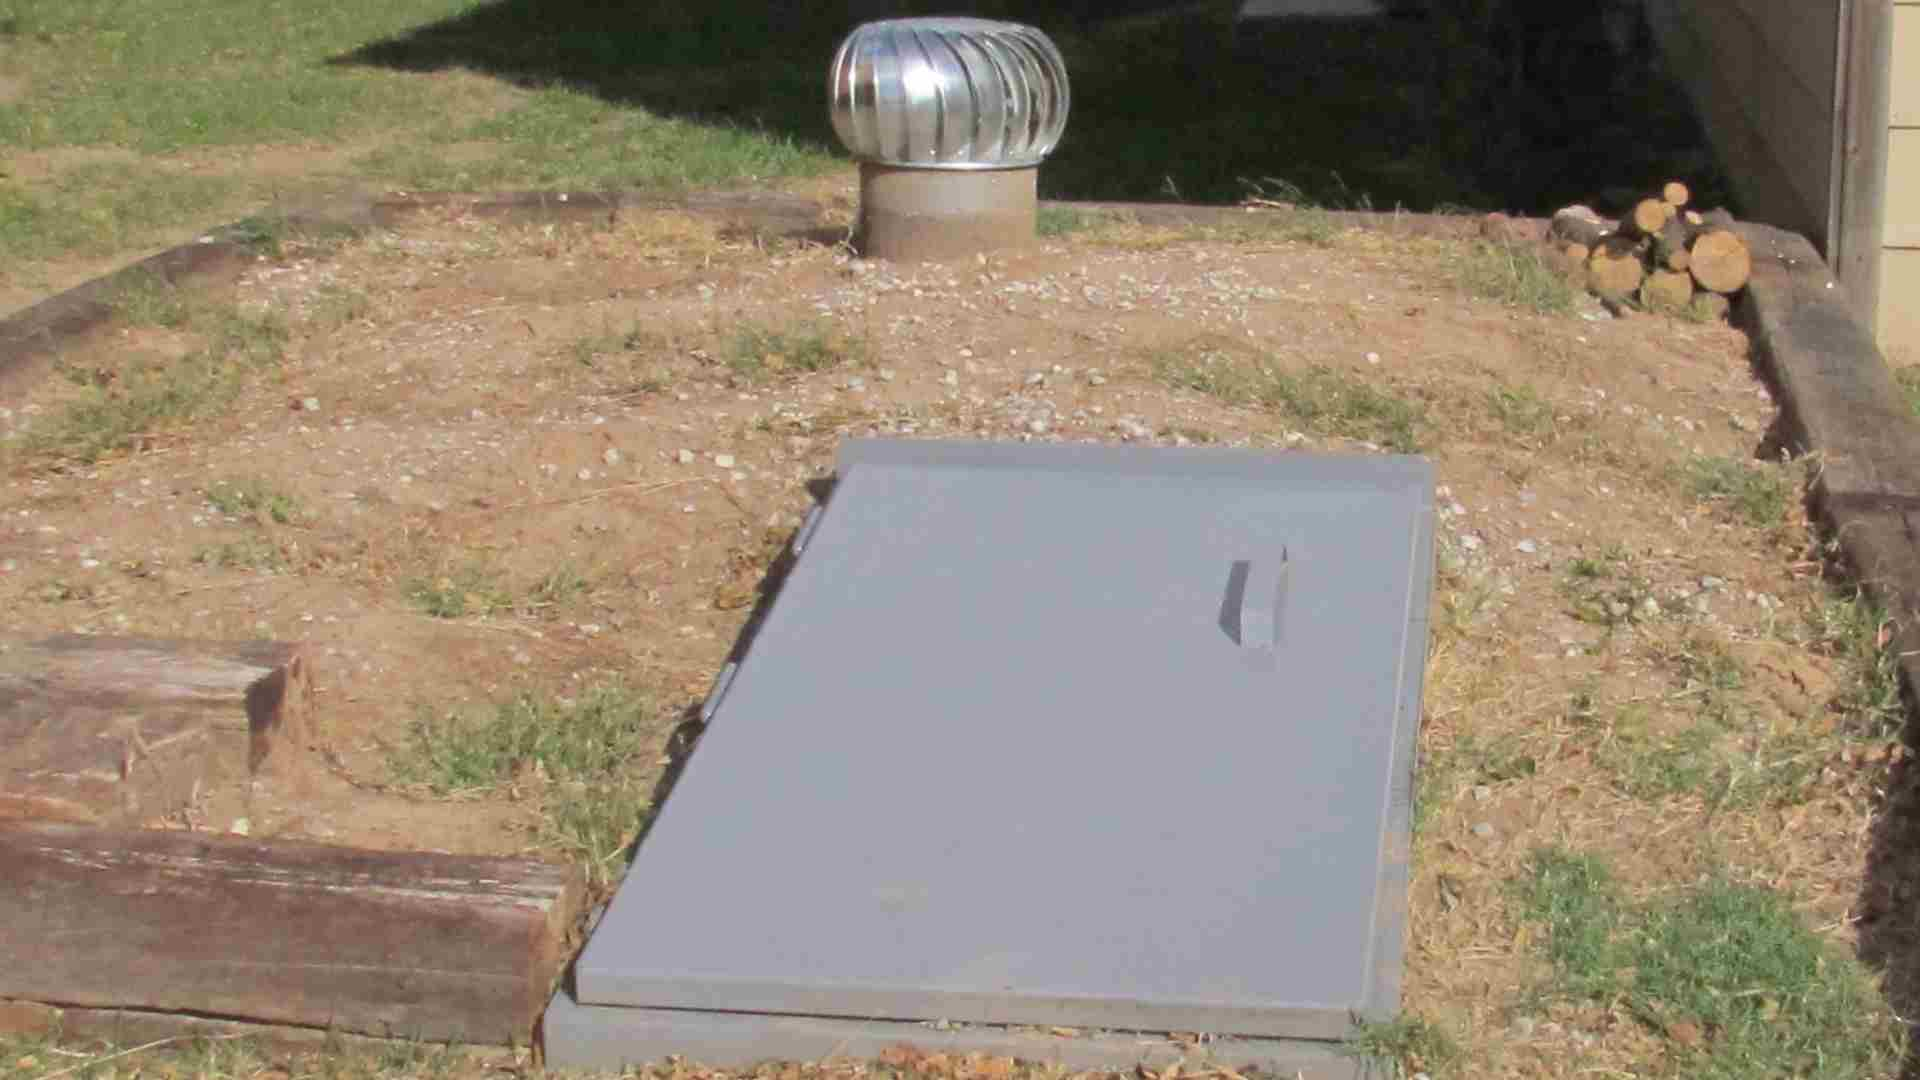
How to Build a DIY Storm Shelter Door
Published: September 22, 2024
Learn how to build a DIY storm shelter door with our step-by-step guide. Ensure safety and durability with expert tips and materials. Perfect for protecting your family.
(Many of the links in this article redirect to a specific reviewed product. Your purchase of these products through affiliate links helps to generate commission for Twigandthistle.com, at no extra cost. Learn more)
Building a storm shelter door might sound challenging, but it's doable with the right tools and materials. Having a sturdy door can make a huge difference in ensuring your safety during severe weather. This guide will take you step-by-step through the process, using materials you can find at most hardware stores. Whether you're looking for added security or peace of mind, creating a reliable door for your storm shelter is a worthwhile project. Let's roll up those sleeves and get started on making a door that stands strong against the worst storms.
Preparation Steps
Gather Materials: Collect all necessary materials like plywood, steel, hinges, bolts, and weather stripping. Ensure you have the right tools: a drill, saw, measuring tape, and safety gear.
Measure the Opening: Accurately measure the door frame where the storm shelter door will be installed. Double-check measurements to avoid mistakes.
Create a Workspace: Set up a clean, well-lit workspace. Lay down a tarp or old sheet to protect the floor. Ensure you have enough room to move around and work comfortably.
Safety Gear: Wear safety goggles, gloves, and a dust mask. Keep a first aid kit nearby. Ensure proper ventilation if working indoors.
Cut the Materials: Use a saw to cut the plywood and steel to the required dimensions. Sand the edges to remove splinters or sharp bits.
Pre-Drill Holes: Mark and pre-drill holes for hinges and bolts. This makes assembly easier and prevents the wood from splitting.
Attach Hinges: Secure the hinges to the door frame and the door itself. Ensure they are aligned correctly for smooth operation.
Install Weather Stripping: Apply weather stripping around the edges of the door to ensure a tight seal. This helps keep out wind and rain.
Test Fit: Before final installation, test fit the door to ensure it opens and closes smoothly. Make any necessary adjustments.
Secure the Door: Once satisfied with the fit, secure the door with bolts. Ensure it is sturdy and can withstand strong winds.
Final Check: Inspect the door for any gaps or weak points. Make sure all bolts and hinges are tight.
Materials and Tools Needed
- Plywood Sheets: Strong, durable wood for the door.
- Steel Reinforcement Bars: Adds strength to the door.
- Hinges: Heavy-duty hinges to support the door's weight.
- Screws and Bolts: Secure all parts together.
- Drill: For making holes for screws and bolts.
- Saw: To cut plywood to the right size.
- Measuring Tape: Ensures accurate measurements.
- Level: Keeps everything straight and even.
- Hammer: Drives nails and helps with assembly.
- Screwdriver: Tightens screws.
- Wrench: Tightens bolts.
- Safety Glasses: Protects eyes during construction.
- Gloves: Protects hands from splinters and sharp edges.
- Pencil: Marks measurements on wood.
- Sandpaper: Smooths rough edges on the wood.
Skill Level and Time Required
Skill Level: Intermediate
Time Required: Approximately 8-10 hours
- Gather Materials: 1 hour
- Measure and Cut Wood: 2 hours
- Assemble Frame: 1.5 hours
- Attach Metal Sheeting: 2 hours
- Install Hinges and Lock: 1.5 hours
- Final Adjustments and Testing: 1 hour
Step-by-Step Instructions
Gather Materials:
- Plywood (3/4 inch thick)
- Metal brackets
- Hinges
- Screws
- Drill
- Saw
- Measuring tape
- Weather stripping
- Handle and lock
Measure the Door Frame:
- Use the measuring tape to get the height and width of the door frame.
- Add 1/4 inch to each measurement for clearance.
Cut the Plywood:
- Mark the measurements on the plywood.
- Use the saw to cut the plywood to the correct size.
Attach Hinges:
- Place the hinges on one side of the plywood.
- Mark where the screws will go.
- Drill pilot holes for the screws.
- Attach the hinges to the plywood using screws.
Install Metal Brackets:
- Place metal brackets on each corner of the plywood for extra support.
- Drill pilot holes for the screws.
- Attach the brackets with screws.
Add Weather Stripping:
- Apply weather stripping around the edges of the plywood.
- Ensure it is secure and covers all gaps.
Install Handle and Lock:
- Mark where the handle and lock will go.
- Drill holes for the handle and lock.
- Attach the handle and lock to the plywood.
Mount the Door:
- Hold the door up to the frame.
- Mark where the hinges will attach to the frame.
- Drill pilot holes for the screws.
- Attach the door to the frame using screws.
Test the Door:
- Open and close the door to ensure it fits well.
- Check that the handle and lock work properly.
- Make any necessary adjustments.
Helpful Tips and Tricks
Measure accurately. Use a tape measure to get exact dimensions for the door frame. Cut materials precisely to fit snugly.
Use sturdy materials. Opt for steel or thick plywood. These materials withstand strong winds and debris.
Reinforce the frame. Add extra support beams around the door frame. This ensures the door stays secure during a storm.
Install heavy-duty hinges. Choose hinges rated for heavy loads. This prevents the door from sagging or breaking.
Seal gaps. Use weather stripping to seal any gaps around the door. This keeps out wind and water.
Add a secure lock. Install a deadbolt or heavy-duty latch. This keeps the door closed during high winds.
Paint or seal the door. Use weather-resistant paint or sealant. This protects the door from moisture and rust.
Common mistakes to avoid:
- Skipping measurements. Always measure twice, cut once.
- Using weak materials. Avoid thin wood or light metals.
- Ignoring frame reinforcement. A weak frame can fail during a storm.
- Choosing cheap hinges. Low-quality hinges can break under pressure.
- Forgetting to seal gaps. Unsealed gaps let in wind and water.
- Neglecting a strong lock. A weak lock can fail during high winds.
- Skipping paint or sealant. Unprotected materials can rot or rust.
Alternatives for materials or methods:
- Instead of steel, use fiberglass for a lighter but strong door.
- Use marine-grade plywood for better moisture resistance.
- Instead of traditional hinges, consider piano hinges for even weight distribution.
- For sealing, use silicone caulk instead of weather stripping for a tighter seal.
- Instead of a deadbolt, use a barrel bolt for added security.
Estimating the Cost
Plywood: $30 for a 4x8 sheet
Steel Reinforcement: $50 for steel bars
Hinges: $20 for heavy-duty hinges
Latch and Lock: $25 for a sturdy latch and lock
Weatherstripping: $10 for sealing
Concrete Anchors: $15 for a pack
Drill: $50 if you don't have one
Saw: $40 if needed
Screws and Bolts: $10 for a pack
Paint or Sealant: $20 for protection
Total Cost: Around $270
Budget-Friendly Alternatives:
- Use reclaimed wood instead of new plywood: $10
- Repurpose old hinges: Free if available
- Use a basic latch: $10
- Borrow tools from friends or family: Free
New Total Cost: Around $150
Different Variations and Customizations
Materials: Instead of using steel, consider reinforced wood for a rustic look. Fiberglass can also be an option for a lighter door.
Colors: Paint the door in bold colors like red or blue to make it stand out. For a more subtle look, use earth tones such as brown or green.
Styles: Add decorative hardware like antique handles or hinges for a vintage feel. For a modern touch, use sleek, minimalist handles and hinges.
Windows: Incorporate a small, shatterproof window to let in light while maintaining safety. Use frosted glass for privacy.
Insulation: Add foam insulation inside the door to improve temperature control and soundproofing.
Seals: Use weatherstripping around the edges to keep out moisture and debris. Consider rubber gaskets for a tighter seal.
Locks: Install a deadbolt for added security. For convenience, consider a keypad lock or smart lock.
Reinforcements: Add crossbars or metal braces for extra strength. Use corner brackets to reinforce the door frame.
Finish: Apply a waterproof sealant to protect against moisture. For a polished look, use a high-gloss finish.
Eco-Friendly Tips
Use reclaimed wood from old furniture or pallets for the door frame. This reduces waste and gives the door a sturdy structure. Recycled metal can be used for hinges and bolts, ensuring durability while being eco-friendly. Natural insulation materials like cork or wool can be added between layers of wood to improve thermal efficiency. Use non-toxic, low-VOC paints or finishes to protect the wood without harming the environment. For added strength, consider using recycled steel bars or mesh within the door. Finally, repurpose old rubber from tires for weather stripping to seal gaps and prevent water or debris from entering.
Your Shelter's Ready
You've got the know-how to build a DIY storm shelter door. With materials like steel, plywood, and bolts, you can create a sturdy and reliable door. Measuring your space accurately ensures a perfect fit. Cutting and assembling the pieces might take some time, but it's worth the effort. Installing the door with heavy-duty hinges and a secure lock adds that final touch of safety.
Remember, a well-built door can make all the difference during a storm. Don't rush the process; take your time to ensure everything is done right. Your safety and peace of mind are worth it. Now, you can rest easy knowing you've taken a big step in protecting your home and loved ones. Happy building!
How thick should the door be?
Aim for at least 1.5 inches thick. This ensures the door can withstand strong winds and debris.
What materials are best for a storm shelter door?
Use steel or solid wood. Steel offers the best protection, but solid wood can work if reinforced with metal.
How do I reinforce a wooden door?
Add metal sheets on both sides. Secure them with heavy-duty screws and bolts.
What kind of hinges should I use?
Use heavy-duty hinges. They should be able to support the door's weight and resist strong winds.
How do I make the door airtight?
Install weather stripping around the edges. This helps keep out wind, water, and debris.
Should the door open inward or outward?
It should open inward. This way, debris piled outside won't block your exit.
How do I secure the door?
Use multiple deadbolts and a sturdy latch. This ensures the door stays closed during a storm.