
Home>Home & Furniture>Doors & Windows>How to Build a DIY Plexiglass Door
Doors & Windows
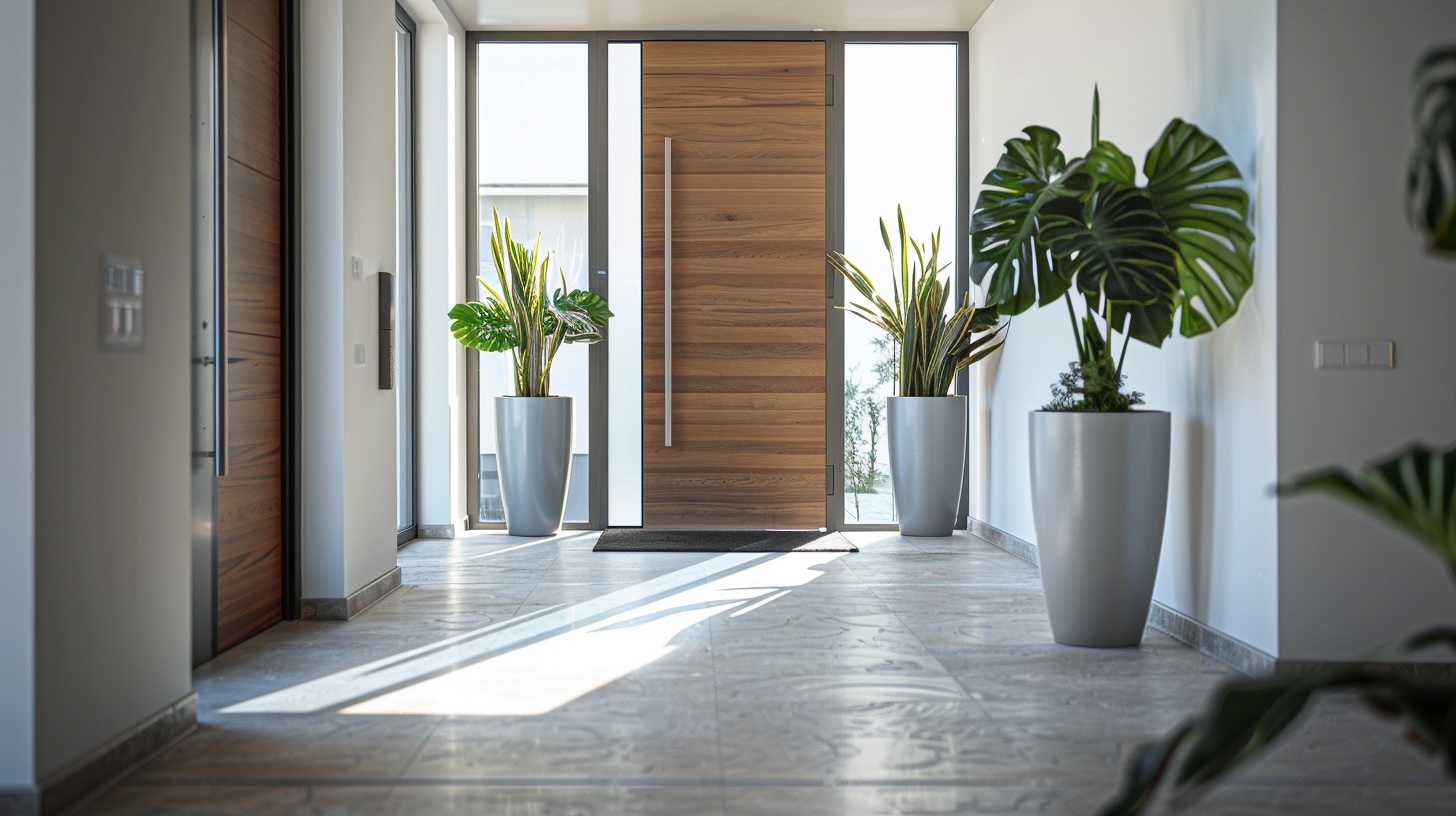
How to Build a DIY Plexiglass Door
Published: September 19, 2024
Learn how to build a DIY plexiglass door with our step-by-step guide. Perfect for adding a modern touch to your home. Easy, affordable, and customizable!
(Many of the links in this article redirect to a specific reviewed product. Your purchase of these products through affiliate links helps to generate commission for Twigandthistle.com, at no extra cost. Learn more)
Building a DIY plexiglass door can be a fun and rewarding project. Unlike traditional wooden doors, plexiglass doors are lightweight, durable, and add a modern touch to any home. With a few tools, some basic materials, and a bit of patience, you can create a custom door that suits your needs. Whether you want it for a cabinet, a shower, or even a room divider, this guide will walk you through the steps. Plus, making it yourself allows for customization in size, shape, and style. Ready to get started on your DIY journey? Let's dive in!
Getting Ready for Your Project
Measure the Door Frame: Use a tape measure to get the exact dimensions of the door frame. Write down the height and width.
Gather Materials: You'll need plexiglass, a wooden frame, screws, a drill, a saw, sandpaper, and safety gear like gloves and goggles.
Prepare the Workspace: Clear a large, flat area to work. Make sure it's well-lit and ventilated.
Safety First: Wear gloves to protect your hands from sharp edges and goggles to shield your eyes from debris.
Cut the Wood: Measure and cut the wood pieces for the frame. Sand the edges to smooth them out.
Assemble the Frame: Use screws and a drill to put the wooden frame together. Make sure it's sturdy and square.
Cut the Plexiglass: Measure and mark the plexiglass to fit the frame. Use a saw designed for cutting plexiglass to make precise cuts.
Attach the Plexiglass: Place the plexiglass into the frame. Secure it with screws, making sure not to overtighten and crack the material.
Check for Fit: Place the assembled door into the door frame to ensure it fits properly. Make any necessary adjustments.
Final Touches: Sand any rough edges and clean the plexiglass to remove fingerprints and dust.
Materials and Tools Checklist
Materials:
- Plexiglass Sheet: Clear, sturdy plastic for the door panel.
- Wooden Frame: Provides structure and support for the plexiglass.
- Wood Screws: Fasten the wooden frame together.
- Hinges: Allow the door to swing open and closed.
- Door Handle: For opening and closing the door.
- Sandpaper: Smooths the edges of the wooden frame.
- Wood Glue: Adds extra strength to the frame joints.
- Paint or Stain: Finishes the wooden frame to match your decor.
Tools:
- Measuring Tape: Ensures accurate measurements for cutting materials.
- Saw: Cuts the wooden frame pieces to size.
- Drill: Makes holes for screws and hinges.
- Screwdriver: Tightens screws into the frame.
- Clamps: Hold the frame pieces together while the glue dries.
- Paintbrush: Applies paint or stain to the wooden frame.
- Safety Glasses: Protects your eyes while cutting and drilling.
- Gloves: Keeps your hands safe from splinters and sharp edges.
Plexiglass sheets are clear plastic panels that serve as the main part of the door. Wooden frames provide structure and support. Wood screws fasten the frame together, while hinges allow the door to swing. A door handle makes opening and closing easy. Sandpaper smooths rough edges, and wood glue adds strength to joints. Paint or stain finishes the frame.
Measuring tapes ensure accurate cuts. Saws cut wood to size. Drills make holes for screws and hinges. Screwdrivers tighten screws. Clamps hold pieces together while glue dries. Paintbrushes apply finishes. Safety glasses protect eyes, and gloves keep hands safe.
Required Skills and Time Commitment
Skill Level: Intermediate
Time Required: 4-6 hours
- Measure and Cut: Measure the door frame. Cut the plexiglass to fit.
- Prepare the Frame: Sand and paint the door frame if needed.
- Install Hinges: Attach hinges to the frame.
- Secure Plexiglass: Use screws and brackets to secure the plexiglass.
- Attach Door Handle: Install a handle or knob.
Important Keywords: Measure, Cut, Prepare, Install, Secure, Attach
Detailed Building Instructions
Gather Materials:
- Plexiglass sheet
- Wooden frame pieces
- Screws
- Hinges
- Door handle
- Sandpaper
- Drill
- Screwdriver
- Measuring tape
- Saw
Measure and Cut:
- Measure the door opening.
- Cut the wooden frame pieces to fit the opening.
- Cut the plexiglass sheet to fit inside the frame.
Assemble the Frame:
- Sand the edges of the wooden pieces.
- Screw the frame pieces together to form a rectangle.
Attach Plexiglass:
- Place the plexiglass sheet inside the frame.
- Secure it with screws, ensuring it is tight but not cracked.
Install Hinges:
- Attach hinges to one side of the frame.
- Ensure they are evenly spaced.
Mount the Door:
- Hold the door in place.
- Screw the hinges into the door frame.
Add Handle:
- Attach the door handle on the opposite side of the hinges.
- Ensure it is at a comfortable height.
Test the Door:
- Open and close the door to ensure it swings smoothly.
- Make any necessary adjustments.
Helpful Tips for Success
Measure twice, cut once. Always double-check your measurements before cutting the plexiglass. Use a fine-toothed saw or a scoring tool for clean cuts. Sand edges with fine-grit sandpaper to avoid sharp edges. Drill slowly when making holes to prevent cracking. Use masking tape on the plexiglass where you plan to cut or drill to reduce chipping.
Common mistakes include not using the right tools and rushing the process. Avoid using a regular saw, which can cause cracks. Don’t skip pre-drilling holes for screws; plexiglass can split easily.
For alternatives, consider using polycarbonate sheets instead of plexiglass. They are more impact-resistant and easier to work with. If you don’t have a fine-toothed saw, a hacksaw with a fine blade can work in a pinch. Instead of screws, adhesive strips or double-sided tape can be used for a cleaner look.
Budgeting for Your DIY Plexiglass Door
Plexiglass Sheet: $50-$100 depending on size and thickness.
Wood for Frame: $20-$50 for pine or poplar. Hardwood like oak or maple costs more.
Hinges: $10-$20 for a set of three.
Handle/Knob: $10-$30 depending on style.
Screws and Nails: $5-$10 for a mixed pack.
Wood Glue: $5-$10 for a small bottle.
Sandpaper: $5 for a pack.
Paint or Stain: $10-$20 for a small can.
Brushes/Rollers: $5-$10 for a set.
Drill: $30-$100 if you don't already have one.
Saw: $20-$50 for a hand saw, more for a power saw.
Clamps: $10-$30 for a set.
Safety Gear: $10-$20 for goggles and gloves.
Budget-friendly alternatives:
- Use reclaimed wood for the frame to save money.
- Borrow tools from friends or family.
- Look for sales or discounts at local hardware stores.
Creative Customization Ideas
Materials: Instead of plexiglass, consider using tempered glass for a more durable option. For a rustic look, try reclaimed wood instead of new wood for the frame. Metal frames can give an industrial feel.
Colors: Paint the frame in bold colors like red or blue for a modern touch. For a more classic look, use neutral colors like white, black, or gray. Stain the wood in natural tones to highlight the grain.
Styles: Add frosted plexiglass for privacy. Use etched designs on the plexiglass for a decorative touch. Incorporate sliding door hardware for a barn door style. Install hinges for a traditional swinging door.
Handles and Knobs: Choose vintage handles for a classic look. Use sleek, modern handles for a contemporary style. Try custom-made handles for a unique touch.
Additional Features: Add a lock for security. Install a door closer for automatic closing. Use weatherstripping to make it more energy-efficient. Add a kick plate at the bottom for protection.
Eco-Friendly Building Practices
Reusing old materials can make your project more eco-friendly. Look for reclaimed wood for the door frame. It adds character and reduces waste.
For the plexiglass, try to find recycled sheets. Some companies offer plexiglass made from recycled plastics. This helps cut down on new plastic production.
Use non-toxic paint or stain for finishing the wood. These options are better for the environment and your health.
When attaching the plexiglass, consider using eco-friendly adhesives. These are less harmful to the environment compared to traditional glues.
If you need hardware like hinges or handles, check out second-hand stores or online marketplaces. You can often find quality items that just need a little cleaning up.
Lastly, make sure to recycle any leftover materials. Many communities have recycling programs for wood and plastic. This keeps waste out of landfills and gives materials a second life.
Your DIY Plexiglass Door Awaits
You've got all the tools and materials ready. Measure your door frame accurately, then cut the plexiglass to fit. Sand the edges smooth to avoid any sharp bits. Attach the hinges to the frame and the door, ensuring they align perfectly. Secure the plexiglass with screws, making sure it's snug but not too tight. Finally, add a handle or knob for easy access.
This project not only saves money but also gives a sense of accomplishment. Plus, you get a custom door that fits your style. So, grab your tools and get started. Your new plexiglass door is just a few steps away. Happy building!
What materials do I need to build a DIY plexiglass door?
You'll need plexiglass sheets, wood for the frame, screws, hinges, a drill, a saw, measuring tape, sandpaper, and paint or stain if you want to finish the wood.
How do I cut plexiglass without cracking it?
Use a fine-toothed saw or a special plexiglass cutter. Score the plexiglass several times along the cut line, then snap it along the scored line. Always wear safety goggles and gloves.
Can I use regular wood for the frame?
Yes, you can use regular wood like pine or oak. Just make sure it's straight and sturdy. You might want to sand and paint or stain it to match your decor.
How do I attach the plexiglass to the wood frame?
Drill pilot holes in the plexiglass and the wood frame. Use screws with washers to secure the plexiglass to the frame. Be careful not to over-tighten the screws to avoid cracking the plexiglass.
What kind of hinges should I use?
Use heavy-duty hinges that can support the weight of the door. Butt hinges or continuous hinges work well for this type of project.
How do I measure for the door?
Measure the height and width of the door opening. Subtract about 1/4 inch from each measurement to ensure the door fits properly and can swing freely.
Can I paint or stain the plexiglass?
Plexiglass itself can't be painted or stained, but you can paint or stain the wood frame. If you want to add some color to the plexiglass, consider using window film or tinted plexiglass.