
Home>Home & Furniture>Doors & Windows>DIY: How to Build an Exterior Dutch Door
Doors & Windows
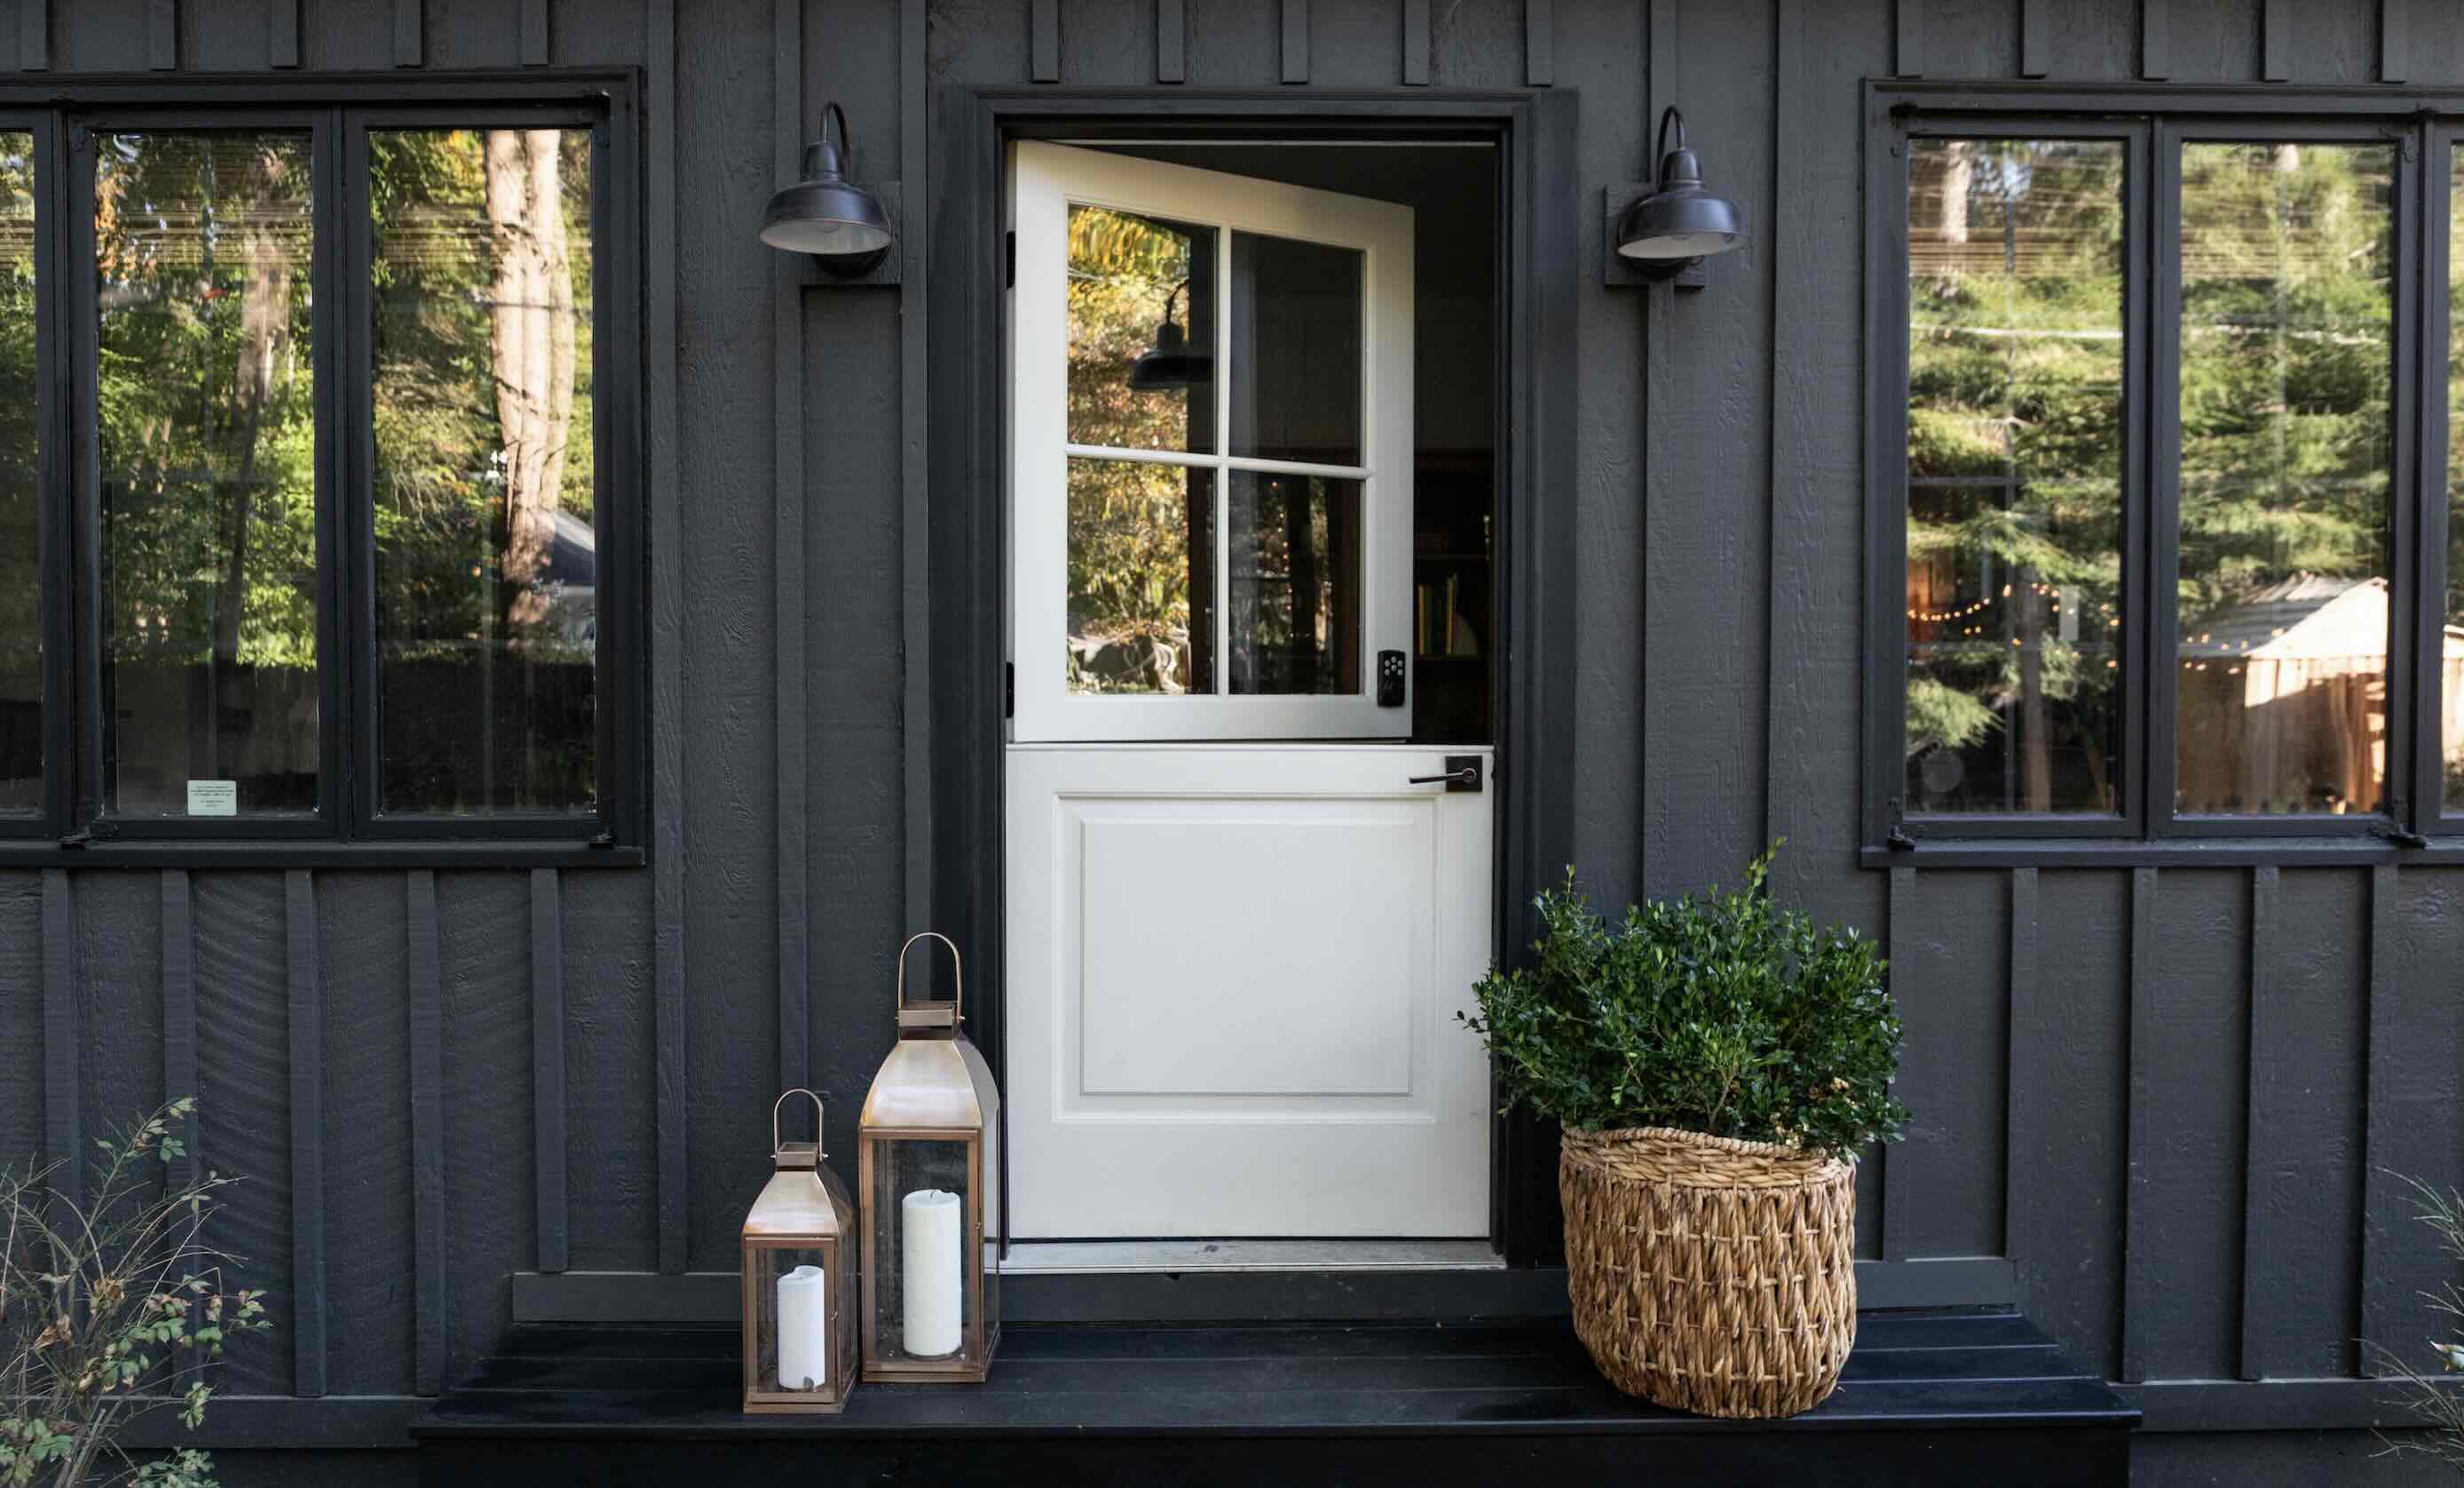
DIY: How to Build an Exterior Dutch Door
Published: September 13, 2024
Learn how to build an exterior Dutch door with our step-by-step DIY guide. Perfect for adding charm and functionality to your home. Get started on your project today!
(Many of the links in this article redirect to a specific reviewed product. Your purchase of these products through affiliate links helps to generate commission for Twigandthistle.com, at no extra cost. Learn more)
Building an exterior Dutch door can add charm and function to your home. Dutch doors, split horizontally, allow the top half to open while the bottom stays closed. This style helps with ventilation, keeping pets or small children inside while letting in fresh air and natural light. Plus, it has a unique, rustic appeal that stands out. Crafting one yourself might seem tricky, but with the right tools and steps, you can create a beautiful, custom door. Get ready to dive into woodworking, learn some new skills, and enjoy the satisfaction of completing this practical, eye-catching project.
Getting Ready for Your Project
Gather Materials: Collect wood, hinges, screws, door handle, latch, saw, drill, measuring tape, sandpaper, paint, and primer.
Measure Door Frame: Measure the height and width of the door frame to ensure the new door fits perfectly.
Cut Wood: Cut the wood to match the measurements of the door frame. Remember, a Dutch door is split into two halves.
Sand Wood: Sand the edges and surfaces of the wood pieces to remove splinters and rough spots.
Prime and Paint: Apply primer to the wood pieces. Once dry, paint them in your desired color. Let them dry completely.
Install Hinges: Attach hinges to both the top and bottom halves of the door. Ensure they align properly when the door is closed.
Attach Handle and Latch: Install the door handle on the top half and the latch that will connect the two halves.
Safety Gear: Wear safety goggles and gloves to protect your eyes and hands while cutting and sanding wood.
Set Up Workspace: Ensure your workspace is clean, well-lit, and has enough room to move around. Keep tools organized and within reach.
Check for Level: Use a level to ensure the door hangs straight. Adjust as necessary before finalizing the installation.
Gathering Materials and Tools
Wood Panels: These will form the main structure of the door. Choose sturdy, weather-resistant wood like oak or cedar.
Hinges: You'll need at least four heavy-duty hinges, two for the top half and two for the bottom half of the door.
Latch and Lock: A latch for the top half and a lock for the bottom half will keep your door secure.
Door Handle: One for each half of the door. Make sure they match in style and finish.
Screws and Nails: Essential for attaching hinges, handles, and other hardware.
Wood Glue: Provides extra strength to the joints and connections.
Sandpaper: Smooths out rough edges and surfaces before painting or staining.
Paint or Stain: Protects the wood from the elements and gives it a finished look.
Paintbrushes or Rollers: For applying paint or stain evenly.
Measuring Tape: Ensures accurate measurements for cutting and fitting.
Saw: A circular saw or handsaw will be needed to cut the wood panels to size.
Drill: For making holes for screws and other hardware.
Screwdriver: Tightens screws securely.
Clamps: Hold pieces of wood together while the glue dries.
Level: Ensures your door is perfectly straight and even.
Chisel: Useful for making precise cuts and adjustments.
Safety Gear: Includes gloves, goggles, and a dust mask to protect yourself while working.
Skill Level and Time Commitment
Skill Level: Intermediate
Time Required: Approximately 6-8 hours
- Measure and Cut: 1 hour
- Assemble Door Panels: 2 hours
- Install Hinges and Hardware: 2 hours
- Sand and Paint: 1-2 hours
Step-by-Step Guide
Gather Materials and Tools
- Wooden door
- Hinges (4)
- Door handle and lock
- Saw
- Drill
- Screws
- Sandpaper
- Paint or stain
- Measuring tape
- Pencil
Measure and Mark
- Use the measuring tape to find the center of the door.
- Mark a straight line across the door with a pencil.
Cut the Door
- Place the door on a stable surface.
- Use the saw to cut along the marked line, creating two separate pieces.
Sand the Edges
- Smooth the cut edges with sandpaper to remove splinters.
Install Hinges
- Attach two hinges on the top half of the door.
- Attach the other two hinges on the bottom half.
- Make sure hinges are aligned properly.
Attach the Door
- Secure the top half of the door to the door frame using screws.
- Repeat for the bottom half, ensuring both parts align correctly.
Install Handle and Lock
- Drill holes for the door handle and lock on the top half.
- Attach the handle and lock according to the manufacturer's instructions.
Paint or Stain
- Apply paint or stain to the door for protection and aesthetics.
- Allow it to dry completely before use.
Test the Door
- Open and close both halves to ensure smooth operation.
- Make any necessary adjustments to hinges or alignment.
Helpful Tips and Tricks
Measure Twice, Cut Once: Always double-check measurements before cutting. This prevents wasted materials and ensures a perfect fit.
Use Quality Wood: Choose weather-resistant wood like cedar or redwood. These types hold up better against the elements.
Proper Hinges: Install heavy-duty hinges to support the weight of the door. Dutch doors need extra support due to their split design.
Weather Stripping: Apply weather stripping to both halves of the door. This keeps drafts out and improves energy efficiency.
Latch Placement: Place the latch between the top and bottom halves carefully. It should be easy to reach but secure enough to hold the door together.
Sand Smooth: Sand all edges and surfaces to avoid splinters. A smooth finish also helps with painting or staining.
Prime and Paint: Use a primer before painting to ensure the paint adheres well. Choose exterior-grade paint for durability.
Common Mistakes to Avoid:
Incorrect Measurements: Misjudging measurements can lead to gaps or misalignment. Always double-check.
Weak Hinges: Using standard hinges can cause sagging. Opt for heavy-duty ones.
Skipping Weather Stripping: This can lead to drafts and higher energy bills. Always include it.
Poor Latch Placement: A poorly placed latch can make the door difficult to use. Measure carefully.
Alternatives for Materials or Methods:
Composite Wood: Instead of natural wood, consider composite wood. It’s durable and often more weather-resistant.
Pre-made Dutch Door Kits: For those less confident in their carpentry skills, pre-made kits are available. These kits include all necessary parts and instructions.
Magnetic Latches: Instead of traditional latches, use magnetic latches for a modern touch. They’re easy to install and use.
Budgeting Your Project
Materials:
- Wood: $100-$150 (depends on type and quality)
- Hinges: $20-$30 (heavy-duty recommended)
- Door Handle and Lock: $30-$50
- Weatherstripping: $10-$20
- Wood Screws: $5-$10
- Wood Glue: $5-$10
- Paint or Stain: $20-$40
Tools:
- Circular Saw: $50-$100 (or rent for $20/day)
- Drill: $30-$60
- Screwdriver Set: $10-$20
- Measuring Tape: $5-$10
- Sandpaper: $5-$10
- Paintbrushes: $5-$10
Total Cost: $295-$520
Budget-Friendly Alternatives:
- Reclaimed Wood: $50-$100 (cheaper and eco-friendly)
- Basic Hinges: $10-$15
- Second-hand Tools: Check local thrift stores or online marketplaces for deals
- DIY Paint: Mix leftover paints for a unique color
Total Cost with Alternatives: $200-$350
Unique Variations and Customizations
Materials: Instead of traditional wood, consider using fiberglass or steel for added durability and security. Fiberglass can mimic wood grain, giving a classic look without the maintenance. Steel offers a modern, sleek appearance and is highly secure.
Colors: Paint the door in bold colors like red, navy blue, or forest green to make a statement. For a more subtle look, use neutral tones such as beige, gray, or white. You can also try a two-tone effect by painting the top and bottom halves in different colors.
Styles: Add decorative trim or molding to give the door a more elegant appearance. Consider installing glass panels in the top half for added light and a touch of sophistication. For a rustic look, use reclaimed wood and add iron hardware.
Hardware: Swap out standard hinges and handles for decorative options like antique brass, matte black, or brushed nickel. Install a slide bolt or latch to secure the two halves together when needed.
Finishes: Use a stain instead of paint to highlight the natural wood grain. Apply a clear coat for protection and a polished look. For a weathered effect, try a distressed finish by lightly sanding the edges and corners.
Additional Features: Add a mail slot or peephole for functionality. Install a kick plate at the bottom to protect the door from scuffs and scratches. Consider adding weatherstripping to improve insulation and keep out drafts.
Eco-Friendly Building Tips
Reclaimed Wood: Use old barn wood or salvaged lumber. This reduces waste and gives the door a rustic look.
Non-Toxic Paints: Choose eco-friendly paints or stains. These have fewer harmful chemicals and are better for the environment.
Recycled Hardware: Find hinges, handles, and locks at salvage yards or reuse old ones. This saves money and resources.
Insulation: Add natural fiber insulation like wool or cotton between the door panels. This helps keep your home energy-efficient.
Sealants: Opt for water-based sealants. They are less harmful to the environment and still protect your door from the elements.
Energy-Efficient Glass: If adding windows, use double-pane or low-E glass. This improves insulation and reduces energy costs.
Local Sourcing: Buy materials from local suppliers. This reduces the carbon footprint associated with transportation.
Solar-Powered Tools: Use solar-powered or hand tools when possible. This cuts down on electricity use and is more sustainable.
Composting Sawdust: Collect sawdust and wood scraps for composting. This keeps waste out of landfills and enriches your garden soil.
Upcycled Decorations: Add character with upcycled items like old doorknobs or decorative trim. This gives your door a unique touch and reuses materials.
Your DIY Dutch Door Awaits
You've got all the steps to build your own exterior Dutch door. From gathering materials to the final installation, each part is crucial. Remember, patience and precision are key. Measure twice, cut once. Don't rush the painting or sealing; these steps protect your door from the elements. If you hit a snag, take a break and revisit the problem with fresh eyes. DIY projects can be challenging, but the satisfaction of completing them is worth it. Plus, you'll have a unique, custom door that adds charm to your home. So, roll up your sleeves, grab your tools, and get started. Your new Dutch door is just a few steps away. Happy building!
What materials do I need to build an exterior Dutch door?
You'll need wood, hinges, a doorknob, screws, a saw, sandpaper, paint or stain, and a drill.
How do I measure for a Dutch door?
Measure the door frame's height and width. Divide the height in half to get the measurements for the top and bottom sections.
Can I convert an existing door into a Dutch door?
Yes, you can! Just cut the door in half, add hinges to both sections, and install a latch to keep the halves together when needed.
How do I ensure the door halves align properly?
Use a level and clamps to hold the sections in place while attaching the hinges. This keeps everything straight and aligned.
What type of wood is best for an exterior Dutch door?
Hardwoods like oak, mahogany, or maple are durable and weather-resistant, making them ideal for exterior doors.
How do I weatherproof my Dutch door?
Apply weatherstripping around the edges, use a sealant on the wood, and ensure the paint or stain is suitable for outdoor use.
Can I add a window to my Dutch door?
Absolutely! Just cut out a section in the top half, install a window frame, and secure the glass with glazing points and putty.