
Home>Home & Furniture>Doors & Windows>DIY Door Knocker Makeover
Doors & Windows
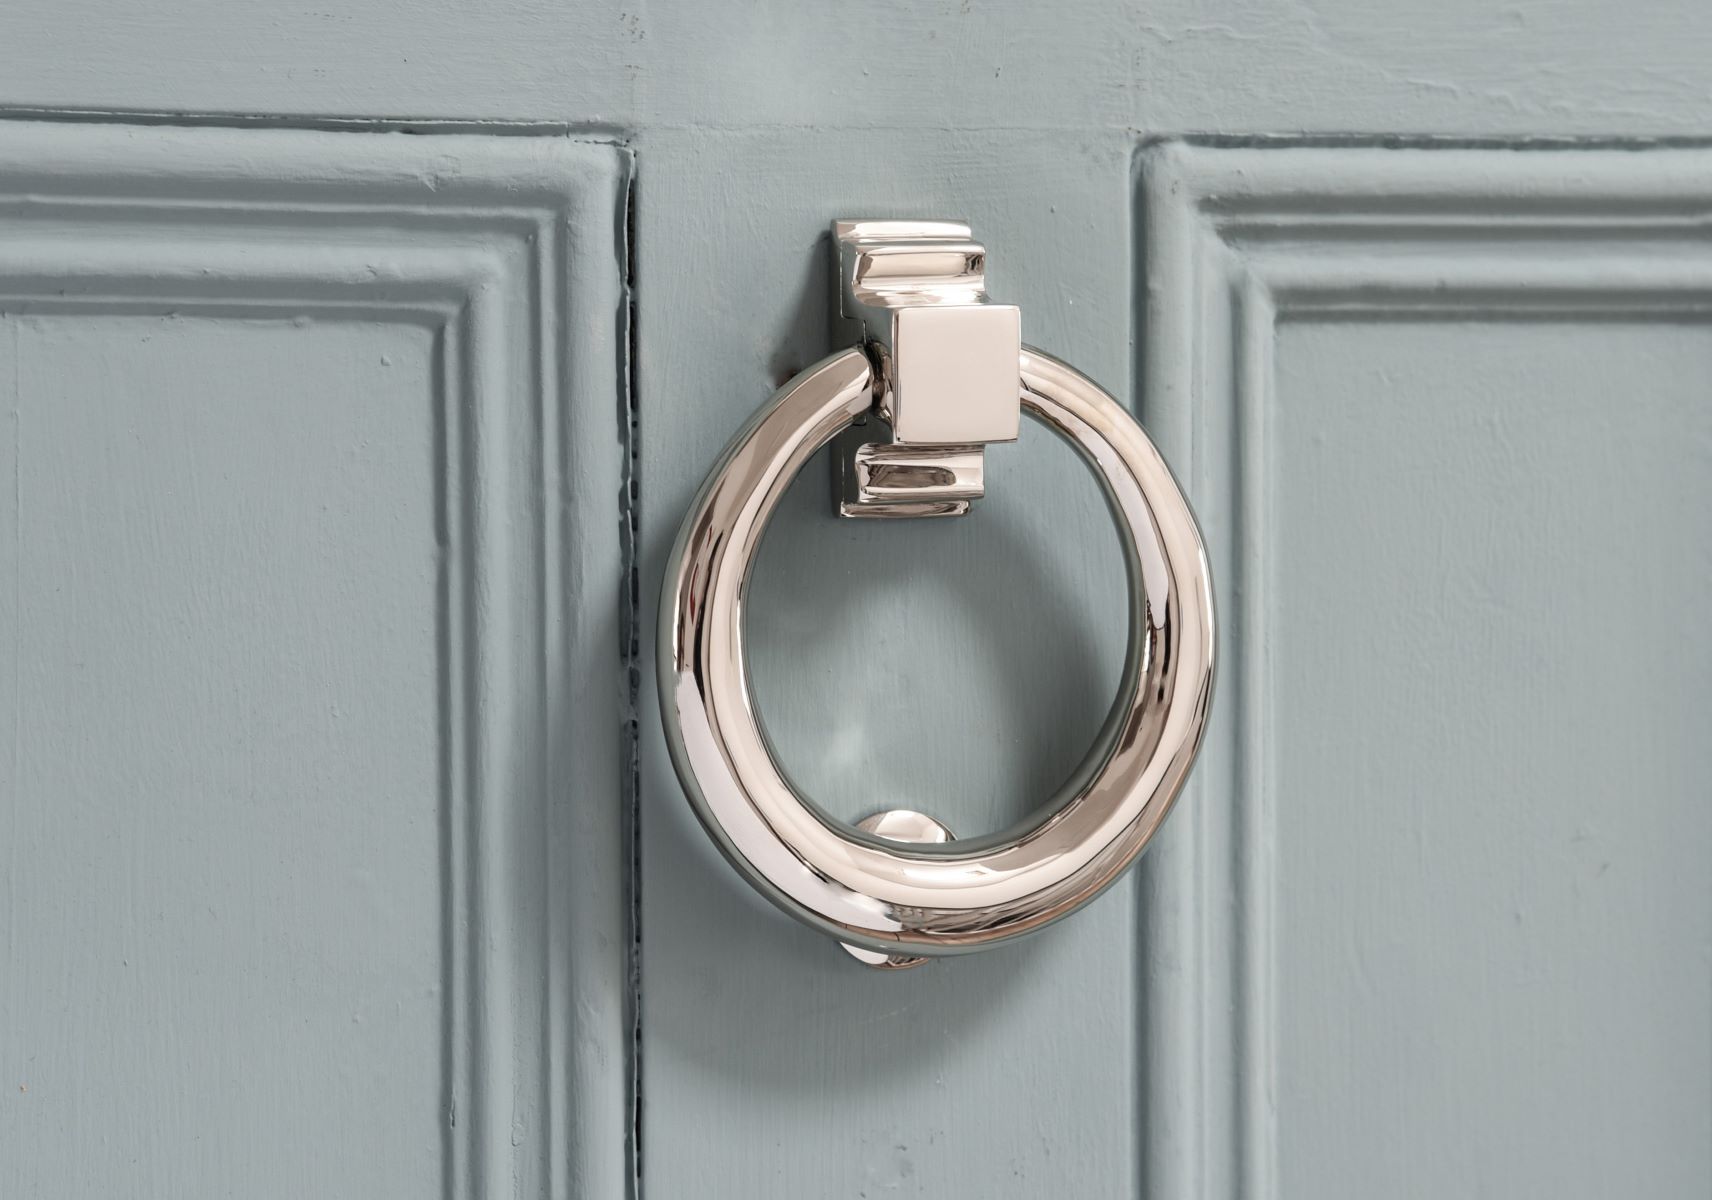
DIY Door Knocker Makeover
Published: September 11, 2024
Transform your entryway with a DIY door knocker makeover! Follow our step-by-step guide to refresh your door's look and boost curb appeal effortlessly.
(Many of the links in this article redirect to a specific reviewed product. Your purchase of these products through affiliate links helps to generate commission for Twigandthistle.com, at no extra cost. Learn more)
Looking to give your front door a fresh look without spending much money? A DIY door knocker makeover might be just the project you need. It’s a simple and fun way to add a personal touch to your home’s entryway. Whether your current door knocker looks outdated or you just want a change, this quick project can make a big difference. With a few materials and a bit of creativity, you can transform that ordinary piece into something special. Ready to get started? Let’s jump into this easy and rewarding home improvement task!
Getting Ready for Your Project
Gather Materials: Get a screwdriver, drill, measuring tape, painter's tape, sandpaper, primer, paint, and the new door knocker.
Safety First: Wear safety goggles and gloves to protect your eyes and hands.
Clear Workspace: Ensure the area around the door is free of clutter. Lay down a drop cloth to catch any debris or paint drips.
Remove Old Knocker: Use the screwdriver to take off the old door knocker. Keep the screws in a safe place in case you need them later.
Clean Surface: Wipe the door with a damp cloth to remove dust and dirt. Let it dry completely.
Mark New Holes: Use the measuring tape to find the center of the door. Mark where the new knocker will go with a pencil.
Drill Holes: Carefully drill holes where you marked. Make sure they are the right size for the screws that came with the new knocker.
Sand and Prime: Lightly sand the area where the old knocker was to smooth out any rough spots. Apply primer to ensure the paint sticks well.
Paint Door: Once the primer is dry, paint the door. Let it dry completely before moving on.
Install New Knocker: Align the new knocker with the drilled holes. Use the screws to attach it securely.
Final Check: Make sure the knocker is level and firmly attached. Clean up your workspace and admire your work!
What You’ll Need
- Door Knocker: Choose a new one that matches your style.
- Screwdriver: Needed to remove the old knocker and install the new one.
- Drill: For making new holes if the new knocker doesn't align with the old ones.
- Drill Bits: Ensure you have the right size for the screws.
- Measuring Tape: To measure and mark the correct placement.
- Pencil: For marking where to drill.
- Level: Ensures the knocker is straight.
- Screws: Often come with the new knocker, but have extras just in case.
- Anchors: Useful if the door material is not solid wood.
- Sandpaper: Smooths out any rough edges around the holes.
- Paint or Stain: Optional, for touch-ups around the installation area.
- Safety Glasses: Protects your eyes while drilling.
- Dust Cloth: Wipes away any debris after drilling.
Skill Level and Time Commitment
Skill Level: Beginner
Time Required: 1-2 hours
- Remove the old knocker: 10-15 minutes
- Clean the door surface: 10-15 minutes
- Paint or polish the new knocker: 30-45 minutes (including drying time)
- Install the new knocker: 20-30 minutes
This project is simple and can be completed in an afternoon.
How to Do It: Step-by-Step
Gather Materials:
- Door knocker
- Screwdriver
- Sandpaper (medium and fine grit)
- Primer
- Paint (your choice of color)
- Paintbrush
- Clear sealant
Remove Door Knocker:
- Use a screwdriver to unscrew the door knocker from the door.
- Keep screws in a safe place.
Clean the Knocker:
- Wipe it down with a damp cloth to remove dirt and grime.
- Let it dry completely.
Sand the Surface:
- Use medium-grit sandpaper to remove old paint or rust.
- Follow with fine-grit sandpaper for a smooth finish.
- Wipe off dust with a clean cloth.
Apply Primer:
- Lay down newspaper or a drop cloth.
- Apply a thin coat of primer to the knocker.
- Let it dry according to the primer’s instructions.
Paint the Knocker:
- Apply the first coat of paint using a paintbrush.
- Allow it to dry completely.
- Apply a second coat if needed for full coverage.
- Let it dry thoroughly.
Seal the Paint:
- Apply a clear sealant to protect the paint.
- Let it dry completely.
Reattach the Knocker:
- Line up the knocker with the screw holes on the door.
- Use the screwdriver to secure it back in place.
Final Touches:
- Ensure the knocker is firmly attached.
- Clean any smudges or fingerprints from the door.
Helpful Tips and Tricks
Clean the Surface: Before starting, make sure the door is clean. Dirt and grime can mess up your paint job.
Remove the Knocker: Take off the door knocker to avoid getting paint on it. Use a screwdriver to remove screws.
Sand the Area: Lightly sand the area where the knocker was. This helps the paint stick better.
Use Painter's Tape: Tape around the area where the knocker goes. This keeps paint off parts you don’t want painted.
Prime First: Apply a coat of primer before painting. Primer helps the paint last longer.
Choose the Right Paint: Use exterior paint for durability. It withstands weather better.
Apply Thin Coats: Apply thin coats of paint. Thick coats can drip and look messy.
Reattach the Knocker: Once the paint is dry, reattach the door knocker. Make sure it’s secure.
Common Mistakes to Avoid:
- Skipping Primer: Paint may peel without primer.
- Not Sanding: Paint won’t stick well to a smooth surface.
- Thick Coats: Thick paint can drip and take longer to dry.
Alternatives:
- Spray Paint: Use spray paint for a smoother finish.
- New Knocker: Replace the old knocker with a new one for a fresh look.
- Decorative Screws: Use decorative screws to add a unique touch.
Budgeting for Your Makeover
Door Knocker: $10-$30
Spray Paint: $5-$10
Sandpaper: $3-$5
Painter's Tape: $3-$5
Screwdriver: $5-$15
Drop Cloth: $5-$10
Total Cost: $31-$75
Budget-Friendly Alternatives:
- Reuse an old door knocker: Free
- Borrow tools from friends or family: Free
- Use old newspapers instead of a drop cloth: Free
- Buy a small can of paint instead of spray paint: $3-$5
Different Ways to Customize
Materials: Use brass for a classic look, stainless steel for modern appeal, or wood for a rustic touch. Ceramic or glass can add an artistic flair.
Colors: Paint the knocker in bold colors like red or blue for a pop of color. Use metallic finishes like gold, silver, or bronze for elegance. Pastel shades can give a soft, vintage feel.
Styles: Opt for a traditional lion head design for a timeless look. Choose geometric shapes for a contemporary style. Animal shapes like owls or birds can add a whimsical touch.
Finishes: Apply a matte finish for a subtle, understated look. Use a glossy finish for a sleek, polished appearance. A distressed finish can give a vintage, worn-in look.
Personalization: Add initials or house numbers for a custom touch. Use stencils to create unique patterns or designs. Attach small decorative elements like beads or charms for added detail.
Mounting: Use screws for a secure, permanent attachment. Opt for adhesive strips for a less invasive method. Magnetic mounts can allow for easy removal and repositioning.
Eco-Friendly Ideas
Reusing an old door knocker can be a great start. Clean it with a mixture of vinegar and water to remove rust or dirt. Sand the surface lightly to prepare it for a new finish.
For a fresh look, use eco-friendly paint or natural oils like linseed oil. These options are less harmful to the environment. Avoid spray paints with harmful chemicals.
If you need new hardware, look for recycled metal options. Many stores offer products made from reclaimed materials.
Consider adding a wooden backing to your knocker. Use scrap wood or reclaimed wood from old furniture. Sand and finish the wood with natural stains or beeswax.
For a unique touch, decorate the knocker with recycled glass beads or old buttons. Attach them using eco-friendly glue.
Finally, when attaching the knocker to your door, use recycled screws or nails. This reduces waste and gives your project an extra green touch.
Your Door Knocker's New Look
You've transformed your door knocker into a unique piece that adds charm to your home. By following these simple steps, you’ve not only saved money but also added a personal touch. Remember, the key to any DIY project is patience and creativity. Don’t be afraid to experiment with colors and designs. If you ever feel stuck, there are plenty of resources and communities online to help. Now, every time you or a guest uses that door knocker, you’ll have a little reminder of your handiwork. Keep this momentum going and tackle more DIY projects around your home. Who knows what you’ll create next? Happy crafting!
How do I remove the old door knocker?
Use a screwdriver to unscrew the screws holding the old knocker in place. If it's stuck, gently pry it off with a flathead screwdriver.
What tools will I need for this project?
You'll need a screwdriver, drill, measuring tape, pencil, and possibly a level.
Can I install a new door knocker on a metal door?
Yes, you can! Just make sure to use screws and a drill bit designed for metal.
How do I ensure the new knocker is level?
Use a level to check the alignment before drilling holes. Mark the spots with a pencil.
What if the new knocker's holes don't match the old ones?
Fill the old holes with wood filler or putty. Sand it smooth, then paint over it before drilling new holes.
Should I paint or stain the door before installing the new knocker?
It's a good idea to paint or stain first. This way, you won't have to work around the new hardware.
How high should I install the door knocker?
Typically, door knockers are installed at eye level, around 4.5 to 5 feet from the ground.