
Home>Home & Furniture>Doors & Windows>DIY Door Flood Barrier Ideas
Doors & Windows
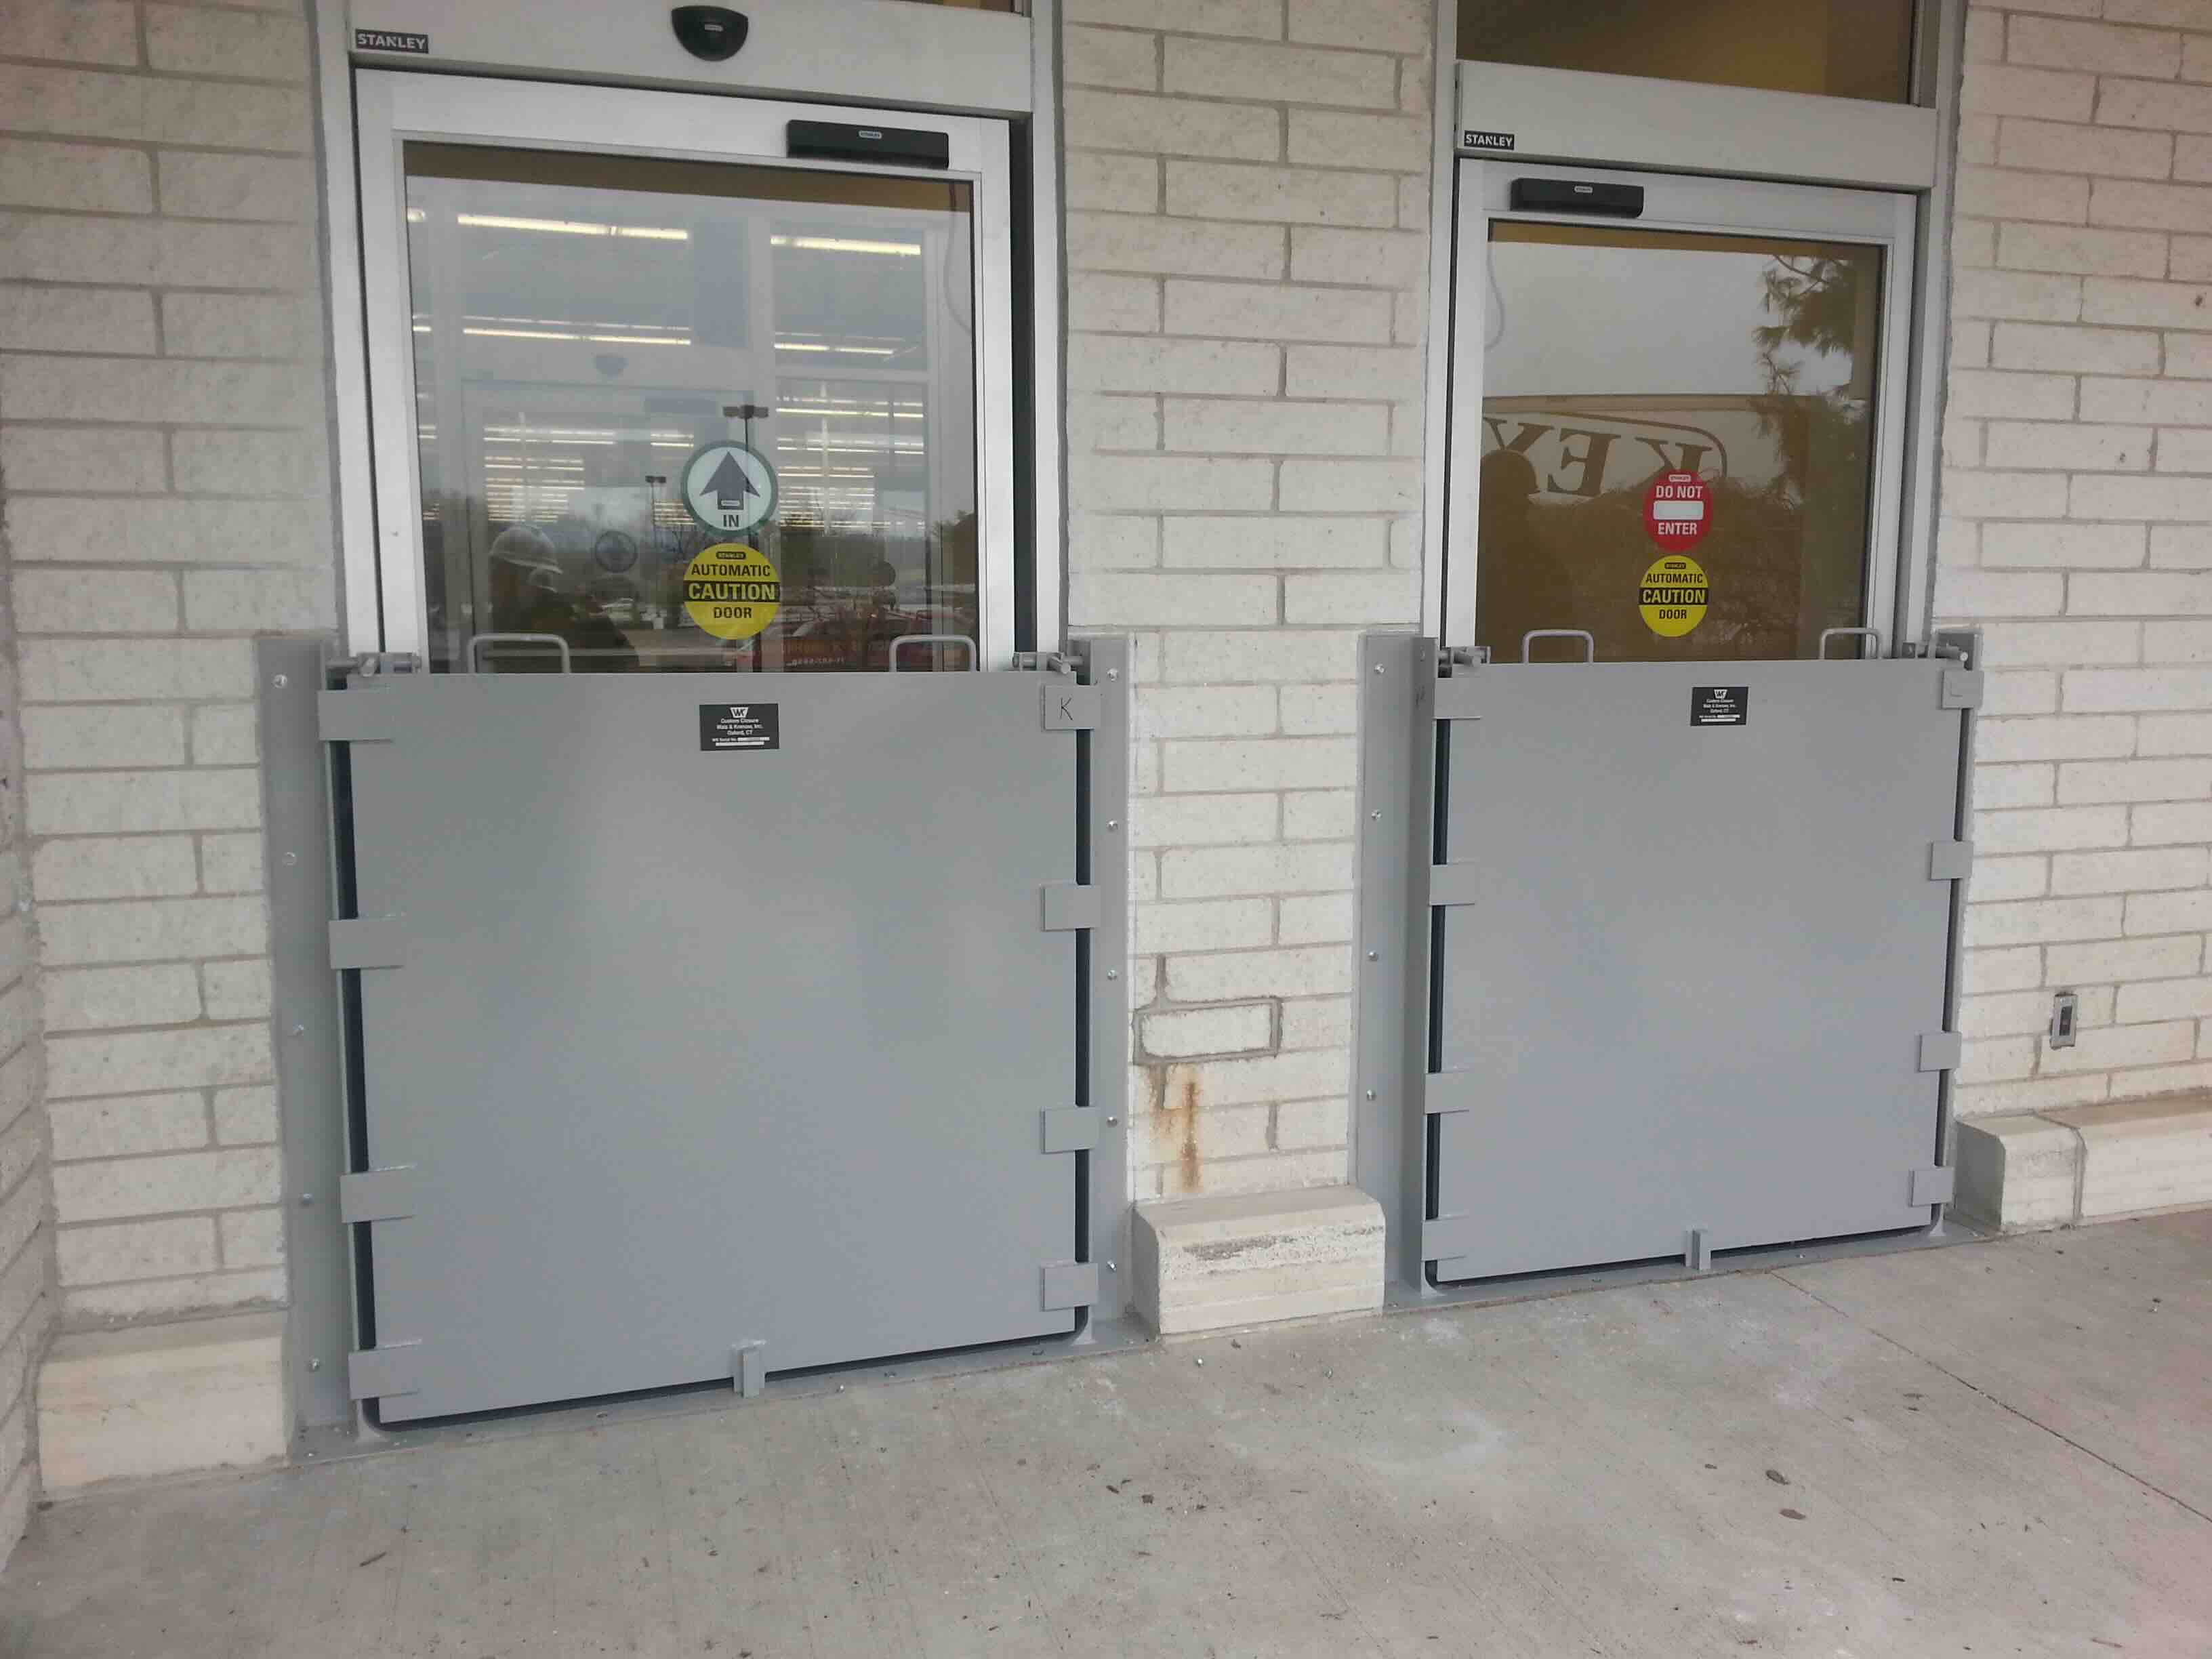
DIY Door Flood Barrier Ideas
Published: September 10, 2024
Discover effective DIY door flood barrier ideas to protect your home from water damage. Learn easy, cost-efficient solutions to keep your property safe and dry.
(Many of the links in this article redirect to a specific reviewed product. Your purchase of these products through affiliate links helps to generate commission for Twigandthistle.com, at no extra cost. Learn more)
Flooding can cause major damage to homes, especially when water seeps in through doors. Building your own door flood barrier can help protect your house without spending too much money. With some basic materials and a bit of time, you can create effective barriers to keep the water out. This guide will walk you through several simple and affordable DIY options. Whether dealing with heavy rain, rising rivers, or melting snow, having a door flood barrier can give you peace of mind. Let’s dive into these practical and easy-to-make solutions.
Preparation Steps
Measure Your Door: Use a tape measure to get the exact width and height of your door. This ensures the barrier fits snugly.
Gather Materials: Collect plywood, waterproof sealant, screws, a saw, and a drill. Make sure everything is within reach.
Clear the Area: Remove any obstacles around the door. This gives you enough space to work safely.
Wear Safety Gear: Put on safety goggles and gloves. Protect your eyes and hands from debris and sharp tools.
Mark the Wood: Use a pencil to mark the measurements on the plywood. Double-check to avoid mistakes.
Cut the Plywood: Carefully cut along the marked lines using a saw. Keep your hands away from the blade.
Seal the Edges: Apply waterproof sealant to the edges of the plywood. This prevents water from seeping through.
Drill Holes: Drill holes in the plywood for screws. Space them evenly to ensure a tight fit.
Attach the Barrier: Position the plywood against the door and screw it in place. Make sure it’s secure and level.
Test for Leaks: Pour water around the barrier to check for leaks. Apply more sealant if needed.
Clean Up: Dispose of any debris and store tools safely. Keep the area tidy to prevent accidents.
Materials and Tools Needed
- Plywood Sheets: Strong, flat wood pieces to create the main barrier.
- 2x4 Lumber: Used for framing and support.
- Weatherstripping: Rubber or foam strips to seal gaps and prevent water from seeping through.
- Silicone Caulk: Waterproof sealant to fill any cracks or seams.
- Screws and Nails: Fasteners to hold everything together.
- Saw: Tool for cutting wood to the required sizes.
- Drill: Used for making holes and driving screws.
- Measuring Tape: Ensures accurate measurements for cuts and placements.
- Level: Ensures the barrier is straight and even.
- Hammer: Tool for driving nails into wood.
- Screwdriver: Used for tightening screws.
- Sandpaper: Smooths rough edges on wood.
- Paint or Sealant: Protects wood from water damage.
- Gloves: Protects hands while working.
- Safety Goggles: Shields eyes from dust and debris.
Skill Level and Time Required
Skill Level: Intermediate
Time Required: 3-5 hours
- Gather Materials: 30 minutes
- Measure Doorway: 15 minutes
- Cut Wood or Metal: 1 hour
- Assemble Barrier: 1.5 hours
- Seal Edges: 30 minutes
- Install Barrier: 30 minutes
Step-by-Step Instructions
Gather Materials:
- Wooden planks or boards
- Waterproof sealant
- Screws and screwdriver
- Measuring tape
- Saw
- Sandpaper
- Weather stripping
- Plastic sheeting or tarp
Measure the Doorway:
- Use the measuring tape to find the width and height of the doorway.
- Write down these measurements.
Cut the Wood:
- Cut the wooden planks to match the width of the doorway.
- Ensure the height of the planks is at least 6 inches.
Sand the Edges:
- Use sandpaper to smooth any rough edges on the cut wood.
Attach Weather Stripping:
- Apply weather stripping to the bottom edge of the wooden planks.
- This helps create a tight seal against the floor.
Seal the Wood:
- Apply waterproof sealant to the wooden planks.
- Let it dry completely.
Install the Barrier:
- Place the wooden planks against the doorway.
- Secure them with screws using a screwdriver.
Add Plastic Sheeting:
- Drape plastic sheeting or a tarp over the wooden barrier.
- Ensure it covers the entire barrier and extends a few inches on each side.
Seal the Edges:
- Use waterproof sealant to secure the edges of the plastic sheeting to the wall.
- Make sure there are no gaps.
Test the Barrier:
- Pour a small amount of water against the barrier.
- Check for any leaks and seal them if necessary.
Helpful Tips and Tricks
Use sandbags for a quick and effective barrier. Stack them tightly against the door to block water. Plastic sheeting can be used to cover the door before placing sandbags for extra protection.
Common mistakes include not sealing gaps properly. Ensure all gaps are covered to prevent water from seeping through. Another mistake is using materials that aren't waterproof. Always choose materials like plastic or rubber.
Alternatives to sandbags include using water-activated flood barriers. These expand when wet and can be reused. Foam pool noodles can also be cut and placed at the base of the door as a temporary barrier.
Estimating the Cost
Materials:
- Plywood: $20-$30 per sheet
- 2x4 Lumber: $3-$5 per piece
- Weatherstripping: $10-$15 per roll
- Silicone Caulk: $5-$7 per tube
- Heavy-duty Plastic Sheeting: $10-$15 per roll
- Sandbags: $2-$4 each
Tools:
- Circular Saw: $50-$100 (or rent for $20/day)
- Hammer: $10-$15
- Nails/Screws: $5-$10 per box
- Caulking Gun: $5-$10
- Measuring Tape: $5-$10
- Utility Knife: $5-$10
Total Cost:
- Materials: $55-$86
- Tools: $80-$155 (or $50-$75 if renting saw)
Budget-Friendly Alternatives:
- Use reclaimed wood instead of new plywood and lumber: Free or low cost
- Borrow tools from friends or neighbors: Free
- Use old blankets or towels instead of plastic sheeting: Free
- Make your own sandbags with old pillowcases and sand: Low cost
Different Variations and Customizations
Materials: Use sandbags for a traditional approach, or try water-filled barriers for a modern twist. PVC pipes can create a sturdy frame, while wood planks offer a rustic look. Rubber sheets provide flexibility and a tight seal.
Colors: Paint wooden barriers in bright colors like red or yellow for visibility. Use neutral tones like gray or beige for a subtle appearance. Reflective tape can enhance visibility at night.
Styles: For a sleek, modern style, use metal panels with a brushed finish. Create a vintage look with reclaimed wood. Transparent barriers made from acrylic can blend into any setting.
Alternative Methods: Install removable flood panels that slide into place during heavy rain. Use inflatable barriers that can be stored easily when not in use. Create a permanent flood wall with concrete blocks for high-risk areas.
Sealing Options: Apply weatherstripping around the door frame for added protection. Use silicone caulk to seal gaps. Foam tape can be a quick and easy solution for minor leaks.
Height Adjustments: Build barriers that can be stacked for adjustable height. Use telescoping poles to create barriers that extend as needed. Modular panels can be added or removed based on flood levels.
Decorative Elements: Add planters on either side of the barrier for a touch of greenery. Use decorative brackets to secure the barrier in place. Paint murals or designs on the barrier to make it more visually appealing.
Eco-Friendly Tips
Sandbags are a classic choice. Fill old pillowcases or reusable bags with sand. Stack them tightly against the door to block water.
Plastic sheeting can be reused. Secure it with duct tape around the door frame. Place heavy objects at the bottom to keep it in place.
Pool noodles can be repurposed. Cut them lengthwise and fit them around the door's bottom edge. This creates a seal to prevent water from entering.
Old towels or blankets can be rolled up. Place them at the base of the door. They absorb water and block minor flooding.
Wooden planks from old furniture can be cut to size. Fit them snugly against the door frame. Seal gaps with caulk or weather stripping.
Recycled rubber mats can be used. Place them outside the door. They help divert water away from the entrance.
PVC pipes from previous projects can be cut and used as barriers. Fill them with sand or gravel. Place them horizontally at the door's base.
Reclaimed bricks or stones can be stacked. Create a small wall outside the door. This helps redirect water flow.
Old tarps can be layered. Secure them with heavy objects. They act as a temporary barrier against water.
Recycled plastic bottles can be filled with sand. Line them up at the door's base. They act as a simple, effective barrier.
Keep Your Home Dry
Building a DIY door flood barrier isn't rocket science. With some basic materials and a bit of elbow grease, you can protect your home from water damage. Use sandbags, plywood, or even plastic sheeting to create a barrier. Make sure everything is sealed tightly to prevent leaks. Regularly check your barrier for wear and tear. If you spot any issues, fix them right away. This way, you'll be ready when the next storm hits. Remember, a little preparation goes a long way in keeping your home safe and dry.
How can I make a simple door flood barrier?
Use sandbags or water-filled barriers. Stack them tightly against the door. Make sure there are no gaps.
What materials do I need for a DIY flood barrier?
You’ll need sandbags, plastic sheeting, duct tape, and maybe some plywood.
Can I use household items to create a flood barrier?
Yes, you can use garbage bags filled with dirt or kitty litter. Even rolled-up towels can help in a pinch.
How effective are sandbags for flood protection?
Sandbags are pretty effective. They absorb water and create a solid barrier. Just make sure they’re stacked properly.
Are there any eco-friendly options for flood barriers?
Try using water-filled barriers or reusable flood bags. They’re better for the environment and can be used multiple times.
How do I seal my door to prevent flooding?
Use plastic sheeting and duct tape to cover the door. You can also add a rubber strip at the bottom for extra protection.
Can I build a permanent flood barrier?
Yes, you can install a flood gate or build a concrete barrier. These options are more expensive but offer long-term protection.