
Home>Home & Furniture>Doors & Windows>DIY Cruise Door Decoration Ideas
Doors & Windows
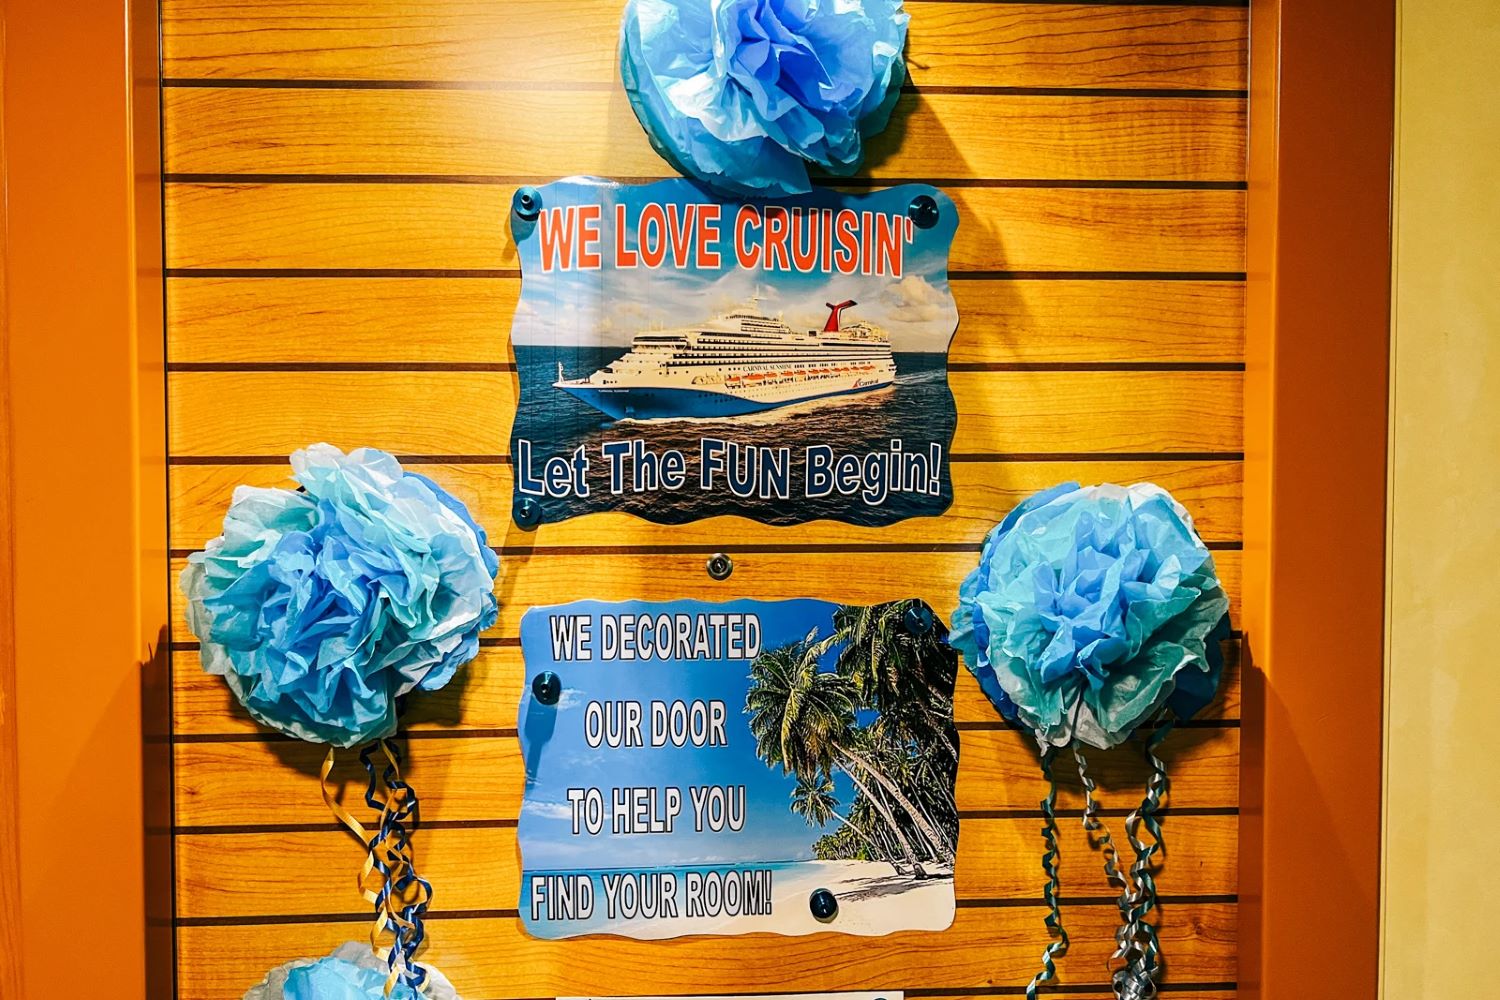
DIY Cruise Door Decoration Ideas
Published: September 9, 2024
Discover creative and easy DIY cruise door decoration ideas to make your cabin stand out. Personalize your space with fun, unique designs and tips for a memorable cruise experience!
(Many of the links in this article redirect to a specific reviewed product. Your purchase of these products through affiliate links helps to generate commission for Twigandthistle.com, at no extra cost. Learn more)
Going on a cruise offers excitement and adventure, but adding personal touches makes it even more special. Decorating your cabin door is a fun way to express your style and make it easy to find. Whether you're celebrating an anniversary, birthday, or just want to stand out, DIY decorations can turn your door into a unique display. From simple to elaborate ideas, there's something for everyone to create. Plus, crafting these decorations can be a great pre-cruise activity to get everyone in the vacation spirit. Ready to get creative? Let's dive into some fantastic DIY ideas.
Getting Ready for Your Project
Gather Materials: Collect all necessary items like magnets, tape, scissors, markers, and decorations. Make sure everything is cruise-friendly and won't damage the door.
Plan Your Design: Sketch out your decoration ideas on paper. Decide on a theme and color scheme to keep everything cohesive.
Safety First: Use non-toxic materials and ensure scissors or other sharp tools are handled carefully. Keep a first aid kit nearby just in case.
Clean the Door: Wipe down the door with a damp cloth to remove any dust or dirt. This helps decorations stick better.
Workspace Setup: Find a flat, clean surface to work on. Lay down newspaper or an old sheet to protect the area from glue or marker stains.
Measure the Door: Take measurements of the door to ensure your decorations fit perfectly. This prevents any last-minute adjustments.
Test Adhesives: Try out magnets or tape on a small section of the door to make sure they hold well without leaving residue.
Organize Supplies: Keep all your materials within reach. Use containers or trays to separate different items for easy access.
Check Cruise Policies: Verify the cruise line's rules on door decorations. Some may have restrictions on what can be used.
Pre-cut Shapes: Cut out any shapes or letters beforehand to save time during the actual decorating process.
What You'll Need
Magnetic Sheets: These are essential for sticking decorations to metal doors without causing damage. They come in various sizes and can be cut to fit your designs.
Scissors: Used for cutting magnetic sheets, paper, and other materials to the desired shape and size.
Colored Paper: Adds vibrant colors to your decorations. You can use construction paper, scrapbook paper, or any other type of colored paper.
Markers and Pens: For drawing, writing, or adding details to your decorations. Permanent markers work best for bold, lasting designs.
Glue Stick: Helps attach paper pieces together. It’s easy to use and dries quickly.
Stickers: Pre-made designs that can add flair to your decorations. Choose from a variety of themes to match your cruise.
Ruler: Ensures straight lines and accurate measurements when cutting or drawing.
Double-Sided Tape: Useful for attaching lightweight items to your magnetic sheets or directly to the door if allowed.
Laminator (Optional): Protects your paper decorations from wear and tear. Laminated items are more durable and can be reused.
Craft Punches: Create fun shapes and patterns easily. They come in various designs like stars, hearts, and circles.
Ribbon: Adds a decorative touch. Use it to create bows or borders for your door decorations.
Hot Glue Gun (Optional): Provides a strong bond for heavier items. Use with caution to avoid burns.
Printed Photos: Personalize your door with pictures of family, friends, or favorite places. Print them on regular or photo paper.
Foam Sheets: Adds dimension to your decorations. They are easy to cut and come in various colors.
Glitter: Adds sparkle and shine. Use glitter glue for less mess or loose glitter with glue for a more intense effect.
Skills and Time Commitment
Skill Level: Beginner
Time Required: 1-2 hours
- Gather Supplies: 15 minutes
- Design and Plan: 20 minutes
- Cut and Assemble Decorations: 30-45 minutes
- Attach to Door: 10-15 minutes
Important Keywords: Beginner, 1-2 hours, Gather Supplies, Design, Cut, Assemble, Attach
How to Make It
Gather Supplies:
- Construction paper
- Scissors
- Tape or magnets
- Markers or paint
- Stickers or embellishments
- Ruler
Plan Your Design:
- Sketch ideas on paper.
- Decide on a theme (e.g., tropical, nautical, festive).
Cut Out Shapes:
- Use construction paper to cut shapes like stars, waves, or palm trees.
- Make sure shapes are large enough to be seen from a distance.
Decorate Shapes:
- Use markers or paint to add details.
- Add stickers or other embellishments for extra flair.
Create a Name Plate:
- Cut a rectangle from construction paper.
- Write your name or cabin number using bold markers.
- Decorate the edges with small designs.
Assemble the Decoration:
- Arrange shapes and name plate on a flat surface.
- Use tape or magnets to attach pieces together.
Attach to Door:
- Use tape or magnets to secure the decoration to the door.
- Ensure it is firmly attached to avoid falling.
Add Final Touches:
- Check for any loose pieces.
- Adjust placement if needed for better visibility.
Helpful Hints
Use magnetic sheets to create reusable decorations. Cut them into shapes, paint or decorate them, and stick them to your door. This avoids damaging the door with tape or adhesives.
Layered designs add depth. Use foam stickers or cutouts to create a 3D effect. This makes your door stand out more.
LED lights can make your door sparkle. Battery-operated string lights are easy to attach and remove. Just ensure they are safe and won't overheat.
Personalize with names or themes. Use stencils or pre-cut letters to spell out names or messages. This adds a unique touch.
Weatherproof materials are essential. Use waterproof markers, laminated signs, or plastic decorations to withstand sea air and humidity.
Common mistakes to avoid include using tape that leaves residue. Opt for magnetic or suction cup hooks instead. Avoid overloading the door with too many items, which can look cluttered. Ensure decorations don't block the peephole or door handle for safety reasons.
For alternatives, consider using fabric instead of paper for more durable decorations. Vinyl decals are another option; they are easy to apply and remove without damage.
Budget Breakdown
Poster Board: $5-$10
Construction Paper: $3-$5
Markers: $5-$10
Scissors: $2-$5
Glue: $1-$3
Magnets: $5-$10
Stickers: $3-$7
Ribbon: $2-$5
Double-sided Tape: $3-$6
Laminating Sheets (optional): $10-$15
Total Cost: $39-$76
Budget-Friendly Alternatives:
Old Magazines for cutouts instead of stickers: Free
Recycled Cardboard instead of poster board: Free
Homemade Glue (flour and water): Free
Colored Pencils instead of markers: $3-$5
Personalize Your Creation
Materials: Use magnetic sheets instead of adhesive stickers for easy removal. Try foam boards for a 3D effect. Fabric can add texture and elegance.
Colors: Choose bright, tropical colors like turquoise, coral, and yellow for a beach theme. For a more elegant look, use metallics like gold, silver, and bronze.
Styles: Go for a nautical theme with anchors, ship wheels, and ropes. A tropical theme can include palm trees, flamingos, and pineapples. For a personal touch, use family photos or create a scrapbook-style collage.
Lighting: Add battery-operated fairy lights or LED strips to make your door stand out at night.
Personalization: Include name tags or initials to make it clear whose cabin it is. Use custom messages or quotes that reflect your family's personality.
Interactive Elements: Create a mini chalkboard or whiteboard for daily messages. Add a pocket to hold cruise itineraries or notes.
Eco-Friendly Options: Use recycled materials like old maps or newspapers. Opt for biodegradable decorations to reduce waste.
Themes: Celebrate special occasions like birthdays or anniversaries with themed decorations. For a holiday cruise, use seasonal items like Christmas ornaments or Halloween props.
Accessories: Attach small souvenirs from ports of call to your door. Use seashells, starfish, or other beach finds for a natural touch.
Technology: Incorporate a digital photo frame to display a slideshow of your vacation photos. Use a Bluetooth speaker to play ocean sounds or your favorite tunes.
Eco-Friendly Ideas
Recycled paper can be used to create colorful banners or signs. Old magazines make great sources for cut-out letters or images. Fabric scraps from old clothes can be turned into decorative bunting or shapes. Cardboard from cereal boxes can be cut into fun shapes and painted. Natural materials like dried leaves or flowers add a unique touch. Reusable adhesive hooks or magnets can hold decorations without damaging doors. LED string lights use less energy and add a festive glow. Reusable chalkboards let you change messages without waste. Upcycled jars or containers can hold small decorations or lights. Biodegradable glitter adds sparkle without harming the environment.
Your Cruise Door Awaits
Decorating your cruise door can be a fun, creative way to make your trip more memorable. With just a few supplies like magnets, stickers, and photos, you can transform a plain door into a personal masterpiece. Remember to keep it simple and lightweight since cruise doors are often metal. Use bright colors and themes that reflect your personality or the occasion you're celebrating. Don't forget to check the cruise line's guidelines to avoid any mishaps. Whether you're celebrating a birthday, anniversary, or just the joy of cruising, a decorated door adds a special touch. So gather your materials, let your imagination run wild, and get ready to impress your fellow cruisers. Your door will not only stand out but also make it easier to find your cabin after a day of fun. Happy decorating!
What materials do I need for cruise door decorations?
You’ll need magnetic sheets, scissors, markers, stickers, and tape. Some folks also use LED lights or ribbons for extra flair.
Are there any rules for decorating cruise doors?
Most cruise lines allow decorations but have rules. Avoid using adhesive that can damage the door. Magnets are usually the safest bet.
Can I use regular tape for my decorations?
Regular tape might not stick well and could leave residue. Magnetic tape or magnetic sheets work best since cruise doors are metal.
How can I make my decorations stand out?
Use bright colors, personalized messages, and unique themes. Adding LED lights or 3D elements can make your door pop.
Is it safe to leave decorations on my door?
Generally, yes. Most people respect others' decorations. However, avoid placing valuable items on your door just in case.
Can I reuse my decorations for another cruise?
Absolutely! If you use durable materials like laminated paper and magnetic sheets, you can easily store and reuse them.
How early should I start planning my decorations?
Start planning a few weeks before your cruise. This gives you time to gather materials, design, and assemble everything without rushing.
Are there any themes that work best for cruise door decorations?
Popular themes include nautical, tropical, holiday, and personal milestones like birthdays or anniversaries. Choose something that reflects your personality or the occasion.