
Home>Home & Furniture>Doors & Windows>DIY Cat Door for Window
Doors & Windows
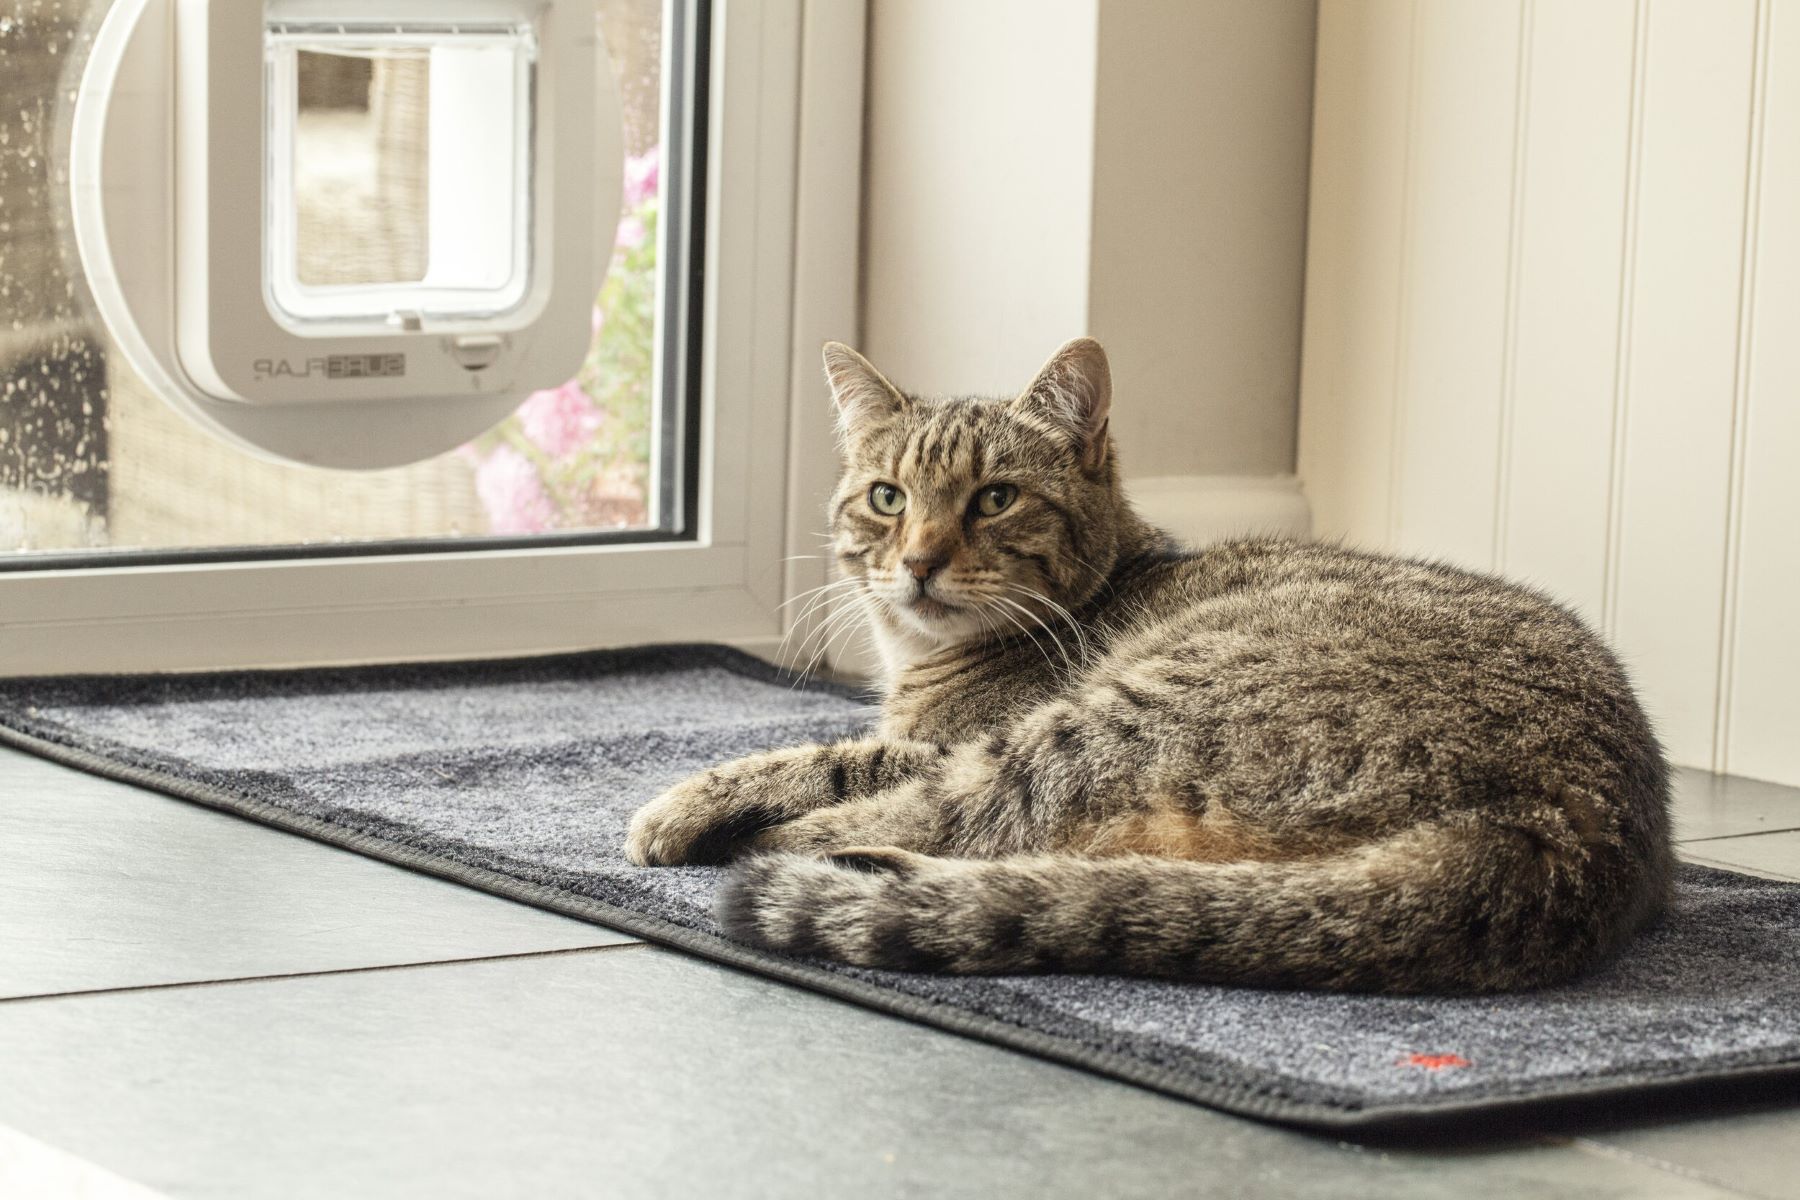
DIY Cat Door for Window
Published: August 11, 2024
Learn how to create a DIY cat door for your window with our step-by-step guide. Ensure your feline friend's freedom while maintaining home security and aesthetics.
(Many of the links in this article redirect to a specific reviewed product. Your purchase of these products through affiliate links helps to generate commission for Twigandthistle.com, at no extra cost. Learn more)
Cats love freedom, and one way to give them that is through a DIY cat door for windows. This project may seem tricky, but it's easier than expected. It allows your cat outdoor access without opening a door each time. Plus, it's a fun weekend project that can save money. With the right tools and a bit of patience, you can create a safe, convenient exit for your feline friend. Ready to learn how to make this nifty addition to your home? Gather your materials, and let's get started on this simple yet satisfying task.
Getting Ready for the Project
Measure the Window: Use a tape measure to get the exact dimensions of the window where the cat door will go. Write down the height and width.
Choose the Cat Door: Pick a cat door that fits within the window's dimensions. Make sure it’s suitable for your cat's size.
Gather Tools and Materials: You’ll need a tape measure, pencil, jigsaw, screwdriver, safety goggles, gloves, and the cat door kit.
Safety First: Wear safety goggles and gloves to protect your eyes and hands. Make sure the workspace is well-lit and free of clutter.
Prepare the Workspace: Clear the area around the window. Lay down a drop cloth to catch debris. Set up a sturdy table or workbench nearby.
Remove the Window Pane: Carefully take out the window pane where the cat door will be installed. Place it on the workbench.
Mark the Cutout Area: Use the template from the cat door kit to trace the cutout area on the window pane with a pencil.
Cut the Opening: Secure the window pane on the workbench. Use the jigsaw to cut along the traced lines. Go slowly to avoid cracking the glass.
Smooth the Edges: After cutting, use sandpaper to smooth the edges of the cutout. This prevents any sharp edges that could harm your cat.
Install the Cat Door: Follow the instructions in the cat door kit to attach the door to the window pane. Use a screwdriver to secure it tightly.
Reinstall the Window Pane: Carefully place the window pane back into the window frame. Ensure it’s secure and fits properly.
Test the Door: Make sure the cat door opens and closes smoothly. Encourage your cat to use it to ensure it’s comfortable and functional.
What You Need: Materials and Tools
- Cat Door Kit: A pre-made cat door designed for windows. It usually includes a flap and frame.
- Measuring Tape: Used to measure the window dimensions and ensure the cat door fits perfectly.
- Marker: For marking where to cut the window.
- Jigsaw: A power tool with a fine blade to cut through the window material.
- Drill: Needed to create starter holes for the jigsaw blade.
- Screwdriver: To secure the cat door frame to the window.
- Sandpaper: Smooths out rough edges after cutting.
- Safety Glasses: Protects eyes from debris while cutting and drilling.
- Gloves: Keeps hands safe from sharp edges and tools.
- Sealant: Ensures the cat door is weatherproof and secure.
- Clamps: Holds the window steady while cutting and installing the cat door.
Skill Level and Time Commitment
Skill Level: Intermediate
Time Required: 2-4 hours
- Measure and Mark: 30 minutes
- Cutting the Glass: 1 hour
- Installing the Cat Door: 1 hour
- Sealing and Finishing: 30 minutes
Important Keywords: Measure, Mark, Cutting, Installing, Sealing, Finishing
How to Build It: Step-by-Step Guide
Measure the Window:
- Use a tape measure to find the width and height of the window where the cat door will go.
Choose the Cat Door:
- Pick a cat door that fits within the window measurements. Make sure it’s suitable for glass installation.
Gather Materials:
- Cat door
- Glass cutter (if needed)
- Measuring tape
- Pencil
- Safety gloves
- Screwdriver
- Sealant
Mark the Cutout Area:
- Place the cat door template on the window. Use a pencil to trace around it.
Cut the Glass:
- Wear safety gloves. Use a glass cutter to carefully cut along the marked lines. Remove the cut piece of glass.
Install the Cat Door Frame:
- Insert the outer frame of the cat door into the cutout. Secure it with screws if required.
Attach the Inner Frame:
- Place the inner frame on the opposite side of the window. Align it with the outer frame and secure it with screws.
Seal the Edges:
- Apply sealant around the edges of the cat door to prevent drafts and ensure stability.
Test the Door:
- Open and close the cat door to make sure it works smoothly. Adjust if necessary.
Clean Up:
- Remove any debris or glass shards. Ensure the area is safe for your cat.
Helpful Tips and Tricks
Measure accurately before cutting. Use a template to trace the opening on the window. Double-check measurements to avoid mistakes.
Common mistakes include cutting the hole too large or too small. Ensure the cat door fits snugly. Seal edges to prevent drafts.
Alternatives for materials include using plexiglass instead of regular glass. Consider a magnetic flap for easier access. Weatherstripping can help with insulation.
Budgeting for Your DIY Cat Door
Materials:
- Cat Door Kit: $20-$40
- Plexiglass Sheet: $10-$20
- Weather Stripping: $5-$10
- Screws and Bolts: $5
Tools:
- Jigsaw: $30-$50 (or borrow)
- Drill: $20-$40 (or borrow)
- Measuring Tape: $5-$10
- Screwdriver: $5-$10
Total Cost: $100-$185
Budget-Friendly Alternatives:
- Repurpose Old Window: Free
- Borrow Tools: Free
- Use Scrap Wood Instead of Plexiglass: Free or very cheap
Different Ways to Customize
Materials: Instead of using plastic, try wood for a more rustic look. Acrylic can provide a modern, clear finish.
Colors: Paint the frame in bright colors like red or blue to make it stand out. For a subtle look, use neutral tones like beige or gray.
Styles: Add a decorative trim around the door for a classic touch. Use stencils to create patterns or designs on the door.
Window Types: For sliding windows, consider a sliding panel cat door. For sash windows, a hinged flap might work better.
Security: Install a locking mechanism to control when your cat can go in and out. Use a magnetic flap to keep the door closed when not in use.
Weatherproofing: Add weatherstripping around the edges to keep out drafts. Use insulated materials for the door to maintain indoor temperature.
Size: Customize the door size to fit your cat perfectly. For larger cats, make a wider opening. For kittens, a smaller flap will do.
Installation: Use adhesive strips for a temporary setup. For a permanent solution, screw the frame into the window.
Extras: Attach a bell to the door so you know when your cat uses it. Add a small ramp if the window is high off the ground.
Eco-Friendly Ideas for Your Project
Use recycled wood or old furniture pieces to create the frame. Plexiglass from discarded picture frames can serve as the door flap. Weatherstripping from old windows or doors can help seal gaps. Repurpose hinges from unused cabinets or doors. Eco-friendly paint or varnish can protect the wood. Recycled screws or nails can hold everything together. Old fabric or rubber strips can create a soft edge for the door.
Your Cat's New Favorite Spot
Building a DIY cat door for your window isn't just a fun project; it’s a game-changer for your feline friend. With a few tools and some patience, you’ve created a safe, convenient way for your cat to explore the outdoors. No more constant meowing or scratching at the door. Your cat can now come and go as they please, giving them the freedom they crave and you the peace of mind you need. Plus, you’ve saved some cash by doing it yourself. Remember to check the door regularly for any wear and tear to keep it in top shape. Enjoy watching your cat's newfound independence and the joy it brings to both of you. Happy building!
How do I measure my window for a cat door?
Measure the width and height of the window opening. Make sure to account for any frame or trim. Your cat door should fit snugly without gaps.
What tools will I need?
You'll need a tape measure, jigsaw, screwdriver, sandpaper, and caulk. A drill might also come in handy for screws.
Can I install a cat door in any type of window?
Most windows can accommodate a cat door, but sliding windows and single-pane windows are the easiest. Double-pane windows might require professional help.
How do I make sure the cat door is secure?
Use screws and caulk to secure the cat door. Make sure it’s tight and sealed to prevent drafts or water leaks.
Will installing a cat door affect my window’s insulation?
If installed properly, it shouldn't affect insulation much. Use weatherstripping and caulk to seal any gaps.
How do I train my cat to use the new door?
Start by propping the door open and encouraging your cat with treats. Gradually close the door and let them push through it on their own.
Can I remove the cat door later?
Yes, you can remove it. Just be prepared to patch and seal any holes or gaps left behind.