
Home>Home & Furniture>Doors & Windows>Create Your Own Window Clings: Step-by-Step Guide
Doors & Windows
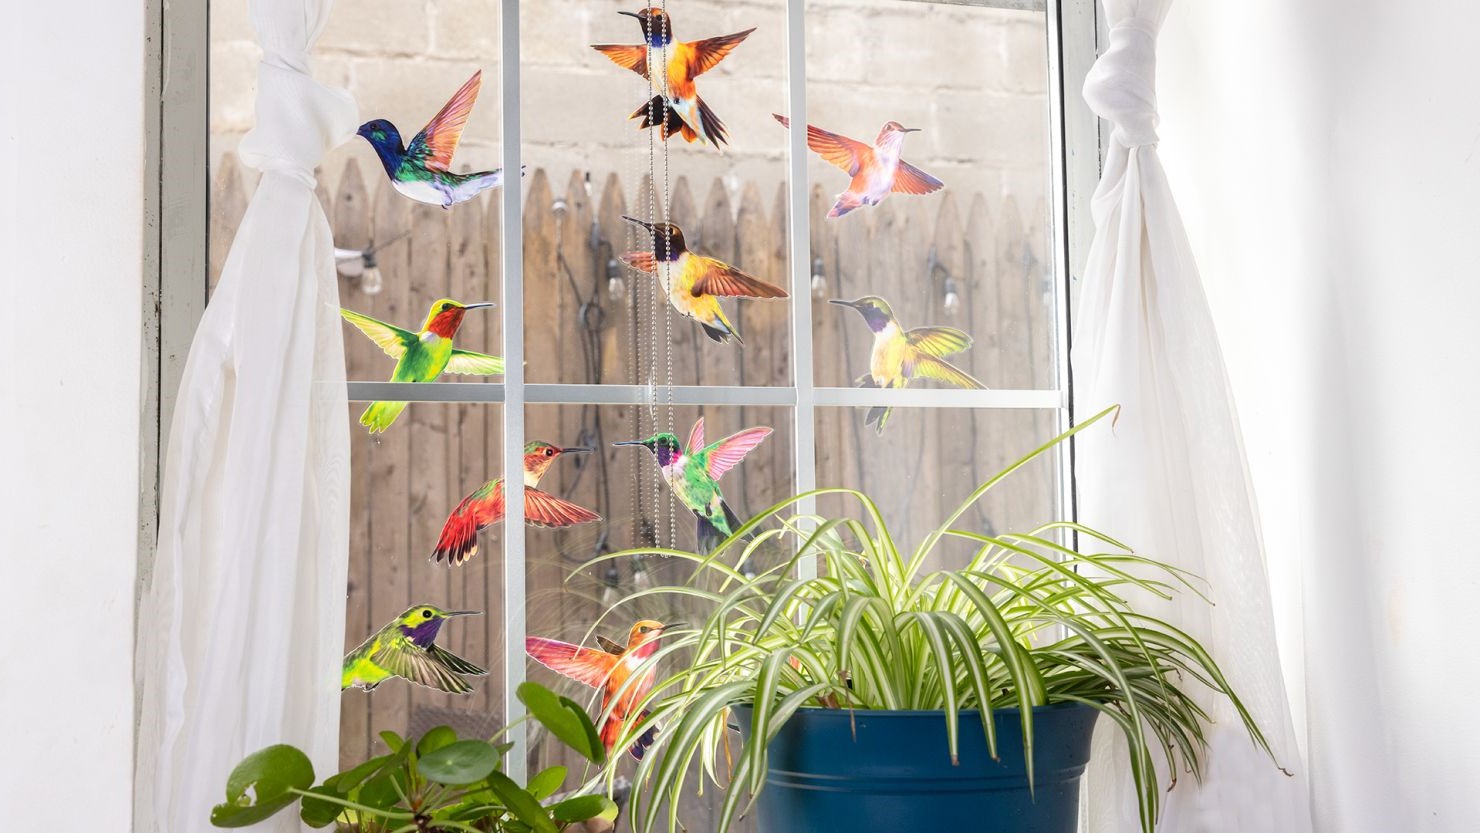
Create Your Own Window Clings: Step-by-Step Guide
Published: August 25, 2024
Learn how to create your own window clings with our step-by-step guide. Perfect for DIY enthusiasts, add a personal touch to your windows easily and affordably!
(Many of the links in this article redirect to a specific reviewed product. Your purchase of these products through affiliate links helps to generate commission for Twigandthistle.com, at no extra cost. Learn more)
Creating your own window clings can be a fun and easy craft project. With just a few materials and some creativity, you can make beautiful decorations for your windows at home. Whether you want to add some seasonal flair, decorate for a party, or personalize your space, window clings offer a versatile solution. Plus, they’re removable and reusable, so you can change them out whenever you like. This step-by-step guide will walk you through everything you need to know to get started. Gather your supplies, and let’s get crafting!
Getting Ready for Your Project
- Gather Materials: Collect clear plastic sheets, puffy paint, and a template or design.
- Choose a Workspace: Find a flat, clean surface with good lighting.
- Clean the Surface: Wipe down the plastic sheets to remove dust or fingerprints.
- Set Up the Template: Place the design under the plastic sheet.
- Secure the Sheet: Use tape to keep the plastic sheet from moving.
- Safety First: Wear old clothes and cover the workspace to avoid paint spills.
- Test the Paint: Practice on scrap paper to get a feel for the puffy paint.
- Ventilation: Ensure the room is well-ventilated to avoid inhaling paint fumes.
- Drying Area: Prepare a spot where the clings can dry undisturbed.
Gather Your Materials and Tools
Clear Plastic Sheets: These are the base for your window clings. They should be transparent and flexible.
Permanent Markers: Used for drawing your designs. Choose a variety of colors for more vibrant clings.
Liquid Dish Soap: Helps the paint stick to the plastic sheets. Mix a few drops with the paint.
Acrylic Paint: Provides the color for your clings. Mix with dish soap for better adhesion.
Paintbrushes: Needed for applying the paint. Use different sizes for detailed work and larger areas.
Scissors: Used to cut out your designs once they are dry. Make sure they are sharp for clean edges.
Tape: Helps keep the plastic sheet in place while you work. Use painter’s tape to avoid leaving residue.
Paper Towels: Handy for cleaning up any spills or mistakes. Also useful for drying brushes.
Pencil: For sketching your design on the plastic sheet before using markers and paint.
Template or Stencil (Optional): If you want precise shapes or patterns, use these to trace your design.
Plastic Cups: For mixing paint and dish soap. Disposable cups work best for easy cleanup.
Water: Needed for cleaning brushes between colors. Keep a cup of water nearby.
Drying Rack or Flat Surface: Place your clings here to dry. Ensure it’s a dust-free area to avoid particles sticking to the paint.
Skill Level and Time Needed
Skill Level: Beginner
Time Required: 1-2 hours
- Gather Materials: 10 minutes
- Design and Draw: 30 minutes
- Cut Out Shapes: 20 minutes
- Apply to Window: 10 minutes
- Adjust and Finalize: 10 minutes
Instructions for Making Window Clings
Gather Materials:
- Clear plastic sheet (like a transparency sheet)
- Puffy paint or fabric paint
- Template or design
- Tape
- Scissors
Prepare the Workspace:
- Lay out a flat surface
- Place the clear plastic sheet on the surface
- Tape the edges to keep it from moving
Choose a Design:
- Print or draw a design on paper
- Place the design under the plastic sheet
Trace the Design:
- Use puffy paint to trace the design on the plastic sheet
- Start with outlines, then fill in larger areas
- Let each color dry before adding another to avoid smudging
Dry the Paint:
- Allow the paint to dry completely (usually takes 24 hours)
- Ensure no wet spots remain
Cut Out the Clings:
- Carefully peel the dried paint from the plastic sheet
- Use scissors to trim any excess plastic around the design
Apply to Window:
- Clean the window surface
- Press the cling onto the window, smoothing out any air bubbles
Reposition if Needed:
- Gently peel off and reapply if the cling is not in the desired position
Helpful Tips and Tricks
Use clear plastic sheets from old report covers or transparency film. These work great for making window clings.
Draw your design on paper first. Place the plastic sheet over it and trace with puffy paint or fabric paint. These paints stick well to glass.
Let the paint dry completely. This can take several hours or overnight. Rushing this step can cause smudges.
Peel carefully. Once dry, gently peel the cling from the plastic sheet. If it sticks, use a thin blade to lift the edges.
Clean the window before applying. Dust or grease can prevent the cling from sticking properly.
Reposition easily. If you don't like the placement, peel it off and try again. These clings are reusable.
Store flat. When not in use, keep them between sheets of wax paper to prevent sticking.
Avoid using permanent markers. They can stain the window and are hard to remove.
Experiment with colors. Mix different paint colors for unique effects.
Test small areas first. Before making a large design, test a small piece to ensure it sticks well to your window.
Alternative materials include using gel clings from craft stores or making your own with gelatin and food coloring.
Estimating the Cost
Materials:
- Clear Contact Paper: $10 for a roll
- Acrylic Paints: $15 for a basic set
- Paint Brushes: $5 for a small set
- Permanent Markers: $8 for a pack
- Scissors: $3
Tools:
- Cutting Mat (optional): $10
- Craft Knife (optional): $5
Total Cost: Around $56
Budget-Friendly Alternatives:
- Use Old Plastic Sheets instead of buying contact paper.
- Mix Food Coloring with white glue for paint.
- Repurpose Old Brushes or use cotton swabs.
- Borrow Scissors from home supplies.
- Skip Cutting Mat and use a thick magazine as a base.
Different Ways to Customize
Materials: Instead of using traditional window cling sheets, try clear contact paper or static cling vinyl. Both work well and can be found in craft stores.
Colors: Use permanent markers or acrylic paints to add vibrant colors. For a stained glass effect, try glass paints. Glitter glue can add sparkle.
Styles: Create seasonal designs like snowflakes for winter or flowers for spring. For a modern look, use geometric shapes. Kids might enjoy making cartoon characters or animals.
Textures: Add texture by using puffy paint or fabric paint. These give a raised, 3D effect.
Themes: Customize clings for holidays, birthdays, or special events. For Halloween, make pumpkins and ghosts. For a birthday, create balloons and cakes.
Shapes: Use cookie cutters or stencils to create uniform shapes. Freehand drawing allows for more creativity and unique designs.
Layering: Layer different colors or shapes to create depth. For example, place a yellow sun behind blue clouds.
Personalization: Add names or initials to make them special. Use letter stickers or write with paint pens.
Reusability: Store clings on wax paper or plastic sheets to reuse them. This way, they can be easily moved and repositioned.
Eco-friendly options: Use recycled plastic or biodegradable cling film to make your project more sustainable.
Eco-Friendly Tips
Materials Needed:
- Recycled Plastic Sheets: Use old plastic packaging or clear plastic from food containers. Clean them thoroughly before use.
- Natural Dyes: Create colors using natural ingredients like beet juice, spinach, turmeric, or coffee. Mix these with a bit of cornstarch to thicken.
- Cornstarch Paste: Combine cornstarch with water to make a paste. This will act as the adhesive for your window clings.
- Reusable Stencils: Cut shapes from old cardboard or paper to use as stencils. This reduces waste and allows for multiple uses.
Steps:
- Prepare Plastic Sheets: Cut recycled plastic into desired shapes or sizes. Ensure edges are smooth to avoid any sharp points.
- Mix Natural Dyes: Blend natural ingredients with cornstarch to create vibrant colors. Adjust consistency by adding more cornstarch or water as needed.
- Apply Paste: Spread a thin layer of cornstarch paste onto the plastic sheets. This will help the natural dyes adhere better.
- Color and Decorate: Use brushes or sponges to apply natural dyes onto the plastic. Get creative with patterns and designs.
- Dry and Set: Allow window clings to dry completely. This may take several hours depending on thickness and humidity.
- Attach to Windows: Once dry, press clings onto clean windows. The cornstarch paste should help them stick without leaving residue.
Tips:
- Reuse Old Materials: Look around your home for items that can be repurposed. This reduces waste and saves money.
- Eco-Friendly Clean-Up: Use biodegradable soap and water to clean brushes and containers. Avoid harsh chemicals.
- Store Carefully: Keep unused clings in a cool, dry place. Store them flat to prevent bending or damage.
Your DIY Masterpiece Awaits
You've got all the steps to create your own window clings. Gather your materials, follow the instructions, and let your creativity shine. Remember, practice makes perfect. Don't get discouraged if your first few attempts aren't flawless. Experiment with different designs, colors, and techniques. Before you know it, you'll have a collection of beautiful, custom-made window clings that brighten up any space. Plus, it's a fun project to do with family or friends. So, roll up your sleeves, get crafting, and enjoy the process. Your windows will thank you!
How do I make window clings at home?
Mix white glue with a few drops of dish soap and food coloring. Spread the mixture on a plastic sheet or wax paper. Let it dry for 24 hours, then peel it off.
What materials do I need?
You’ll need white glue, dish soap, food coloring, a plastic sheet or wax paper, and a paintbrush or sponge.
Can I use any type of glue?
White school glue works best. Avoid using super glue or hot glue as they won’t peel off easily.
How long do window clings last?
They can last several months if kept clean and dry. Reapply them if they start to lose their stickiness.
Are window clings reusable?
Yes, you can reuse them. Just store them on wax paper when not in use and clean the window before reapplying.
Can I make different shapes and designs?
Absolutely! Use cookie cutters or stencils to create various shapes. You can also freehand your designs with a paintbrush.
Will window clings damage my windows?
No, they’re safe for windows. They peel off easily without leaving any residue.