
Home>Home & Furniture>Doors & Windows>Create Your Own Virtual Window Display
Doors & Windows
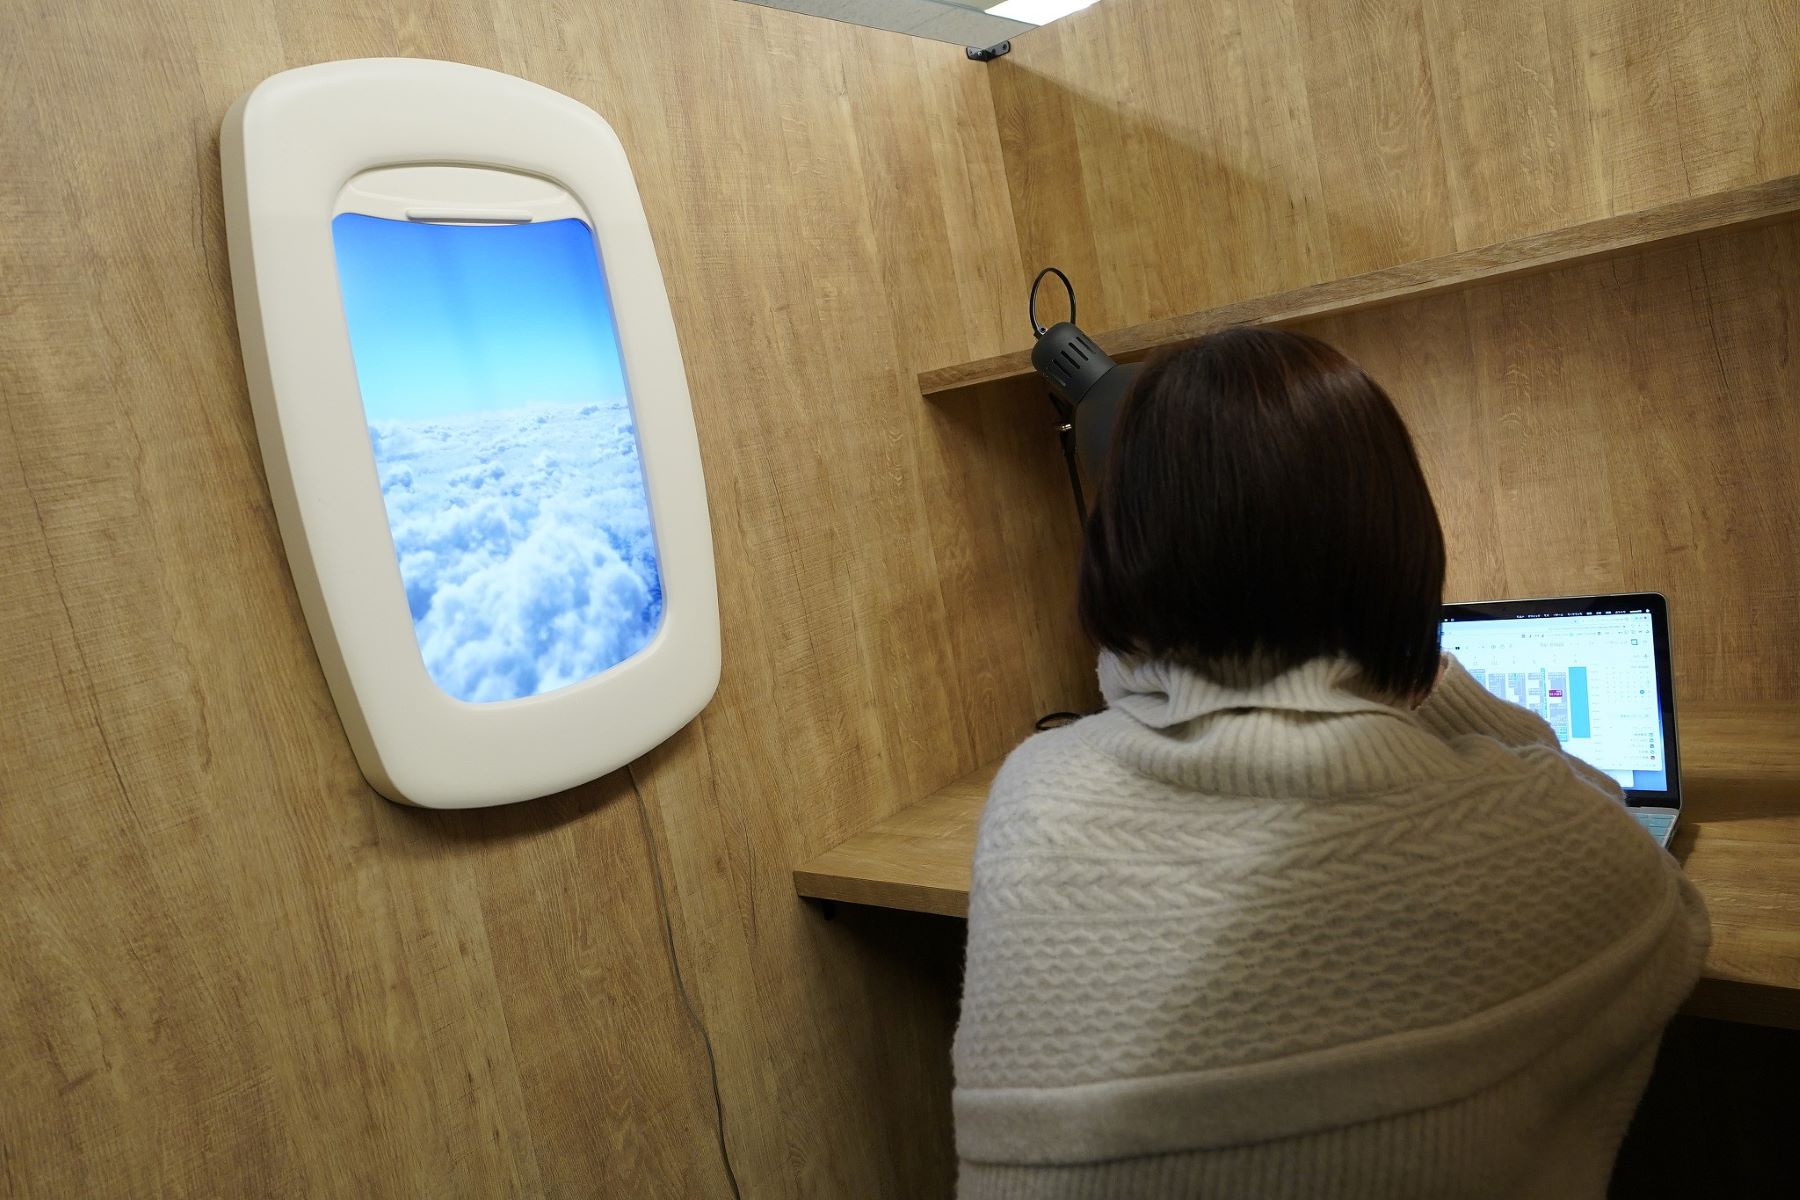
Create Your Own Virtual Window Display
Published: August 25, 2024
Discover how to create a captivating virtual window display that attracts customers and boosts online engagement with our step-by-step guide and expert tips.
(Many of the links in this article redirect to a specific reviewed product. Your purchase of these products through affiliate links helps to generate commission for Twigandthistle.com, at no extra cost. Learn more)
Creating a virtual window display can transform your space without breaking the bank. Imagine showcasing scenic landscapes, bustling cityscapes, or tranquil oceans right in your living room. This can enhance your mood, provide a unique focal point, and even make small rooms feel larger. With a few simple tools and a bit of creativity, you can craft a window display that suits your style and preferences. Whether you want to brighten up a dark room or add some excitement to your decor, a virtual window display offers endless possibilities. Ready to get started? Let's dive in!
Getting Ready for Your Project
Gather Materials: Collect a projector, a white screen or sheet, a computer, and necessary cables.
Choose a Location: Find a spot with enough space for the screen and projector. Make sure it's dark enough for the display to be visible.
Set Up Workspace: Clear the area of any obstacles. Ensure there's a stable surface for the projector and computer.
Install Software: Download and install any software needed to create or display your virtual content.
Test Equipment: Plug in the projector, connect it to the computer, and test the display. Adjust settings for clarity and brightness.
Create Content: Design or download the visuals you want to project. Ensure they fit the dimensions of your screen.
Safety Tips:
- Avoid Tripping Hazards: Tape down cables to prevent tripping.
- Ventilation: Ensure the projector has proper ventilation to avoid overheating.
- Eye Safety: Never look directly into the projector light.
Final Adjustments: Position the projector and screen correctly. Make any final tweaks to the display settings for the best visual effect.
Materials and Tools Needed
Materials and Tools Needed:
Computer or Laptop: Essential for designing and displaying your virtual window. Make sure it has a good graphics card and enough memory.
High-Resolution Monitor: Provides clear and vibrant visuals. A larger screen helps in better display and design work.
Design Software: Programs like Adobe Photoshop, Illustrator, or free alternatives like GIMP. These help create and edit graphics.
Projector: Projects your virtual window onto a physical surface. Ensure it has high brightness and resolution.
Projection Screen or Surface: A white wall or a specialized screen for clear projection. Smooth surfaces work best.
HDMI Cables: Connects your computer to the projector. Ensure they are long enough to reach comfortably.
Speakers: Adds sound to your display if needed. Good quality speakers enhance the experience.
Tripod or Mount: Holds the projector steady. Adjustable mounts help position the projector correctly.
Extension Cords: Provides power to all your devices. Make sure they are long enough and have multiple outlets.
USB Drive: Stores and transfers your design files. Handy for quick updates and backups.
Remote Control: Controls the projector from a distance. Useful for making adjustments without moving.
Lighting: Enhances the display area. Use LED lights for better control and energy efficiency.
Backdrop: Creates a clean background for your projection. Fabric or paper backdrops work well.
Measuring Tape: Ensures precise placement of the projector and screen. Helps achieve the best display size and position.
Cleaning Supplies: Keeps your equipment dust-free. Use microfiber cloths and gentle cleaners.
Each item plays a crucial role in creating a stunning virtual window display.
Skill Level and Time Required
Skill Level: Intermediate
Time Required: 3-5 hours
Steps:
- Plan Your Display: 30 minutes
- Gather Materials: 1 hour
- Set Up Technology: 1 hour
- Design and Arrange: 1-2 hours
Step-by-Step Instructions
Gather Materials:
- Computer or tablet
- Projector
- White sheet or projector screen
- Video or image files for display
- Tape or hooks
Set Up the Screen:
- Hang the white sheet or projector screen in the window.
- Ensure it is smooth and free of wrinkles.
Position the Projector:
- Place the projector inside the room, facing the screen.
- Adjust the distance to fit the screen size.
Connect the Device:
- Link the computer or tablet to the projector using an HDMI cable or wireless connection.
Select Content:
- Choose videos or images you want to display.
- Ensure they are high quality for clear projection.
Adjust Settings:
- Turn on the projector.
- Focus the image and adjust brightness and contrast.
Test the Display:
- Play the selected content.
- Check from outside to ensure visibility and clarity.
Secure the Setup:
- Tape down cables to prevent tripping.
- Ensure the projector is stable and won't move.
Enjoy Your Display:
- Schedule content to play at desired times.
- Update videos or images as needed.
Tips and Tricks
Plan Your Design: Sketch your idea on paper first. This helps visualize the layout and avoid mistakes.
Use Quality Images: High-resolution images make your display look professional. Blurry pictures can ruin the effect.
Lighting Matters: Proper lighting enhances the display. Use soft, even lighting to avoid harsh shadows.
Layer Elements: Create depth by layering images and objects. This makes the display more engaging.
Interactive Elements: Add clickable links or videos to make the display interactive. This keeps viewers interested.
Test on Different Devices: Ensure your display looks good on phones, tablets, and computers. This guarantees a wider audience can enjoy it.
Common Mistakes to Avoid:
- Overcrowding: Too many elements can make the display look cluttered. Keep it simple.
- Ignoring Color Harmony: Clashing colors can be distracting. Stick to a cohesive color scheme.
- Neglecting Mobile View: Many people use phones to browse. Make sure your display is mobile-friendly.
Material Alternatives:
- Digital Tools: Use free tools like Canva or GIMP for design. These are great alternatives to expensive software.
- Stock Photos: Websites like Unsplash or Pexels offer free high-quality images. This saves money on photography.
- DIY Lighting: Use desk lamps or LED strips for lighting. These are cheaper than professional lighting kits.
Cost Estimation
Materials:
- LCD Screen: $200-$500
- HDMI Cable: $10-$20
- Mounting Brackets: $15-$30
- Power Strip: $10-$15
- Decorative Frame: $20-$50
- Extension Cord: $10-$20
Tools:
- Drill: $30-$100
- Screwdriver Set: $10-$20
- Level: $10-$20
- Measuring Tape: $5-$15
Total Cost: $320-$790
Budget-Friendly Alternatives:
- Used LCD Screen: $100-$200
- DIY Frame: $10-$20 (using wood or cardboard)
- Basic Screwdriver: $5-$10
- Borrow Tools: Free (from friends or neighbors)
Total Budget-Friendly Cost: $140-$315
Variations and Customizations
Materials: Instead of traditional glass, use acrylic sheets for a lightweight option. For a more rustic look, consider wooden frames with plexiglass inserts.
Colors: Choose bold, bright colors for a modern, eye-catching display. For a more classic feel, opt for neutral tones like white, beige, or gray.
Styles: Go for a minimalist design with clean lines and simple shapes. For a more eclectic look, mix and match different patterns and textures.
Lighting: Use LED strips for a sleek, energy-efficient option. For a vintage vibe, try string lights or Edison bulbs.
Themes: Create a seasonal display that changes with the holidays. Alternatively, design a themed window based on your favorite movie, book, or hobby.
Interactive Elements: Incorporate touch screens or motion sensors to make the display interactive. Use QR codes that link to additional content or special offers.
Backgrounds: Use printed backdrops for a professional look. For a more dynamic display, consider digital screens that can change images or videos.
Accessories: Add plants, figurines, or art pieces to enhance the display. Use mirrors to create the illusion of more space.
Frames: Opt for metal frames for a sleek, modern look. For a more traditional feel, use ornate wooden frames.
Textures: Incorporate fabric elements like curtains or drapes for added depth. Use textured paints or wallpapers to create interesting backgrounds.
Sustainability Tips
Reclaimed wood can be used for frames. Old picture frames or mirrors can be repurposed. Recycled glass or acrylic sheets work well for the display surface. LED lights are energy-efficient for illumination. Fabric scraps or old curtains can serve as backdrops. Cardboard from old boxes can be cut into shapes or letters. Natural paints or dyes are eco-friendly for coloring. Second-hand electronics like tablets or monitors can be used for the virtual aspect. Solar panels can power the display sustainably. Upcycled furniture can be used to support or enhance the display.
Your DIY Virtual Window Awaits
Creating a virtual window display can be a fun and rewarding project. By following the steps outlined, you can transform any space into a dynamic, eye-catching showcase. Remember to gather all necessary materials, plan your design carefully, and take your time with each step. Whether you're using a projector, LED screen, or digital frame, the possibilities are endless. Experiment with different themes, animations, and lighting to find what works best for your space. Don't be afraid to get creative and think outside the box. With a bit of effort and imagination, you can create a stunning virtual window display that will impress anyone who sees it. Happy crafting!
How do I start creating a virtual window display?
Begin by choosing a theme or concept for your display. Gather images, videos, and animations that fit your idea. Use software like PowerPoint, Canva, or specialized virtual display tools to arrange your content.
What software do I need?
You can use PowerPoint, Canva, or more advanced tools like Adobe After Effects or Blender. Some online platforms also offer drag-and-drop features for easy setup.
Can I use my own photos and videos?
Absolutely! Personal photos and videos add a unique touch. Just make sure they’re high-quality and fit your theme.
How do I make my display interactive?
Add clickable links, buttons, or QR codes that viewers can scan. Some software even allows for touchscreen interactions if you have the right hardware.
What size should my virtual window display be?
The size depends on where you’ll show it. For a computer screen, standard 1080p resolution works well. For larger displays, you might need 4K resolution.
How do I add sound or music?
Most software lets you import audio files. Choose background music or sound effects that match your theme. Make sure the sound isn’t too loud or distracting.
Can I update my display easily?
Yes, most tools allow for easy updates. Just open your project, make the changes, and save. Some platforms even offer cloud storage for quick access.