
Home>Home & Furniture>Doors & Windows>Create Your Own DIY Elf Door for a Magical Dining Room
Doors & Windows
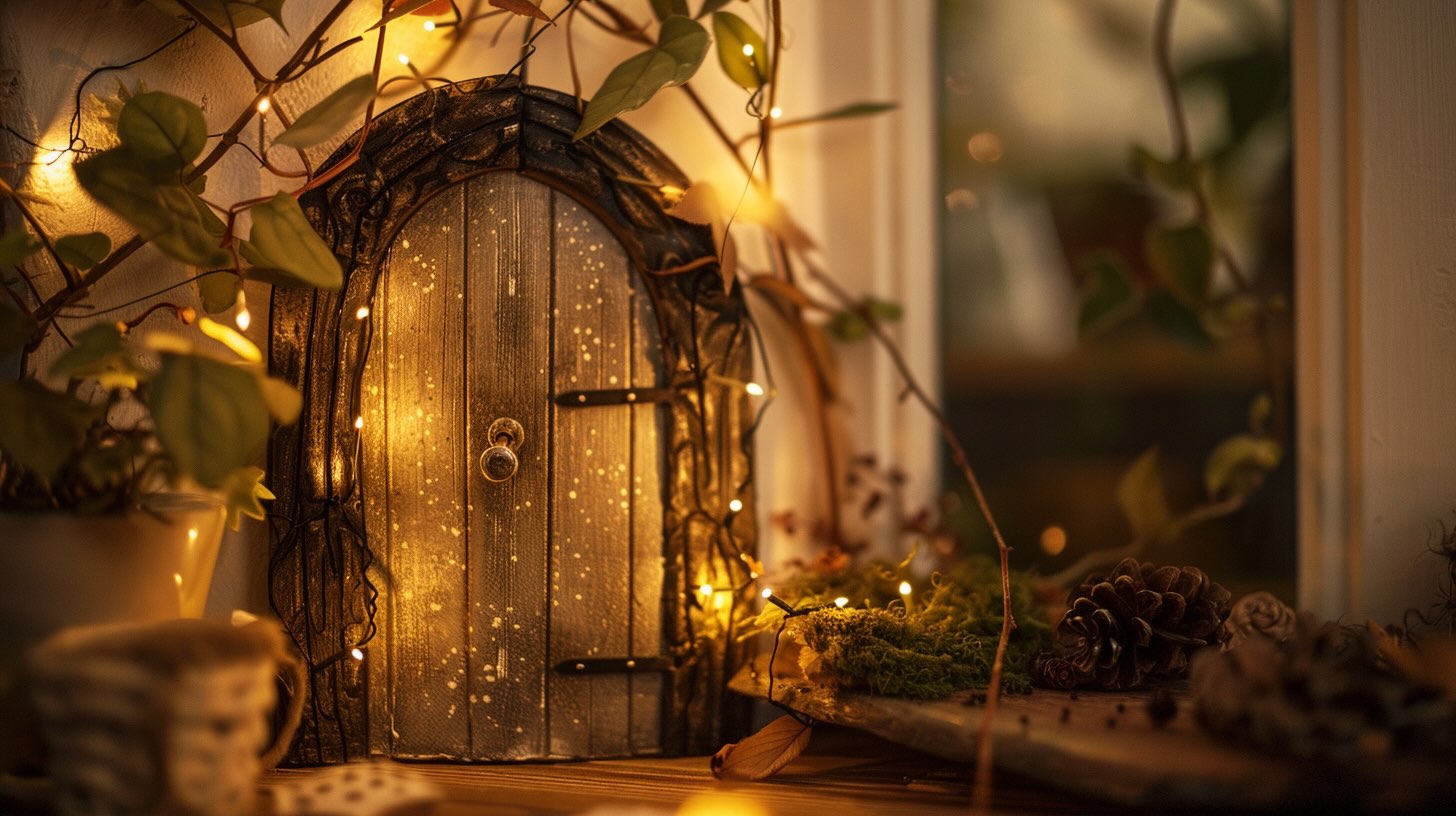
Create Your Own DIY Elf Door for a Magical Dining Room
Published: September 12, 2024
Transform your dining room with a DIY elf door! Follow our step-by-step guide to create a magical, whimsical touch that will enchant guests and family alike.
(Many of the links in this article redirect to a specific reviewed product. Your purchase of these products through affiliate links helps to generate commission for Twigandthistle.com, at no extra cost. Learn more)
Have you ever wanted to add a touch of magic to your dining room? With a DIY elf door, you can create an enchanting little world that's perfect for sparking the imagination, especially around the holiday season. This tiny door can turn an ordinary wall into a gateway to wonder, making your dining space feel more special and inviting. Plus, it's a fun and easy project that you can do with the whole family. Ready to bring some elf magic into your home? Let's get started on crafting your very own DIY elf door.
Preparation Steps
Gather Materials: Collect small pieces of wood, paint, glue, tiny hinges, and decorative items like mini wreaths or doorknobs.
Safety First: Wear safety goggles and gloves when cutting wood. Keep a first aid kit nearby.
Set Up Workspace: Choose a well-lit area with a flat surface. Lay down newspaper or a drop cloth to protect from paint spills.
Measure and Cut: Measure the wood pieces to fit your desired door size. Use a ruler and pencil for accuracy. Cut the wood using a small saw or craft knife.
Sand Edges: Smooth the edges of the wood pieces with sandpaper to avoid splinters.
Assemble Door: Glue the wood pieces together to form the door. Attach tiny hinges if you want it to open and close.
Paint and Decorate: Paint the door in your favorite colors. Add decorative items like mini wreaths, doorknobs, or tiny signs.
Dry Time: Allow the paint and glue to dry completely before handling.
Install: Choose a spot in your dining room to place the elf door. Use double-sided tape or small nails to secure it.
Final Touches: Add any final decorations around the door to make it look magical.
Materials and Tools Needed
Wooden Craft Sticks: These will form the door's main structure. They are easy to cut and glue together.
Craft Knife: Essential for cutting the wooden sticks to the desired size. Handle with care.
Sandpaper: Smooths the edges of the cut wooden sticks, ensuring a neat finish.
Wood Glue: Holds the wooden sticks together securely. Dries clear for a clean look.
Acrylic Paints: Adds color to the door. Choose festive colors like red, green, or gold.
Paintbrushes: Used to apply the acrylic paints. Different sizes help with detailed work.
Miniature Hinges: Allows the door to open and close. Adds a realistic touch.
Small Decorations: Items like tiny wreaths, doorknobs, or signs to personalize the door.
Hot Glue Gun: Quickly attaches decorations and hinges. Be cautious of the hot glue.
Ruler: Measures the wooden sticks accurately for a precise fit.
Pencil: Marks measurements on the wooden sticks before cutting.
Varnish: Seals the paint and protects the door. Gives a polished finish.
Small Nails or Tacks: Secures the door to the wall or baseboard. Keeps it in place.
Hammer: Drives the nails or tacks into the wall or baseboard. Ensures the door stays put.
Skill Level and Time Required
Skill Level: Beginner
Estimated Time Required: 1-2 hours
- Gather Materials: 10 minutes
- Cut and Paint Wood: 30 minutes
- Assemble Door: 20 minutes
- Add Decorative Elements: 30 minutes
- Install Elf Door: 10 minutes
This project is simple and fun, perfect for beginners.
Step-by-Step Instructions
Gather Materials:
- Small wooden door (available at craft stores)
- Acrylic paint (various colors)
- Paintbrushes
- Hot glue gun
- Small decorations (mini wreaths, doorknobs, etc.)
- Sandpaper
- Varnish (optional)
- Pencil
- Ruler
Prepare the Door:
- Sand the wooden door to smooth any rough edges.
- Wipe off dust with a damp cloth.
Design and Paint:
- Use a pencil to sketch your design on the door.
- Paint the door using acrylic paints. Let each color dry before adding another.
- Add details like windows, bricks, or wood grain.
Add Decorations:
- Attach small decorations using a hot glue gun.
- Consider adding a mini wreath, doorknob, or tiny welcome mat.
Seal the Door (Optional):
- Apply a coat of varnish to protect the paint and decorations.
- Let it dry completely.
Install the Door:
- Choose a spot in your dining room, like a baseboard or wall.
- Use hot glue or double-sided tape to attach the door securely.
Final Touches:
- Add small accessories around the door, like tiny plants or a miniature mailbox.
- Step back and admire your magical elf door!
Helpful Tips and Tricks
Choose the Right Spot: Pick a place on the wall where the elf door will be easily visible but not in the way. Near the baseboard or a corner works well.
Use Lightweight Materials: Craft foam or balsa wood makes great materials for the door. They are easy to cut and paint.
Paint Before Assembling: Paint all parts before gluing them together. This prevents messy edges and ensures even coverage.
Add Details: Small hinges, doorknobs, and tiny windows can be made from beads, buttons, or small pieces of wire. These add a realistic touch.
Secure Properly: Use double-sided tape or removable adhesive strips to attach the door to the wall. This avoids damage to the paint or wallpaper.
Common Mistakes to Avoid:
- Wrong Scale: Make sure the door is proportionate to the space. Too big or too small looks odd.
- Overcomplicating: Keep the design simple. Too many details can make it look cluttered.
- Poor Adhesion: Ensure the adhesive is strong enough to hold the door but won’t damage the wall.
Alternative Materials or Methods:
- Cardboard: If balsa wood or craft foam isn't available, sturdy cardboard works too.
- Markers Instead of Paint: Use permanent markers for coloring if paint is too messy.
- Hot Glue: For quick assembly, hot glue can be a good alternative to regular glue.
Cost Estimation
Wood: A small piece of balsa wood or plywood costs around $5-$10.
Paint: Small bottles of acrylic paint in various colors cost about $1-$2 each. You might need 3-4 colors, totaling $3-$8.
Brushes: A set of small paintbrushes costs around $5.
Glue: A bottle of wood glue costs about $3.
Decorations: Small decorative items like mini wreaths, doorknobs, or tiny signs cost around $5-$10.
Sandpaper: A small pack of sandpaper costs about $3.
Tools: If you don't have basic tools like a craft knife or scissors, they cost around $5 each.
Total estimated cost: $29-$44.
Budget-friendly alternatives:
- Use cardboard instead of wood, which is often free from old boxes.
- Mix your own paint from primary colors to save on buying multiple bottles.
- Reuse old brushes or borrow from a friend.
- Use household glue if you already have some.
- DIY decorations from materials at home, like buttons or fabric scraps.
- Skip sandpaper if the edges are smooth enough.
- Borrow tools from friends or neighbors.
Creative Variations and Customizations
Materials: Instead of wood, try polymer clay for a more detailed design. Use cardboard for a lightweight option. Foam sheets can also work well for easy cutting and shaping.
Colors: Paint the door in bright red or green for a festive look. Use pastel colors like light blue or pink for a softer, more whimsical feel. Metallic paints like gold or silver can add a touch of magic.
Styles: Create a rustic door with faux wood grain and tiny hinges. Make a modern elf door with sleek lines and a minimalist design. Try a storybook style with intricate carvings and fairy tale elements.
Decorations: Add tiny wreaths or garlands for a holiday theme. Use miniature doorknobs and knockers for added detail. Incorporate small windows with curtains or shutters for a cozy touch.
Themes: Design a seasonal door that changes with the holidays, like adding snowflakes for winter or flowers for spring. Create a themed door based on your favorite book or movie, like a Harry Potter or Narnia-inspired door.
Lighting: Install mini LED lights around the door frame for a magical glow. Use glow-in-the-dark paint for a subtle, enchanting effect at night.
Accessories: Place tiny furniture or garden accessories like benches or potted plants around the door. Add a mini mailbox or welcome mat for extra charm.
Textures: Use textured paint or embossing paste to create a stone or brick look. Add moss or tiny pebbles for a natural, outdoor feel.
Personalization: Paint your family name or a special message above the door. Add initials or symbols that hold personal meaning.
Interactive Elements: Make the door openable with a small hinge. Add a tiny bell that rings when the door is moved. Create a secret compartment behind the door for small notes or treasures.
Sustainability Tips for Your Project
Reclaimed wood makes a great base for your elf door. Look for old pallets, barn wood, or leftover planks from other projects. Sand them down to remove splinters and rough edges.
For the door frame, use recycled cardboard. Cut it into strips and glue them together to create a sturdy frame. Paint or stain the cardboard to match the wood.
Natural paints or stains are eco-friendly options. Choose water-based paints with low VOCs (volatile organic compounds) to keep the air in your home clean.
Decorate with recycled materials like buttons, bottle caps, or old jewelry. These items can add charm and character to your elf door without creating waste.
Use natural adhesives like flour paste or non-toxic glue. These options are safer for the environment and your family.
For the hinges and doorknob, consider using small pieces of scrap metal or old hardware. You can often find these items at thrift stores or in your own junk drawer.
Add a touch of greenery with dried flowers or small twigs. These natural elements can make your elf door look more inviting and magical.
Finally, place your elf door in a spot where it can be easily seen and enjoyed. This could be at the base of a wall, on a bookshelf, or even on a tree trunk if you have indoor plants.
Bring Magic to Your Dining Room
Creating your own DIY elf door is a fun, creative project that adds a touch of whimsy to your dining room. With just a few materials and some imagination, you can craft a tiny portal that sparks joy and wonder. Remember to use non-toxic paints and glues to keep it safe for everyone. Personalize it with little details like miniature doorknobs or tiny welcome mats to make it truly unique. This project is not only a great way to spend time with family but also a fantastic way to showcase your crafting skills. So, gather your supplies, get creative, and let your inner artist shine. Your dining room will never be the same again!
What materials do I need to make a DIY elf door?
You'll need craft wood, paint, glue, small hinges, and decorative items like tiny doorknobs or stickers.
How do I attach the elf door to the wall?
Use double-sided tape or removable adhesive strips to stick the door to the wall without damaging the paint.
Can I customize the elf door?
Absolutely! Paint it any color you like, add tiny decorations, or even make a mini wreath for the door.
How long does it take to make an elf door?
It usually takes about an hour to assemble and decorate, plus drying time for the paint and glue.
Is this project kid-friendly?
Yes, kids can help with painting and decorating. Just make sure an adult handles the cutting and gluing.
Where should I place the elf door in the dining room?
Place it at the baseboard level or on a shelf where it’s easily visible but not in the way.
Do I need any special tools?
Basic tools like scissors, a paintbrush, and a hot glue gun should be enough.