
Home>Home & Furniture>Bedroom>How to Build a DIY Platform Bed
Bedroom
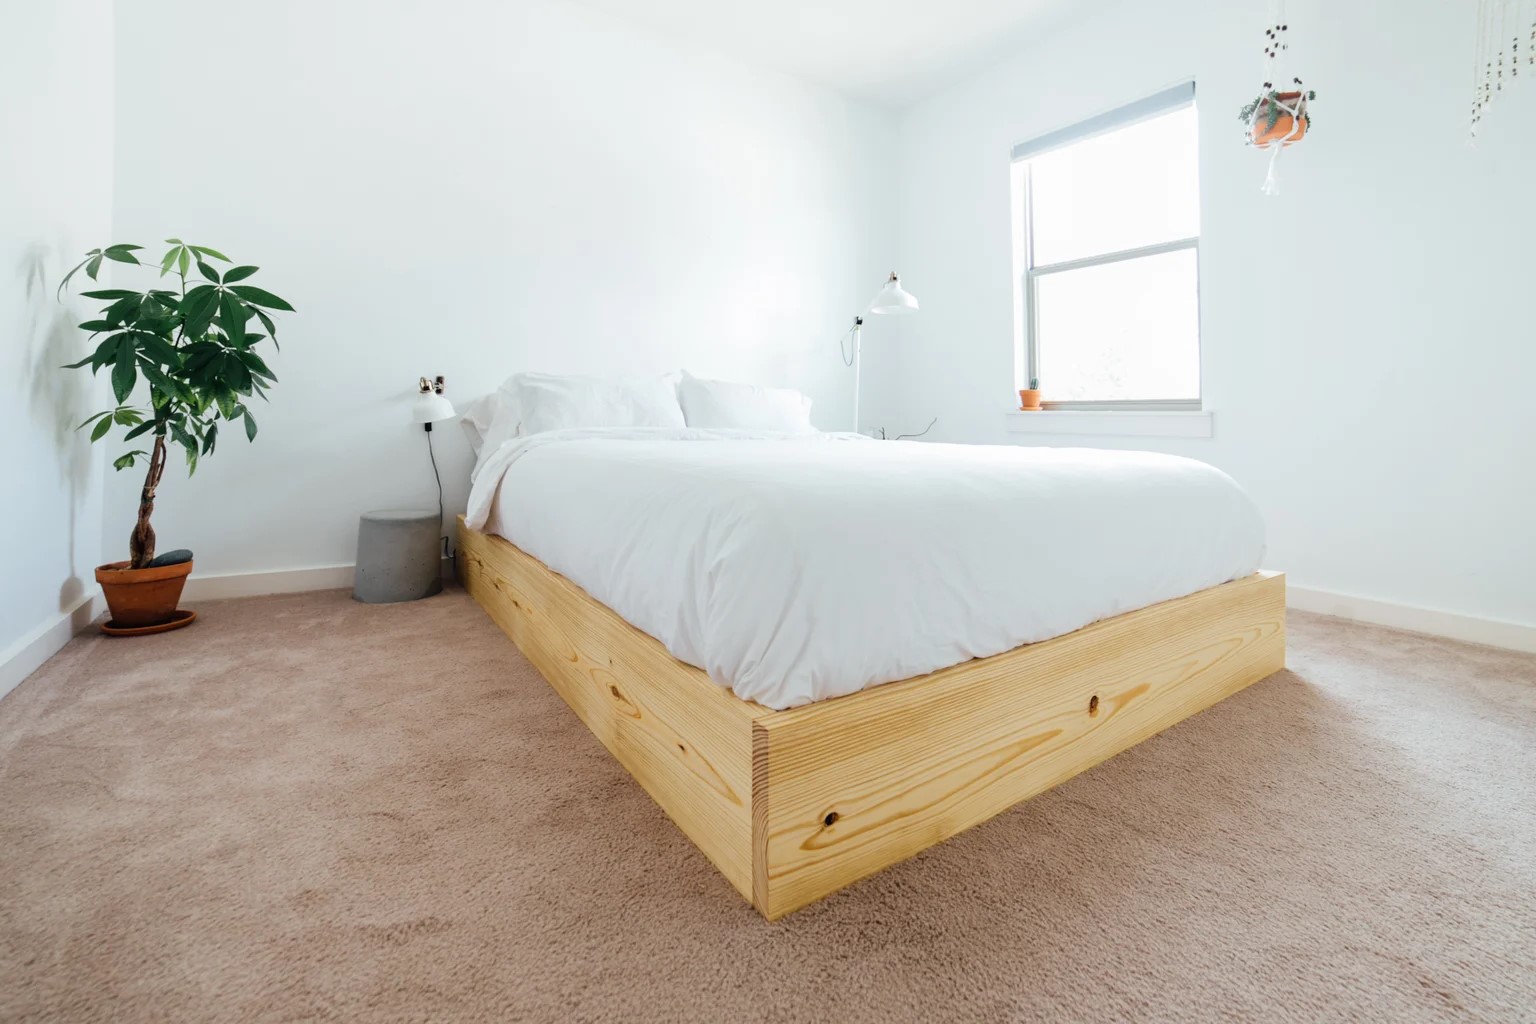
How to Build a DIY Platform Bed
Published: July 21, 2024
Learn how to build a stylish and sturdy DIY platform bed with our step-by-step guide. Perfect for beginners, this project will enhance your bedroom decor and save you money!
(Many of the links in this article redirect to a specific reviewed product. Your purchase of these products through affiliate links helps to generate commission for Twigandthistle.com, at no extra cost. Learn more)
Building your own platform bed can be an exciting project that saves money and provides a sense of accomplishment. Perfect for beginners and experienced DIY enthusiasts alike, this project requires basic tools and materials. You can customize dimensions to fit your space and even add storage options under the bed. The best part? You don't need advanced carpentry skills—just some patience and a willingness to learn. Follow along to see how you can create a sturdy, stylish platform bed that adds a personal touch to your bedroom. Let's get started on this simple yet rewarding DIY adventure!
Getting Ready for Your Project
- Measure Your Space: Ensure the bed fits in your room. Measure the length, width, and height.
- Gather Materials: Get wood, screws, nails, a saw, a drill, and sandpaper. Check you have everything before starting.
- Safety Gear: Wear safety goggles, gloves, and a dust mask. Protect yourself from wood dust and sharp tools.
- Clear Workspace: Clean the area where you’ll work. Make sure there’s enough room to move around.
- Cut Wood: Cut the wood pieces according to your measurements. Use a saw carefully.
- Sand Edges: Smooth the edges of the wood with sandpaper. This prevents splinters.
- Pre-Drill Holes: Drill holes where screws will go. This makes assembly easier and prevents wood from splitting.
- Check Instructions: Review your plan or instructions one more time. Make sure you understand each step.
- Organize Tools: Lay out your tools and materials. Keep everything within reach to avoid unnecessary movement.
- Test Fit: Assemble the pieces without screws to ensure everything fits. Make adjustments if needed.
Gathering Your Materials and Tools
Materials:
- Plywood Sheets: Used for the bed platform and support.
- 2x4 Lumber: Forms the frame and legs.
- Wood Screws: Secures the pieces together.
- Wood Glue: Adds extra strength to joints.
- Sandpaper: Smooths rough edges.
- Paint or Stain: Finishes the bed for a polished look.
- Mattress: The final touch for comfort.
Tools:
- Tape Measure: Ensures accurate measurements.
- Circular Saw: Cuts plywood and lumber to size.
- Drill: Makes holes for screws and drives them in.
- Screwdriver: Tightens screws securely.
- Clamps: Holds pieces together while glue dries.
- Paintbrush or Roller: Applies paint or stain evenly.
- Safety Gear: Includes gloves, goggles, and a dust mask for protection.
Skill Level and Time Commitment
Skill Level: Intermediate
Time Required: Approximately 6-8 hours
Steps:
- Gather Materials: Wood, screws, drill, saw, measuring tape, sandpaper, wood glue, and paint or stain.
- Measure and Cut: Measure the dimensions of your mattress. Cut the wood to size for the frame and slats.
- Assemble Frame: Use screws and wood glue to assemble the outer frame.
- Add Support: Attach support beams inside the frame for stability.
- Install Slats: Evenly space and secure the slats across the frame.
- Sand and Finish: Sand the wood to smooth out rough edges. Paint or stain as desired.
- Final Assembly: Put the bed together in your room and place the mattress on top.
Important Tips:
- Safety First: Always wear safety goggles and gloves.
- Measure Twice, Cut Once: Double-check measurements before cutting.
- Even Spacing: Ensure slats are evenly spaced for proper support.
Instructions for Building Your Bed
Gather Materials:
- Plywood sheets
- 2x4 lumber
- Screws
- Wood glue
- Sandpaper
- Paint or stain (optional)
- Mattress
Cut Wood:
- Cut plywood into two pieces for the top platform.
- Cut 2x4 lumber into pieces for the frame and legs.
Build Frame:
- Lay out 2x4 pieces to form a rectangle.
- Attach corners using screws and wood glue.
Add Support Beams:
- Place additional 2x4 pieces inside the frame for extra support.
- Secure with screws.
Attach Legs:
- Cut 2x4 pieces to desired height for legs.
- Attach legs to each corner of the frame using screws.
Sand Wood:
- Smooth all surfaces with sandpaper to avoid splinters.
Assemble Platform:
- Place plywood sheets on top of the frame.
- Secure plywood to frame with screws.
Finish:
- Paint or stain the bed if desired.
- Let dry completely.
Place Mattress:
- Position mattress on top of the platform.
Enjoy:
- Your DIY platform bed is ready for use.
Helpful Tips and Tricks
Measure twice, cut once. Always double-check measurements before cutting wood. This saves time and materials.
Use a level. Ensure your bed frame is even. An uneven bed can cause discomfort and structural issues.
Pre-drill holes. This prevents wood from splitting when inserting screws.
Sand edges. Smooth edges prevent splinters and give a polished look.
Choose sturdy wood. Pine or oak works well. Avoid particleboard; it’s less durable.
Add center support. For larger beds, include a center beam to prevent sagging.
Use wood glue. Along with screws, glue adds extra strength to joints.
Stain or paint before assembly. It’s easier to reach all areas and ensures an even finish.
Common mistakes to avoid:
Skipping the plan. Not having a clear plan can lead to mistakes and wasted materials.
Ignoring weight limits. Ensure your design can support the mattress and sleepers.
Rushing assembly. Take your time to ensure everything fits correctly.
Alternatives for materials or methods:
Metal brackets. Instead of wood joints, use metal brackets for added strength.
Plywood base. For a simpler design, use a plywood sheet as the base instead of slats.
Reclaimed wood. Use old pallets or reclaimed wood for a rustic look and eco-friendly option.
Estimating the Cost
Lumber: You'll need 2x4s and plywood. Expect to spend around $100 for decent quality wood.
Screws and Nails: A box of each will cost about $10.
Wood Glue: A bottle costs around $5.
Sandpaper: A pack of various grits will be about $10.
Paint or Stain: Depending on your choice, this can range from $20 to $30.
Paintbrushes or Rollers: A set will cost around $10.
Tools: If you don't already have them, a saw (circular or hand) costs about $50, a drill around $40, and a sander about $30.
Budget-Friendly Alternatives:
- Use pallet wood instead of buying new lumber. Often free or very cheap.
- Borrow tools from friends or rent them from a local hardware store.
- Use leftover paint from previous projects.
Total estimated cost: $275. Using budget-friendly alternatives can reduce this to around $150.
Different Variations and Customizations
Materials: Instead of using wood, try metal for a more industrial look. Reclaimed wood can give a rustic feel. Plywood is a budget-friendly option.
Colors: Paint the bed frame in bold colors like navy blue or forest green for a modern touch. Use stains to highlight the natural wood grain. Whitewash the wood for a beachy vibe.
Styles: Add upholstered panels to the headboard for a luxurious feel. Create a floating platform by hiding the legs. Incorporate built-in storage with drawers or cubbies underneath.
Headboard: Attach a bookshelf as a headboard for extra storage. Use slatted wood for a Scandinavian look. Hang a tapestry or fabric panel for a bohemian style.
Legs: Use hairpin legs for a mid-century modern look. Opt for chunky wooden legs for a sturdy, traditional feel. Try casters for a mobile bed.
Extras: Add LED strip lights under the bed for a cool glow. Install a USB charging station on the side. Attach a fold-out desk for a multi-functional piece.
Eco-Friendly Building Tips
Reclaimed Wood: Use old pallets or wood from demolished buildings. Sand and treat it to ensure it's safe and smooth.
Eco-friendly Paint: Choose paints with low or zero VOCs (volatile organic compounds). These are better for indoor air quality.
Natural Finishes: Opt for finishes like beeswax or linseed oil. They are less harmful to the environment.
Recycled Metal: If using metal brackets or screws, look for ones made from recycled materials.
Bamboo: This fast-growing plant is a sustainable alternative to traditional wood. It's strong and durable.
Natural Fiber Upholstery: If adding a headboard or padding, use materials like organic cotton, hemp, or wool.
Non-toxic Adhesives: Choose glues and adhesives that are free from harmful chemicals.
Solar-powered Tools: If possible, use tools powered by solar energy to reduce your carbon footprint.
Local Sourcing: Buy materials from local suppliers to cut down on transportation emissions.
Minimalist Design: A simple design uses fewer materials and reduces waste.
Your DIY Platform Bed Awaits
Building a DIY platform bed isn't just about saving money; it's about creating something unique and personal. You've learned how to gather materials, measure and cut wood, assemble the frame, and add the finishing touches. Each step brings you closer to a custom piece that fits your style and space perfectly. Don't worry if it takes a bit of time; the satisfaction of sleeping on a bed you built with your own hands is worth every minute. Plus, you now have the skills to tackle more DIY projects in the future. So grab your tools, get started, and enjoy the process. Your new platform bed is just a few steps away. Happy building!
What materials do I need to build a DIY platform bed?
You'll need wooden planks, screws, a drill, a saw, sandpaper, and wood glue. Optional items include paint or stain for finishing touches.
How long does it take to build a platform bed?
Typically, it takes about one weekend. Cutting and assembling the wood might take a day, while sanding and finishing could take another.
Do I need any special tools?
Basic tools like a drill, saw, measuring tape, and screwdriver should do the trick. A sander can make the finishing process smoother.
Can I customize the size of the bed?
Absolutely! Just adjust the measurements of the wood planks to fit your mattress size, whether it's twin, queen, or king.
Is it cheaper to build my own platform bed?
Yes, usually. Buying the materials yourself often costs less than purchasing a pre-made bed. Plus, you get the satisfaction of building it.
How sturdy will a DIY platform bed be?
If you use quality materials and follow the instructions carefully, your bed should be very sturdy. Make sure to reinforce the joints and use enough screws.
Can I add storage to my platform bed?
Definitely! You can build drawers or leave space underneath for storage bins. Just plan for this when designing your bed.