
Home>Home & Furniture>Bathroom>How to Build a Teardrop Trailer with Bathroom
Bathroom
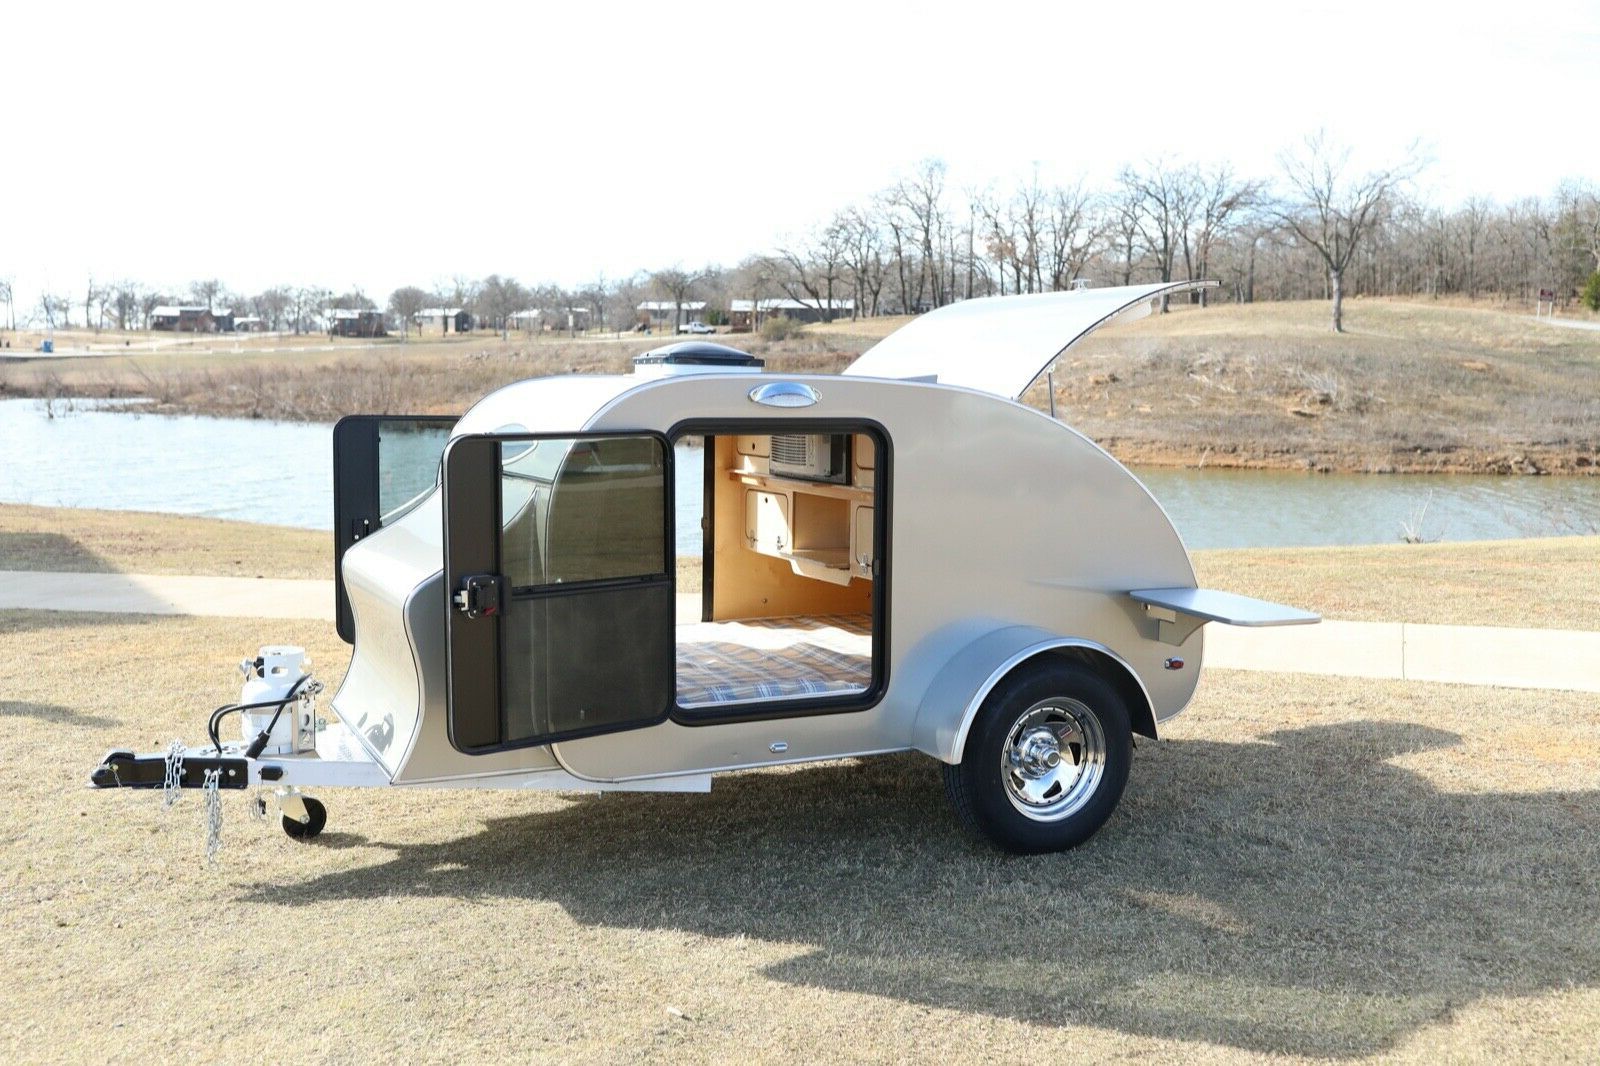
How to Build a Teardrop Trailer with Bathroom
Published: July 17, 2024
Learn how to build a teardrop trailer with a bathroom in this comprehensive guide. Get step-by-step instructions, essential tips, and expert advice for a perfect DIY project.
(Many of the links in this article redirect to a specific reviewed product. Your purchase of these products through affiliate links helps to generate commission for Twigandthistle.com, at no extra cost. Learn more)
Building a teardrop trailer with a bathroom may seem like a big project, but it’s totally doable with some planning and effort. These compact trailers offer a cozy space for road trips and camping adventures. Adding a bathroom makes them even more convenient, giving you a private spot for all your needs. In this guide, you'll learn how to plan, design, and build a teardrop trailer that has everything you want. Whether you're a seasoned DIY enthusiast or a beginner, this project is a great way to create something truly unique and useful.
Getting Ready for Your Teardrop Trailer Project
Gather Materials: Make sure you have all the necessary materials like plywood, insulation, plumbing supplies, and tools such as saws, drills, and screwdrivers.
Create a Plan: Draw a detailed blueprint of your trailer, including the bathroom layout. Measure everything twice to ensure accuracy.
Safety Gear: Wear safety goggles, gloves, and a dust mask to protect yourself from debris and dust.
Clear Workspace: Set up a clean, organized workspace. Ensure there's enough room to move around and store materials.
Check Local Regulations: Verify local building codes and regulations to ensure your trailer meets all legal requirements.
Prepare the Base: Start with a sturdy trailer frame. Inspect it for any damage and make necessary repairs.
Electrical Setup: Plan the electrical wiring for lights, outlets, and bathroom fixtures. Make sure to use waterproof materials for bathroom areas.
Plumbing Prep: Plan the plumbing layout for the bathroom. Ensure you have access to water and waste disposal connections.
Insulation: Install insulation to keep the trailer comfortable in various weather conditions.
Ventilation: Plan for proper ventilation in the bathroom to prevent moisture buildup. Install vents or small windows as needed.
Dry Run: Do a dry run of assembling the major components to ensure everything fits together as planned.
Essential Materials and Tools
- Plywood Sheets: Used for the trailer's walls, floor, and roof. Choose high-quality, weather-resistant plywood.
- Aluminum Sheets: Covers the exterior for a sleek, durable finish.
- Insulation: Keeps the interior comfortable in various weather conditions.
- Trailer Frame Kit: The foundation of your teardrop trailer. Ensure it’s sturdy and fits your design.
- Screws and Bolts: Essential for assembling the frame and attaching components.
- Sealant: Prevents water leaks and protects against moisture damage.
- Windows and Doors: Provides ventilation and access. Ensure they are weatherproof.
- Plumbing Kit: Includes pipes, fittings, and a small water tank for the bathroom.
- Toilet: A compact, RV-style toilet fits well in the limited space.
- Shower Pan and Fixtures: A small shower pan and fixtures for a functional bathroom.
- Electrical Wiring and Components: Powers lights, outlets, and other electrical devices.
- Battery and Solar Panels: Provides off-grid power for your trailer.
- Interior Paneling: Covers the walls and ceiling inside the trailer for a finished look.
- Flooring Material: Durable and easy-to-clean flooring for the interior.
- Ventilation Fan: Ensures proper airflow and reduces moisture buildup.
- Tools:
- Drill: For making holes and driving screws.
- Saw: Cuts plywood and other materials to size.
- Measuring Tape: Ensures accurate measurements.
- Screwdrivers: Tightens screws and bolts.
- Wrench Set: Tightens nuts and bolts.
- Utility Knife: Cuts insulation and other materials.
- Level: Ensures everything is straight and level.
- Caulking Gun: Applies sealant smoothly.
- Wire Strippers: Prepares electrical wires for connections.
Required Skills and Time Commitment
Skill Level: Advanced
Time Required: 200-300 hours
- Planning and Design: 20-30 hours
- Frame Construction: 30-40 hours
- Electrical and Plumbing: 40-50 hours
- Insulation and Interior: 30-40 hours
- Exterior Shell: 40-50 hours
- Finishing Touches: 40-50 hours
Detailed Building Instructions
Design Your Trailer
- Sketch your trailer layout, including the bathroom.
- Decide on dimensions and materials.
Gather Materials
- Trailer frame: Buy or build a sturdy frame.
- Plywood: For walls, floor, and roof.
- Insulation: Foam board or spray foam.
- Plumbing: Pipes, fittings, and a small water tank.
- Electrical: Wires, lights, and battery.
- Bathroom fixtures: Toilet, sink, and shower.
Build the Frame
- Assemble the trailer frame.
- Ensure it is level and secure.
Install the Floor
- Cut plywood to fit the frame.
- Attach plywood to the frame using screws.
Construct the Walls
- Cut plywood for walls.
- Attach walls to the floor and frame.
- Add insulation between wall panels.
Build the Roof
- Cut plywood for the roof.
- Attach roof panels to the walls.
- Add insulation between roof panels.
Install Plumbing
- Run pipes for water supply and drainage.
- Install the water tank.
- Connect pipes to bathroom fixtures.
Install Electrical
- Run wires for lights and outlets.
- Connect wires to a battery or external power source.
Build the Bathroom
- Install the toilet, sink, and shower.
- Ensure all plumbing connections are secure.
Finish Interior
- Add paneling or paint to walls and ceiling.
- Install flooring material.
Add Windows and Doors
- Cut openings for windows and doors.
- Install windows and doors securely.
Seal and Waterproof
- Apply sealant to all joints and seams.
- Ensure the trailer is watertight.
Final Touches
- Add any additional features like shelves or cabinets.
- Test all systems (plumbing, electrical) to ensure they work properly.
Helpful Tips and Tricks
Plan your layout carefully. Measure twice, cut once. Sketch your design on graph paper to visualize space.
Use lightweight materials. Plywood and aluminum are great choices. They keep the trailer light and easy to tow.
Install a composting toilet. It’s easier to manage than a traditional one and doesn’t need plumbing.
Ventilation is key. Install a roof vent or small window in the bathroom to prevent moisture buildup.
Waterproof the bathroom area. Use marine-grade sealant around seams and edges to avoid leaks.
Common mistakes to avoid: Skipping insulation can make the trailer uncomfortable. Not sealing edges properly can lead to water damage. Overloading the trailer with heavy materials can make towing difficult.
Alternative materials or methods: Instead of plywood, consider using fiberglass for a more durable, weather-resistant shell. For the bathroom, a portable camping toilet can be a simpler option than a built-in one.
Estimating the Costs
Trailer Frame: $800 - $1,200
Plywood: $200 - $300
Insulation: $100 - $150
Aluminum Sheets: $300 - $500
Windows: $150 - $300
Doors: $200 - $400
Plumbing Supplies: $200 - $400
Toilet: $100 - $300
Shower Pan: $100 - $200
Water Tanks: $150 - $300
Electrical Supplies: $200 - $400
Lights: $50 - $100
Battery: $100 - $200
Solar Panels: $200 - $500
Interior Finishes: $300 - $600
Paint or Sealant: $50 - $100
Tools: $200 - $500
Total Cost: $3,600 - $6,850
Budget-Friendly Alternatives:
- Trailer Frame: Look for used frames or repurpose an old trailer ($400 - $800).
- Windows and Doors: Salvage from old RVs or buy second-hand ($100 - $200).
- Plumbing Supplies: Use basic PVC pipes and fittings ($100 - $200).
- Electrical Supplies: Opt for basic wiring kits ($100 - $200).
- Solar Panels: Start with a smaller, less powerful panel ($100 - $200).
- Tools: Borrow from friends or rent from a local hardware store ($50 - $200).
Budget-Friendly Total Cost: $2,250 - $4,650
Creative Variations and Customizations
Materials: Instead of traditional plywood, consider using aluminum for a lightweight, durable exterior. For a rustic look, use reclaimed wood.
Colors: Paint the trailer in vibrant colors like turquoise or red for a retro vibe. For a modern look, go with neutral tones like gray or white.
Styles: Add a solar panel on the roof for eco-friendly power. Install LED strip lights inside for a cozy atmosphere.
Bathroom: Use a composting toilet to save water. Install a compact shower with a foldable door to maximize space.
Interior: Choose modular furniture that can be easily rearranged. Use fabric curtains instead of blinds for a softer look.
Storage: Add under-bed storage or wall-mounted shelves to keep things organized.
Windows: Opt for panoramic windows to let in more light. Use frosted glass for privacy in the bathroom.
Flooring: Consider vinyl flooring for easy cleaning. For a warmer feel, use cork flooring.
Kitchen: Install a pull-out countertop for extra prep space. Use a portable stove instead of a built-in one to save room.
Extras: Add a roof rack for carrying bikes or kayaks. Install an awning for extra outdoor living space.
Eco-Friendly Building Tips
Reclaimed Wood: Use reclaimed wood for the trailer's frame and interior. It adds character and reduces the need for new lumber.
Recycled Metal: Opt for recycled metal for the trailer's exterior and structural components. It’s durable and eco-friendly.
Insulation: Choose eco-friendly insulation like sheep's wool or recycled denim. These materials provide excellent thermal properties without harmful chemicals.
Solar Panels: Install solar panels on the roof to power lights, appliances, and the bathroom. This reduces reliance on non-renewable energy sources.
Low-Flow Fixtures: Use low-flow faucets and showerheads in the bathroom to conserve water. These fixtures are efficient and easy to install.
Composting Toilet: Consider a composting toilet instead of a traditional one. It’s waterless and turns waste into compost, reducing environmental impact.
LED Lighting: Use LED lights throughout the trailer. They consume less energy and have a longer lifespan compared to traditional bulbs.
Natural Ventilation: Design windows and vents to maximize natural airflow. This reduces the need for air conditioning, saving energy.
Recycled Fabrics: Choose upholstery and curtains made from recycled or organic fabrics. They’re sustainable and often more durable.
Eco-Friendly Paints: Use non-toxic, low-VOC paints for the interior. These paints are better for indoor air quality and the environment.
Bamboo Flooring: Opt for bamboo flooring. It’s a renewable resource that’s durable and stylish.
Rainwater Harvesting: Install a rainwater harvesting system to collect water for non-potable uses like flushing the toilet or washing dishes. This reduces water consumption.
Recycled Glass Countertops: Use recycled glass for countertops. They’re stylish, durable, and eco-friendly.
Energy-Efficient Appliances: Choose energy-efficient appliances for the kitchen and bathroom. They use less power and water, reducing your environmental footprint.
Sustainable Sealants: Use eco-friendly sealants and adhesives. They’re less harmful to the environment and provide strong, lasting bonds.
Your Teardrop Trailer Awaits
Building a teardrop trailer with a bathroom is no small feat, but you've got this. By now, you've learned the ins and outs of designing, constructing, and customizing your trailer. You've tackled plumbing, electrical work, and interior design. Each step brought you closer to a cozy, functional space on wheels. Don't forget to double-check all connections and seals to avoid leaks or electrical issues down the road. Your hard work will pay off when you're camping in comfort, enjoying the fruits of your labor. Remember, every project has its hiccups, but persistence and creativity make all the difference. Now, hit the road and enjoy your new adventure. Happy travels!
How much does it cost to build a teardrop trailer with a bathroom?
Costs can vary, but expect to spend between $5,000 and $15,000. Materials, fixtures, and tools will impact the final price.
What materials do I need?
You'll need plywood, insulation, aluminum sheets, plumbing supplies, a small toilet, and a sink. Don't forget screws, nails, and sealant.
How long will it take to build?
Depending on your experience and time commitment, it could take anywhere from a few weeks to a few months. Plan for weekends and evenings.
Do I need special tools?
Basic tools like a saw, drill, and screwdriver are essential. A jigsaw, sander, and plumbing tools will also come in handy.
Can I tow it with a regular car?
Most teardrop trailers are lightweight and can be towed by a standard car. Check your vehicle's towing capacity to be sure.
How do I install the bathroom?
Install a small toilet and sink, connecting them to a water supply and waste tank. Ensure proper ventilation and waterproofing.
Is it difficult to insulate?
Not really. Use foam board or spray foam insulation between the plywood walls. Seal any gaps to keep the trailer cozy.
What about electrical wiring?
You'll need basic knowledge of electrical systems. Install a battery, fuse box, and wiring for lights and outlets. Consider solar panels for off-grid power.