
Home>Home & Furniture>Bathroom>DIY Small RV Bathroom Ideas
Bathroom
DIY Small RV Bathroom Ideas
Published: July 16, 2024
Discover creative DIY small RV bathroom ideas to maximize space and functionality. Transform your tiny bathroom with these practical tips and stylish solutions.
(Many of the links in this article redirect to a specific reviewed product. Your purchase of these products through affiliate links helps to generate commission for Twigandthistle.com, at no extra cost. Learn more)
Transforming a small RV bathroom with DIY projects offers both challenges and rewards. Maximizing limited space requires creative thinking and resourceful solutions. Simple upgrades like adding storage, changing fixtures, or using bright colors can make a big difference. DIY projects help personalize the space, making it more functional and comfortable. Whether you're a seasoned RV traveler or new to the lifestyle, these ideas can inspire you to improve your tiny bathroom. Enjoy crafting a space that feels like home, even when you're on the road.
Getting Ready for Your RV Bathroom Makeover
Measure the Space: Use a tape measure to get accurate dimensions of the bathroom. Write down the length, width, and height.
Plan the Layout: Sketch a rough layout of where you want everything to go. Think about the placement of the toilet, sink, and storage.
Gather Materials: Make a list of all materials needed, like tiles, paint, fixtures, and tools. Visit a hardware store or order online.
Set Up Workspace: Clear a nearby area to use as your workspace. Lay down a tarp or old sheets to protect the floor.
Turn Off Water Supply: Locate the RV’s water supply valve and turn it off to avoid any leaks or water damage.
Wear Safety Gear: Put on safety goggles, gloves, and a mask to protect yourself from dust and debris.
Remove Old Fixtures: Carefully take out old fixtures like the toilet, sink, and any cabinets. Use a screwdriver or wrench as needed.
Check for Repairs: Inspect the walls and floor for any damage. Fix any leaks or cracks before starting the new installation.
Ventilation: Ensure proper ventilation by opening windows or using a fan. This helps to clear out dust and fumes.
Organize Tools: Keep all tools like screwdrivers, wrenches, and hammers within reach. Use a toolbox or a bucket to keep them organized.
Test Fit: Before installing, place new fixtures in their spots to ensure they fit properly. Make any necessary adjustments.
Read Instructions: Go through the installation manuals for all new fixtures. Follow the steps carefully to avoid mistakes.
Essential Materials and Tools
- Measuring Tape: Essential for taking accurate measurements of your bathroom space.
- Screwdriver Set: Needed for assembling and disassembling fixtures.
- Drill: Useful for making holes for screws and other fasteners.
- Level: Ensures that shelves and fixtures are installed straight.
- Utility Knife: Handy for cutting materials like wallpaper or flooring.
- Caulk Gun: Used to apply caulk around sinks, showers, and other fixtures to prevent leaks.
- Pliers: Helpful for gripping and turning nuts and bolts.
- Wrench Set: Necessary for tightening or loosening plumbing fixtures.
- Sandpaper: Smooths rough edges on wood or other materials.
- Paintbrushes/Rollers: Needed for painting walls or cabinets.
- Painter’s Tape: Protects areas you don’t want to paint.
- Adhesive: Used for securing tiles, wallpaper, or other materials.
- Tiles: Can be used for flooring or walls to give a fresh look.
- Shower Curtain: Provides privacy and keeps water inside the shower area.
- Storage Bins: Helps organize toiletries and other items.
- Hooks and Racks: Useful for hanging towels and robes.
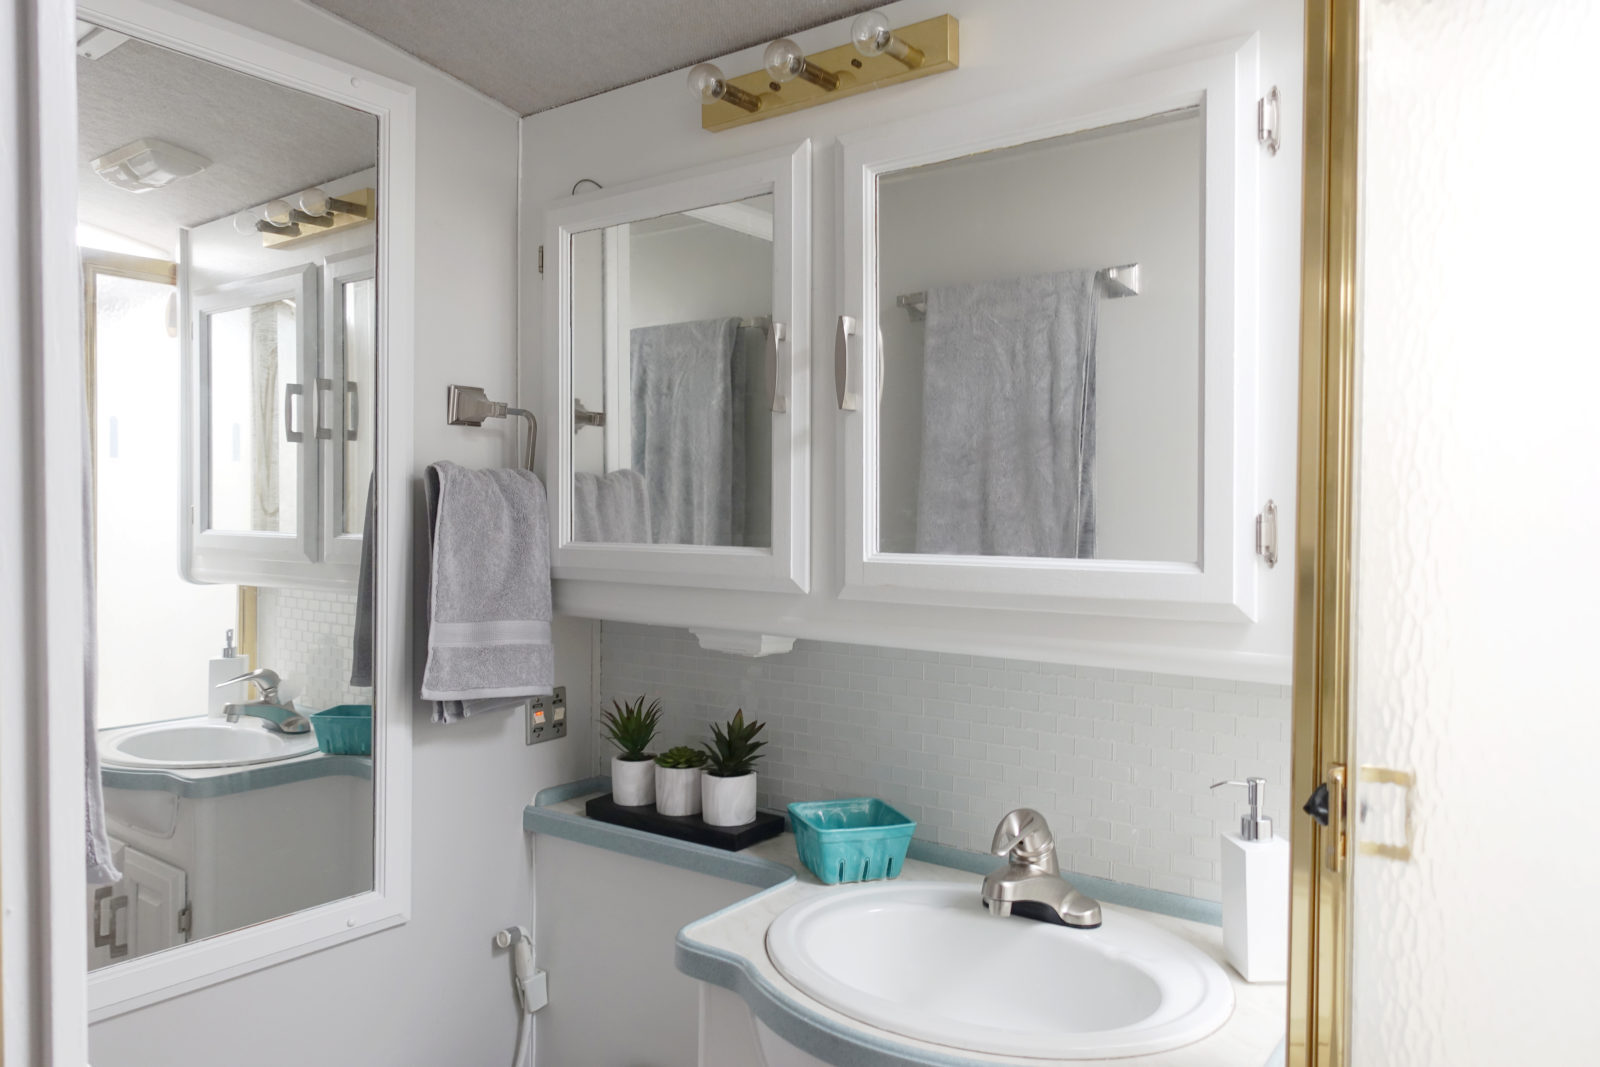
- Mirror: Adds functionality and makes the space feel larger.
- Lighting Fixtures: Improves visibility and ambiance.
- Vent Fan: Helps reduce moisture and prevent mold.
- Cleaning Supplies: Keeps the area tidy during and after the project.
Skill Level and Time Commitment
Skill Level: Intermediate
Time Required: 1-2 days
- Planning and Measuring: 2-3 hours
- Removing Old Fixtures: 3-4 hours
- Installing New Fixtures: 4-6 hours
- Painting and Finishing Touches: 2-3 hours
Detailed Step-by-Step Guide
Measure the Space
- Use a tape measure to get the dimensions of the bathroom.
- Write down the length, width, and height.
Plan the Layout
- Sketch a rough layout of the bathroom.
- Decide where to place the toilet, sink, and shower.
Choose Compact Fixtures
- Look for a compact toilet designed for small spaces.
- Select a corner sink to save space.
- Consider a wet bath where the shower and toilet share the same area.
Install the Toilet
- Turn off the water supply.
- Remove the old toilet if necessary.
- Position the new toilet and secure it with bolts.
- Connect the water supply line.
Install the Sink
- Mount the sink to the wall or corner.
- Attach the faucet and connect the water lines.
- Seal around the edges with silicone caulk.
Set Up the Shower
- Install a shower pan to catch water.
- Attach the showerhead to the wall.
- Install a shower curtain or door to keep water contained.
Add Storage Solutions
- Use wall-mounted shelves or cabinets for toiletries.
- Install hooks for towels and robes.
- Consider a medicine cabinet with a mirror.
Optimize Lighting
- Install LED lights to save energy.
- Use a skylight or vent fan with a light for natural light and ventilation.
Decorate Smartly
- Choose light colors to make the space feel larger.
- Use mirrors to reflect light and create an illusion of space.
- Add waterproof decals or tiles for a stylish touch.
Check for Leaks
- Turn on the water supply.
- Check all connections for leaks.
- Tighten any loose fittings.
Final Touches
- Add a bath mat for comfort.
- Place a small trash can for convenience.
- Add personal touches like plants or artwork.
Helpful Tips and Tricks
Maximize vertical space by installing shelves or hanging baskets. Use over-the-door organizers for toiletries. Opt for multi-functional items like a mirror with storage behind it. Install hooks for towels and robes to save space. Use a tension rod to hang a shower curtain or extra storage baskets.
Common mistakes to avoid include overcrowding the space, which can make it feel even smaller. Avoid using dark colors; they can make the bathroom feel cramped. Don't forget to secure items properly to prevent them from falling during travel.
Alternatives for materials or methods include using peel-and-stick tiles instead of traditional tiles for easier installation. Consider collapsible or foldable items like a fold-down sink or collapsible laundry basket. Instead of a traditional door, use a sliding or accordion door to save space.
Budgeting Your RV Bathroom Project
Materials:
- Shower Kit: $200-$500
- Toilet: $100-$300
- Sink: $50-$150
- Faucet: $20-$100
- Plumbing Pipes and Fittings: $50-$100
- Waterproof Wall Panels: $100-$200
- Flooring (Vinyl or Laminate): $50-$100
- Mirror: $20-$50
- Storage Solutions (Shelves, Cabinets): $50-$150
- Lighting Fixtures: $30-$80
- Vent Fan: $30-$70
- Sealant and Adhesives: $20-$50
Tools:
- Drill: $50-$100
- Saw: $30-$80
- Wrench Set: $20-$50
- Screwdriver Set: $10-$30
- Measuring Tape: $5-$15
- Level: $10-$20
- Caulking Gun: $5-$15
Total Cost: $800-$2,200
Budget-Friendly Alternatives:
- Shower Kit: Use a shower curtain and portable showerhead: $50-$100
- Toilet: Consider a portable camping toilet: $50-$100
- Sink: Repurpose a small bowl or basin: $10-$30
- Storage Solutions: Use plastic bins or hanging organizers: $10-$30
- Lighting Fixtures: Use battery-operated LED lights: $10-$30
Creative Variations and Customizations
Alternative materials can make a big difference. Instead of traditional tiles, consider peel-and-stick tiles or vinyl flooring. These options are lightweight and easy to install. For countertops, laminate or butcher block can be great choices.
Colors can change the entire feel of the space. Light colors like white, beige, or soft pastels can make the bathroom feel larger. For a bolder look, try navy blue, charcoal, or even a deep green.
Styles can also vary. For a modern look, use sleek fixtures and minimalistic designs. For a rustic feel, incorporate wood accents and earthy tones. A nautical theme can be achieved with blue and white colors, rope accents, and seashell decorations.
Storage solutions are crucial in small spaces. Use over-the-door organizers, magnetic strips for metal items, or hanging baskets. Foldable or collapsible items can save space when not in use.
Lighting can make a big impact. LED strip lights under cabinets or around mirrors can add brightness without taking up space. Skylights or small windows can bring in natural light, making the bathroom feel more open.
Fixtures like faucets and showerheads can be swapped out for more efficient or stylish options. Matte black, brushed nickel, or bronze finishes can add a touch of elegance.
Accessories like mirrors, towel racks, and soap dispensers can be customized to match your chosen style. Frameless mirrors can make the space feel larger, while decorative hooks can add personality.
Eco-Friendly Bathroom Ideas
Reclaimed wood can be used for shelves or cabinets. It adds a rustic look while being eco-friendly. Bamboo is another great option. It grows quickly, making it a sustainable choice for flooring or countertops.
Recycled glass tiles can create a beautiful backsplash. They come in various colors and patterns, adding a touch of style. Low-flow showerheads and faucets help conserve water. They reduce water usage without sacrificing pressure.
Composting toilets are ideal for RVs. They use little to no water and turn waste into compost. Natural cleaners like vinegar and baking soda keep the bathroom clean without harsh chemicals.
LED lighting is energy-efficient and long-lasting. It uses less power, which is perfect for an RV. Recycled plastic can be used for shower curtains or storage bins. It keeps plastic out of landfills and gives it a new purpose.
Upcycling old items like jars or tins for storage adds a personal touch. It reduces waste and saves money. Eco-friendly paint with low VOCs (volatile organic compounds) is better for the environment and your health.
Solar-powered fans can help with ventilation. They use renewable energy, reducing your carbon footprint. Natural fabrics like cotton or linen for towels and shower curtains are biodegradable and sustainable.
Using these materials and methods makes your RV bathroom eco-friendly and stylish.
Your DIY RV Bathroom Awaits
Transforming your small RV bathroom can be a fun, rewarding project. By focusing on space-saving solutions, multi-functional fixtures, and creative storage ideas, you can make a big impact in a tiny space. Don't be afraid to get innovative with your designs. Use vertical space, foldable items, and compact fixtures to maximize every inch. Remember, the goal is to create a bathroom that's both functional and comfortable. Whether you're adding a sliding door, installing a corner sink, or using hanging baskets for storage, each small change can make a big difference. So, gather your tools, roll up your sleeves, and start your DIY adventure. Your cozy, efficient RV bathroom is just a few projects away. Happy renovating!
How can I maximize storage in a small RV bathroom?
Use vertical space with shelves and hanging organizers. Install hooks for towels and robes. Consider over-the-door storage solutions and magnetic strips for metal items.
What are some space-saving fixtures for an RV bathroom?
Opt for a corner sink or a compact vanity. A folding shower door or curtain can save space. Look for a combo toilet and shower unit if you’re really tight on space.
How do I keep my RV bathroom organized?
Use baskets and bins to keep items grouped. Label everything for easy access. Drawer dividers can help keep small items in place. Regularly declutter to avoid overcrowding.
What materials are best for RV bathroom renovations?
Lightweight and water-resistant materials are key. Consider vinyl or laminate flooring. Plastic or fiberglass for shower walls. Marine-grade plywood is great for any woodwork.
How can I improve ventilation in a small RV bathroom?
Install a vent fan or upgrade the existing one. Use a dehumidifier to reduce moisture. Open windows when possible and use moisture-absorbing products like silica gel packs.
Are there any eco-friendly tips for RV bathrooms?
Use biodegradable soaps and shampoos. Install a low-flow showerhead and toilet. Opt for reusable items like cloth towels instead of paper. Collect and reuse greywater for flushing.
How do I make a small RV bathroom feel bigger?
Use light colors on walls and fixtures. Add mirrors to reflect light and create a sense of space. Keep the area clutter-free and use transparent shower curtains or doors.