
Home>Home & Furniture>Bathroom>DIY Sea Shell Bathroom Accessories
Bathroom
DIY Sea Shell Bathroom Accessories
Published: July 16, 2024
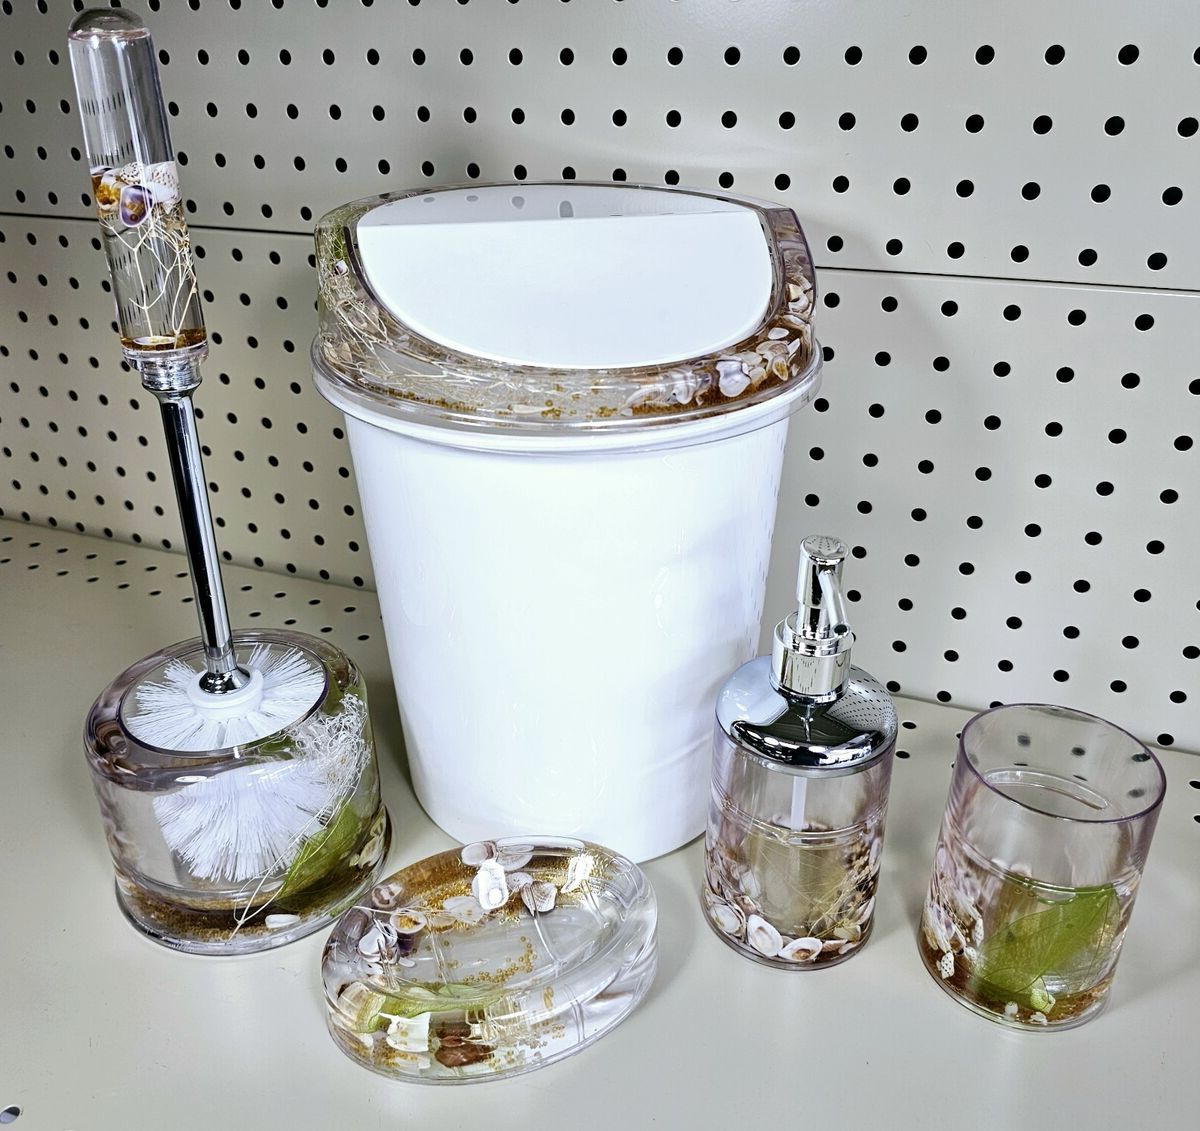
Transform your bathroom into a coastal paradise with DIY sea shell accessories. Discover creative ideas and step-by-step guides to add a beachy touch to your space.
(Many of the links in this article redirect to a specific reviewed product. Your purchase of these products through affiliate links helps to generate commission for Twigandthistle.com, at no extra cost. Learn more)
Transform ordinary bathroom items into coastal treasures with DIY sea shell projects. These simple crafts allow creativity to shine while bringing a beachy vibe to any space. Gather shells from your trips or purchase them from craft stores, then get ready to add a personal touch to your bathroom. From mirrors to soap dispensers, sea shells offer endless possibilities for customization. No need for advanced skills or expensive materials—just a bit of time and imagination. Dive into these projects and watch your bathroom transform into a seaside retreat without ever leaving home.
Getting Ready for Your Project
- Gather Materials: Collect sea shells, glue, paint, brushes, and bathroom accessories like soap dispensers or toothbrush holders.
- Clean Shells: Wash shells with warm water and mild soap to remove dirt and sand. Let them dry completely.
- Safety Gear: Wear gloves to protect hands from sharp edges on shells and fumes from glue or paint.
- Workspace Setup: Choose a well-ventilated area. Cover the workspace with newspaper or a drop cloth to catch spills.
- Plan Design: Arrange shells on the accessories without glue to decide on the best layout.
- Glue Shells: Use a strong adhesive to attach shells to the accessories. Press firmly and hold for a few seconds.
- Paint (Optional): If desired, paint shells or accessories. Allow paint to dry fully before handling.
- Drying Time: Let glued and painted items dry for at least 24 hours to ensure everything sets properly.
- Final Check: Inspect for loose shells or missed spots. Reapply glue or paint as needed.
Gathering Materials and Tools
- Sea Shells: Collect various sizes and shapes. Clean them thoroughly.
- Hot Glue Gun: Essential for attaching shells to surfaces.
- Glue Sticks: Used with the hot glue gun to secure shells.
- Clear Sealant Spray: Protects shells and gives a shiny finish.
- Small Paintbrush: Helps apply glue or paint in tight spots.
- Acrylic Paint: Optional for adding color to shells.
- Sandpaper: Smooths rough edges on shells.
- Scissors: Cuts any extra materials like ribbons or fabric.
- Ribbons: Adds decorative touches to accessories.
- Glass Jars: Acts as containers for bathroom items.
- Towels: Keeps work area clean and absorbs excess glue.
- Tweezers: Handles small shells or delicate placements.
- Measuring Tape: Ensures accurate placement of shells.
- Marker: Marks where to place shells or cut materials.
Skill Level and Time Needed
Skill Level: Beginner
Time Required: 2-3 hours
- Gather Materials: 15 minutes
- Clean and Sort Shells: 20 minutes
- Design Layout: 30 minutes
- Glue Shells: 1 hour
- Drying Time: 30 minutes
Important Keywords: Beginner, 2-3 hours, Gather Materials, Clean and Sort Shells, Design Layout, Glue Shells, Drying Time
How to Make Sea Shell Bathroom Accessories
Gather Materials
- Sea shells
- Hot glue gun
- Clear sealant spray
- Bathroom accessories (soap dish, toothbrush holder, mirror frame)
- Sandpaper
Clean Sea Shells
- Rinse shells with warm water.
- Scrub gently to remove dirt.
- Let them dry completely.
Prepare Accessories
- Lightly sand the surface of each accessory.
- Wipe away dust with a damp cloth.
Arrange Shells
- Lay out shells on a flat surface.
- Plan the design by arranging shells on each accessory.
Glue Shells
- Heat the hot glue gun.
- Apply a small amount of glue to the back of each shell.
- Press shells onto the accessory, holding for a few seconds.
Seal Shells
- Once glue is dry, spray a clear sealant over the shells.
- Allow sealant to dry according to instructions on the can.
Final Touches
- Check for any loose shells and re-glue if necessary.
- Place accessories in the bathroom and enjoy your new decor.
Helpful Tips and Tricks
Gather Supplies: Collect various sea shells, hot glue, clear sealant, and basic bathroom items like soap dispensers, mirrors, and toothbrush holders.
Clean Shells: Wash shells thoroughly to remove sand and debris. Let them dry completely before use.
Plan Layout: Arrange shells on the item before gluing. This helps visualize the final look and ensures a balanced design.
Use Hot Glue: Apply hot glue to the back of each shell and press it onto the item. Hold for a few seconds to ensure it sticks well.
Seal the Shells: Once all shells are glued, apply a clear sealant over them. This protects shells from moisture and makes them shiny.
Common Mistakes to Avoid:
- Skipping Cleaning: Dirty shells won't stick well and can smell bad.
- Overlapping Shells: Overlapping too much can make the design look cluttered.
- Ignoring Sealant: Without sealant, shells can become dull and damaged by water.
Alternatives:
- Adhesive Putty: Use adhesive putty instead of hot glue for a temporary design.
- Resin Coating: For a more durable finish, coat shells with resin instead of clear sealant.
- Painted Shells: Paint shells in different colors before gluing for a unique look.
Estimating the Cost
Sea shells: $10-$20 (can be collected from the beach for free)
Hot glue gun: $10-$15
Glue sticks: $5-$10
Clear sealant spray: $5-$10
Decorative items: $5-$15 (optional, like beads or small stones)
Picture frames: $5-$10 each (for making shell frames)
Soap dispenser: $5-$10 (for decorating with shells)
Towel hooks: $5-$10 (for adding shell designs)
Paint: $5-$10 (optional, for adding color to shells)
Brushes: $2-$5
Total cost: $57-$115
Budget-friendly alternatives:
Sea shells: Free (collect from the beach)
Hot glue gun: Borrow from a friend
Glue sticks: $5
Clear sealant spray: Skip if not needed
Decorative items: Use old jewelry or beads
Picture frames: Use old frames at home
Soap dispenser: Repurpose an old one
Towel hooks: Skip or use existing hooks
Paint: Use leftover paint at home
Brushes: Use old brushes
Total cost with alternatives: $10-$20
Different Ways to Customize
Alternative Materials: Instead of real sea shells, use ceramic or resin shells. These can be painted or left natural. Glass beads or pebbles can also add a beachy feel.
Colors: Paint shells in pastel shades like light blue, pink, or mint green for a soft look. For a bold style, use metallic paints like gold, silver, or bronze. Ombre effects, where colors gradually change from light to dark, can add depth.
Styles: For a rustic look, combine shells with twine or burlap. For a modern style, use clear acrylic or glass containers to display shells. A nautical theme can be achieved by adding rope or anchor motifs.
Additional Elements: Incorporate driftwood pieces or sand in clear jars for a beach scene. Add small starfish or coral pieces for more variety. LED fairy lights can be placed around or inside containers for a glowing effect.
Functional Customizations: Attach shells to soap dispensers, toothbrush holders, or towel racks. Create a shell mirror frame by gluing shells around the edge of a mirror. Make a shell soap dish by arranging shells in a shallow dish.
Personal Touches: Write or paint names or initials on larger shells for a personalized touch. Use decoupage techniques to add pictures or patterns to shells. Add essential oils to shells for a scented accessory.
Eco-Friendly Crafting Tips
Sea shells can be turned into beautiful bathroom accessories using eco-friendly materials and methods. For a soap dish, use an old ceramic plate as the base. Glue the shells around the edge with non-toxic adhesive.
Create a toothbrush holder by repurposing a small glass jar. Decorate it with shells using the same non-toxic glue.
For a mirror frame, find an old mirror and attach shells around the edges. Use recycled wood for additional support if needed.
Make a towel hook by attaching shells to a piece of reclaimed driftwood. Secure it to the wall with recycled screws.
Use natural sealants to protect your creations from moisture. This way, you can enjoy your sea shell accessories while being kind to the environment.
Crafting Memories with Sea Shells
Creating your own sea shell bathroom accessories is a fun way to add a personal touch to your space. You get to choose the shells, design the layout, and make something truly unique. Plus, it's a great way to use shells you've collected from trips to the beach. Whether you're making a soap dish, mirror frame, or toothbrush holder, the possibilities are endless. Just remember to use strong adhesive and seal your creations to protect them from moisture. With a bit of creativity and effort, you can transform ordinary bathroom items into beautiful, beach-inspired decor. So grab those shells and get crafting!
How do I clean sea shells before using them in bathroom accessories?
Soak the sea shells in a mixture of water and vinegar for a few hours. This helps remove any dirt or debris. Rinse them thoroughly with fresh water and let them dry completely before using.
What kind of glue should I use to attach sea shells to bathroom items?
Use a strong, waterproof adhesive like E6000 or a hot glue gun. These glues ensure the shells stay put even in a humid bathroom environment.
Can I paint the sea shells to match my bathroom decor?
Absolutely! Use acrylic paint for the best results. After painting, seal the shells with a clear spray sealant to protect the paint from moisture.
What bathroom items can I decorate with sea shells?
You can jazz up mirrors, soap dispensers, toothbrush holders, and even picture frames. Just get creative and think about where you'd like a touch of the beach.
How do I make a sea shell soap dish?
Find a shallow dish or small tray. Arrange the sea shells in a pattern you like, then glue them down. Let the glue dry completely before using the dish for soap.
Are there any safety tips for working with sea shells?
Wear gloves to protect your hands from sharp edges. Also, work in a well-ventilated area if you're using strong adhesives to avoid inhaling fumes.
Can I use sea shells from the beach directly?
It's best to clean and sanitize them first. Soak them in a bleach solution for a few minutes, rinse well, and let them dry. This ensures they're free from bacteria and safe for indoor use.