
Home>Home & Furniture>Bathroom>DIY Grout Cleaner: How to Make Your Bathroom Sparkle
Bathroom
DIY Grout Cleaner: How to Make Your Bathroom Sparkle
Published: July 14, 2024
Discover how to make your bathroom sparkle with our DIY grout cleaner guide. Easy steps and natural ingredients for a spotless, fresh bathroom. Clean grout, happy home!
(Many of the links in this article redirect to a specific reviewed product. Your purchase of these products through affiliate links helps to generate commission for Twigandthistle.com, at no extra cost. Learn more)
Keeping bathroom grout clean can feel like a never-ending battle. Over time, dirt, mold, and mildew can turn once-bright grout lines into grimy eyesores. Store-bought cleaners often contain harsh chemicals and can be expensive. Luckily, a DIY grout cleaner can tackle those tough stains without breaking the bank or harming your health. Using common household items, you can mix up a powerful cleaner that restores your grout's original sparkle. This guide will walk you through the process, giving you a simple, effective solution to keep your bathroom looking its best. Ready to get your grout gleaming? Let's start!
Getting Ready for the Project
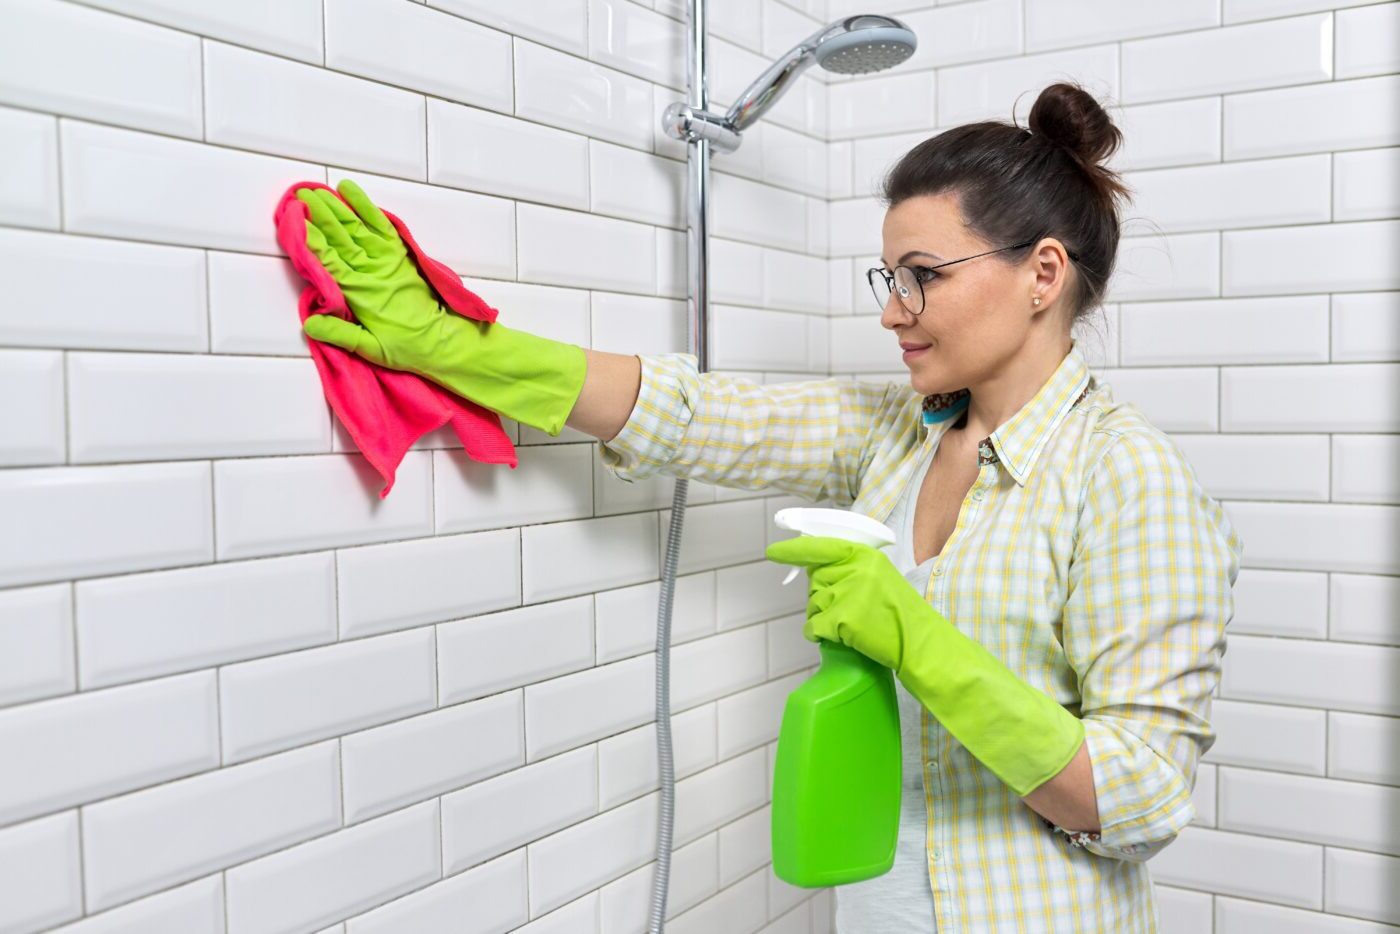
Gather Supplies: Collect baking soda, white vinegar, a spray bottle, a scrub brush, and rubber gloves.
Ventilate the Area: Open windows or turn on the bathroom fan to ensure proper ventilation.
Clear the Workspace: Remove any items from the bathroom floor and counters to avoid spills.
Wear Protective Gear: Put on rubber gloves to protect your hands from the cleaning solution.
Mix the Solution: In a bowl, mix baking soda with a small amount of water to form a paste. Pour white vinegar into the spray bottle.
Test a Small Area: Apply a small amount of the paste and vinegar to a hidden spot to ensure it doesn’t damage the grout.
Apply the Cleaner: Spread the baking soda paste onto the grout lines. Spray vinegar over the paste, letting it bubble for a few minutes.
Scrub the Grout: Use the scrub brush to clean the grout lines, applying pressure as needed.
Rinse and Dry: Wipe away the cleaner with a damp cloth and dry the area with a towel.
Dispose of Waste Properly: Dispose of any leftover cleaning solution and rinse out the spray bottle and bowl.
What You Need to Get Started
- Baking Soda: Acts as a mild abrasive to scrub away grime.
- White Vinegar: Helps dissolve dirt and kill bacteria.
- Hydrogen Peroxide: Disinfects and whitens grout.
- Dish Soap: Cuts through grease and adds extra cleaning power.
- Spray Bottle: Mixes and applies the cleaning solution evenly.
- Measuring Cups and Spoons: Ensures accurate measurements for the mixture.
- Toothbrush or Grout Brush: Scrubs the grout lines effectively.
- Bucket: Holds water for rinsing the grout.
- Sponge or Cloth: Wipes away the cleaning solution and grime.
- Rubber Gloves: Protects hands from harsh chemicals and dirt.
- Old Towels: Keeps the area dry and clean during the process.
How Much Time and Skill Are Needed?
Skill Level: Beginner
Time Required: 30-45 minutes
- Gather Supplies: 5 minutes
- Mix Ingredients: 5 minutes
- Apply Cleaner: 10 minutes
- Scrub Grout: 10-15 minutes
- Rinse and Dry: 5-10 minutes
Follow These Steps
Gather Supplies
- Baking soda
- Hydrogen peroxide
- Dish soap
- Measuring spoons
- Small bowl
- Spoon or small brush
- Spray bottle
Mix Ingredients
- Add 1/2 cup of baking soda to the bowl.
- Pour in 1/4 cup of hydrogen peroxide.
- Add 1 teaspoon of dish soap.
- Stir until it forms a paste.
Apply Cleaner
- Use the spoon or small brush to apply the paste to the grout lines.
- Ensure all grout lines are covered evenly.
Let It Sit
- Allow the mixture to sit on the grout for 10-15 minutes.
Scrub Grout
- Use a small brush or old toothbrush to scrub the grout lines.
- Apply gentle pressure to remove dirt and stains.
Rinse
- Wipe away the paste with a damp cloth.
- Rinse the area with water to remove any residue.
Dry
- Use a clean towel to dry the grout lines.
Optional: Spray Bottle Solution
- Mix equal parts water and hydrogen peroxide in a spray bottle.
- Spray the solution on the grout weekly to maintain cleanliness.
Helpful Tips for Best Results
Use baking soda and vinegar. Mix baking soda with water to form a paste. Apply it to grout lines, then spray with vinegar. Let it fizz for a few minutes before scrubbing with a brush.
Try hydrogen peroxide. Mix hydrogen peroxide with baking soda for tougher stains. Apply the mixture, let it sit for 10 minutes, then scrub and rinse.
Use a toothbrush. An old toothbrush works great for scrubbing grout. Its small size helps reach tight spots.
Avoid harsh chemicals. Bleach can damage grout over time. Stick to natural cleaners like baking soda, vinegar, and hydrogen peroxide.
Seal grout after cleaning. Once grout is clean, apply a grout sealer to protect it from future stains.
Common mistakes to avoid:
- Using too much water. Excess water can weaken grout.
- Scrubbing too hard. This can damage grout and tiles.
- Skipping the sealer. Unsealed grout stains easily.
Alternatives:
- Lemon juice. Mix lemon juice with baking soda for a natural cleaner.
- Steam cleaner. A steam cleaner can effectively clean grout without chemicals.
How Much Will This Cost?
Baking soda: $1 for a small box
White vinegar: $2 for a gallon
Hydrogen peroxide: $1 for a small bottle
Dish soap: $1 for a small bottle
Spray bottle: $1
Scrub brush: $3
Total cost: $9
Budget-friendly alternatives:
Use an old toothbrush instead of a scrub brush. Reuse an empty spray bottle from another product.
Different Ways to Customize
Alternative Materials: Instead of baking soda, try borax for a stronger cleaner. Swap hydrogen peroxide with white vinegar for a natural disinfectant. Use lemon juice instead of essential oils for a fresh scent.
Colors: Add a few drops of food coloring to your cleaner for a fun twist. This won't stain grout but will make the cleaning process more enjoyable.
Styles: For a more eco-friendly approach, use reusable spray bottles and cloths instead of disposable ones. Create a label for your cleaner using a chalkboard sticker and chalk marker for a personalized touch.
Scents: Experiment with different essential oils like lavender, eucalyptus, or tea tree oil to give your bathroom a unique aroma. Mix and match oils to create a custom scent blend.
Application Tools: Use an old toothbrush for scrubbing small areas or a scrub brush with a handle for larger sections. A grout cleaning brush with stiff bristles can make the job easier.
Storage: Store your cleaner in a glass jar or mason jar for a rustic look. Attach a small scoop or measuring spoon to the jar with a ribbon for easy use.
Additional Ingredients: Add a bit of castile soap for extra cleaning power. Mix in a small amount of cornstarch to create a paste that sticks better to vertical surfaces.
Frequency: Customize your cleaning routine by making a weekly or monthly schedule. Adjust the strength of your cleaner based on how often you clean.
Eco-Friendly Cleaning Tips
Baking soda and vinegar make an excellent eco-friendly grout cleaner. Mix equal parts of both to form a paste. Apply the paste to the grout lines using an old toothbrush. Let it sit for about 15 minutes, then scrub and rinse with warm water.
Lemon juice can also be used. Its natural acidity helps break down grime. Squeeze fresh lemon juice onto the grout, let it sit for 10 minutes, then scrub and rinse.
Hydrogen peroxide mixed with baking soda creates a powerful cleaner. Combine 1/4 cup of hydrogen peroxide with 1/2 cup of baking soda. Apply the mixture, let it sit for 10 minutes, scrub, then rinse.
Reuse an old toothbrush for scrubbing. This reduces waste and gives the toothbrush a second life. Use a spray bottle from a previous cleaning product to apply your homemade solutions. This helps cut down on plastic waste.
Essential oils like tea tree or eucalyptus can be added for extra cleaning power and a pleasant scent. Just a few drops will do the trick.
Your Bathroom's New Best Friend
Making your own grout cleaner is a game-changer. With just a few household ingredients like baking soda, vinegar, and lemon juice, you can tackle those stubborn stains. No need for expensive store-bought cleaners. Plus, you know exactly what's in your mix, so no harsh chemicals. Just mix, apply, scrub, and rinse. Your bathroom will look brand new in no time.
Remember, regular cleaning keeps grout from getting too dirty. A little effort now saves a lot of scrubbing later. So, grab those ingredients and get to work. Your bathroom will thank you. Happy cleaning!
How do I make a DIY grout cleaner?
Mix 1/2 cup of baking soda, 1/4 cup of hydrogen peroxide, and 1 teaspoon of dish soap. Stir until it forms a paste.
How do I apply the grout cleaner?
Use an old toothbrush or small scrub brush. Apply the paste to the grout lines and let it sit for 10-15 minutes.
Do I need to rinse the grout after cleaning?
Yes, rinse with warm water and wipe with a damp cloth to remove any residue.
Can I use vinegar instead of hydrogen peroxide?
Yes, you can mix equal parts of vinegar and water. However, avoid using vinegar on natural stone tiles.
How often should I clean my grout?
Clean grout every few months or whenever it looks dirty. Regular maintenance helps keep it looking fresh.
Is this DIY cleaner safe for colored grout?
Yes, but test a small area first to ensure it doesn't discolor the grout.
What if my grout is still dirty after using the cleaner?
Repeat the process or use a stronger commercial grout cleaner for tough stains.