
Home>Home & Furniture>Bathroom>DIY Bathroom Drawer Organizer Guide
Bathroom
DIY Bathroom Drawer Organizer Guide
Published: July 10, 2024
Transform your bathroom with our DIY Bathroom Drawer Organizer Guide. Learn step-by-step tips to declutter and organize your space efficiently and stylishly.
(Many of the links in this article redirect to a specific reviewed product. Your purchase of these products through affiliate links helps to generate commission for Twigandthistle.com, at no extra cost. Learn more)
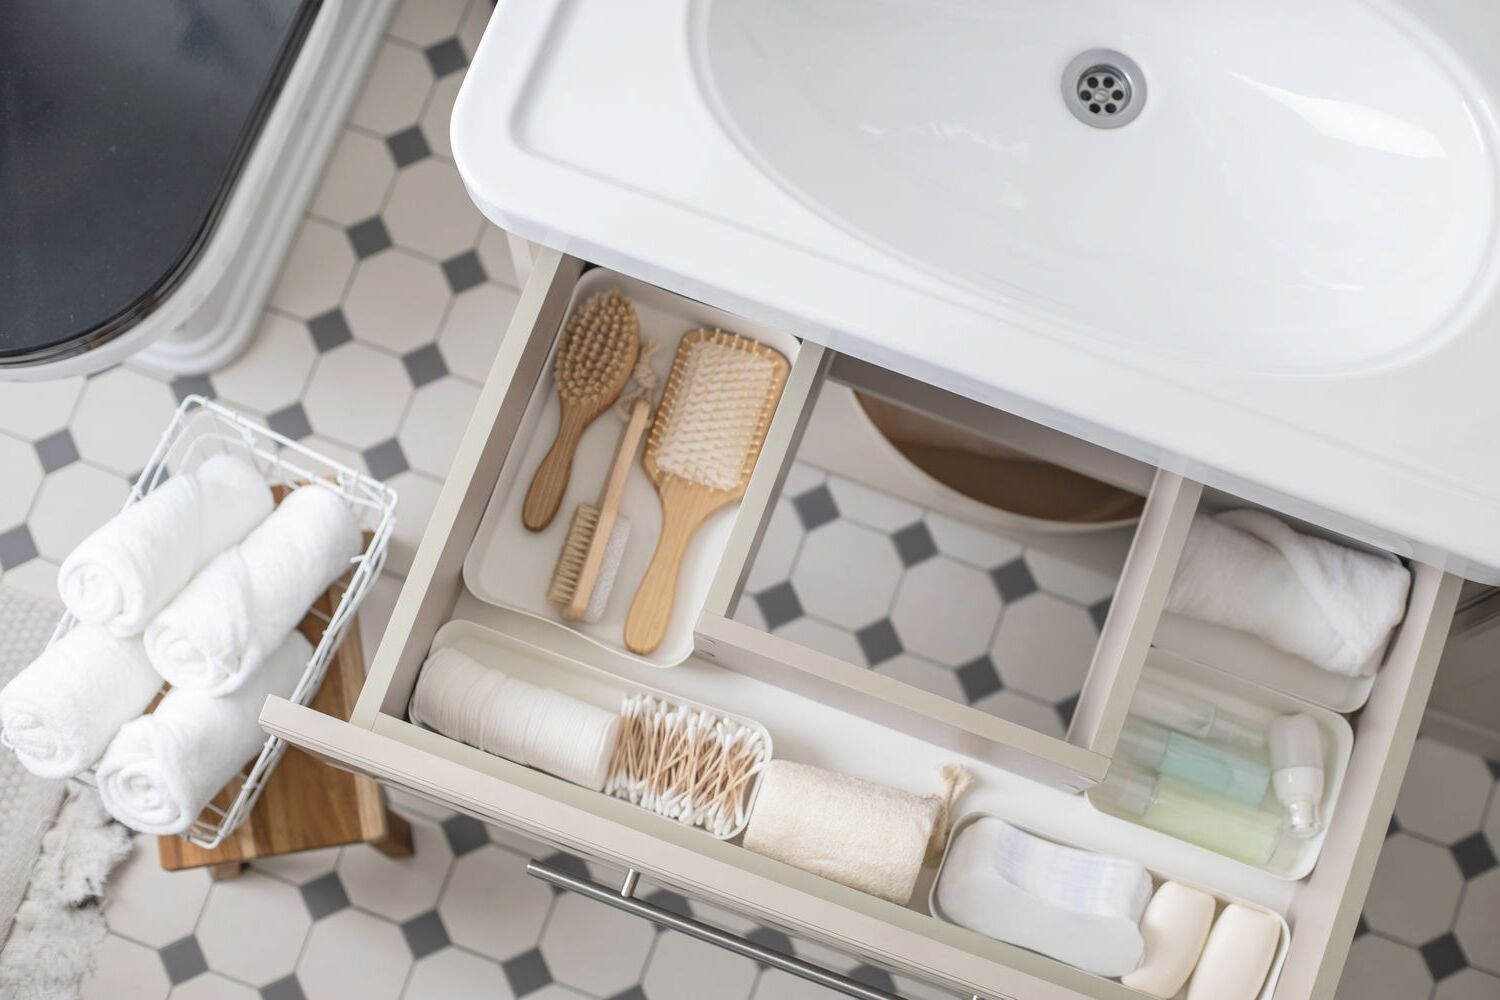
Keeping the bathroom tidy can sometimes feel like a challenge, especially with cluttered drawers. Luckily, creating your own organizer is a fun project that can help. This guide will show you how to transform messy bathroom drawers into neat, organized spaces. No special skills or expensive materials required—just some basic tools and a bit of creativity. Ready to get started? Let’s dive into the world of DIY and make your bathroom drawers a model of order and efficiency. With a bit of effort, you’ll find everything you need right when you need it.
Getting Ready for Your Project
Gather Materials: Collect wood, screws, nails, a saw, sandpaper, a measuring tape, and a drill. Ensure you have all necessary tools before starting.
Measure Drawer: Use a measuring tape to get the exact dimensions of your drawer. Write these measurements down.
Plan Layout: Sketch a design for your organizer. Decide how many compartments you need and their sizes.
Cut Wood: Use the saw to cut wood pieces according to your measurements. Sand edges to avoid splinters.
Safety Gear: Wear safety goggles and gloves to protect your eyes and hands while cutting and assembling.
Workspace Setup: Clear a flat surface to work on. Ensure good lighting and ventilation.
Pre-drill Holes: Mark where screws will go and pre-drill holes to make assembly easier.
Assemble Organizer: Use screws and nails to put the pieces together according to your design.
Test Fit: Place the organizer in the drawer to ensure it fits snugly. Make adjustments if needed.
Finish: Sand any rough edges and apply a finish or paint if desired. Let it dry completely before use.
Materials and Tools Checklist
- Plywood: Used for the main structure of the organizer. Choose a thickness of about 1/4 inch for durability.
- Measuring Tape: Essential for getting accurate dimensions of your drawer and plywood pieces.
- Pencil: For marking measurements on the plywood before cutting.
- Saw: A hand saw or circular saw will work to cut the plywood to the required sizes.
- Sandpaper: Smooths the edges of the cut plywood to prevent splinters.
- Wood Glue: Bonds the plywood pieces together securely.
- Clamps: Holds the glued pieces in place while they dry.
- Nails or Screws: Adds extra strength to the glued joints. A hammer or screwdriver will be needed.
- Drill: Useful for making pilot holes for screws, ensuring the wood doesn’t split.
- Paint or Stain: Adds a finished look to the organizer. Choose a color that matches your bathroom decor.
- Paintbrush: For applying paint or stain evenly.
- Ruler or Straight Edge: Helps in drawing straight lines for cutting.
- Safety Gear: Includes gloves and safety glasses to protect your hands and eyes while cutting and assembling.
Required Skills and Time Commitment
Skill Level: Beginner
Time Required: 2-3 hours
How to Organize Your Bathroom Drawer
Measure the Drawer:
- Use a tape measure to find the length, width, and depth.
- Write down the measurements.
Plan the Layout:
- Decide what items you want to store.
- Sketch a rough layout on paper.
Gather Materials:
- Wood: Plywood or balsa wood.
- Tools: Saw, sandpaper, wood glue, clamps, ruler, pencil, and paint or varnish.
Cut the Wood:
- Mark the wood according to your measurements.
- Use a saw to cut the pieces.
- Sand the edges smooth.
Assemble the Organizer:
- Arrange the pieces in the drawer to check the fit.
- Apply wood glue to the edges.
- Clamp the pieces together until dry.
Paint or Varnish:
- Apply a coat of paint or varnish.
- Let it dry completely.
Place in Drawer:
- Insert the organizer into the drawer.
- Arrange your items in the compartments.
Helpful Tips and Tricks
Measure your drawer before starting. This ensures your organizer fits perfectly. Use cardboard or foam board for a budget-friendly option. Both materials are easy to cut and customize.
Common mistakes include not measuring the drawer, using flimsy materials, and not considering the height of items. Avoid these by planning and using sturdy materials.
For alternatives, consider wood for a more durable option. Plastic bins can also work well and are easy to clean. If you prefer a more eco-friendly approach, try using recycled containers like old boxes or jars.
Budgeting for Your Organizer
Materials:
- Plywood: $20-$30 for a 4x8 sheet
- Wood Glue: $5
- Sandpaper: $5
- Paint or Stain: $10-$15
- Drawer Slides: $10-$20 per pair
Tools:
- Saw: $50-$100 (or borrow one)
- Drill: $30-$60
- Clamps: $10-$20
- Measuring Tape: $5-$10
Total Cost: $145-$265
Budget-Friendly Alternatives:
- Use Scrap Wood: Free if you have leftovers
- Hand Saw: $10-$20 instead of a power saw
- Borrow Tools: Free if you can borrow from friends or family
- Skip Paint/Stain: Save $10-$15 if you like the natural wood look
Different Ways to Customize
Materials: Instead of wood, try using acrylic or bamboo. Acrylic gives a modern, sleek look, while bamboo offers a natural, eco-friendly vibe.
Colors: Paint the organizer in bright colors like teal or yellow for a fun pop. For a more sophisticated look, use neutral tones like white, gray, or beige.
Styles: Go for a rustic style by using reclaimed wood and leaving it unfinished. For a minimalist approach, use clear acrylic with clean lines and no extra embellishments.
Dividers: Use adjustable dividers to customize the space for different-sized items. Velcro strips can make these dividers easy to move around.
Handles: Add small handles or knobs to the front of each section for easy access. Choose from materials like metal, ceramic, or wood to match your bathroom decor.
Labels: Attach labels to each section for better organization. Use chalkboard paint for a writable surface or printed labels for a cleaner look.
Liners: Add drawer liners made of felt or rubber to keep items from sliding around. Choose patterns or colors that complement your bathroom's theme.
Height: Vary the height of the compartments to store taller items like hairspray or lotion bottles. This can be done by stacking smaller boxes or using adjustable shelves.
Lighting: Install small LED lights inside the drawer for better visibility. Battery-operated lights with motion sensors work well for this purpose.
Personal Touches: Add personal touches like small mirrors, hooks for jewelry, or even a built-in phone holder to make the organizer uniquely yours.
Eco-Friendly Organizing Ideas
Reclaimed wood makes a sturdy, eco-friendly choice for drawer dividers. Look for old pallets or leftover wood from other projects. Sand them down, cut to size, and fit them snugly into your drawer.
Cardboard from old boxes can be transformed into dividers. Cut pieces to fit your drawer, then glue or tape them together. Decorate with leftover wrapping paper or fabric scraps for a polished look.
Glass jars or small containers from the kitchen can hold small items like cotton swabs or hair ties. Clean them thoroughly, then arrange them in your drawer.
Fabric scraps can be used to line drawers, preventing items from sliding around. Cut pieces to fit, then glue or tape them in place.
Plastic containers from takeout or other food items can be repurposed. Clean them well, then use them to organize different sections of your drawer.
Old shoeboxes can be cut down to fit inside drawers. Use them as larger compartments for items like brushes or lotions.
Tin cans can be cleaned, decorated, and used to hold taller items like toothbrushes or makeup brushes. Make sure to smooth any sharp edges.
Wine corks can be glued together to create a custom-sized organizer. Cut them in half lengthwise for a flat surface, then arrange them to fit your drawer.
Egg cartons can hold small items like rings or earrings. Cut them to fit, then place them in your drawer for easy access.
Bamboo is a sustainable material that can be used for dividers. Purchase bamboo strips or repurpose bamboo placemats, cutting them to size and securing them in place.
Your DIY Bathroom Drawer Organizer Awaits
Building your own bathroom drawer organizer isn't just about saving money. It's a fun way to add a personal touch to your space. With some basic tools and a bit of creativity, you can transform cluttered drawers into organized havens. Remember to measure your drawers accurately, choose the right materials, and plan your design before starting. Don't be afraid to experiment with different compartments and layouts. The satisfaction of seeing a neat, tidy drawer every morning is worth the effort. Plus, you'll have a unique piece that reflects your style. So grab your tools, gather your materials, and get started. Your bathroom will thank you!
How do I measure my bathroom drawer for an organizer?
Use a tape measure to get the length, width, and depth of your drawer. Write down these measurements so you can find or make an organizer that fits perfectly.
What materials work best for a DIY bathroom drawer organizer?
Wood, plastic, and acrylic are popular choices. Wood is sturdy and can be customized, while plastic and acrylic are easy to clean and often transparent, making it simple to see your items.
Can I repurpose items I already have for my drawer organizer?
Absolutely! Old boxes, containers, and even cutlery trays can be repurposed. Just make sure they fit your drawer and are clean.
How do I keep my organizer from sliding around in the drawer?
Use non-slip drawer liners or adhesive strips on the bottom of your organizer. This will keep everything in place, even when you open and close the drawer.
What tools will I need to make a custom organizer?
Basic tools like a saw, sandpaper, glue, and a ruler will come in handy. If you're working with wood, a drill and screws might also be needed.
How can I make my organizer look nice?
Paint or stain the wood, or use decorative contact paper to line the compartments. Adding labels can also help keep things tidy and visually appealing.
How do I decide on the layout of my organizer?
Think about what items you use most often and their sizes. Sketch a layout before you start building or buying compartments. This way, you can ensure everything has a designated spot.
Can I make an adjustable organizer?
Yes, you can! Use sliding dividers or modular compartments that can be rearranged. This allows you to adjust the layout as your storage needs change.