
Home>Create & Decorate>DIY & Crafts>How To Make A Pyramid
DIY & Crafts
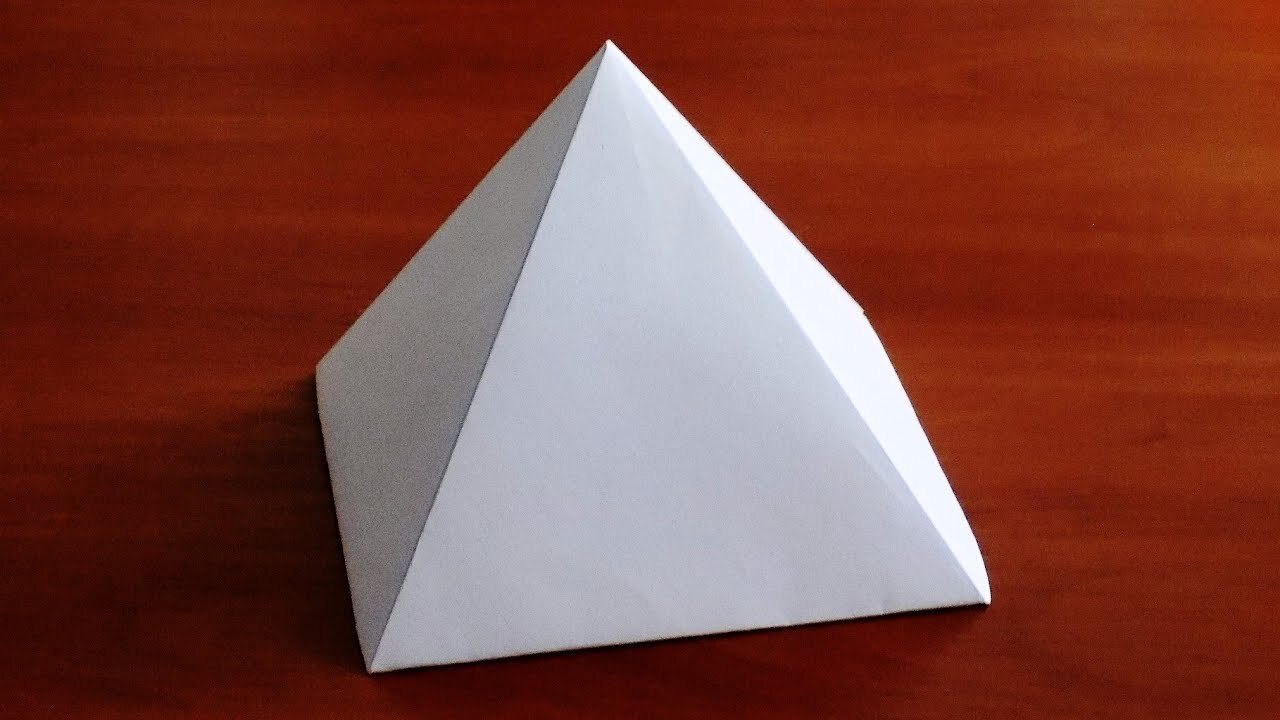
How To Make A Pyramid
Published: June 5, 2024

Content Creator specializing in woodworking and interior transformations. Caegan's guides motivate readers to undertake their own projects, while his custom furniture adds a personal touch.
Learn how to make a stunning pyramid with our easy DIY & Crafts tutorial. Create a unique centerpiece for your home or office today!
(Many of the links in this article redirect to a specific reviewed product. Your purchase of these products through affiliate links helps to generate commission for Twigandthistle.com, at no extra cost. Learn more)
Introduction
So, you want to learn how to make a pyramid? Well, you've come to the right place! Whether you're a history enthusiast looking to recreate an ancient wonder or a DIY enthusiast looking for a unique project, building a pyramid can be a fun and rewarding endeavor. In this article, we'll walk you through the step-by-step process of creating your very own pyramid. From planning and design to the finishing touches, we've got you covered. So, grab your tools and let's get started on this exciting DIY adventure!
Materials Needed
To get started on your pyramid-building journey, you'll need a few essential materials. Here's a list of what you'll require to bring your pyramid to life:
- Plywood: This will serve as the base and sides of your pyramid.
- Measuring Tape: Essential for accurately measuring and cutting your materials.
- Saw: You'll need a saw to cut the plywood to the desired dimensions.
- Wood Glue: To securely attach the sides of the pyramid to the base.
- Sandpaper: For smoothing out any rough edges and achieving a polished finish.
- Paint and Brushes: If you want to add a pop of color to your pyramid, you'll need paint and brushes for the job.
- Safety Gear: Don't forget to prioritize safety! Gloves, goggles, and a dust mask are essential when working with wood and tools.
Now that you've gathered all the necessary materials, it's time to dive into the exciting process of planning and designing your pyramid.
Step 1: Planning and Design
Before diving into the construction phase, it's crucial to start with a solid plan and design for your pyramid. Here's how to get started:
-
Research and Inspiration: Begin by researching different types of pyramids and drawing inspiration from historical structures. Whether it's the iconic Egyptian pyramids or the stepped pyramids of Mesoamerica, understanding the various styles will help you decide on the design for your project.
-
Dimensions and Scale: Determine the dimensions and scale of your pyramid. Consider the size of the base, the height of the structure, and the angle of the sides. You can use a scale model or sketch to visualize the proportions before moving on to the construction phase.
-
Blueprint or Sketch: Create a detailed blueprint or sketch of your pyramid design. This will serve as a guide during the construction process, ensuring that you stay on track with your vision.
-
Material Measurements: Based on your design, calculate the measurements for the plywood base and sides. Accurate measurements are essential for ensuring that the pieces fit together seamlessly.
-
Safety Considerations: While planning and designing, don't forget to factor in safety considerations. Ensure that the structure will be stable and safe once constructed.
By investing time in the planning and design phase, you'll set a strong foundation for the construction of your pyramid. With the blueprint in hand and a clear vision of your design, you're ready to move on to the next step: cutting the base.
Step 2: Cutting the Base
Now that you have a well-thought-out plan and design for your pyramid, it's time to bring that vision to life by cutting the base. Follow these steps to ensure precision and accuracy in creating the foundation of your pyramid:
-
Measure and Mark: Begin by measuring the plywood according to the dimensions outlined in your design plan. Use a measuring tape to mark the specific lengths and widths on the plywood, ensuring that the measurements align with your blueprint.
-
Secure the Plywood: Place the plywood on a stable work surface and secure it in place using clamps. This will prevent any movement or slippage while cutting, allowing for a more precise outcome.
-
Cutting Process: With the plywood securely in place, use a saw to carefully cut along the marked lines. Whether you're using a circular saw or a hand saw, ensure that your cuts are straight and accurate to maintain the integrity of the base.
-
Smooth Edges: Once the base has been cut to the desired dimensions, use sandpaper to smooth out any rough edges. This step is essential for achieving a polished finish and ensuring that the base fits seamlessly with the sides of the pyramid.
By meticulously following these steps, you'll successfully create a sturdy and well-proportioned base for your pyramid. With the base ready, it's time to move on to the next phase: building the sides of the pyramid.
Step 3: Building the Sides
With the base of your pyramid expertly crafted, it's time to focus on constructing the sides that will give your project its iconic shape. Follow these steps to bring the sides of your pyramid to life:
-
Cutting the Plywood: Begin by measuring and cutting the plywood to create the individual sides of the pyramid. Depending on the design and scale of your pyramid, you'll need to determine the appropriate dimensions for each side. Use a saw to make precise cuts, ensuring that the angles and lengths align with your design plan.
-
Creating the Angles: Since a pyramid features sloping sides that meet at a point, you'll need to create the appropriate angles on the plywood. Use a protractor or a miter saw to achieve the desired angles, ensuring that each side will fit together seamlessly to form the pyramid structure.
-
Assembling the Sides: Once the individual sides have been cut and angled, it's time to assemble them to create the pyramid shape. Apply wood glue to the edges of the plywood and carefully join the sides together, forming the distinct triangular structure of the pyramid. Use clamps to hold the sides in place as the glue sets, ensuring a secure and stable construction.
-
Reinforcement and Stability: To enhance the strength and stability of the pyramid, consider adding internal reinforcement. This can be achieved by inserting support beams or braces within the structure, especially if you're working with a larger-scale pyramid. Reinforcement will ensure that your pyramid stands the test of time and remains structurally sound.
By following these steps, you'll successfully build the sides of your pyramid, bringing you one step closer to completing this exciting DIY project. With the sides in place, it's time to move on to the next phase: attaching the sides to the base.
Step 4: Attaching the Sides to the Base
Now that the base and sides of your pyramid are ready, it's time to bring them together by attaching the sides to the base. This crucial step will transform individual components into a unified structure, giving your pyramid its distinctive form. Follow these detailed steps to ensure a secure and seamless attachment:
-
Positioning the Base: Begin by placing the plywood base in a stable and easily accessible location. Ensure that the base is positioned with the flat surface facing upward, providing a solid foundation for attaching the sides.
-
Applying Wood Glue: Apply a generous amount of wood glue along the edges of the base where the sides will be attached. The wood glue will create a strong bond between the base and sides, ensuring a durable and long-lasting connection.
-
Aligning the Sides: Carefully position the assembled sides of the pyramid onto the base, ensuring that they align perfectly with the edges. Take your time to achieve precise alignment, as this will contribute to the overall symmetry and stability of the pyramid.
-
Securing with Clamps: Once the sides are in position, use clamps to secure them to the base. The clamps will hold the components together firmly while the wood glue sets, preventing any shifting or misalignment during the attachment process.
-
Allowing for Drying Time: After attaching the sides to the base, allow sufficient time for the wood glue to dry and create a strong bond. Follow the manufacturer's recommendations for drying time to ensure that the attachment is secure and stable.
-
Reinforcement and Support: Depending on the size and scale of your pyramid, consider adding additional reinforcement to further strengthen the attachment. This can involve inserting screws or nails from the base into the sides, providing extra support for the structure.
By following these steps, you'll successfully attach the sides of your pyramid to the base, bringing your project one step closer to completion. With the base and sides securely connected, it's time to move on to the final phase: adding the finishing touches to your DIY pyramid.
Step 5: Finishing Touches
As you approach the final phase of building your pyramid, it's time to add the finishing touches that will elevate your project to a polished and visually appealing creation. Follow these steps to ensure that your DIY pyramid is not only structurally sound but also aesthetically impressive:
-
Sanding and Smoothing: Begin by carefully sanding the entire surface of the pyramid to smooth out any rough edges or imperfections. Use fine-grit sandpaper to achieve a sleek and polished finish, paying attention to the edges and corners for a professional look.
-
Painting or Staining: If you desire a pop of color or a natural wood finish for your pyramid, this is the stage to apply paint or stain. Choose a high-quality paint or wood stain that is suitable for the type of plywood used in your project. Apply the paint or stain evenly, ensuring full coverage and a consistent finish across the entire surface of the pyramid.
-
Decorative Elements: Consider adding decorative elements to enhance the visual appeal of your pyramid. This could involve applying intricate designs, hieroglyphic-inspired patterns, or even faux stone textures to mimic the appearance of ancient pyramids. Get creative with your decorative choices to personalize your pyramid and make it truly unique.
-
Protective Coating: To safeguard your pyramid against environmental elements and wear, consider applying a protective coating such as a clear sealant or varnish. This will not only preserve the appearance of your pyramid but also provide added durability, making it suitable for both indoor and outdoor display.
-
Display or Installation: Once the finishing touches are complete, decide on the ideal location to display or install your pyramid. Whether it's a centerpiece for your living space, a decorative addition to your garden, or an educational exhibit, choose a location that showcases your pyramid and allows it to be admired by others.
By meticulously attending to these finishing touches, you'll bring your DIY pyramid project to its full potential, creating a striking and impressive structure that reflects your dedication to craftsmanship and creativity. With the completion of these steps, you'll have successfully transformed raw materials into a captivating and visually stunning pyramid, ready to be admired and appreciated.
Conclusion
Congratulations! You've successfully embarked on a remarkable journey of creating your very own pyramid. From meticulous planning and precise construction to adding the finishing touches, you've demonstrated a remarkable blend of creativity, craftsmanship, and dedication. As you stand back and admire the striking structure that now graces your space, take pride in the fact that you've brought a piece of history and architectural wonder into existence through your DIY prowess.
Remember, the process of building a pyramid is not only a testament to your skills but also a celebration of human ingenuity and the enduring allure of ancient wonders. Whether your pyramid serves as a decorative centerpiece, an educational model, or a conversation starter, it stands as a testament to your passion for DIY projects and home improvement.
As you revel in the satisfaction of completing this unique endeavor, consider sharing your experience with others who may be inspired to embark on their own DIY pyramid-building adventure. Your journey can serve as a source of inspiration and guidance for fellow enthusiasts, encouraging them to unleash their creativity and explore the world of historical craftsmanship.
So, take a moment to bask in the achievement of bringing a piece of history to life, and let your DIY pyramid stand as a testament to the power of imagination, determination, and the timeless appeal of ancient marvels.