
Home>Create & Decorate>DIY & Crafts>How To Build A Playhouse For Under $100
DIY & Crafts
How To Build A Playhouse For Under $100
Published: June 2, 2024

Content Creator specializing in woodworking and interior transformations. Caegan's guides motivate readers to undertake their own projects, while his custom furniture adds a personal touch.
Learn how to build a budget-friendly playhouse for under $100 with our DIY & Crafts guide. Create a fun and affordable outdoor space for your kids!
(Many of the links in this article redirect to a specific reviewed product. Your purchase of these products through affiliate links helps to generate commission for Twigandthistle.com, at no extra cost. Learn more)
Introduction
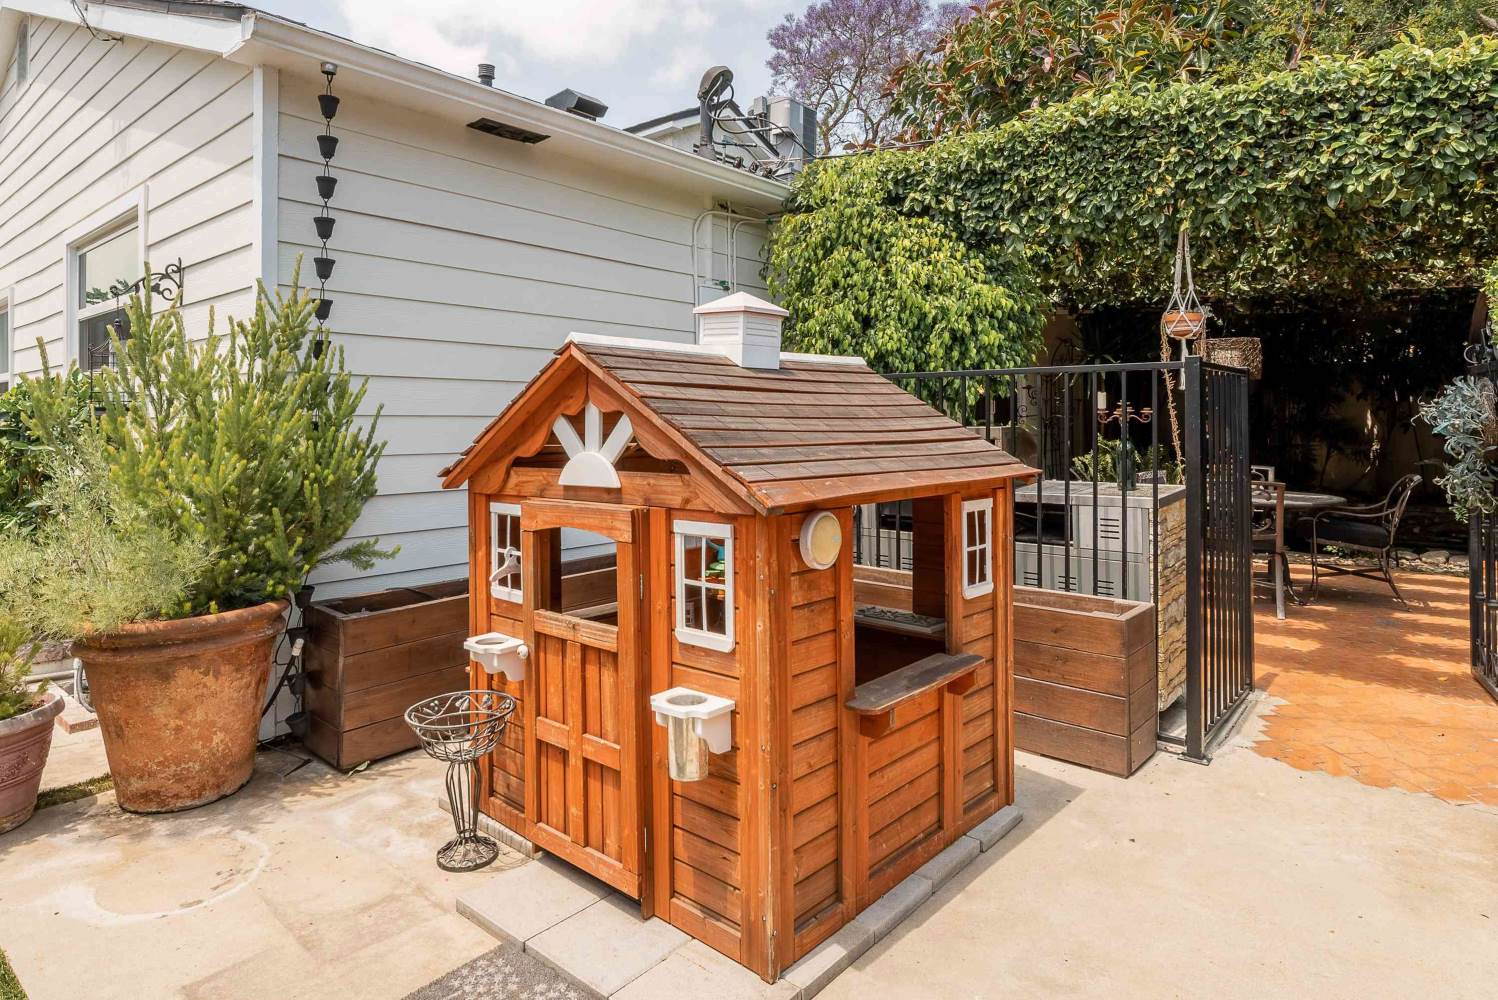
So, you want to create a magical play space for your kids but don't want to break the bank? Building a playhouse for under $100 is not only possible, but it can also be a fun and rewarding project for any DIY enthusiast. In this guide, we'll walk you through the step-by-step process of creating a charming playhouse that will provide endless hours of entertainment for your little ones. With some creativity, resourcefulness, and a bit of elbow grease, you can make your kids' playhouse dreams come true without spending a fortune. Let's dive in and get started!
Choosing the Right Location
When it comes to building a playhouse, choosing the right location is crucial. You'll want to select a spot in your yard that is both safe and easily accessible for your kids. Look for an area that is relatively flat and free from any potential hazards such as tree roots or large rocks. Additionally, consider the amount of sunlight the area receives throughout the day, as you'll want to ensure that the playhouse is not constantly in the shade. It's also important to think about the proximity to your home, as you'll want to keep an eye on your kids while they play. Lastly, consider the aesthetics of the location – a picturesque spot can add to the charm of the playhouse and create a delightful play environment for your children.
- Ensure the location is safe and easily accessible
- Look for a flat area free from potential hazards
- Consider the amount of sunlight the area receives
- Keep the playhouse within close proximity to your home
- Choose a picturesque spot to add to the charm of the playhouse
Gathering Materials and Tools
Before you can start building your playhouse, you'll need to gather all the necessary materials and tools. Here's a list of what you'll need:
Materials:
- Lumber: Look for affordable, yet sturdy lumber such as pine or cedar. You'll need various sizes of boards for the frame, walls, and roof.
- Plywood: This will be used for the walls and roof.
- Screws and Nails: Stock up on different sizes to accommodate various parts of the playhouse.
- Exterior Paint: Choose a durable, weather-resistant paint to protect the playhouse from the elements.
- Hinges and Latch: These will be needed for the door.
- Roofing Material: Consider using corrugated metal or shingles for the roof.
- Window Panes: If you plan to include windows in the design.
Tools:
- Circular Saw: Essential for cutting lumber and plywood to size.
- Drill and Bits: For making holes and driving screws.
- Hammer: For nailing and other general construction tasks.
- Measuring Tape and Square: Accurate measurements are crucial for a sturdy structure.
- Paintbrushes and Rollers: For applying the exterior paint.
- Safety Gear: Don't forget gloves, safety goggles, and a dust mask for protection.
Once you have all the necessary materials and tools, you'll be well-equipped to move on to the next steps of the playhouse construction process.
Designing the Playhouse
Designing the playhouse is where your creativity can truly shine. Consider involving your kids in the design process to make it a collaborative and exciting experience. Here are some key aspects to consider when designing the playhouse:
-
Size and Layout: Determine the size of the playhouse based on the available space and your kids' needs. Consider creating different zones within the playhouse, such as a cozy reading nook or a play kitchen area.
-
Features: Think about what features you want to include. Will there be windows for natural light? A front porch for added charm? A small loft area for an adventurous touch? Incorporating these elements into the design will enhance the playhouse's functionality and appeal.
-
Safety: Ensure that the design prioritizes safety. Rounded edges, secure doors and windows, and sturdy construction are essential for creating a safe play environment for your kids.
-
Aesthetics: Let your imagination run wild when it comes to the playhouse's appearance. Consider using vibrant colors, decorative details, and perhaps even a themed design to make the playhouse a whimsical and enchanting space for your kids.
-
Flexibility: Keep in mind that the playhouse should be adaptable to your kids' changing interests. Design it in a way that allows for easy modifications or additions in the future.
Once you have a clear vision of the playhouse design, you can move on to the next steps of bringing your creation to life.
Building the Foundation
The foundation of the playhouse is crucial for providing stability and durability. Here's how to lay a solid foundation for your playhouse:
-
Site Preparation: Begin by clearing the chosen area of any debris, rocks, or vegetation. Level the ground using a shovel and a rake to ensure a flat and even surface for the foundation.
-
Concrete Blocks or Pavers: For a budget-friendly and straightforward foundation, consider using concrete blocks or pavers. Place them strategically at the corners and midpoints of the playhouse layout. Ensure that they are level and properly aligned.
-
Pressure-Treated Lumber: Another option is to use pressure-treated lumber to create a wooden foundation. Lay out the lumber in a grid pattern, ensuring that it is level and securely anchored to the ground.
-
Anchor the Foundation: To prevent shifting, anchor the foundation to the ground using metal stakes or screws. This will add an extra layer of stability, especially in areas prone to strong winds or inclement weather.
-
Inspect and Adjust: Once the foundation is in place, double-check for levelness and stability. Make any necessary adjustments before proceeding to the next phase of construction.
A solid foundation sets the stage for a sturdy and long-lasting playhouse, providing a secure base for the rest of the construction process.
Constructing the Frame
Constructing the frame of the playhouse is a pivotal step in the construction process. The frame provides the structural support for the entire playhouse, so it's essential to ensure that it is sturdy and well-built. Here's a detailed guide on how to construct the frame:
-
Cutting the Lumber: Begin by cutting the lumber to the required lengths based on your playhouse design. Use a circular saw to make precise cuts, following the measurements outlined in your design plan.
-
Assembling the Walls: Lay out the cut lumber to create the walls of the playhouse. Use a square to ensure that the corners are at right angles, providing a square and true shape for the walls. Secure the pieces together using screws, creating sturdy wall panels.
-
Creating the Roof Structure: Depending on your design, you may need to construct a simple gable roof or a more elaborate design. Assemble the roof trusses using the cut lumber, ensuring that they are securely connected at the peak and properly spaced along the top of the walls.
-
Adding Support Beams: Install additional support beams within the frame to reinforce the structure. These beams will provide extra stability and ensure that the playhouse can withstand various weather conditions.
-
Securing the Frame to the Foundation: Once the frame is fully assembled, secure it to the foundation using anchor bolts or screws. This step is crucial for anchoring the playhouse and preventing it from shifting or becoming unstable.
-
Inspecting for Stability: After the frame is in place, thoroughly inspect it for stability and structural integrity. Make any necessary adjustments to ensure that the frame is solid and secure before moving on to the next phase of construction.
By following these steps, you can construct a robust frame that forms the backbone of the playhouse, setting the stage for the remaining construction phases.
Adding Walls and Roof
After constructing the frame, the next crucial step is adding the walls and roof to enclose the playhouse and provide protection from the elements. Here's a detailed guide on how to proceed with this phase of construction:
Installing the Walls
-
Cutting and Fitting: Begin by cutting the plywood to the appropriate sizes for the walls, based on the dimensions outlined in your design plan. Use a circular saw to ensure clean and precise cuts. Fit the plywood panels onto the frame, ensuring that they are flush with the edges and properly aligned.
-
Securing the Walls: Once the plywood panels are in position, secure them to the frame using screws. Space the screws evenly along the edges of the panels to ensure a secure and stable attachment. This step will form the basic structure of the playhouse and provide a sense of enclosure.
-
Adding Windows and Doors: If your design includes windows and a door, carefully cut out the openings for these features. Install window panes and a sturdy door, ensuring that they fit snugly and are properly sealed to prevent drafts and moisture infiltration.
Constructing the Roof
-
Cutting Roofing Material: Depending on your chosen roofing material, whether it's corrugated metal or shingles, cut the material to the required dimensions to cover the roof structure. Ensure that the roofing material overhangs the edges of the roof to provide adequate protection from rain and snow.
-
Attaching the Roofing Material: Secure the roofing material to the roof structure using appropriate fasteners, such as roofing nails or screws. Start from the bottom and work your way up, overlapping the rows of roofing material to create a watertight barrier. This step is crucial for ensuring that the playhouse remains dry and protected from the elements.
-
Adding Finishing Touches: Consider adding decorative elements to the roof, such as a gable trim or decorative shingles, to enhance the visual appeal of the playhouse. These finishing touches can add charm and character to the overall design.
By following these steps, you can effectively add walls and a roof to the playhouse, creating a secure and weather-resistant structure that will provide a cozy and inviting space for your kids to enjoy.
Finishing Touches
Once the main structure of the playhouse is in place, it's time to add those final details that will truly make it a magical space for your kids. Here are some finishing touches to consider:
-
Exterior Paint: Choose a vibrant and weather-resistant exterior paint to add a pop of color to the playhouse. Let your kids have a say in selecting the color – this is their special space, after all! Consider adding decorative details such as stenciled designs or hand-painted accents to make the playhouse truly unique.
-
Interior Decor: Furnish the interior of the playhouse with cozy seating, soft cushions, and perhaps a small table for activities. Let your kids personalize the space with their favorite toys, books, and artwork. Consider adding a small rug or play mat to make the space feel warm and inviting.
-
Window Boxes: If your playhouse has windows, consider adding charming window boxes filled with colorful flowers. This simple addition can add a touch of whimsy and charm to the exterior of the playhouse.
-
Personalized Sign: Create a personalized sign for the playhouse with your kids' names or a fun, imaginative name for the play space. Hang the sign near the entrance to add a playful and welcoming touch.
-
Solar-Powered Lights: For an extra special touch, consider adding solar-powered lights around the exterior of the playhouse. These lights can create a magical ambiance in the evenings and make the playhouse feel even more enchanting.
-
Themed Decor: If your kids have a favorite theme, such as a pirate ship or a fairy tale castle, consider incorporating themed decor elements to bring their imagination to life. This could include flags, banners, or other themed accessories that reflect their interests.
By adding these finishing touches, you can transform the playhouse into a delightful and enchanting space that will spark your kids' imagination and provide endless hours of fun and play.
Conclusion
Building a playhouse for under $100 is not only achievable but also a rewarding DIY project that can create lasting memories for your children. By carefully selecting the location, gathering the necessary materials and tools, and following a well-thought-out design, you can construct a charming playhouse that provides a safe and imaginative space for your kids to enjoy. From laying the foundation to adding the finishing touches, each step in the construction process contributes to the creation of a magical play space that will inspire creativity and playfulness. With some creativity, resourcefulness, and a willingness to roll up your sleeves, you can bring your kids' playhouse dreams to life without breaking the bank. So, grab your tools, unleash your creativity, and get ready to build a playhouse that will be a cherished part of your family's home for years to come.