
Home>Create & Decorate>DIY & Crafts>How To Build A Lego Truck
DIY & Crafts
How To Build A Lego Truck
Published: May 25, 2024

Senior Editor in Create & Decorate, Kathryn combines traditional craftsmanship with contemporary trends. Her background in textile design and commitment to sustainable crafts inspire both content and community.
Learn how to build a Lego truck with our step-by-step DIY guide. Get creative with this fun and engaging craft project. Perfect for kids and adults who love DIY & Crafts.
(Many of the links in this article redirect to a specific reviewed product. Your purchase of these products through affiliate links helps to generate commission for Twigandthistle.com, at no extra cost. Learn more)
Introduction
So, you want to learn how to build a Lego truck? Well, you've come to the right place! Building a Lego truck can be a fun and rewarding project for both kids and adults. Whether you're a Lego enthusiast or just looking for a new DIY challenge, constructing your own Lego truck can be a great way to unleash your creativity and imagination. In this article, we'll guide you through the step-by-step process of building your very own Lego truck, from choosing the right Lego pieces to adding the finishing touches. So, grab your Lego bricks and let's get started!
Choosing the Right Lego Pieces
When it comes to building a Lego truck, choosing the right Lego pieces is crucial. You'll want to make sure you have a variety of pieces in different shapes, sizes, and colors to bring your truck to life. Here are some essential Lego pieces you'll need to gather before you start building:
-
Bricks: Gather a variety of bricks in different sizes and colors. These will form the foundation of your Lego truck.
-
Wheels: Depending on the size of your truck, you'll need to choose the right wheels to fit the scale of your build. Lego offers different sizes of wheels, so pick the ones that best suit your truck design.
-
Axles: To connect the wheels to the chassis of your truck, you'll need axles. Make sure to have the right length of axles for your specific wheel size.
-
Plates and Tiles: These pieces are great for adding detail and smooth surfaces to your truck. They can be used for the truck bed, windows, and other decorative elements.
-
Specialty Pieces: Depending on the design of your truck, you may need specialty pieces such as slopes, curves, or hinges to create specific features.
By gathering these essential Lego pieces, you'll be well-equipped to start building your Lego truck with creativity and precision.
Building the Chassis
The chassis serves as the foundation of your Lego truck, providing structural support and defining the overall shape of the vehicle. To start, lay out the base of the chassis using large flat bricks or plates. Ensure that the dimensions and shape align with the design you have in mind for your truck. Use sturdy pieces to create a solid framework, as the chassis will bear the weight of the entire truck. Consider reinforcing the corners and edges to enhance stability.
Next, add support beams and cross members to strengthen the chassis. Utilize long bricks or Technic beams to create a robust framework. These elements will help distribute the weight evenly and prevent the chassis from flexing under the load of the truck. Pay attention to the spacing and alignment of the beams to maintain structural integrity.
Once the basic structure is in place, consider incorporating Technic elements such as gears, axles, and connectors to enhance the functionality of your Lego truck. These components can be used to create moving parts, such as steering mechanisms or suspension systems, adding an extra layer of realism to your build.
By focusing on building a sturdy and well-engineered chassis, you'll establish a solid foundation for the rest of your Lego truck, setting the stage for the addition of wheels, body, and other components.
Adding the Wheels and Axles
Once the chassis is solid and well-constructed, it's time to add the wheels and axles to bring your Lego truck to life. Start by selecting the appropriate size and type of wheels for your truck. Lego offers a variety of wheel options, including different diameters and widths, so choose the ones that best fit the scale and design of your truck. Ensure that the wheels are compatible with the axles you have selected.
Next, carefully insert the axles through the center of each wheel. Depending on the design of your truck, you may need to use single or double axles to support the wheels. Make sure the axles are secured firmly in place to prevent them from coming loose during play or display.
Once the axles are in place, attach them to the chassis of the truck. Position the wheels at the appropriate distance from each other to ensure stability and proper weight distribution. Test the rotation of the wheels to confirm that they move freely without any obstructions.
Consider adding fenders or wheel wells around the wheels to enhance the visual appeal of your Lego truck. These elements can add a touch of realism and detail to the overall design. Experiment with different techniques and pieces to create custom fenders that complement the style of your truck.
By adding the wheels and axles with precision and attention to detail, you'll take a significant step towards completing your Lego truck, setting the stage for the next phase of the build.
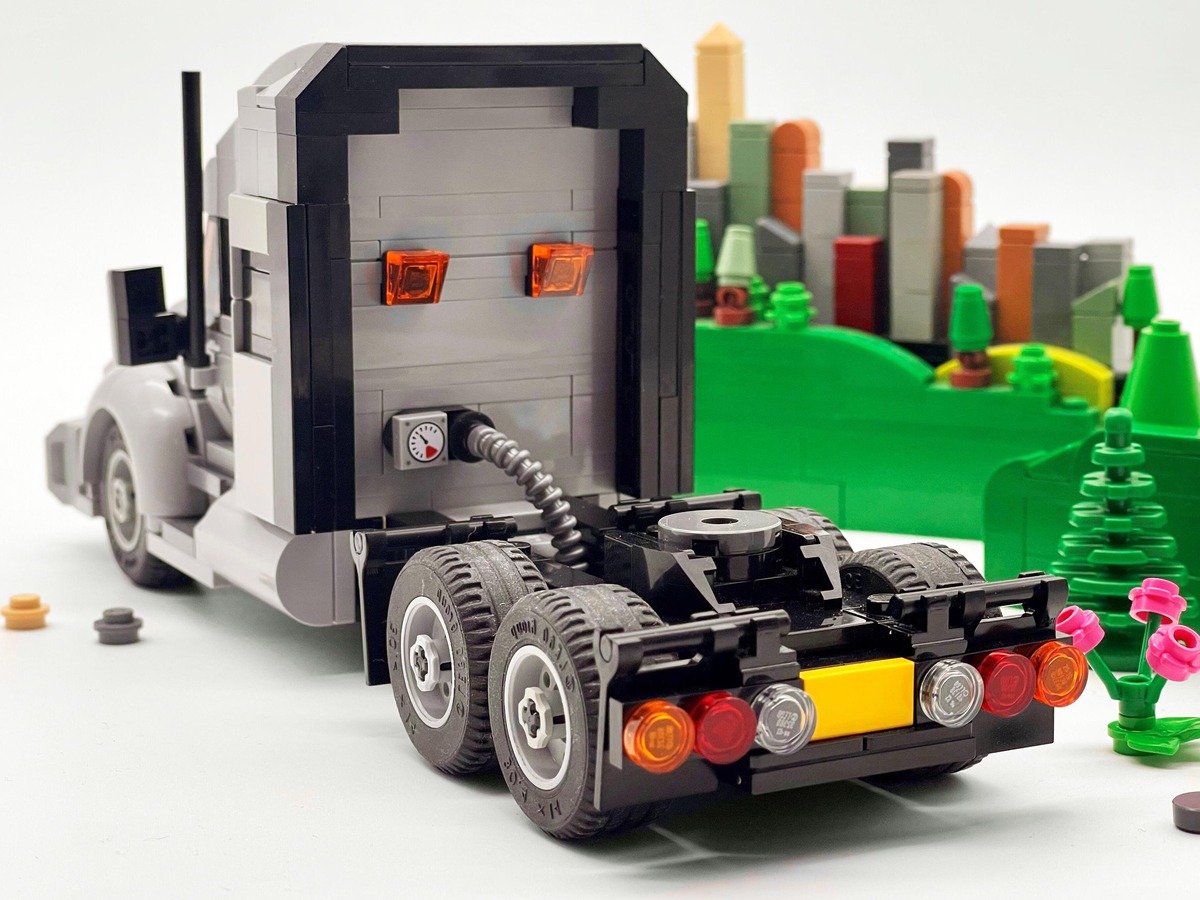
Constructing the Truck Body
Constructing the truck body is where the personality of your Lego truck really starts to shine through. Begin by outlining the shape of the truck body using larger bricks or plates. Consider the overall dimensions and proportions of the truck, ensuring that it aligns with the scale of the chassis and wheels. Experiment with different configurations to find the ideal layout for the cab, bed, and any additional compartments or features you want to incorporate.
As you build upward, use a combination of bricks, plates, and slopes to create the contours and surfaces of the truck body. Pay attention to the details, such as the front grille, headlights, and windows, to infuse character into your design. Utilize specialized pieces like doors, hoods, and roof elements to add depth and realism to the overall appearance of the truck.
To enhance the visual appeal of the truck body, consider incorporating color schemes and decorative elements. Experiment with different color combinations to achieve the desired look for your Lego truck. Use tiles, grilles, and stickers to add texture, patterns, and branding to the exterior of the truck. These details can elevate the overall aesthetic and make your Lego truck truly stand out.
As you progress, don't forget to focus on the interior of the truck body. Depending on the complexity of your design, you may have the opportunity to add seating, dashboard controls, and storage compartments to the interior space. Pay attention to the functionality and accessibility of these features, ensuring that they complement the overall design of the truck.
By constructing the truck body with creativity and attention to detail, you'll bring your Lego truck to life, infusing it with character, style, and functionality. This phase of the build sets the stage for the final touches that will complete your custom Lego truck.
Adding the Finishing Touches
As you near the completion of your Lego truck, adding the finishing touches will elevate the overall appearance and functionality of your custom build. Consider incorporating details that enhance the realism and visual appeal of the truck, making it truly stand out in your Lego collection.
-
Detailing and Accessories: Enhance the exterior of your Lego truck with accessories and detailing. Consider adding elements such as side mirrors, windshield wipers, and exhaust pipes to create a more authentic look. Utilize small pieces and specialized elements to add intricate details that capture the essence of a real truck.
-
Customization and Personalization: Add a personal touch to your Lego truck by customizing it to reflect your unique style. Experiment with different design elements, such as decals, emblems, and custom paint schemes, to make your truck distinct and memorable. Incorporate your favorite colors, patterns, or themes to infuse your personality into the build.
-
Functional Features: Explore the possibility of adding functional features to your Lego truck. Consider incorporating elements such as opening doors, a tilting hood, or a working tailgate to enhance the interactive experience. These features can add an extra layer of playability and engagement to your custom build.
-
Interior Detailing: Pay attention to the interior of the truck, adding details that bring the cabin to life. Consider including seating, a steering wheel, and dashboard controls to create a realistic and immersive interior space. Utilize small accessories and custom elements to add personality and functionality to the interior design.
-
Final Inspection and Refinement: Before completing your Lego truck, take the time to inspect the build for any areas that may require refinement. Ensure that all components are securely attached and that the overall structure is stable. Make any necessary adjustments to fine-tune the appearance and functionality of the truck.
By adding these finishing touches with precision and creativity, you'll bring your Lego truck to its full potential, creating a custom build that reflects your passion for design and craftsmanship. These details will set your Lego truck apart as a unique and impressive addition to your collection.
Conclusion
Congratulations! You've successfully completed the construction of your very own custom Lego truck. Through careful selection of Lego pieces, meticulous attention to detail in building the chassis, wheels, and body, and the addition of finishing touches, you've brought your imaginative vision to life. Whether you've created a rugged off-road truck, a sleek modern hauler, or a vintage classic, your Lego truck is a testament to your creativity and skill as a builder.
As you admire your finished Lego truck, take pride in the craftsmanship and dedication you've invested in this project. Your custom build is a reflection of your passion for DIY and home improvement, showcasing your ability to transform simple plastic bricks into a remarkable work of art. Whether displayed on a shelf, incorporated into a Lego cityscape, or used for imaginative play, your Lego truck is sure to captivate and inspire others.
As you continue your journey in the world of DIY and home improvement, remember the valuable skills and techniques you've acquired through this project. Building a Lego truck has not only provided a creative outlet but has also honed your problem-solving abilities, spatial reasoning, and attention to detail. These skills will serve you well in future DIY endeavors, whether with Lego or other construction projects.
So, what are you waiting for? Let your imagination run wild and embark on your next Lego adventure. Whether it's a sports car, a spaceship, or a towering skyscraper, the possibilities are endless. With the knowledge and experience gained from building your Lego truck, you're well-equipped to tackle new challenges and bring your wildest creations to life. Happy building!