
Home>Create & Decorate>DIY & Crafts>DIY Speaker Cabinet: Step-by-Step Guide To Building Your Own
DIY & Crafts
DIY Speaker Cabinet: Step-by-Step Guide To Building Your Own
Published: May 29, 2024

Content Creator specializing in woodworking and interior transformations. Caegan's guides motivate readers to undertake their own projects, while his custom furniture adds a personal touch.
Learn how to build your own DIY speaker cabinet with our step-by-step guide. Explore creative DIY & Crafts projects and unleash your creativity today!
(Many of the links in this article redirect to a specific reviewed product. Your purchase of these products through affiliate links helps to generate commission for Twigandthistle.com, at no extra cost. Learn more)
Introduction
Are you a music enthusiast looking to enhance your listening experience? Building your own DIY speaker cabinet can be a rewarding and cost-effective way to achieve high-quality sound. Whether you're a seasoned woodworker or a novice DIYer, this step-by-step guide will walk you through the process of creating a custom speaker cabinet that suits your audio needs. From choosing the right materials to installing the speaker components, this guide will equip you with the knowledge and skills to embark on this exciting DIY project. So, roll up your sleeves and get ready to unleash your creativity and craftsmanship!
Choosing the Right Materials
When embarking on the journey of building your own DIY speaker cabinet, selecting the right materials is crucial to ensure the quality and durability of the final product. Here's a list of materials you'll need to get started:
-
MDF or Plywood: Choose a high-quality Medium Density Fiberboard (MDF) or plywood for the construction of your speaker cabinet. These materials are sturdy and provide excellent acoustics for optimal sound performance.
-
Speaker Drivers: Select the appropriate speaker drivers based on your audio preferences and the size of your cabinet. Consider factors such as power handling, frequency response, and impedance to match the drivers with your desired audio output.
-
Speaker Grill Cloth: To protect the speaker components and add a professional finish to your cabinet, invest in a durable and visually appealing speaker grill cloth.
-
Internal Damping Material: Acoustic foam or fiberglass insulation can be used to dampen internal vibrations and enhance the overall sound quality of your DIY speaker cabinet.
-
Speaker Wiring and Connectors: Ensure you have high-quality speaker wires and connectors to establish proper connections between the speaker components and the audio source.
By carefully selecting these materials, you can lay a solid foundation for the construction of a high-performance DIY speaker cabinet that meets your audio requirements.
Designing Your Speaker Cabinet
Designing your speaker cabinet is a crucial step that sets the stage for the construction process. Here are the key aspects to consider when designing your DIY speaker cabinet:
1. Speaker Cabinet Dimensions
Determine the dimensions of your speaker cabinet based on the size and number of speaker drivers you plan to install. Consider the internal volume requirements for the specific speaker drivers to achieve optimal acoustic performance.
2. Cabinet Shape and Style
Choose a cabinet shape and style that complements your audio setup and aligns with your aesthetic preferences. Whether it's a classic rectangular design or a more unconventional shape, ensure that the cabinet's form enhances the overall listening experience.
3. Internal Bracing and Support
Incorporate internal bracing and support structures within the cabinet design to minimize unwanted vibrations and resonance. Well-planned bracing can significantly improve the cabinet's rigidity and acoustic clarity.
4. Porting and Ventilation
Decide whether you want to include ports or vents in your cabinet design to enhance bass response and airflow. Properly designed ports can optimize the low-frequency output of your speakers.
5. Speaker Placement
Carefully plan the placement of the speaker drivers within the cabinet to achieve balanced sound dispersion and coherence. Consider the distance between the drivers and the cabinet walls to avoid interference and phase issues.
By paying attention to these design considerations, you can create a well-crafted and acoustically efficient speaker cabinet that elevates your audio listening experience.
Cutting and Assembling the Panels
Once you have finalized the design for your DIY speaker cabinet, it's time to dive into the hands-on process of cutting and assembling the panels. Follow these steps to bring your cabinet design to life:
-
Panel Preparation: Begin by marking and measuring the MDF or plywood panels according to your design specifications. Use a straight edge and a pencil to ensure accurate measurements. Double-check the dimensions before making any cuts to avoid errors.
-
Cutting the Panels: Utilize a circular saw, table saw, or a jigsaw to cut the panels along the marked lines. Exercise caution and precision during the cutting process to achieve clean and precise edges. If your design includes intricate shapes or curves, a jigsaw may be the most suitable tool for the job.
-
Creating Panel Openings: If your design incorporates openings for speaker drivers or ports, carefully cut these openings using a hole saw or a jigsaw. Pay close attention to the dimensions and placement of the openings to accommodate the speaker components accurately.
-
Assembling the Cabinet: Assemble the cut panels using wood glue and screws to secure the joints. Ensure that the panels align correctly according to your design plan. Utilize clamps to hold the panels in place during the assembly process, allowing the glue to set firmly.
-
Reinforcement and Bracing: Consider adding internal bracing or reinforcement to enhance the structural integrity of the cabinet. This step is crucial for minimizing vibrations and resonances within the cabinet, contributing to improved sound quality.
-
Finishing Touches: Once the cabinet is assembled, sand the edges and surfaces to achieve a smooth finish. This step prepares the cabinet for the application of paint, veneer, or any desired finishing material.
By meticulously executing the cutting and assembly process, you can bring your speaker cabinet design to fruition, setting the stage for the installation of speaker components and the final testing phase.
Installing the Speaker Components
After completing the construction of the cabinet, the next crucial step is installing the speaker components to bring your DIY speaker cabinet to life. Follow these detailed steps to ensure the proper installation of the speaker drivers and other essential components:
-
Mounting the Speaker Drivers: Begin by carefully mounting the speaker drivers, including the woofers, tweeters, and any other specialized drivers, into their designated openings within the cabinet. Ensure that the drivers fit securely and align correctly with the cabinet design. Use appropriate screws and mounting hardware to secure the drivers in place, minimizing any potential movement or vibration during operation.
-
Wiring the Components: Once the drivers are in place, proceed to wire the components together according to the speaker system's configuration. Connect the positive and negative terminals of each driver to the corresponding terminals on the crossover network, ensuring proper polarity to maintain phase coherence. Use high-quality speaker wires and connectors to establish reliable connections, minimizing signal loss and interference.
-
Integrating the Crossover Network: If your speaker system incorporates a crossover network to divide the audio signal into frequency bands for different drivers, carefully integrate the crossover into the cabinet. Secure the crossover in a position that minimizes interference with the airflow and speaker components. Ensure that the wiring connections between the crossover and the drivers are organized and insulated to prevent electrical shorts or signal degradation.
-
Internal Damping and Insulation: Consider adding internal damping materials such as acoustic foam or fiberglass insulation to specific areas within the cabinet. These materials help absorb internal reflections and minimize standing waves, contributing to a more controlled and accurate sound reproduction. Pay attention to the placement of damping materials to avoid obstructing the airflow or interfering with the speaker components.
-
Sealing and Testing: Once all the components are in place, carefully inspect the cabinet for any gaps or leaks that may affect the overall acoustic performance. Seal any gaps or seams with an appropriate sealant to ensure an airtight enclosure. After sealing, conduct thorough testing of the speaker cabinet to evaluate its acoustic characteristics, frequency response, and overall sound quality. Make any necessary adjustments to optimize the performance of the speaker components within the cabinet.
By meticulously following these steps, you can ensure the successful installation of the speaker components in your DIY speaker cabinet, setting the stage for a rewarding listening experience and the satisfaction of bringing your custom-built audio system to fruition.
Finishing Touches and Testing
After the assembly and installation of the speaker components, the final phase involves adding finishing touches to the DIY speaker cabinet and conducting comprehensive testing to ensure optimal performance. Here's a detailed breakdown of the essential steps involved in this critical phase:
-
Surface Preparation: Before applying any finishing material, thoroughly inspect the surfaces of the cabinet for any imperfections, rough edges, or blemishes. Use fine-grit sandpaper to smooth out any irregularities and achieve a uniform surface texture. This step is crucial for ensuring a professional and visually appealing final appearance.
-
Applying Finish: Depending on your aesthetic preferences and the desired visual impact, choose an appropriate finish for your speaker cabinet. Options include paint, wood veneer, or laminate. Apply the chosen finish evenly and consistently, following the manufacturer's instructions. Multiple coats may be necessary to achieve the desired depth and luster.
-
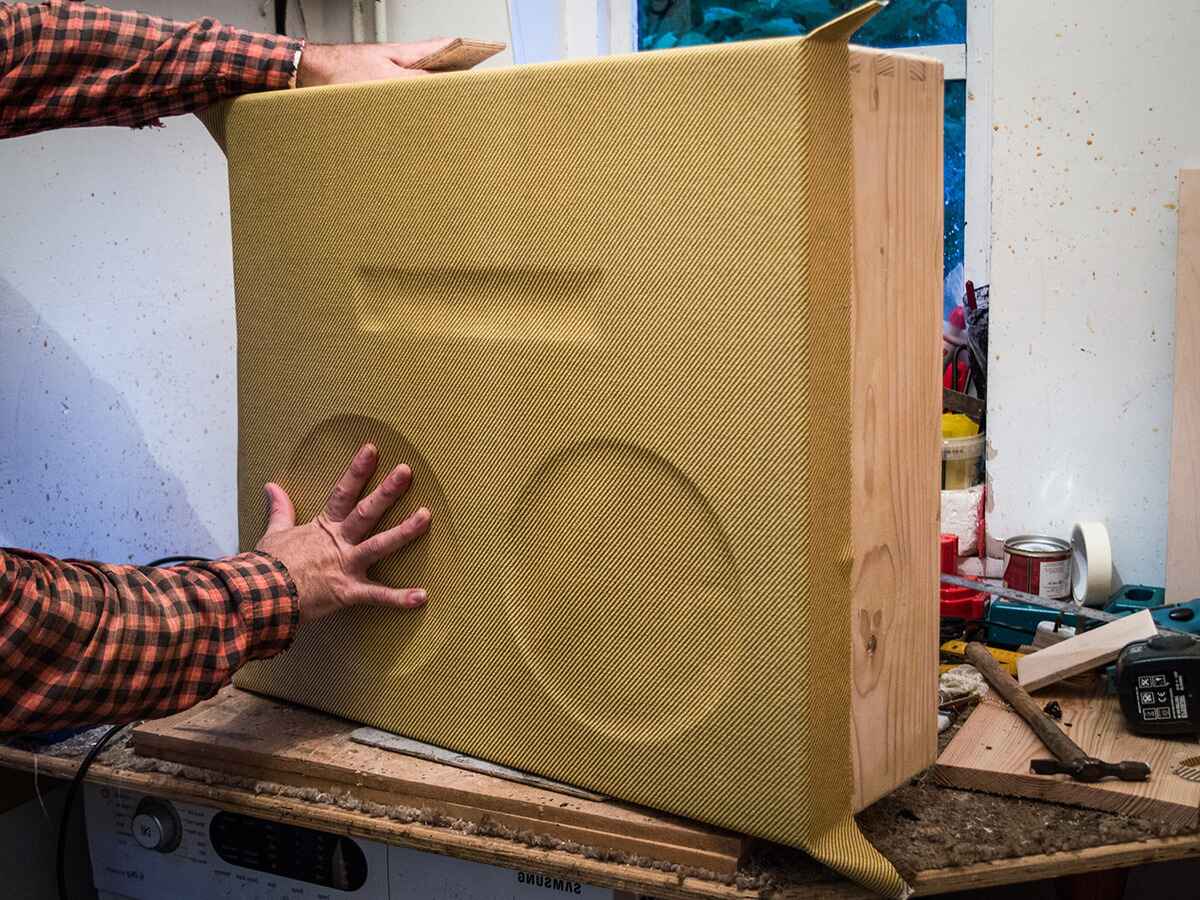
Speaker Grill Installation: If your design includes a speaker grill, carefully install the grill cloth over the designated area. Ensure that the grill cloth is taut and free from wrinkles, providing a clean and polished look to the front of the cabinet. Secure the grill cloth in place using adhesive or a suitable mounting mechanism.
-
Testing Acoustic Performance: Once the finishing touches are complete, it's time to conduct thorough testing of the DIY speaker cabinet's acoustic performance. Connect the cabinet to an audio source and play a diverse range of audio tracks to evaluate the sound quality across different frequencies. Pay attention to clarity, tonal balance, and overall fidelity.
-
Frequency Response Analysis: Utilize audio measurement tools or software to analyze the frequency response of the speaker cabinet. Identify any peaks, dips, or irregularities in the frequency response curve and make adjustments as necessary. This step is crucial for fine-tuning the cabinet's acoustic characteristics to achieve a balanced and accurate sound reproduction.
-
Listening Evaluation: Engage in critical listening sessions to assess the subjective qualities of the sound produced by the DIY speaker cabinet. Evaluate factors such as imaging, soundstage, and dynamic range to gauge the cabinet's ability to faithfully reproduce audio content. Make note of any areas that may require further refinement.
-
Adjustments and Optimization: Based on the testing results and listening evaluations, make any required adjustments to the speaker cabinet's internal components, damping materials, or crossover settings. Iteratively refine the cabinet's acoustic performance to achieve the desired sonic characteristics and overall listening experience.
By meticulously attending to the finishing touches and conducting comprehensive testing, you can ensure that your DIY speaker cabinet not only looks visually appealing but also delivers exceptional sound quality that aligns with your audio preferences and enhances your listening environment.
Conclusion
In conclusion, embarking on the journey of building your own DIY speaker cabinet is a fulfilling endeavor that allows you to tailor the audio experience to your preferences and showcase your craftsmanship. By carefully selecting the right materials, designing a well-optimized cabinet, and meticulously executing the construction and installation processes, you can create a custom speaker system that delivers high-quality sound reproduction and complements your listening environment. The hands-on nature of this DIY project not only provides a sense of accomplishment but also offers the opportunity to fine-tune the acoustic characteristics to align with your unique audio preferences. Whether you're a music enthusiast, an audio hobbyist, or a DIY enthusiast, the process of building a DIY speaker cabinet is a rewarding and creative pursuit that can elevate your audio listening experience to new heights. So, roll up your sleeves, unleash your creativity, and embark on the exciting journey of crafting your own custom-built speaker cabinet.