
Home>Create & Decorate>DIY & Crafts>DIY Recording Booth: Step-by-Step Guide To Building Your Own
DIY & Crafts
DIY Recording Booth: Step-by-Step Guide To Building Your Own
Published: June 18, 2024

Senior Editor in Create & Decorate, Kathryn combines traditional craftsmanship with contemporary trends. Her background in textile design and commitment to sustainable crafts inspire both content and community.
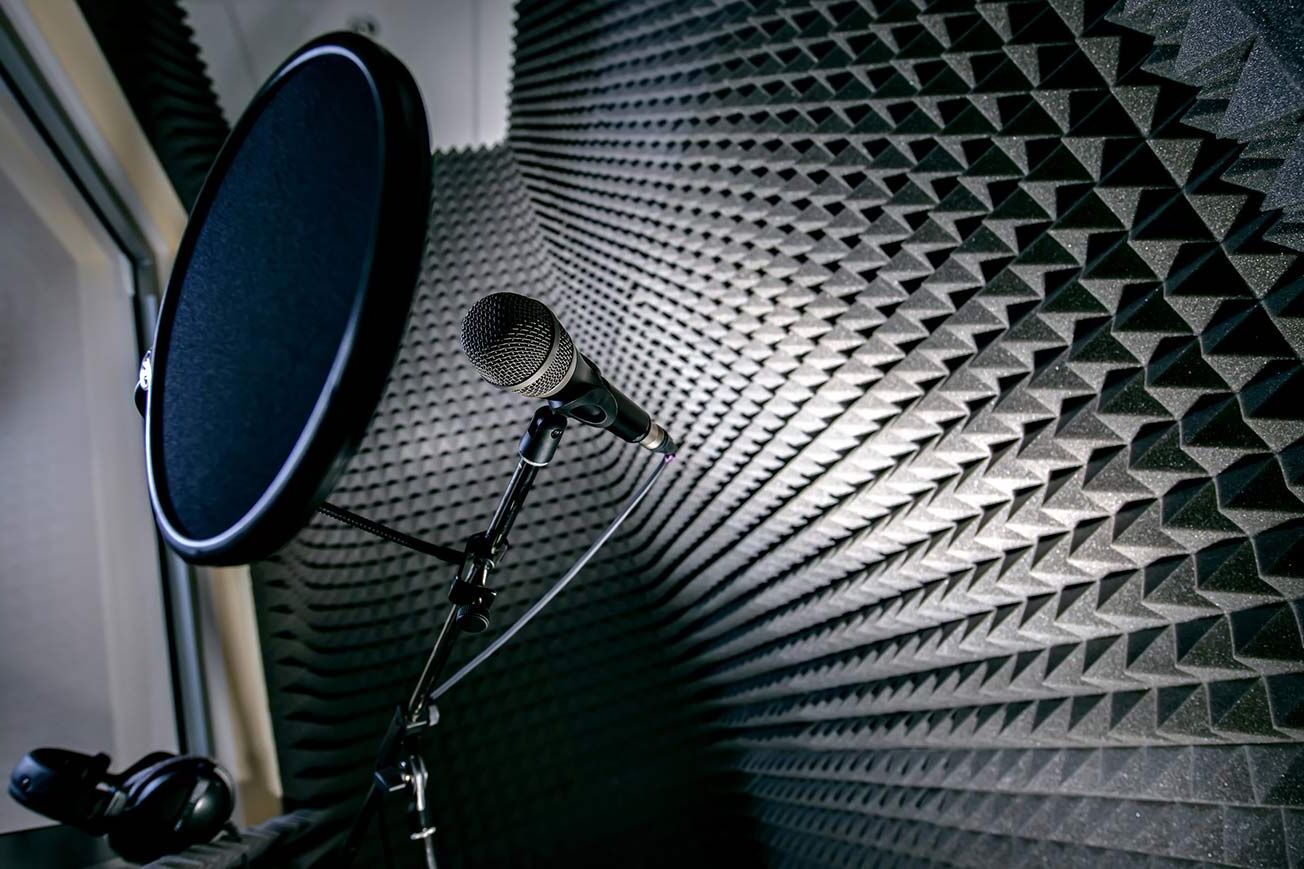
Learn how to build your own DIY recording booth with our step-by-step guide. Perfect for DIY & Crafts enthusiasts looking to improve their sound quality. Start recording like a pro today!
(Many of the links in this article redirect to a specific reviewed product. Your purchase of these products through affiliate links helps to generate commission for Twigandthistle.com, at no extra cost. Learn more)
Introduction
So, you're a budding musician, podcaster, or voice-over artist, and you want to take your recordings to the next level. Building your own DIY recording booth can be a game-changer. Not only does it provide a dedicated space for high-quality recordings, but it also allows you to customize the acoustics to suit your specific needs. In this step-by-step guide, we'll walk you through the process of building your very own recording booth, from planning and gathering materials to soundproofing and adding the finishing touches. Let's dive in and get ready to elevate the quality of your recordings!
Planning Your DIY Recording Booth
Before you start hammering and sawing, it's crucial to have a solid plan in place for your DIY recording booth. Here are the key steps to consider:
-
Determine the Location: Choose a suitable location for your recording booth. It could be a spare room, a corner of your basement, or even a large closet. Consider the dimensions and ensure that it can accommodate your recording needs.
-
Assess the Space: Take measurements of the chosen area and consider the layout of your recording equipment. You'll need enough space for your microphone, instruments, and any other gear you plan to use.
-
Acoustic Requirements: Think about the type of recordings you'll be making. Different instruments and vocal tones require different acoustic treatments. Research the acoustic properties of materials and decide on the level of sound isolation you need.
-
Ventilation and Lighting: Don't forget about ventilation and lighting. Proper airflow is essential for comfort during long recording sessions, and adequate lighting is crucial for visibility and mood.
-
Budget and Timeline: Set a budget for your project and establish a realistic timeline. Consider the cost of materials, tools, and any professional assistance you might need. Having a clear budget and timeline will help keep your project on track.
By carefully planning these aspects, you'll set a strong foundation for the successful construction of your DIY recording booth.
Gathering Materials and Tools
Now that you have a solid plan in place, it's time to gather the materials and tools you'll need to bring your DIY recording booth to life. Here's a comprehensive list to get you started:
Materials
- Soundproofing Materials: Mass-loaded vinyl, acoustic foam panels, soundproofing blankets, weatherstripping, and door sweeps.
- Building Materials: Plywood, drywall, studs, screws, nails, and construction adhesive.
- Ventilation: Ventilation ducts, fans, and soundproof ventilation covers.
- Acoustic Treatment: Bass traps, diffusers, acoustic panels, and foam wedges.
- Finishing Materials: Paint, primer, caulk, and trim.
Tools
- Measuring and Marking: Tape measure, level, and marking pencil.
- Cutting and Shaping: Circular saw, jigsaw, and utility knife.
- Fastening: Power drill, hammer, screwdriver, and nails.
- Installation: Stud finder, drywall saw, and caulking gun.
- Finishing: Paintbrushes, rollers, and sanding tools.
By ensuring you have all the necessary materials and tools at the outset, you'll be well-prepared to tackle each phase of the construction process with confidence and efficiency.
Building the Frame
Building the frame is a critical step in constructing your DIY recording booth. The frame provides the structural support for the booth and serves as the foundation for the soundproofing and acoustic treatment. Here's a detailed guide to help you through this phase:
-
Measure and Mark: Begin by measuring the dimensions of the designated space for your recording booth. Use a tape measure, level, and marking pencil to outline the dimensions on the floor and walls. Ensure that the measurements are accurate and level to avoid any structural issues later on.
-
Gather the Materials: You'll need plywood, studs, screws, and construction adhesive for building the frame. Cut the plywood and studs to the appropriate lengths based on your measurements. The plywood will form the walls and ceiling of the booth, while the studs will create the framework for support.
-
Assemble the Frame: Start by constructing the base of the frame on the floor, securing the plywood to the floor with screws. Then, erect the vertical studs to form the walls, ensuring they are securely attached to the floor and ceiling. Use a level to ensure the studs are plumb and the walls are straight.
-
Create the Door: If your design includes a door, frame it within the structure of the booth. Install hinges and a handle to complete the door assembly. Ensure that the door fits snugly within the frame to maintain sound isolation.
-
Reinforce the Corners: To add strength and stability to the frame, reinforce the corners with additional studs or braces. This will help prevent any warping or shifting over time, ensuring the longevity of your recording booth.
-
Seal the Joints: Once the frame is assembled, use construction adhesive to seal the joints between the plywood panels and the studs. This will help minimize air leakage and improve the overall soundproofing of the booth.
By following these steps, you'll successfully build a sturdy and reliable frame for your DIY recording booth, setting the stage for the next phases of the construction process.
Soundproofing the Booth
Soundproofing your DIY recording booth is crucial to ensure that external noise does not interfere with your recordings. Here's a detailed guide to effectively soundproofing the booth:
-
Seal Gaps and Cracks: Begin by inspecting the frame for any gaps or cracks that could allow sound to leak in or out of the booth. Use acoustical caulk to seal these openings, including around the door frame, electrical outlets, and any penetrations in the walls.
-
Install Mass-Loaded Vinyl: Mass-loaded vinyl is a dense, flexible material that effectively blocks sound transmission. Cut the vinyl to fit the walls and ceiling of the booth, then secure it in place using construction adhesive. Ensure that the seams are tightly sealed to prevent sound leakage.
-
Add Soundproofing Blankets: Soundproofing blankets, also known as moving blankets, are an affordable and effective way to further reduce sound transmission. Hang these blankets on the interior walls of the booth, using hooks or brackets to keep them in place. The added mass and density will help absorb and block unwanted noise.
-
Weatherstrip the Door: A significant source of sound leakage in a recording booth is often the door. Apply a high-quality weatherstripping material around the edges of the door to create a tight seal when closed. Consider adding a door sweep to further minimize sound transfer under the door.
-
Consider Double Doors: For maximum sound isolation, consider installing double doors with an air gap between them. This design creates an additional barrier to sound transmission, enhancing the overall effectiveness of the booth's soundproofing.
-
Address Ventilation: While it's essential to maintain adequate ventilation in the recording booth, vents can be a source of sound leakage. Install soundproof ventilation covers to minimize noise transfer while still allowing for proper airflow.
By following these steps, you can effectively soundproof your DIY recording booth, creating an environment that is conducive to high-quality, professional recordings.
Installing Acoustic Treatment
Installing acoustic treatment is a critical step in ensuring that your DIY recording booth delivers optimal sound quality and acoustics. Here's a detailed guide to help you effectively install acoustic treatment in your recording space:
-
Assess Acoustic Needs: Before installing acoustic treatment, assess the specific acoustic requirements of your recording booth. Consider the type of sound you want to achieve and the instruments or vocals you'll be recording. Different acoustic treatments, such as bass traps, diffusers, and acoustic panels, cater to varying acoustic needs.
-
Strategically Place Bass Traps: Bass traps are essential for controlling low-frequency sound waves and preventing bass buildup in the room. Place bass traps in the corners of the recording booth, where low-frequency energy tends to accumulate. This strategic placement helps minimize bass resonance and creates a more balanced acoustic environment.
-
Position Diffusers for Even Sound Distribution: Diffusers are designed to scatter sound waves, promoting a more even distribution of acoustic energy throughout the room. Install diffusers on the walls or ceiling of the recording booth to break up direct reflections and create a more natural, spacious sound.
-
Mount Acoustic Panels for Sound Absorption: Acoustic panels are effective for absorbing mid- to high-frequency sound waves, reducing echoes and reverberation. Mount acoustic panels on the walls and ceiling of the recording booth, focusing on areas where direct sound reflections occur. This helps create a controlled and acoustically balanced environment for recording.
-
Utilize Foam Wedges for Fine-Tuning: Foam wedges are versatile acoustic treatment tools that can be used to fine-tune the sound characteristics of the recording booth. Place foam wedges strategically to address specific areas of sound reflection or absorption, optimizing the overall acoustics of the space.
-
Consider Acoustic Curtains: Acoustic curtains can be used to further control sound reflections and enhance the overall acoustics of the recording booth. Install acoustic curtains over windows or openings to minimize external noise intrusion and improve the room's sound quality.
-
Test and Adjust: Once the acoustic treatment is in place, conduct sound tests within the recording booth to assess the impact of the treatments on the room's acoustics. Make adjustments as needed to achieve the desired sound quality and acoustic characteristics.
By following these steps, you can effectively install acoustic treatment in your DIY recording booth, creating an acoustically optimized space for professional-quality recordings.
Adding Finishing Touches
After soundproofing and installing acoustic treatment, it's time to add the finishing touches to your DIY recording booth. These final details will not only enhance the functionality of the booth but also contribute to its aesthetic appeal. Here's a comprehensive guide to adding the finishing touches:
-
Interior Design: Consider the interior design of the recording booth to create a conducive and inspiring environment for recording. Choose a color scheme that promotes focus and creativity. Consider using calming, neutral colors to minimize distractions and create a comfortable atmosphere.
-
Furnishings: Select appropriate furnishings for the recording booth, such as a comfortable chair or stool for the recording artist, a small table for equipment, and storage solutions for cables and accessories. Ensure that the furnishings complement the overall design and layout of the booth while maximizing functionality.
-
Lighting: Proper lighting is essential for visibility and mood within the recording booth. Install adjustable LED lighting or soft, diffused lighting to create a comfortable and well-lit environment. Consider incorporating dimmable lights to adjust the ambiance according to the recording session's requirements.
-
Signage and Branding: If the recording booth is part of a professional studio or represents a specific brand, consider adding signage or branding elements to personalize the space. This could include a logo, studio name, or inspirational quotes that resonate with the purpose of the recording booth.
-
Comfort Enhancements: Enhance the comfort of the recording booth by adding sound-absorbing materials to the floor, such as thick rugs or carpeting. This not only improves acoustics but also provides a comfortable surface for long recording sessions.
-
Equipment Organization: Implement effective equipment organization to ensure that recording gear is easily accessible and neatly arranged. Consider installing hooks, shelves, or racks to keep cables, headphones, and other accessories tidy and within reach.
-
Personalization: Add personal touches to the recording booth to make it feel like a creative sanctuary. Display artwork, photographs, or memorabilia that inspire and motivate the recording artist. Personalization can contribute to a positive and productive recording environment.
By paying attention to these finishing touches, you can elevate the functionality and aesthetics of your DIY recording booth, creating a professional and inviting space for high-quality recordings.
Testing and Using Your DIY Recording Booth
Once you've completed the construction and setup of your DIY recording booth, it's time to put it to the test and start utilizing it for your recording needs. Here's a comprehensive guide to testing and using your newly constructed recording space:
-
Sound Check: Before diving into full-fledged recording sessions, conduct a thorough sound check within the booth. Test the acoustics, sound isolation, and overall sound quality to ensure that the booth meets your expectations. Use a variety of instruments and vocal tones to assess the room's response to different sound sources.
-
Recording Equipment Setup: Set up your recording equipment, including microphones, headphones, audio interfaces, and any other gear you'll be using. Ensure that the equipment is properly connected and functioning within the recording booth. Test the equipment to verify that it integrates seamlessly with the booth's acoustics.
-
Trial Recordings: Conduct trial recordings to gauge the performance of the recording booth. Record different musical pieces, spoken word segments, or vocal performances to evaluate the sound quality, clarity, and overall recording environment. Pay attention to any potential issues such as unwanted noise, reverberation, or sound reflections.
-
Adjustments and Fine-Tuning: Based on the trial recordings, make any necessary adjustments to the acoustic treatment, soundproofing, or equipment placement within the booth. Fine-tune the positioning of acoustic panels, bass traps, and diffusers to optimize the room's acoustics for your specific recording needs.
-
Collaborative Testing: If you'll be working with other musicians or recording artists, invite them to test the recording booth and provide feedback. Their input can offer valuable insights into the booth's suitability for collaborative recording sessions and its ability to accommodate diverse musical styles and instruments.
-
Simulated Recording Scenarios: Simulate various recording scenarios to assess the versatility of the recording booth. Test its performance for solo vocal recordings, instrument ensembles, podcasting, voice-over work, and any other recording applications you anticipate. This will help you understand the booth's adaptability to different recording requirements.
-
Optimizing the Recording Environment: Experiment with different room configurations, microphone placements, and seating arrangements to optimize the recording environment. Identify the most acoustically favorable spots within the booth for specific recording purposes and make adjustments accordingly.
-
Documentation and Feedback: Document your testing process and gather feedback from anyone who has used the recording booth. Note any observations, recommendations, or areas for improvement. This feedback can guide future enhancements to the booth and contribute to ongoing optimization.
-
Regular Usage: Once you've fine-tuned the recording booth to your satisfaction, start using it for regular recording sessions. Whether it's for personal music projects, professional recordings, or podcast production, the consistent use of the booth will allow you to fully appreciate its benefits and identify any long-term considerations for maintenance and upkeep.
By following these steps, you can thoroughly test and utilize your DIY recording booth, ensuring that it meets your recording requirements and delivers the desired sound quality and performance.
Conclusion
Congratulations on successfully completing the construction of your DIY recording booth! By following this step-by-step guide, you've transformed a designated space into a professional recording environment tailored to your specific needs. From meticulous planning and gathering materials to building the frame, soundproofing, installing acoustic treatment, and adding the finishing touches, you've created a space that promises high-quality recordings and creative inspiration.
As you embark on utilizing your DIY recording booth for music production, podcasting, voice-over work, or any other recording endeavors, remember that the journey doesn't end with construction. Regular testing, adjustments, and feedback will be instrumental in optimizing the booth's performance and ensuring that it continues to meet your evolving recording requirements.
With the right acoustics, soundproofing, and personalized touches, your DIY recording booth is poised to elevate the quality of your recordings and provide a dedicated space for artistic expression. Embrace the creative possibilities that your new recording environment offers and enjoy the professional-grade results it enables. Happy recording!