
Home>Create & Decorate>DIY & Crafts>DIY King Size Bed Frame: Create Your Own Luxurious Sleeping Haven
DIY & Crafts
DIY King Size Bed Frame: Create Your Own Luxurious Sleeping Haven
Published: May 24, 2024

Senior Editor in Create & Decorate, Kathryn combines traditional craftsmanship with contemporary trends. Her background in textile design and commitment to sustainable crafts inspire both content and community.
Create your own luxurious sleeping haven with our DIY King Size Bed Frame. Discover the perfect project for DIY & Crafts enthusiasts. Start building today!
(Many of the links in this article redirect to a specific reviewed product. Your purchase of these products through affiliate links helps to generate commission for Twigandthistle.com, at no extra cost. Learn more)
Introduction
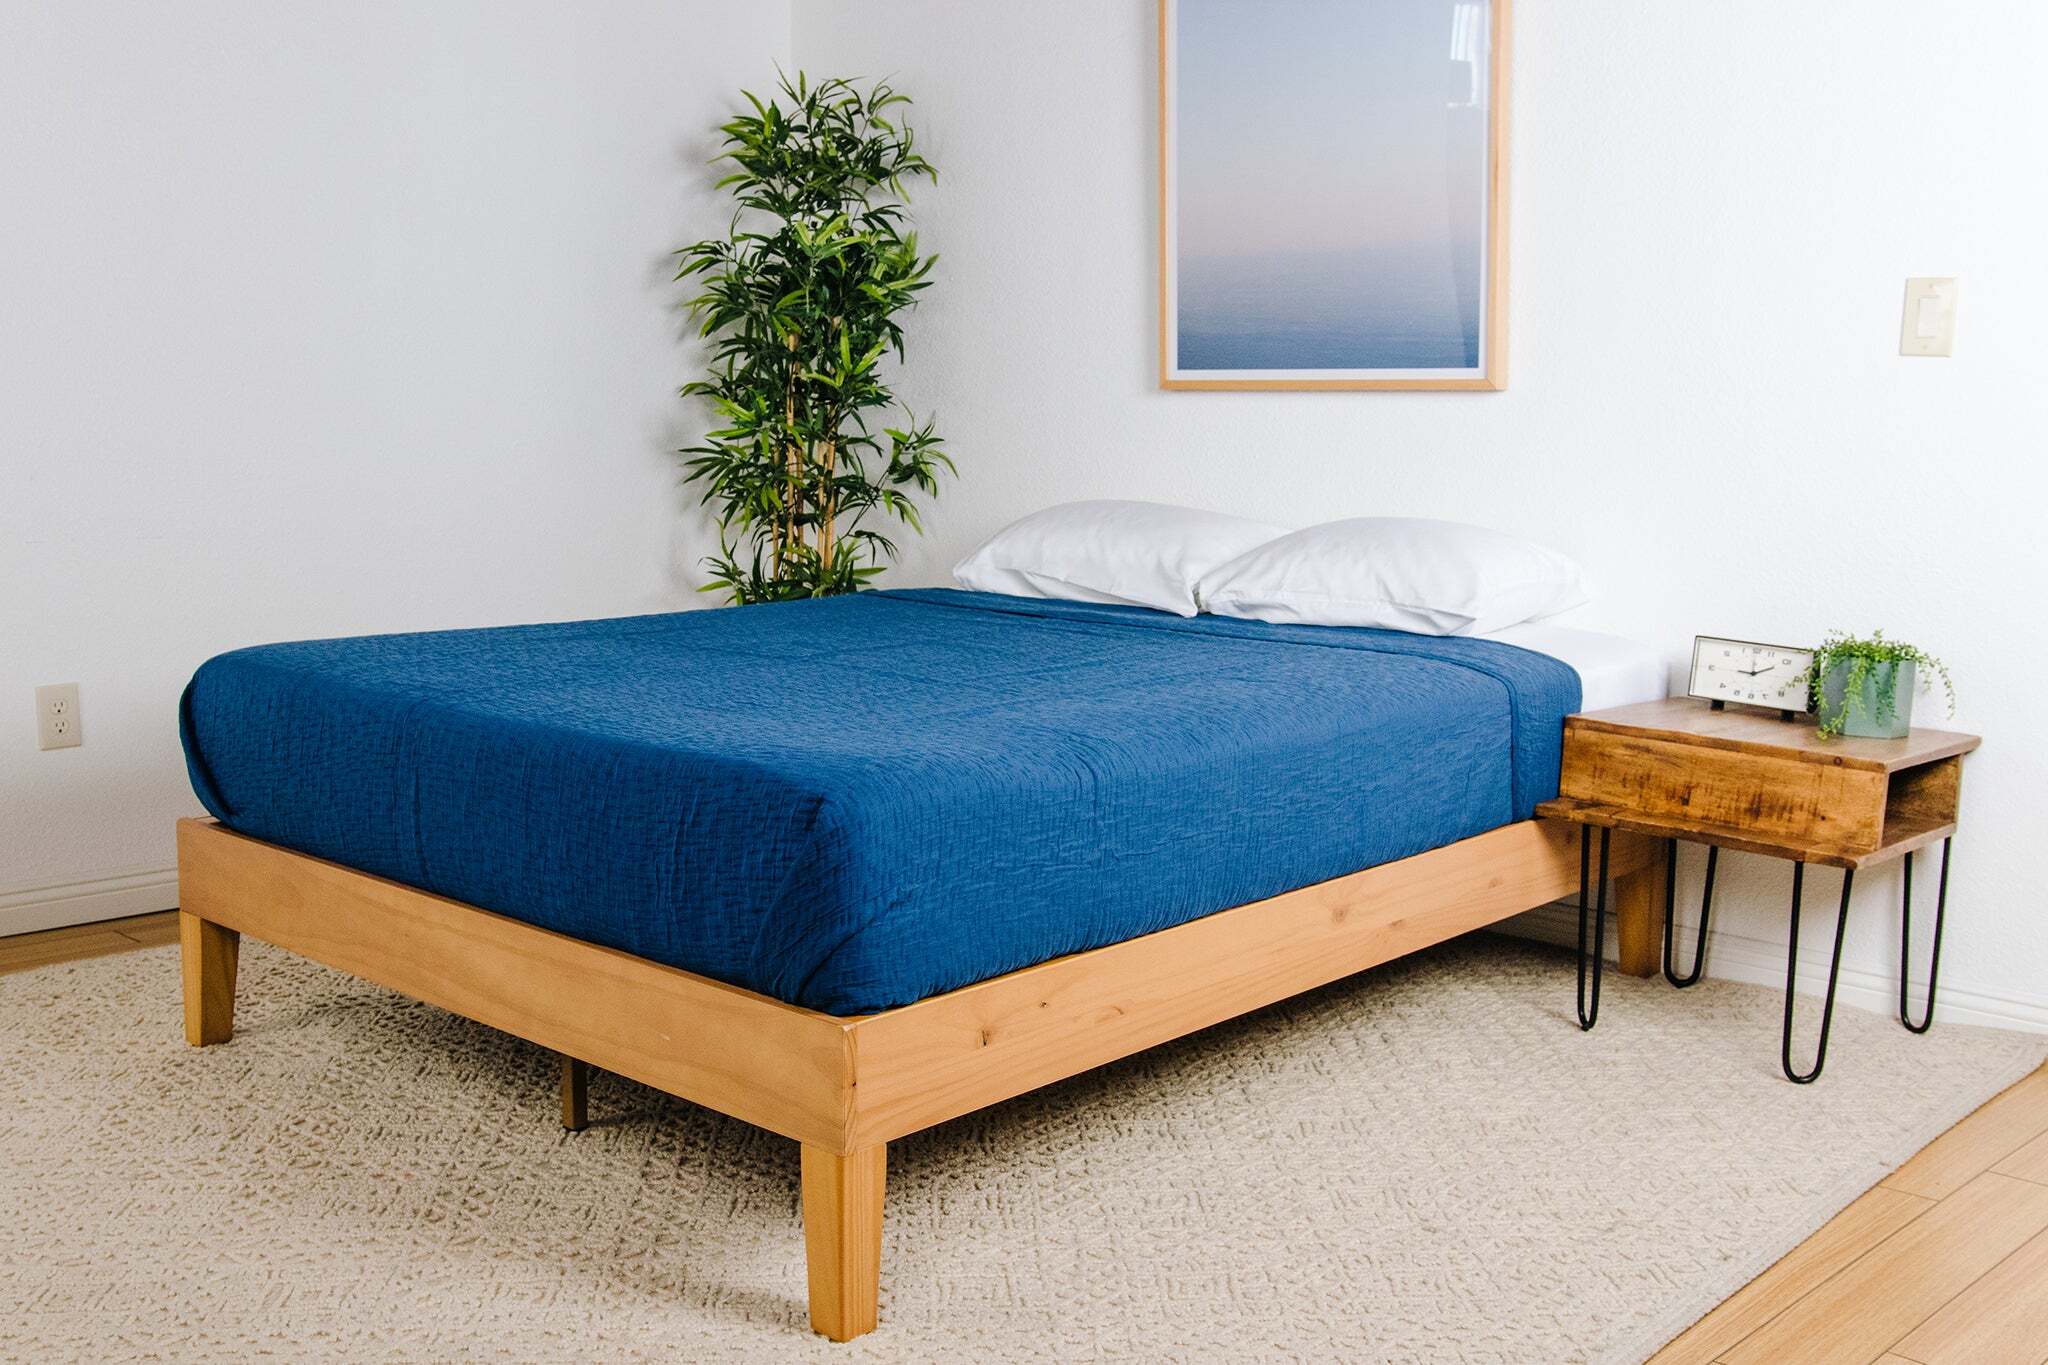
Are you tired of your old, creaky bed frame and ready to upgrade to a luxurious king size bed frame? Creating your own bed frame can be a rewarding and cost-effective DIY project. Not only will you have the satisfaction of building something with your own hands, but you can also customize it to fit your personal style and preferences. In this guide, we will walk you through the step-by-step process of building your very own king size bed frame, so you can enjoy a restful and comfortable night's sleep in your own custom-made sleeping haven.
Materials Needed
To get started on your DIY king size bed frame project, you will need the following materials:
- Lumber: Purchase high-quality lumber in the dimensions suitable for a king size bed frame. You will need pieces for the frame, headboard, and footboard.
- Wood Screws: Invest in sturdy wood screws to ensure the stability and durability of your bed frame.
- Wood Glue: Opt for a strong wood glue to reinforce the joints and add extra strength to your bed frame.
- Sandpaper: Smooth out any rough edges and surfaces for a polished final look.
- Stain or Paint: Choose a stain or paint to match your bedroom decor and protect the wood from wear and tear.
- Polyurethane: Consider applying a coat of polyurethane to seal and protect the wood for longevity.
- Mattress Support System: Decide on the type of mattress support system you want to use, such as slats or a platform.
Gathering these materials will set you on the right path to creating a sturdy and stylish king size bed frame for your bedroom.
Tools Required
When embarking on your DIY king size bed frame project, it's essential to have the right tools at your disposal. Here are the tools you will need to bring your project to life:
-
Circular Saw: A circular saw will be indispensable for cutting the lumber to the precise dimensions required for your bed frame.
-
Drill and Drill Bits: You'll need a drill to create pilot holes and drive the wood screws into place. Make sure to have a variety of drill bits on hand to accommodate different screw sizes.
-
Screwdriver: While a drill can be used for driving screws, a screwdriver will come in handy for tightening screws in areas where a drill may be cumbersome to maneuver.
-
Clamps: Clamps are essential for holding the wood pieces together securely while you drill and fasten them. They ensure that the pieces stay aligned during assembly.
-
Measuring Tape: Accurate measurements are crucial for ensuring that your bed frame fits together perfectly. A measuring tape will be your best friend throughout the project.
-
Square: A carpenter's square will help you ensure that your cuts are precise and that the frame is square and level during assembly.
-
Sandpaper or Sander: Smooth out rough edges and surfaces with sandpaper or a sander to achieve a professional finish.
-
Paintbrushes or Stain Applicators: If you plan to stain or paint your bed frame, make sure you have the appropriate brushes or applicators for the job.
Having these tools at your disposal will make the construction process smoother and more efficient, allowing you to create a sturdy and stylish king size bed frame with ease.
Step 1: Measuring and Cutting the Wood
Before diving into the construction of your king size bed frame, it's crucial to start with accurate measurements and precise cuts of the wood. Follow these steps to ensure that your bed frame comes together seamlessly:
-
Measure the Lumber: Begin by measuring and marking the lumber according to the dimensions required for a king size bed frame. Use a measuring tape and a carpenter's square to ensure accuracy.
-
Cut the Frame Pieces: Using a circular saw, carefully cut the lumber to create the pieces for the bed frame. You will need two long pieces for the sides and two shorter pieces for the head and foot of the frame. Double-check the measurements before making any cuts.
-
Cut the Headboard and Footboard: If you plan to have a headboard and footboard, measure and cut the lumber to the desired dimensions for these components. The headboard and footboard pieces can be customized to match your preferred design.
-
Sand the Edges: After cutting the wood, use sandpaper or a sander to smooth out any rough edges and surfaces. This step will help ensure a polished and professional look for your bed frame.
By taking the time to measure accurately and make precise cuts, you'll set the foundation for a well-constructed king size bed frame that fits together flawlessly.
Step 2: Assembling the Frame
Once you have all the pieces of lumber cut to the correct dimensions, it's time to start assembling the frame of your king size bed. Follow these steps to ensure a sturdy and well-constructed frame:
-
Lay Out the Frame Pieces: Begin by laying out the frame pieces on the floor or another flat surface. Position the side pieces parallel to each other, and then place the head and foot pieces at the ends to form a rectangular frame.
-
Attach the Frame Corners: Using wood screws and wood glue, join the corners of the frame together. Pre-drill pilot holes to prevent the wood from splitting, then secure the pieces with screws and reinforce the joints with wood glue for added strength.
-
Add Support Beams: To provide additional support for the mattress, consider adding support beams across the frame. These beams can be spaced evenly to ensure that the mattress is well-supported and prevent sagging over time.
-
Install the Mattress Support System: Depending on your preference, install the mattress support system of your choice, such as slats or a platform. Ensure that the support system is securely in place and can adequately support the weight of the mattress and sleepers.
-
Check for Stability: Once the frame is assembled, check for stability and make any necessary adjustments. The frame should be level and sturdy, with no wobbling or unevenness.
By following these steps, you can assemble a robust and reliable frame for your king size bed, providing a solid foundation for a restful night's sleep.
Step 3: Attaching the Headboard and Footboard
Attaching the headboard and footboard is a crucial step in completing the construction of your king size bed frame. Follow these detailed steps to ensure a secure and visually appealing attachment of the headboard and footboard:
-
Position the Headboard and Footboard: Begin by positioning the headboard and footboard at the head and foot of the assembled frame, respectively. Ensure that they are aligned and centered with the frame for a balanced appearance.
-
Secure the Headboard and Footboard: Using wood screws and wood glue, attach the headboard and footboard to the frame. Pre-drill pilot holes in the frame and the headboard/footboard to prevent splitting, then fasten them together with screws. Apply wood glue to the joints for added stability and durability.
-
Reinforce the Attachment: To reinforce the attachment further, consider adding L-brackets or corner braces on the inside of the frame where it meets the headboard and footboard. This additional reinforcement will help distribute the weight evenly and prevent the headboard and footboard from wobbling.
-
Check for Alignment: Once the headboard and footboard are attached, step back and visually inspect the alignment. Ensure that they are straight and level with the frame. Make any necessary adjustments to achieve a seamless and professional look.
-
Finishing Touches: If desired, add decorative trim or molding around the headboard and footboard to enhance the aesthetic appeal of your bed frame. This step allows you to personalize the design and add a touch of elegance to your DIY creation.
By following these steps, you can securely attach the headboard and footboard to your king size bed frame, creating a cohesive and visually striking piece of furniture for your bedroom.
Step 4: Finishing Touches
After completing the construction and assembly of your king size bed frame, it's time to add the finishing touches that will elevate the overall look and ensure that your DIY creation aligns with your personal style and bedroom decor. Follow these steps to put the final polish on your custom-made bed frame:
-
Sand and Smooth: Before applying any finish, take the time to sand the entire bed frame to ensure that all surfaces are smooth and free of any rough spots. Use fine-grit sandpaper to achieve a polished and professional finish.
-
Stain or Paint: Decide whether you want to stain the wood to enhance its natural beauty or paint it to match your bedroom decor. Apply the stain or paint evenly, following the manufacturer's instructions, and allow sufficient drying time between coats for a flawless finish.
-
Apply Polyurethane: To protect the wood and enhance its durability, consider applying a coat of polyurethane. This protective layer will shield the bed frame from scratches, moisture, and general wear and tear, ensuring that it remains in top condition for years to come.
-
Add Decorative Elements: If you want to infuse your bed frame with a touch of elegance or personality, consider adding decorative elements such as carved details, metal accents, or upholstered panels to the headboard and footboard. These embellishments can elevate the visual appeal of your bed frame and make it a standout piece in your bedroom.
-
Install Bed Frame Feet: To elevate the bed frame off the floor and prevent it from scratching or damaging your flooring, consider adding bed frame feet. These can be simple plastic or metal feet that attach to the bottom of the frame, providing stability and protection for both the frame and your floors.
-
Attach Bed Frame Hardware: If your bed frame requires any additional hardware, such as brackets for attaching a canopy or securing a bed skirt, now is the time to install them. Ensure that all hardware is securely attached and functioning as intended.
By following these steps, you can add the perfect finishing touches to your king size bed frame, transforming it into a stunning centerpiece for your bedroom and creating a luxurious sleeping haven that reflects your unique style and craftsmanship.
Conclusion
Congratulations on completing your DIY king size bed frame! By following the step-by-step process outlined in this guide, you have successfully created a luxurious sleeping haven that not only provides ample space and comfort but also reflects your personal style and craftsmanship. Your custom-made bed frame is a testament to your dedication to quality and attention to detail, and it is sure to be a standout piece in your bedroom.
As you enjoy the fruits of your labor, take pride in the fact that you have built a sturdy and stylish bed frame that meets your specific preferences and fits perfectly into your living space. Whether you chose a classic, rustic, or modern design, your DIY creation is a reflection of your creativity and resourcefulness.
Now that your king size bed frame is complete, it's time to adorn it with luxurious bedding, pillows, and throws to create a cozy and inviting atmosphere. Your custom-made bed frame will serve as the focal point of your bedroom, providing a comfortable and stylish space for rest and relaxation.
As you settle into your new sleeping haven, take a moment to appreciate the craftsmanship and effort that went into building your own king size bed frame. Your DIY project has not only saved you money but has also given you a sense of accomplishment and ownership over a piece of furniture that is essential to your daily life.
We hope this guide has empowered you to take on more DIY projects in the future and continue to personalize your living space with handmade creations. Your king size bed frame is a testament to the satisfaction and fulfillment that comes with creating something beautiful and functional with your own hands. Enjoy your new sleeping haven!