
Home>Create & Decorate>DIY & Crafts>DIY Guide: Building An Enclosed Trailer From Scratch
DIY & Crafts
DIY Guide: Building An Enclosed Trailer From Scratch
Published: June 3, 2024

Senior Editor in Create & Decorate, Kathryn combines traditional craftsmanship with contemporary trends. Her background in textile design and commitment to sustainable crafts inspire both content and community.
Learn how to build your own enclosed trailer from scratch with our comprehensive DIY guide. Perfect for DIY & Crafts enthusiasts looking for a new project.
(Many of the links in this article redirect to a specific reviewed product. Your purchase of these products through affiliate links helps to generate commission for Twigandthistle.com, at no extra cost. Learn more)
Introduction
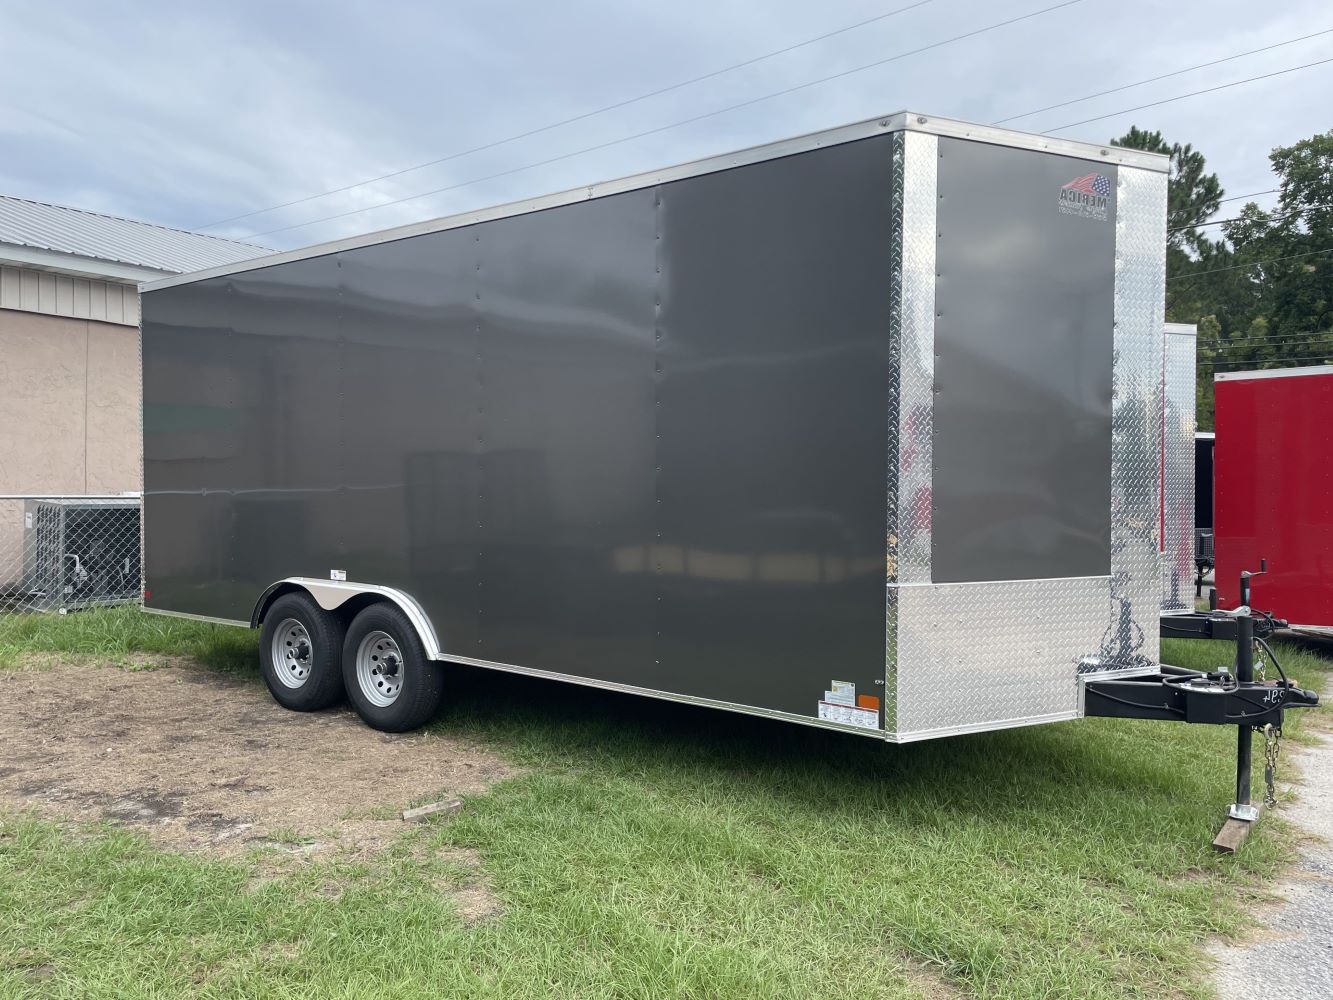
Are you looking to build your own enclosed trailer from scratch? Whether you need it for hauling equipment, transporting goods, or even converting it into a mobile workshop, constructing your own enclosed trailer can be a rewarding and cost-effective project. In this DIY guide, we will walk you through the step-by-step process of building an enclosed trailer, from planning and design to adding the finishing touches. So, roll up your sleeves and get ready to embark on this exciting journey of creating a custom trailer tailored to your specific needs.
Planning and Design
Before you dive into the construction phase, it's crucial to start with a solid plan and design for your enclosed trailer. Here's how to get started:
-
Determine the Purpose: First and foremost, identify the primary purpose of your enclosed trailer. Will it be used for transporting ATVs, motorcycles, or construction materials? Understanding its intended use will help you make informed decisions throughout the planning and design process.
-
Measurements and Dimensions: Take precise measurements of the items or equipment you intend to transport in the trailer. This will dictate the size and dimensions of the trailer, ensuring that it accommodates your cargo comfortably.
-
Sketch the Layout: Create a rough sketch or use a design software to visualize the layout of the trailer. Consider where you want the doors, windows, and any additional features. This will serve as a blueprint for the construction phase.
-
Legal Requirements: Research the legal requirements and regulations for enclosed trailers in your area. This includes weight restrictions, lighting regulations, and any necessary permits. Ensuring compliance with these regulations is essential before you start building.
-
Material Selection: Choose the materials you will use for the frame, walls, flooring, and roofing. Consider factors such as durability, weight, and cost when selecting materials. Additionally, decide on the type of trailer hitch and suspension system that will best suit your needs.
By carefully planning and designing your enclosed trailer, you'll set the stage for a successful construction process and end up with a trailer that meets your specific needs and requirements.
Gathering Materials and Tools
When it comes to building an enclosed trailer from scratch, having the right materials and tools is essential for a successful construction process. Here's a detailed breakdown of the materials and tools you'll need to gather before you start building:
Materials
-
Steel Tubing: This will be used for constructing the frame of the trailer. Opt for high-quality steel tubing that provides the necessary strength and durability to support the trailer's structure.
-
Plywood or Aluminum Sheets: These materials will be used for the trailer's flooring and walls. Plywood is a cost-effective option, while aluminum sheets offer lightweight and corrosion-resistant properties.
-
Trailer Axle and Wheels: Select a suitable trailer axle and wheels based on the trailer's intended load capacity and towing requirements. Ensure that the axle and wheels are compatible with the trailer's overall design.
-
Insulation Material: If you plan to use the enclosed trailer for transporting temperature-sensitive cargo or as a mobile workspace, consider adding insulation material to regulate internal temperatures.
-
Doors and Windows: Depending on your design, you'll need to acquire doors and windows that fit the dimensions of the trailer. Look for options that provide security, weather resistance, and proper sealing.
-
Electrical Components: This includes wiring, lighting fixtures, and a junction box for the trailer's electrical system. Opt for weatherproof electrical components to ensure longevity and safety.
-
Fasteners and Hardware: Stock up on a variety of fasteners, bolts, nuts, and screws to secure the trailer's components during assembly. Additionally, gather hinges, latches, and other hardware for the doors and windows.
Tools
-
Welder: A MIG or TIG welder will be essential for joining the steel tubing to construct the trailer frame. Ensure that you have the necessary welding skills and safety equipment.
-
Circular Saw or Jigsaw: These tools will be used for cutting plywood or aluminum sheets to the required dimensions for the flooring and walls.
-
Drill and Bits: A power drill with a selection of drill bits is necessary for creating holes for fasteners, wiring, and installing hardware.
-
Measuring Tools: Equip yourself with a tape measure, square, and level to ensure accurate measurements and alignment during the construction process.
-
Safety Gear: Prioritize safety by having protective gear such as gloves, safety goggles, and ear protection while working with tools and materials.
By gathering the right materials and tools, you'll be well-prepared to commence the construction of your enclosed trailer with confidence and efficiency.
Building the Frame
Building the frame of your enclosed trailer is a critical step that forms the foundation of its structural integrity. Here's a detailed breakdown of the process:
-
Cutting and Preparing the Steel Tubing: Begin by cutting the steel tubing to the required lengths based on your trailer design. Use a metal cutting saw or a specialized tubing cutter to ensure clean and precise cuts. Once cut, deburr the edges to remove any sharp or uneven surfaces that could affect the frame's assembly.
-
Laying Out the Frame Components: Lay out the cut steel tubing according to your trailer's design blueprint. This will allow you to visualize how the frame components will fit together and ensure that all necessary pieces are accounted for before welding.
-
Welding the Frame: Using a MIG or TIG welder, carefully weld the steel tubing together to form the main frame of the trailer. Pay close attention to the alignment and squareness of the frame to prevent any structural issues later on. Weld all joints securely to create a rigid and stable frame.
-
Adding Cross Members and Bracing: To enhance the strength and rigidity of the frame, add cross members and bracing at strategic points. These additional components will help distribute the load evenly and prevent any flexing or twisting of the frame during use.
-
Attaching the Trailer Tongue: If your design includes a front tongue for towing, securely attach it to the front of the frame. The tongue serves as the connection point for the trailer hitch and should be welded or bolted in place with strong, reliable fasteners.
-
Inspecting for Quality and Strength: Once the frame is fully assembled, thoroughly inspect all welds, joints, and connections to ensure they are structurally sound. Look for any signs of weak welds or misalignments and make any necessary corrections before proceeding to the next phase of construction.
By following these steps and paying close attention to detail, you'll be able to construct a sturdy and reliable frame for your enclosed trailer, setting the stage for the rest of the build process.
Installing the Flooring and Walls
Once the frame of the enclosed trailer is securely in place, the next crucial step is to install the flooring and walls to enclose the trailer's interior. Here's a detailed guide on how to proceed with this essential phase of the construction process:
Flooring Installation
-
Prepare the Subfloor: Begin by preparing the subfloor for the trailer. If using plywood, cut the sheets to fit the dimensions of the trailer's interior and ensure a snug fit. If opting for aluminum sheets, ensure they are appropriately sized and secured to the frame.
-
Secure the Subfloor: Once the subfloor material is in place, use suitable fasteners to secure it to the frame. Ensure that the subfloor is level and firmly attached to provide a stable base for the trailer's interior.
-
Consider Insulation: If insulation is a requirement for your enclosed trailer, this is the ideal time to install it. Lay down insulation material on the subfloor to provide thermal and sound insulation, especially if the trailer will be used for transporting temperature-sensitive cargo or as a workspace.
Wall Installation
-
Cutting Wall Panels: Measure and cut the plywood or aluminum sheets to fit the dimensions of the trailer's walls. Ensure precise cuts to achieve a seamless and professional finish.
-
Attaching Wall Panels: Secure the cut wall panels to the frame using appropriate fasteners. Ensure that the panels are aligned and level to maintain structural integrity and a uniform appearance.
-
Sealing Joints and Edges: To prevent moisture and debris from entering the trailer's interior, seal the joints and edges of the wall panels using a suitable sealant or caulking. This will enhance the weather resistance and durability of the enclosed trailer.
-
Door and Window Openings: If your design includes doors and windows, carefully cut openings in the wall panels to accommodate them. Install the doors and windows according to the manufacturer's instructions, ensuring proper sealing and security features.
Interior Finishing
-
Floor Covering: Consider adding a durable and easy-to-clean floor covering, such as vinyl or rubber flooring, to enhance the trailer's interior. This will provide added protection to the subfloor and create a more comfortable and functional space.
-
Wall Treatments: Depending on your preferences, you may choose to paint the interior walls or apply a protective coating to the wall panels. This step adds a personal touch and helps protect the walls from wear and tear.
By following these steps, you'll successfully install the flooring and walls of your enclosed trailer, creating a secure and functional interior space ready for the next phases of customization and outfitting.
Adding Doors and Windows
Adding doors and windows to your enclosed trailer is a pivotal step that enhances accessibility, ventilation, and overall functionality. Here's a detailed guide on how to seamlessly incorporate doors and windows into your trailer's design:
Door Installation
-
Selecting the Right Door: Choose a door that aligns with the dimensions and design of your enclosed trailer. Options include single or double doors, as well as roll-up or swing-out configurations. Consider factors such as security features, weather resistance, and ease of operation.
-
Preparing the Door Opening: Measure and mark the precise location for the door opening on the wall panels. Use a jigsaw or appropriate cutting tool to create the door opening, ensuring clean and accurate cuts.
-
Installing the Door Frame: If the door comes with a frame, carefully position and secure it within the opening. Ensure that the frame is level, plumb, and securely anchored to the wall panels using suitable fasteners.
-
Mounting the Door: With the door frame in place, mount the door onto the frame according to the manufacturer's instructions. Pay attention to proper alignment, smooth operation, and the functionality of any locking mechanisms.
-
Sealing and Weatherproofing: Apply a weatherproof sealant or gasket around the door frame to prevent water infiltration and ensure a tight seal. This step is crucial for maintaining the interior integrity of the enclosed trailer.
Window Installation
-
Choosing Window Types: Select windows that complement the design and functionality of your enclosed trailer. Options range from fixed windows for natural light to sliding or crank-operated windows for ventilation.
-
Marking and Cutting Openings: Determine the locations for the windows on the wall panels and mark the precise dimensions for the openings. Use a jigsaw or appropriate cutting tool to create the window openings, taking care to achieve clean and accurate cuts.
-
Installing Window Frames: If the windows come with frames, position and secure them within the openings. Ensure that the frames are level, securely anchored, and provide a stable base for the windows.
-
Mounting the Windows: Once the frames are in place, mount the windows according to the manufacturer's instructions. Test the operation of movable windows to ensure smooth functionality and proper sealing when closed.
-
Sealing and Finishing: Apply a bead of sealant around the window frames to create a weatherproof barrier and prevent any potential leaks. This step is essential for maintaining the structural integrity and weather resistance of the enclosed trailer.
By following these steps, you'll successfully integrate doors and windows into your enclosed trailer, enhancing its functionality, comfort, and overall utility.
Wiring and Lighting
Wiring and lighting are crucial components of an enclosed trailer, providing illumination, safety, and functionality. Here's a detailed guide on how to effectively handle the wiring and lighting aspects of your trailer construction:
Electrical System Planning
-
Designing the Electrical Layout: Plan the placement of electrical components such as lights, outlets, and switches within the trailer. Consider the specific needs of your trailer's intended use, whether it's for cargo transport or as a mobile workspace.
-
Selecting the Right Wiring: Choose the appropriate gauge and type of wiring based on the electrical load and the distance it needs to cover. Opt for durable, weather-resistant wiring to ensure longevity and safety.
-
Power Source Considerations: Determine the power source for the trailer's electrical system. This may involve connecting to a vehicle's electrical system, utilizing a standalone battery, or integrating a generator or solar power setup.
Lighting Installation
-
Interior Lighting Placement: Install LED or fluorescent lights strategically within the trailer to ensure adequate illumination. Consider overhead fixtures and task lighting to accommodate various activities.
-
Exterior Lighting Setup: Mount clearance lights, brake lights, and turn signals on the exterior of the trailer to comply with safety regulations and enhance visibility while on the road.
-
Security Lighting: Consider adding motion-activated security lights to the exterior of the trailer for added safety and security, especially when using the trailer in dimly lit areas.
Wiring Process
-
Routing the Wiring: Carefully route the wiring along the trailer's frame and interior, securing it in place to prevent damage and ensure a neat, organized layout.
-
Connecting Electrical Components: Connect the wiring to the interior and exterior lights, switches, and any additional electrical devices or outlets. Use proper connectors and terminals to ensure secure and reliable connections.
-
Testing and Troubleshooting: After completing the wiring connections, thoroughly test the electrical system to verify proper functionality. Troubleshoot any issues such as flickering lights or malfunctioning switches to ensure a fully operational setup.
Safety and Compliance
-
Fuse and Circuit Protection: Install appropriate fuses and circuit breakers to protect the electrical system from overloads and short circuits. This is essential for preventing electrical hazards and equipment damage.
-
Compliance with Regulations: Ensure that the trailer's electrical system complies with relevant regulations and standards, including proper grounding, wire color coding, and the use of approved components.
By following these guidelines, you'll be able to effectively handle the wiring and lighting aspects of your enclosed trailer construction, creating a safe, well-lit, and functional interior and exterior environment.
Finishing Touches and Customization
As you near the completion of your enclosed trailer construction, it's time to add the finishing touches and incorporate customizations that align with your specific needs and preferences. This phase allows you to personalize the trailer and enhance its functionality and aesthetic appeal.
Exterior Customizations
-
Paint or Vinyl Wrap: Consider applying a fresh coat of paint or opting for a vinyl wrap to customize the exterior appearance of the trailer. Choose colors and designs that reflect your personal style or align with your business branding if the trailer is used for commercial purposes.
-
Decals and Graphics: Add decals, graphics, or signage to the exterior to convey important information such as contact details, business logos, or safety warnings. This not only serves a practical purpose but also adds a professional touch to the trailer's appearance.
-
Custom Storage Solutions: Install exterior storage compartments or racks to accommodate additional equipment, tools, or accessories. This enhances the trailer's utility and organization, especially for outdoor enthusiasts or tradespeople.
Interior Customizations
-
Cabinetry and Shelving: Incorporate custom cabinetry, shelves, or storage bins within the trailer's interior to optimize space and keep tools, supplies, or cargo neatly organized. Customized storage solutions can be tailored to your specific needs and workflow.
-
Workbench or Tool Stations: If the trailer doubles as a mobile workshop, consider integrating a built-in workbench or tool stations. This provides a dedicated space for various tasks and enhances efficiency during on-site projects.
-
Climate Control: Depending on your requirements, consider adding climate control features such as a small HVAC unit or ventilation system. This is particularly beneficial if the trailer will be used for extended periods in varying weather conditions.
Security and Safety Enhancements
-
Locking Mechanisms: Install robust locking mechanisms on doors and storage compartments to secure valuable equipment and supplies. Consider options such as padlocks, deadbolts, or electronic locks for enhanced security.
-
Security Cameras: For added security, consider integrating a surveillance system with cameras inside and outside the trailer. This provides peace of mind and serves as a deterrent against theft or vandalism.
-
Fire Extinguishers and First Aid Kits: Ensure that the trailer is equipped with essential safety items such as fire extinguishers and first aid kits. Safety should always be a priority, especially when using the trailer for commercial or recreational purposes.
Personalized Accessories
-
Custom Flooring and Wall Treatments: Consider upgrading the interior with custom flooring materials or wall treatments that align with your aesthetic preferences. This adds a personal touch and enhances the overall ambiance of the trailer's interior.
-
Custom Lighting Fixtures: Explore options for unique lighting fixtures or LED strips to create a customized lighting scheme that suits your specific needs. This can include task lighting, accent lighting, or color-changing options for added versatility.
-
Custom Upholstery and Seating: If the trailer includes seating or living quarters, consider custom upholstery options to enhance comfort and visual appeal. This is particularly relevant for trailers used for recreational purposes or as mobile living spaces.
By incorporating these finishing touches and customizations, you'll elevate the functionality, security, and visual appeal of your enclosed trailer, creating a tailored space that meets your unique requirements and reflects your personal style or business branding.
Conclusion
Congratulations on completing the construction of your custom enclosed trailer! By following this comprehensive DIY guide, you've successfully navigated through the planning, design, and construction phases, resulting in a tailored trailer that meets your specific needs and preferences. From building the sturdy frame to adding the finishing touches and customizations, every step has contributed to the creation of a functional, secure, and visually appealing enclosed trailer.
As you prepare to put your newly constructed trailer to use, whether for transporting equipment, embarking on outdoor adventures, or conducting mobile business operations, take pride in the craftsmanship and attention to detail that went into its construction. Your DIY endeavor has not only saved costs but has also provided you with a sense of accomplishment and ownership over a practical and versatile asset.
Remember to conduct thorough safety checks, ensure compliance with legal regulations, and maintain the trailer regularly to uphold its performance and longevity. Whether you're hitting the road for a cross-country journey or utilizing the trailer for local tasks, its reliable construction and personalized features will undoubtedly enhance your overall experience.
As you enjoy the benefits of your custom enclosed trailer, share your knowledge and experience with others who may be considering a similar DIY project. Your insights and tips can inspire and guide fellow DIY enthusiasts in their pursuit of creating personalized solutions for their transportation and storage needs.
With your newly constructed enclosed trailer ready for action, it's time to embark on new adventures, tackle projects with enhanced efficiency, and enjoy the convenience of a tailored mobile space that reflects your individuality and practical requirements. Happy trails and best wishes for the successful use of your custom-built enclosed trailer!