
Home>Create & Decorate>DIY & Crafts>DIY Grape Trellis: Step-by-Step Guide To Building Your Own Vine Support System
DIY & Crafts
DIY Grape Trellis: Step-by-Step Guide To Building Your Own Vine Support System
Published: June 16, 2024

Content Creator specializing in woodworking and interior transformations. Caegan's guides motivate readers to undertake their own projects, while his custom furniture adds a personal touch.
Learn how to build your own DIY grape trellis with our step-by-step guide. Perfect for vine support in your garden. Get started with this DIY & Crafts project!
(Many of the links in this article redirect to a specific reviewed product. Your purchase of these products through affiliate links helps to generate commission for Twigandthistle.com, at no extra cost. Learn more)
Introduction
Are you a grape enthusiast looking to create a DIY grape trellis for your vineyard or garden? Building a sturdy and reliable grape trellis is essential for supporting the growth of your grapevines and ensuring a bountiful harvest. In this step-by-step guide, we will walk you through the process of constructing your own grape trellis, from selecting the right materials to planting and training your grapevines. Whether you're a seasoned gardener or a novice DIY enthusiast, this guide will equip you with the knowledge and skills to build a functional and aesthetically pleasing grape trellis for your home. So, roll up your sleeves and get ready to embark on this rewarding DIY project!
Materials Needed
To get started on your DIY grape trellis project, you'll need to gather the following materials:
-
Wooden Posts: Select sturdy, rot-resistant wooden posts that are at least 4×4 inches in size. The number of posts you'll need will depend on the size of your trellis and the spacing between the posts.
-
Crossbeams: Opt for durable wooden crossbeams that will provide horizontal support for your grapevines. These should be sized according to the dimensions of your trellis.
-
Galvanized Wire: You'll need strong galvanized wire to create the support system for your grapevines. Ensure that the wire is rust-resistant and can withstand the weight of mature grapevines.
-
Concrete: For securing the support posts in the ground, you'll need concrete mix to create a stable foundation for your trellis.
-
Gravel or Stone: Use gravel or stone to provide drainage and stability for the base of each support post.
-
Grapevines: Depending on your preference, select healthy grapevine cuttings or potted grapevines to plant and train on your newly constructed trellis.
-
Tools: Gather essential tools such as a shovel, level, measuring tape, saw, drill, and wire cutters to aid in the construction process.
By ensuring you have all the necessary materials on hand, you'll be well-prepared to commence the construction of your DIY grape trellis.
Choosing the Right Location
Selecting the optimal location for your grape trellis is crucial for the successful growth and development of your grapevines. Here's how to choose the right spot:
-
Sunlight Exposure: Ensure that the chosen location receives ample sunlight, ideally at least 7-8 hours per day. Grapevines thrive in full sun, which promotes healthy fruit production and ripening.
-
Soil Quality: Assess the soil quality in the area where you plan to install the trellis. Opt for well-draining soil with good fertility and pH levels suitable for grape cultivation. Conduct a soil test to determine its composition and make any necessary amendments before planting.
-
Air Circulation: Choose a location that allows for good air circulation around the grapevines. Adequate airflow helps prevent diseases such as mildew and mold, which can thrive in stagnant, humid conditions.
-
Accessibility: Consider the accessibility of the trellis for maintenance and harvesting. Ensure that there is enough space around the trellis for easy maneuvering and tending to the grapevines.
-
Future Growth: Anticipate the growth of the grapevines and ensure that the chosen location can accommodate the expansion of the vine canopy. This includes considering the vertical and horizontal space for the vines to spread and grow.
By carefully evaluating these factors, you can identify the perfect location for your grape trellis, setting the stage for healthy and productive grapevine growth.
Building the Support Posts
The support posts form the backbone of your grape trellis, providing the structural framework for the entire system. Here's a detailed guide on how to build the support posts for your DIY grape trellis:
-
Post Placement: Begin by marking the locations where the support posts will be installed. The spacing between the posts will depend on the size of your trellis and the specific requirements of the grapevine variety you intend to grow. Typically, posts are spaced 8-10 feet apart to allow ample room for vine growth.
-
Digging Holes: Use a shovel to dig holes for the support posts. The depth of the holes should be at least 2 feet to ensure stability and anchorage for the trellis.
-
Adding Gravel or Stone: Before setting the posts in the holes, add a layer of gravel or stone at the bottom of each hole. This helps with drainage and prevents the posts from sitting directly in water, which can lead to rot over time.
-
Setting the Posts: Place the wooden posts in the prepared holes, ensuring that they are upright and level. Use a level to check the vertical alignment of each post. Once positioned correctly, backfill the holes with soil, tamping it down firmly to secure the posts in place.
-
Bracing the Posts: To provide additional stability, consider bracing the posts with temporary supports until the concrete is added. This will prevent the posts from shifting during the next steps of the construction process.
-
Pouring Concrete: Mix the concrete according to the manufacturer's instructions and pour it into the holes around the support posts. Ensure that the posts are held securely in position while the concrete sets. Allow the concrete to cure completely before proceeding to the next stage of construction.
By following these steps, you'll establish a solid foundation for your grape trellis, ensuring that it can withstand the weight of mature grapevines and environmental elements.
Attaching the Crossbeams
Attaching the crossbeams is a critical step in the construction of your DIY grape trellis, as these horizontal supports will provide the framework for training and supporting the grapevines. Here's a detailed guide on how to attach the crossbeams to the support posts:
-
Measuring and Cutting: Begin by measuring the desired length for the crossbeams based on the dimensions of your trellis. Use a saw to cut the wooden crossbeams to the appropriate size, ensuring that they fit snugly between the support posts.
-
Positioning the Crossbeams: With the help of a ladder or assistance, position the cut crossbeams horizontally between the support posts at the desired height. Use a level to ensure that the crossbeams are perfectly horizontal and aligned with each other.
-
Securing the Crossbeams: Once the crossbeams are in position, use screws or heavy-duty nails to secure them to the support posts. Ensure that the fasteners are driven in securely to create a strong connection between the crossbeams and the posts.
-
Spacing the Crossbeams: Depending on the specific requirements of your grapevine variety, determine the appropriate spacing between the crossbeams. Typically, the spacing can range from 12 to 24 inches, allowing ample room for the grapevines to grow and spread along the trellis.
-
Adding Additional Support: For longer spans or to provide extra stability, consider adding diagonal bracing between the crossbeams and the support posts. This will help prevent sagging and ensure the overall strength of the trellis structure.
-
Finishing Touches: Once all the crossbeams are securely attached, double-check the level and alignment to ensure that the framework is sturdy and even. Make any necessary adjustments before proceeding to the next stage of construction.
By following these steps, you'll successfully attach the crossbeams to the support posts, creating a solid and reliable framework for your grape trellis. This essential stage sets the stage for the next phase of adding the wire supports and preparing for the planting and training of your grapevines.
Adding the Wire Supports
The addition of wire supports is a crucial step in creating a functional and effective grape trellis system. These wire supports will provide the necessary structure for training and guiding the growth of your grapevines. Here's a detailed guide on how to add the wire supports to your DIY grape trellis:
-
Selecting the Wire: Choose high-quality, galvanized wire that is strong and durable. The wire should be resistant to rust and capable of supporting the weight of mature grapevines. Opt for wire with a thickness suitable for grapevine training, typically ranging from 10 to 12 gauge.
-
Determining the Wire Placement: Decide on the number of wire levels you want to incorporate into your trellis system. The number of wire levels will depend on the specific training method you plan to use for your grapevines. Common options include single, double, or quadruple wire systems, each offering different benefits for vine training and management.
-
Attaching the Wire to the Crossbeams: Begin by securing one end of the wire to one of the crossbeams using heavy-duty staples or wire clips. Pull the wire taut and fasten the opposite end to the corresponding crossbeam on the opposite support post. Ensure that the wire is stretched evenly and firmly secured to create a straight and level line.
-
Creating Tension: To prevent sagging, use a wire strainer or turnbuckle to create tension in the wire. This will ensure that the wire remains taut and provides adequate support for the grapevines as they grow and develop.
-
Adding Additional Wire Levels: If you've opted for multiple wire levels, repeat the process of attaching and tensioning the additional wires at the desired heights along the crossbeams. Ensure that each wire is evenly spaced and parallel to the others, providing a uniform support system for the grapevines.
-
Securing the Wire Ends: Once all the wire levels are in place and properly tensioned, secure the wire ends to the crossbeams using appropriate fasteners. Double-check the tension and alignment of each wire to ensure that they are ready to support the growth of the grapevines.
By following these steps, you'll successfully add the wire supports to your grape trellis, creating a robust framework for training and managing the growth of your grapevines. This essential stage sets the foundation for the next phase of planting and training your grapevines, ensuring that they have the necessary support to thrive and produce a bountiful harvest.
Planting and Training Your Grapevines
Once your DIY grape trellis is in place, it's time to focus on planting and training your grapevines to ensure healthy growth and abundant fruit production. Here's a comprehensive guide on how to plant and train your grapevines on the newly constructed trellis:
Selecting Grapevine Varieties
Before planting, it's essential to select grapevine varieties that are well-suited to your climate and growing conditions. Consider factors such as cold hardiness, disease resistance, and the specific purpose of the grapes, whether for fresh consumption, winemaking, or drying into raisins. Consult with local nurseries or agricultural extension services to identify grape varieties that thrive in your region.
Planting Grapevines
When planting grapevines, it's crucial to ensure proper spacing and soil preparation. Follow these steps for successful grapevine planting:
- Digging Holes: Dig planting holes that are deep and wide enough to accommodate the grapevine roots without crowding. Space the holes according to the recommended distance for the specific grapevine variety.
- Amending the Soil: If necessary, amend the soil with organic matter and nutrients to improve fertility and drainage. Ensure that the soil pH is within the optimal range for grape cultivation.
- Planting Depth: Carefully place the grapevine in the hole, ensuring that the graft union (if present) is positioned above the soil line. Gently spread out the roots and backfill the hole with soil, tamping it down to remove air pockets.
- Watering: After planting, thoroughly water the grapevines to settle the soil around the roots and provide essential moisture for establishment.
Training Grapevines on the Trellis
Properly training grapevines on the trellis is essential for promoting healthy growth, maximizing sun exposure, and facilitating fruit production. Consider the following training methods based on the specific grapevine variety and trellis design:
- Single Trunk Training: This method involves selecting a single strong shoot to serve as the main trunk of the grapevine. Secure the chosen shoot to the trellis and prune away competing shoots to encourage vertical growth.
- Cordon Training: In this method, select two horizontal arms (cordons) from the main trunk and secure them along the crossbeams of the trellis. Prune and train the cordons to encourage lateral growth and the development of fruiting spurs.
- Canopy Management: Regularly prune and train the grapevine canopy to maintain an open and well-ventilated structure. This helps prevent disease and ensures even sunlight exposure for the grape clusters.
Providing Support and Maintenance
As the grapevines grow, periodically check the trellis for any signs of damage or instability. Additionally, provide supplemental support for the vines as they develop, using soft ties or vine clips to secure new growth to the trellis wires. Regularly monitor the grapevines for pests, diseases, and nutrient deficiencies, addressing any issues promptly to maintain vine health and productivity.
By following these planting and training guidelines, you'll set the stage for the successful establishment and growth of your grapevines on the DIY trellis. With proper care and attention, your grapevines will flourish, rewarding you with a plentiful harvest of delicious grapes.
Maintenance and Care Tips
Maintaining and caring for your grape trellis and grapevines is essential to ensure their long-term health and productivity. By implementing regular maintenance practices and providing proper care, you can maximize the potential of your grapevines and enjoy a successful harvest year after year. Here are some valuable maintenance and care tips to keep your grape trellis and grapevines in optimal condition:
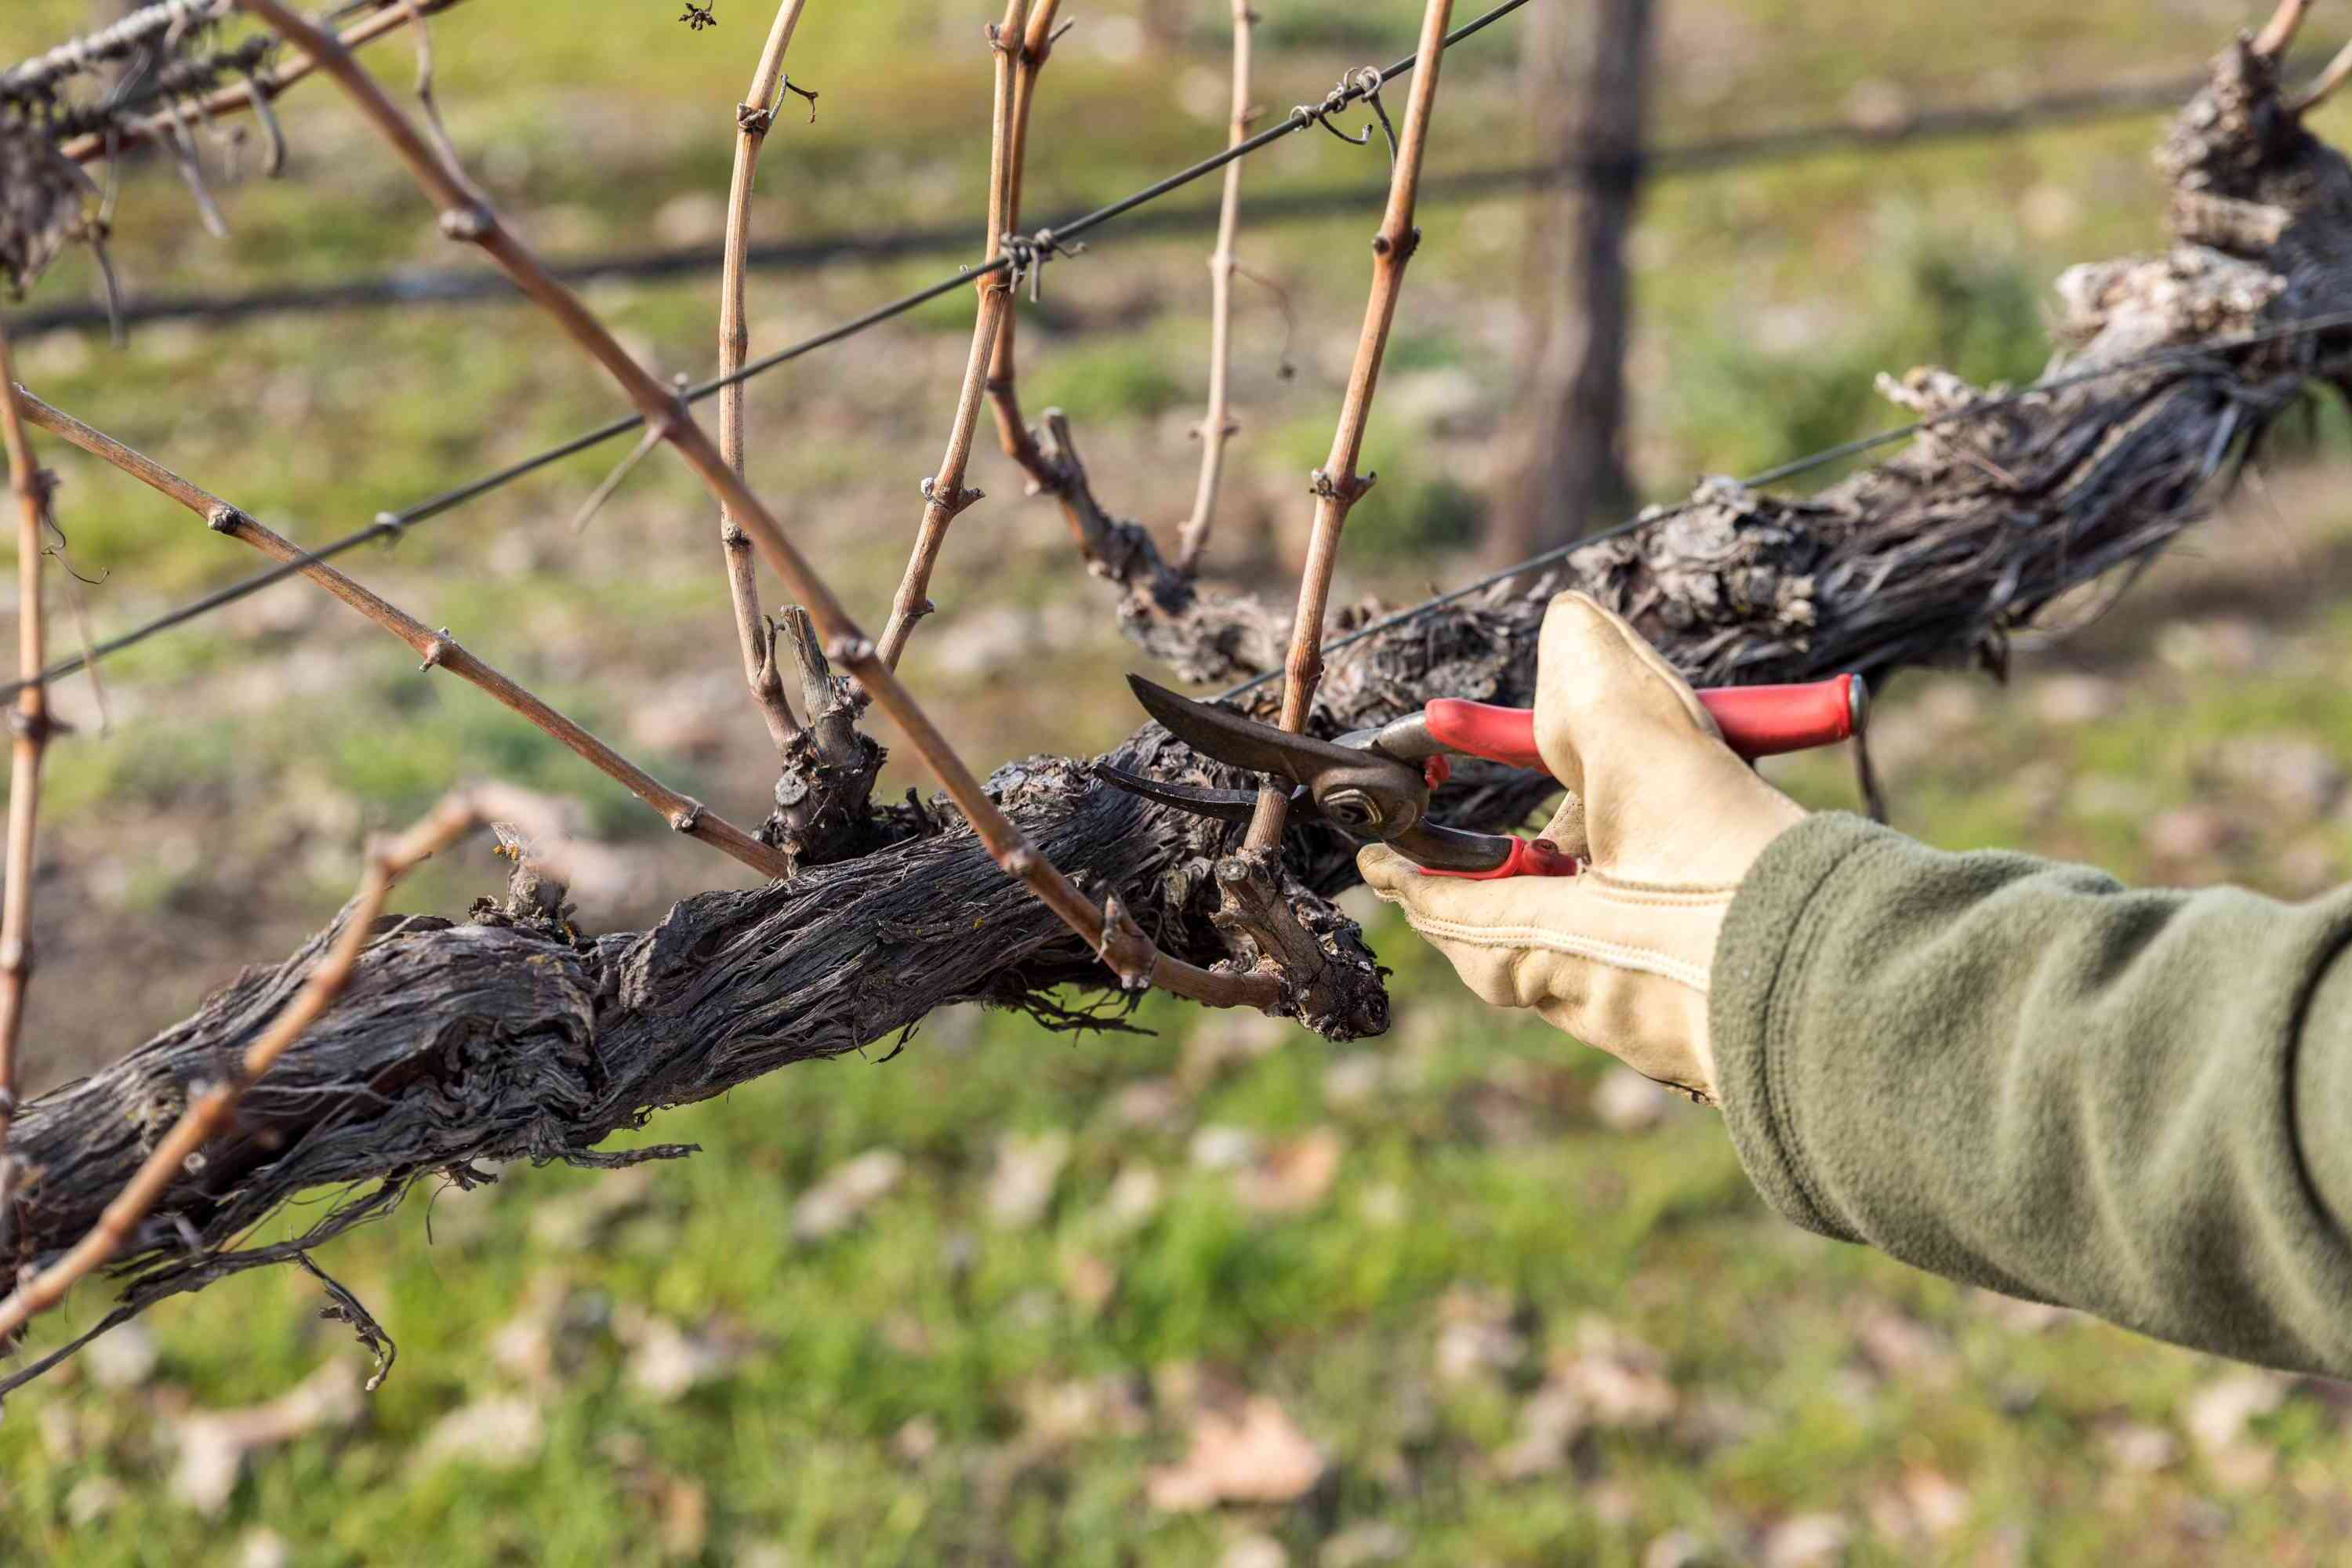
Pruning and Thinning
Regular pruning is crucial for managing the growth of grapevines and promoting fruit production. Prune the grapevines during the dormant season, typically in late winter or early spring, to remove dead or diseased wood, improve air circulation, and shape the vine canopy. Additionally, thin out excess grape clusters to ensure that the remaining clusters receive ample sunlight and airflow, leading to better fruit quality and ripening.
Irrigation and Watering
Proper irrigation is vital for supporting the growth and development of grapevines, especially during the critical stages of flowering, fruit set, and veraison. Monitor soil moisture levels and provide consistent, deep watering to ensure that the grapevines receive adequate hydration. Avoid overwatering, as excessive moisture can lead to root rot and other water-related issues. Consider using drip irrigation or soaker hoses to deliver water directly to the root zone while minimizing foliage wetting.
Fertilization and Nutrient Management
Regularly assess the nutrient status of the soil and adjust fertilization practices accordingly to meet the specific needs of the grapevines. Conduct soil tests to determine nutrient deficiencies and apply fertilizers in a targeted manner to address any imbalances. Consider using organic fertilizers or compost to improve soil fertility and promote overall vine health. Avoid over-fertilization, as excessive nitrogen can lead to vigorous vegetative growth at the expense of fruit production.
Pest and Disease Management
Vigilant monitoring for pests and diseases is essential to prevent and address potential threats to the grapevines. Regularly inspect the foliage, stems, and clusters for signs of insect damage, fungal infections, or other issues. Implement integrated pest management (IPM) strategies to minimize the use of chemical pesticides and prioritize environmentally friendly control methods. Consider the use of pheromone traps, beneficial insect releases, and cultural practices to manage pests while preserving natural predators and pollinators.
Canopy Management and Sunlight Exposure
Maintaining an open and well-managed canopy is crucial for maximizing sunlight exposure and promoting even fruit ripening. Regularly thin out excess foliage, position shoots to ensure adequate sunlight penetration, and remove any shading leaves or lateral growth that may obstruct sunlight. Proper canopy management helps reduce the risk of fungal diseases, improves fruit quality, and enhances the overall health of the grapevines.
Winter Protection and Cold Weather Preparations
Prepare the grapevines for the winter months by implementing protective measures to safeguard them from cold temperatures and potential frost damage. Consider applying a layer of mulch around the base of the grapevines to insulate the roots and protect them from extreme temperature fluctuations. Additionally, consider using frost blankets or row covers to shield the vines during frost events, especially in regions prone to late spring frosts.
By incorporating these maintenance and care tips into your grapevine management practices, you can ensure the longevity and productivity of your grape trellis and grapevines. With proactive care and attention to detail, you'll create an environment where your grapevines can thrive and produce high-quality fruit for years to come.
Conclusion
In conclusion, constructing a DIY grape trellis is a rewarding endeavor that offers numerous benefits for grape enthusiasts and home gardeners. By following the step-by-step guide provided in this article, you can create a sturdy and functional trellis system that provides essential support for the growth and management of grapevines. From selecting the right materials and location to building the support posts, attaching the crossbeams, adding wire supports, and planting and training the grapevines, each stage of the process contributes to the successful establishment of a thriving grape trellis.
Furthermore, the maintenance and care tips outlined in this guide emphasize the importance of ongoing attention and proactive management to ensure the long-term health and productivity of the grapevines. By implementing proper pruning, irrigation, fertilization, pest and disease management, canopy maintenance, and winter protection, you can create an environment where your grapevines can flourish and produce abundant, high-quality fruit.
As you embark on your DIY grape trellis project, remember that patience and dedication are key virtues. Building and maintaining a grape trellis requires ongoing commitment and a deep appreciation for the art and science of grape cultivation. With the right knowledge, tools, and techniques, you can create a trellis system that not only enhances the visual appeal of your garden but also yields a bountiful harvest of delicious grapes for your enjoyment.
So, roll up your sleeves, gather your materials, and embark on this fulfilling journey of building your own DIY grape trellis. With each step, you'll be one step closer to creating a thriving and productive grape-growing environment right in your own backyard. Cheers to the fruitful adventures that await as you cultivate and nurture your very own grapevines on a trellis crafted with your own hands.