
Home>Home & Furniture>Roof>How to Build a DIY Van Roof Deck
Roof
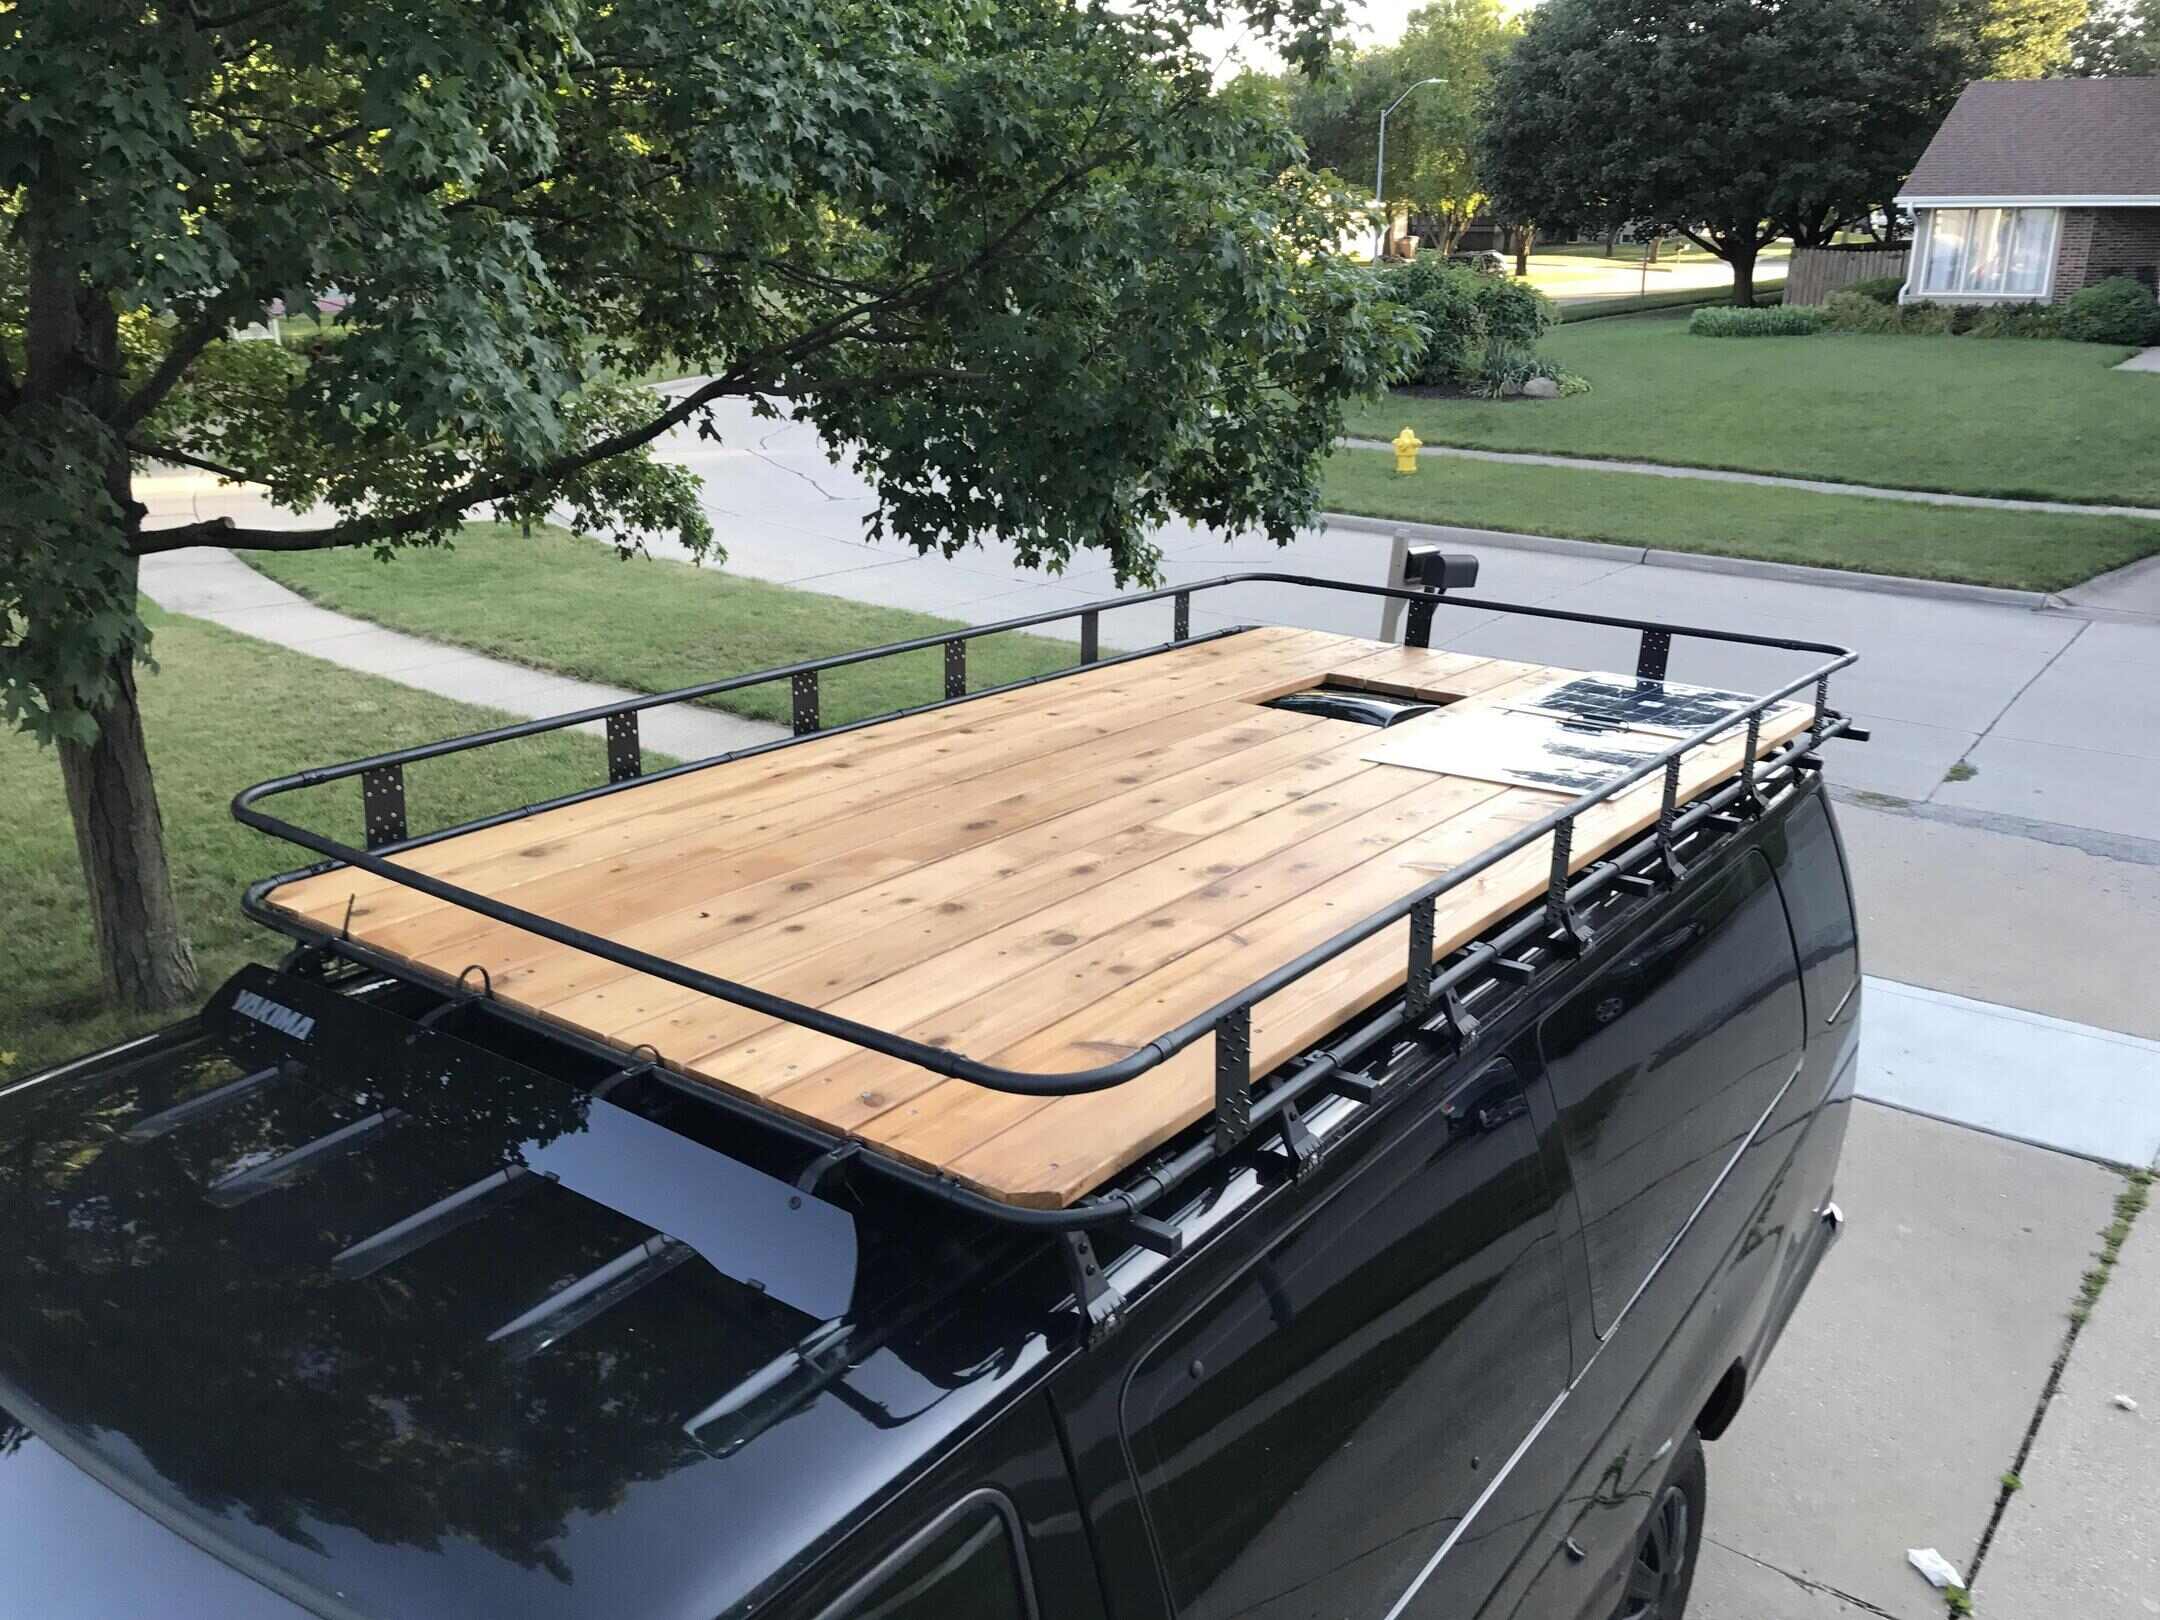
How to Build a DIY Van Roof Deck
Published: August 21, 2024
Learn how to build a DIY van roof deck with our step-by-step guide. Transform your van into a mobile oasis with this easy and budget-friendly project.
(Many of the links in this article redirect to a specific reviewed product. Your purchase of these products through affiliate links helps to generate commission for Twigandthistle.com, at no extra cost. Learn more)
Building a roof deck on a van can add both functionality and fun to your travels. It provides extra space for lounging, stargazing, or even storing gear. This project may seem challenging, but with the right tools, materials, and a bit of patience, anyone can do it. Before starting, ensure your van’s roof can support the added weight. In this guide, you’ll learn how to plan, gather materials, and construct a sturdy, safe deck. Ready for an adventure and a new perspective? Let’s get started on creating your very own van roof deck!
Getting Ready for the Project
Measure the Roof: Use a tape measure to get the exact dimensions of your van's roof. Write these down.
Gather Materials: Get plywood, screws, brackets, sealant, and a ladder. Make sure everything is weather-resistant.
Safety Gear: Wear gloves, safety glasses, and a helmet. Safety first!
Clear the Workspace: Move the van to a flat, open area. Ensure there's enough space to work around the vehicle.
Check Roof Strength: Ensure the van's roof can support the deck's weight. Consult the van's manual or a professional if unsure.
Clean the Roof: Remove any dirt or debris. A clean surface ensures better adhesion for sealants.
Plan the Layout: Sketch where the deck will go. Mark spots for screws and brackets.
Pre-Drill Holes: Pre-drill holes in the plywood and roof. This prevents splitting and makes assembly easier.
Seal Edges: Apply sealant to the edges of the plywood. This protects against water damage.
Test Fit: Place the plywood on the roof without securing it. Ensure everything lines up correctly.
Secure the Deck: Use screws and brackets to attach the plywood to the roof. Double-check that everything is tight and secure.
Final Inspection: Check for any loose screws or gaps. Make sure the deck is stable and safe to use.
Gather Your Materials and Tools
Materials Needed:
- Plywood Sheets: These will form the base of the deck. Choose marine-grade plywood for durability.
- 2x4 Lumber: Used for framing and support. Pressure-treated wood is best for outdoor use.
- Deck Screws: Secure the plywood and lumber together. Stainless steel screws resist rust.
- Wood Sealant: Protects the wood from moisture and UV damage.
- Metal Brackets: Provide additional support and stability to the frame.
- Non-Slip Decking Material: Ensures safety when walking on the deck. Rubber or textured materials work well.
- Roof Rack: Acts as the foundation for the deck. Must be compatible with your van model.
- Bolts and Nuts: Attach the roof rack to the van and secure the deck frame.
- Weatherproof Adhesive: Seals gaps and prevents water ingress.
Tools Needed:
- Measuring Tape: Ensures accurate measurements for cutting wood and placing screws.
- Circular Saw: Cuts plywood and lumber to the required sizes.
- Drill: Makes holes for screws and bolts. A cordless drill offers flexibility.
- Screwdriver: Tightens screws. A power screwdriver speeds up the process.
- Wrench Set: Tightens bolts and nuts. Adjustable wrenches are versatile.
- Level: Ensures the deck is even and stable.
- Paintbrush: Applies wood sealant evenly.
- Safety Gear: Includes gloves, safety glasses, and ear protection. Keeps you safe while working.
- Clamps: Hold wood pieces in place while you work.
Required Skills and Time Commitment
Skill Level: Intermediate
Time Required: 2-3 days
- Planning and Measuring: 2-3 hours
- Gathering Materials: 1-2 hours
- Cutting Wood and Metal: 4-5 hours
- Assembling the Frame: 3-4 hours
- Installing the Deck: 3-4 hours
- Securing and Finishing Touches: 2-3 hours
Building Instructions
Gather Materials and Tools
- Plywood sheets
- 2x4 lumber
- Deck screws
- Waterproof sealant
- Metal brackets
- Measuring tape
- Circular saw
- Drill
- Sandpaper
Measure the Roof
- Measure the length and width of the van roof.
- Ensure measurements are accurate for a snug fit.
Cut the Plywood
- Use a circular saw to cut plywood sheets to match roof dimensions.
- Sand edges to smooth any rough spots.
Build the Frame
- Cut 2x4 lumber to match the length and width of the plywood.
- Assemble the frame using deck screws and metal brackets for extra support.
Attach Plywood to Frame
- Place plywood on top of the frame.
- Secure with deck screws, ensuring screws are evenly spaced.
Seal the Wood
- Apply waterproof sealant to the entire deck.
- Allow sealant to dry completely as per manufacturer’s instructions.
Install the Deck
- Lift the deck onto the van roof.
- Secure the deck to the roof using metal brackets and screws.
- Ensure the deck is firmly attached and stable.
Final Touches
- Sand any rough edges or surfaces.
- Apply an additional coat of sealant if needed.
- Check for stability and make any necessary adjustments.
Helpful Tips and Tricks
Measure twice, cut once. Always double-check measurements before cutting materials. This saves time and prevents waste.
Use lightweight materials. Opt for aluminum or composite decking instead of heavy wood. This reduces the load on your van.
Pre-drill holes. This prevents wood from splitting and ensures screws go in smoothly.
Seal all edges. Apply a waterproof sealant to protect the deck from moisture and weather damage.
Use stainless steel hardware. Stainless steel resists rust, making it ideal for outdoor use.
Add non-slip strips. These provide extra grip, especially in wet conditions.
Plan for drainage. Ensure water can flow off the deck to avoid pooling and potential leaks.
Common mistakes to avoid:
Ignoring weight limits. Overloading the roof can damage your van and affect handling.
Skipping the sealant. Unsealed wood will deteriorate quickly when exposed to the elements.
Using untreated wood. Always use treated or weather-resistant wood to extend the life of your deck.
Alternatives for materials or methods:
PVC decking. Lightweight and weather-resistant, PVC is a good alternative to wood.
Modular deck tiles. Easy to install and remove, these tiles offer flexibility and convenience.
Rubber mats. For a simpler solution, consider using rubber mats. They provide grip and are easy to clean.
Estimating the Cost
Plywood: $50-$100 for a 4x8 sheet of marine-grade plywood.
2x4 Lumber: $3-$5 per piece. You might need around 10 pieces, so $30-$50.
Deck Screws: $10-$15 for a box.
Waterproof Sealant: $20-$30 for a can.
Metal Brackets: $5-$10 each. You might need around 8, so $40-$80.
Roof Rack: $150-$300 if you don't already have one.
Sandpaper: $5-$10 for a pack.
Paint or Stain: $20-$40 for a can.
Tools: If you don't have them, a drill ($50-$100), saw ($50-$100), and measuring tape ($5-$10).
Total Cost: $380-$835, depending on materials and tools you already own.
Budget-Friendly Alternatives:
- Use reclaimed wood instead of new lumber.
- Borrow or rent tools from friends or a local tool library.
- Look for sales or discounts on materials at hardware stores.
Different Ways to Customize
Materials: Instead of using traditional wood, consider composite decking. It’s durable, weather-resistant, and requires less maintenance. For a lighter option, try aluminum decking. It’s strong, rust-proof, and easy to clean.
Colors: Paint or stain the deck in a color that matches your van. Earth tones like brown or green blend well with nature. For a modern look, go with gray or black. Bright colors like blue or red can make your van stand out.
Styles: Add a railing for safety and style. Choose between metal, wood, or rope railings. For a rustic look, use reclaimed wood. For a sleek design, go with stainless steel.
Seating: Install built-in benches or use foldable chairs. Add cushions for comfort. For a cozy touch, include a hammock or bean bags.
Lighting: Use solar-powered lights for an eco-friendly option. String fairy lights around the railing for a magical feel. Install LED strips under the deck for a modern touch.
Storage: Build storage compartments under the deck. Use waterproof bins to keep items dry. Add hooks for hanging gear like bikes or kayaks.
Shade: Install a retractable awning for shade. Use a pop-up canopy for easy setup and removal. For a natural option, attach a tarp or shade cloth.
Flooring: Instead of plain wood, use outdoor rugs for a cozy feel. Try interlocking deck tiles for easy installation and a polished look. For a unique touch, paint a pattern or design on the deck floor.
Accessories: Add a small table for meals or work. Use planters for a touch of greenery. Install a portable grill for outdoor cooking. Attach a bike rack to the side for easy transport.
Safety: Ensure the deck is securely attached to the van. Use non-slip materials for the flooring. Add reflective tape for visibility at night.
Eco-Friendly Tips
Reclaimed wood is a great choice for the deck surface. It’s durable and gives a rustic look. Look for old pallets or barn wood. Bamboo is another eco-friendly option. It grows quickly and is very strong.
Use recycled metal for the frame. Aluminum or steel from old structures can be repurposed. This reduces waste and saves money.
For the fasteners, choose stainless steel or galvanized screws. They last longer and resist rust, which means fewer replacements.
Consider using eco-friendly sealants and paints. Look for products with low VOCs (volatile organic compounds). These are better for the environment and your health.
Install solar panels on the deck. They can power small appliances inside the van. This makes your van more self-sufficient and reduces reliance on non-renewable energy.
Add a green roof section with plants. This helps with insulation and provides a small garden space. Use lightweight, drought-resistant plants to keep the weight down.
Use natural fibers like hemp or jute for any ropes or netting. They are biodegradable and strong.
Finally, always measure twice and cut once. This reduces waste and ensures you use materials efficiently.
Your Van Roof Deck Awaits
Building a DIY van roof deck isn't just about adding extra space; it's about creating a personal oasis on wheels. With some basic tools, a bit of patience, and a dash of creativity, you can transform your van into a cozy spot for stargazing, lounging, or even hosting friends. Remember to measure twice, cut once, and always prioritize safety. Use weather-resistant materials to ensure your deck stands up to the elements. Whether you're a seasoned DIYer or a newbie, this project is totally doable. So, gather your supplies, roll up your sleeves, and get started. Before you know it, you'll be enjoying sunsets from your very own rooftop perch. Happy building!
What materials do I need to build a van roof deck?
You’ll need plywood, 2x4 lumber, screws, brackets, sealant, and carpet or non-slip material. Don’t forget tools like a drill, saw, and measuring tape.
How do I ensure the deck is secure?
Use brackets and screws to attach the deck to the van’s roof rack. Make sure everything is tightened and reinforced. Adding sealant helps keep water out.
Can I build a roof deck on any van?
Most vans with a roof rack can support a deck. Check your van’s weight limit and roof structure before starting.
How do I measure for the deck?
Measure the length and width of your van’s roof rack. Cut the plywood and lumber to fit within those dimensions, leaving a bit of space for expansion.
What’s the best way to weatherproof the deck?
Apply a sealant to all wood surfaces. Cover the deck with carpet or a non-slip material to protect against rain and sun damage.
How much weight can the deck hold?
This depends on your van’s roof rack and the materials used. Generally, a well-built deck can hold several hundred pounds. Always check your van’s manual for specifics.
How long does it take to build a roof deck?
It usually takes a weekend if you have all the materials and tools ready. Plan for extra time if you’re new to DIY projects.