
Home>Home & Furniture>Roof>How to Build a DIY Roof Rack
Roof
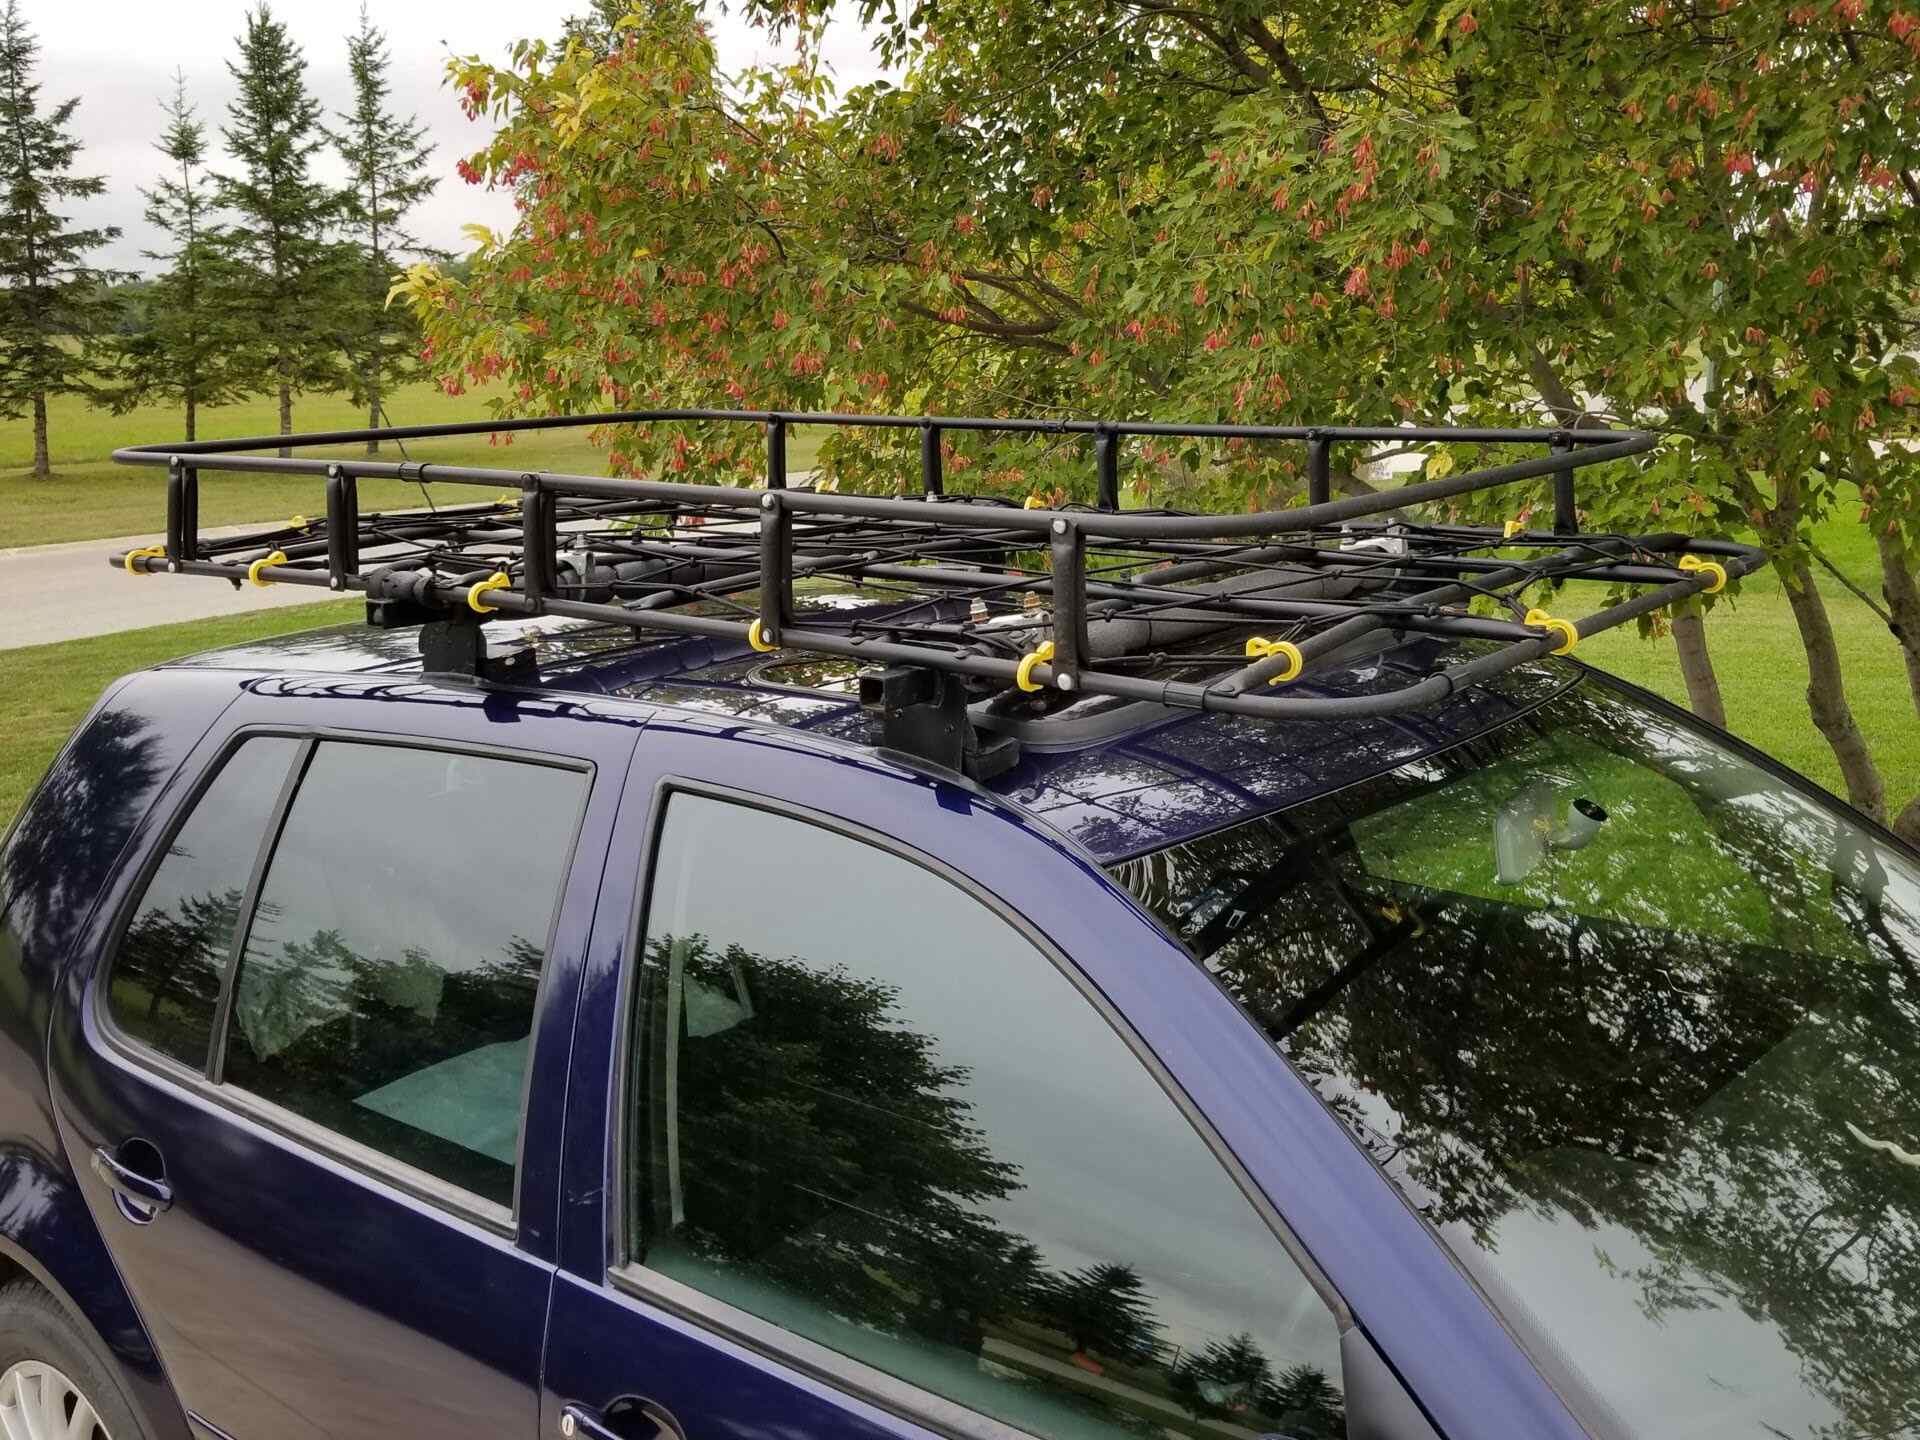
How to Build a DIY Roof Rack
Published: August 16, 2024
Learn how to build a DIY roof rack with our step-by-step guide. Perfect for carrying extra gear on your adventures. Save money and customize it to fit your needs!
(Many of the links in this article redirect to a specific reviewed product. Your purchase of these products through affiliate links helps to generate commission for Twigandthistle.com, at no extra cost. Learn more)
Building your own roof rack can be a fun and rewarding project. It offers a practical solution for transporting extra gear without cramming your vehicle. No need to spend big bucks on a store-bought one when you can craft a custom version that fits your needs. This guide will help you create a sturdy, functional rack using basic tools and materials. Whether you're hauling bikes, kayaks, or camping gear, a homemade rack can make your adventures easier and more enjoyable. Ready to get started? Let’s dive into the steps to build your personalized roof rack.
Getting Ready for the Project
Gather Materials: Collect all necessary materials like metal bars, screws, brackets, and a drill. Make sure everything is within reach before starting.
Measure Your Car Roof: Use a tape measure to get accurate dimensions of your car roof. This ensures the rack fits perfectly.
Safety Gear: Wear safety goggles, gloves, and a dust mask to protect yourself from metal shavings and debris.
Clear Workspace: Set up a clean, flat workspace. Remove any clutter to avoid accidents.
Mark Cutting Lines: Use a marker to outline where you will cut the metal bars. Double-check measurements to avoid mistakes.
Secure Metal Bars: Clamp the metal bars to a sturdy surface before cutting. This keeps them steady and reduces the risk of injury.
Pre-Drill Holes: Drill pilot holes where screws will go. This makes it easier to assemble the rack later.
Check Tools: Ensure all tools are in good working condition. A malfunctioning tool can cause delays or accidents.
Plan Assembly: Lay out all parts in the order they will be assembled. This helps visualize the final product and ensures nothing is missing.
Test Fit: Before final assembly, place the parts on your car roof to ensure everything aligns correctly. Adjust as needed.
Gather Your Materials and Tools
Metal Tubing: Strong and durable, metal tubing forms the main structure of the roof rack. Aluminum or steel works best.
Crossbars: These bars run across the width of the vehicle, providing support for the rack. Often made from the same material as the tubing.
Mounting Brackets: These secure the rack to the roof of the vehicle. Ensure they are compatible with your car model.
Bolts and Screws: Essential for fastening parts together. Use rust-resistant types for longevity.
Rubber Pads: Placed between the mounting brackets and the car roof to prevent scratches and provide grip.
Drill: Needed for making holes in the metal tubing and the car roof if necessary. A cordless drill is convenient.
Saw: A metal saw or hacksaw will be used to cut the tubing to the required lengths.
Measuring Tape: Accurate measurements ensure a proper fit. A standard 25-foot tape measure works well.
Wrench Set: Used for tightening bolts and screws. A set with various sizes is useful.
Marker: For marking where to cut or drill. A permanent marker works best on metal surfaces.
Safety Gear: Safety glasses and gloves protect you while cutting and drilling.
File: Smooths out rough edges after cutting the metal tubing.
Paint: Optional but recommended for preventing rust and adding a finished look. Use spray paint designed for metal.
Clamps: Hold pieces in place while you work. Adjustable clamps are versatile.
Level: Ensures the rack is even and properly aligned. A small, handheld level is sufficient.
Required Skills and Time Commitment
Skill Level: Intermediate
Time Required: 4-6 hours
- Gather Materials: 30 minutes
- Measure and Cut Wood/Metal: 1 hour
- Assemble Frame: 1.5 hours
- Attach Mounting Brackets: 1 hour
- Paint/Finish: 1 hour
- Install on Vehicle: 30 minutes
Detailed Building Instructions
Gather Materials:
- 4 metal bars (length depends on car width)
- 4 metal brackets
- Screws and nuts
- Drill
- Measuring tape
- Marker
- Wrench
- Sandpaper
- Paint (optional)
Measure Car Roof:
- Use measuring tape to find the width and length of the car roof.
- Mark these measurements on the metal bars.
Cut Metal Bars:
- Cut two bars to match the width of the car.
- Cut two bars to match the length of the car.
Sand Edges:
- Use sandpaper to smooth any rough edges on the cut bars.
Assemble Frame:
- Lay out the bars in a rectangular shape.
- Attach the corners using metal brackets.
- Drill holes through the brackets and bars.
- Secure with screws and nuts.
Attach to Car Roof:
- Place the assembled frame on the car roof.
- Mark where the frame will attach to the car.
- Drill holes in the car roof (if necessary).
- Secure the frame to the roof using screws and nuts.
Optional: Paint:
- Paint the roof rack to match the car or for added protection.
Check Stability:
- Ensure all screws and nuts are tight.
- Test the roof rack by gently shaking it to check for stability.
Helpful Tips and Tricks
Measure twice, cut once. Always double-check measurements before cutting materials. This saves time and reduces waste.
Use lightweight materials. Aluminum or PVC pipes work well. They are strong but won't add much weight to your vehicle.
Pre-drill holes. This prevents wood or metal from splitting and makes assembly easier.
Rust-proof your rack. Apply a coat of rust-resistant paint or sealant to metal parts. This extends the life of your roof rack.
Securely fasten all parts. Use bolts and nuts instead of screws for a more secure hold. Lock washers can prevent nuts from loosening over time.
Test the rack. Before loading gear, give the rack a good shake. Ensure it is stable and securely attached to your vehicle.
Common mistakes to avoid:
- Overloading the rack. Check your vehicle's weight limit and don't exceed it.
- Ignoring aerodynamics. A poorly designed rack can create wind resistance, affecting fuel efficiency.
- Skipping the sealant. Unprotected metal parts can rust quickly, weakening the structure.
Alternatives for materials or methods:
- Wood instead of metal. Treated wood can be a sturdy, cost-effective alternative.
- Strap systems. Instead of a fixed rack, consider using heavy-duty straps to secure items directly to the roof.
- Modular designs. Use modular components that can be easily adjusted or expanded as needed.
Estimating the Costs
Materials:
- Steel Tubing: $50-$100
- Mounting Brackets: $20-$40
- Bolts, Nuts, and Washers: $10-$20
- Primer and Paint: $15-$25
- Rubber Pads: $5-$10
Tools:
- Drill: $30-$50
- Welding Machine: $100-$200 (or rent for $20-$40/day)
- Measuring Tape: $5-$10
- Metal Saw: $20-$40
- Safety Gear (Gloves, Goggles): $10-$20
Total Cost: $265-$515
Budget-Friendly Alternatives:
- PVC Pipes instead of steel tubing: $20-$40
- Hand Saw instead of metal saw: $10-$20
- Borrow Tools from friends or family to save on costs
Different Variations and Customizations
Materials: Instead of using steel, consider aluminum for a lighter option. Wood can give a rustic look but may need more maintenance. PVC pipes are another lightweight and budget-friendly choice.
Colors: Paint the rack to match your vehicle. Use black for a sleek, modern look. Bright colors like red or blue can add a fun touch. Camouflage patterns work well for outdoor enthusiasts.
Styles: Opt for a minimalist design with clean lines for a modern feel. Add decorative elements like wooden slats for a vintage vibe. Modular designs allow for easy adjustments and additions.
Mounting Options: Use U-bolts for a secure fit on round bars. Clamps can provide a quick-release option. Custom brackets can be designed for a more tailored fit.
Accessories: Add tie-down points for securing cargo. Install LED lights for better visibility at night. Wind deflectors can reduce noise and improve aerodynamics.
Finish: Use powder coating for a durable, long-lasting finish. Anodizing aluminum can add color and protection. Varnish wood to protect against the elements.
Eco-Friendly Building Tips
Reclaimed Wood: Use old pallets or scrap wood. Sand and treat them to ensure durability.
Bamboo: Strong and lightweight, bamboo grows quickly, making it a sustainable choice.
Recycled Metal: Look for metal scraps or old pipes. Clean and cut them to fit your design.
Natural Finishes: Use eco-friendly stains or paints. Linseed oil or beeswax can protect wood without harmful chemicals.
Upcycled Materials: Repurpose old furniture parts or other household items. This reduces waste and gives new life to old materials.
Solar-Powered Tools: Use solar chargers for your power tools. This reduces electricity use and promotes renewable energy.
Local Sourcing: Get materials from local suppliers. This cuts down on transportation emissions and supports local businesses.
Minimalist Design: Keep the design simple. Fewer materials mean less waste and a lighter load on your vehicle.
Your Roof Rack Awaits
Building a DIY roof rack isn't just about saving money, it's about creating something uniquely yours. With the right materials and a bit of elbow grease, you can craft a sturdy, reliable rack that fits your needs perfectly. Remember to measure twice, cut once, and always double-check your fastenings. Safety first! Whether you're hauling bikes, kayaks, or extra luggage, your homemade rack will stand up to the challenge. Plus, there's a certain satisfaction in knowing you built it yourself. So gather your tools, follow the steps, and get ready to hit the road with confidence. Happy building!
What materials do I need to build a DIY roof rack?
You'll need steel or aluminum tubing, brackets, bolts, nuts, and washers. Also, grab a drill, saw, measuring tape, and wrenches.
How much will it cost to build a DIY roof rack?
Costs can vary, but expect to spend around $50 to $150 on materials. It depends on the quality and type of materials you choose.
How long does it take to build a roof rack?
Typically, it takes about 4 to 6 hours. This includes measuring, cutting, drilling, and assembling.
Can I customize the size of my roof rack?
Absolutely! Measure your vehicle's roof and decide how big you want the rack. Make sure it fits securely and doesn't overhang too much.
What tools do I need for this project?
Basic tools include a drill, saw, measuring tape, wrenches, and safety gear like gloves and goggles.
Is it safe to build my own roof rack?
Yes, as long as you follow proper guidelines and ensure all parts are securely fastened. Double-check your work before loading anything on it.
Can I paint or coat my roof rack?
Definitely! Painting or coating can prevent rust and add a personal touch. Use rust-resistant paint or powder coating for best results.