
Home>Home & Furniture>Roof>How to Build a DIY Roof Hatch
Roof
How to Build a DIY Roof Hatch
Published: August 19, 2024
Learn how to build a DIY roof hatch with our step-by-step guide. Perfect for homeowners looking to add easy roof access. Save money and enhance your home's functionality!
(Many of the links in this article redirect to a specific reviewed product. Your purchase of these products through affiliate links helps to generate commission for Twigandthistle.com, at no extra cost. Learn more)
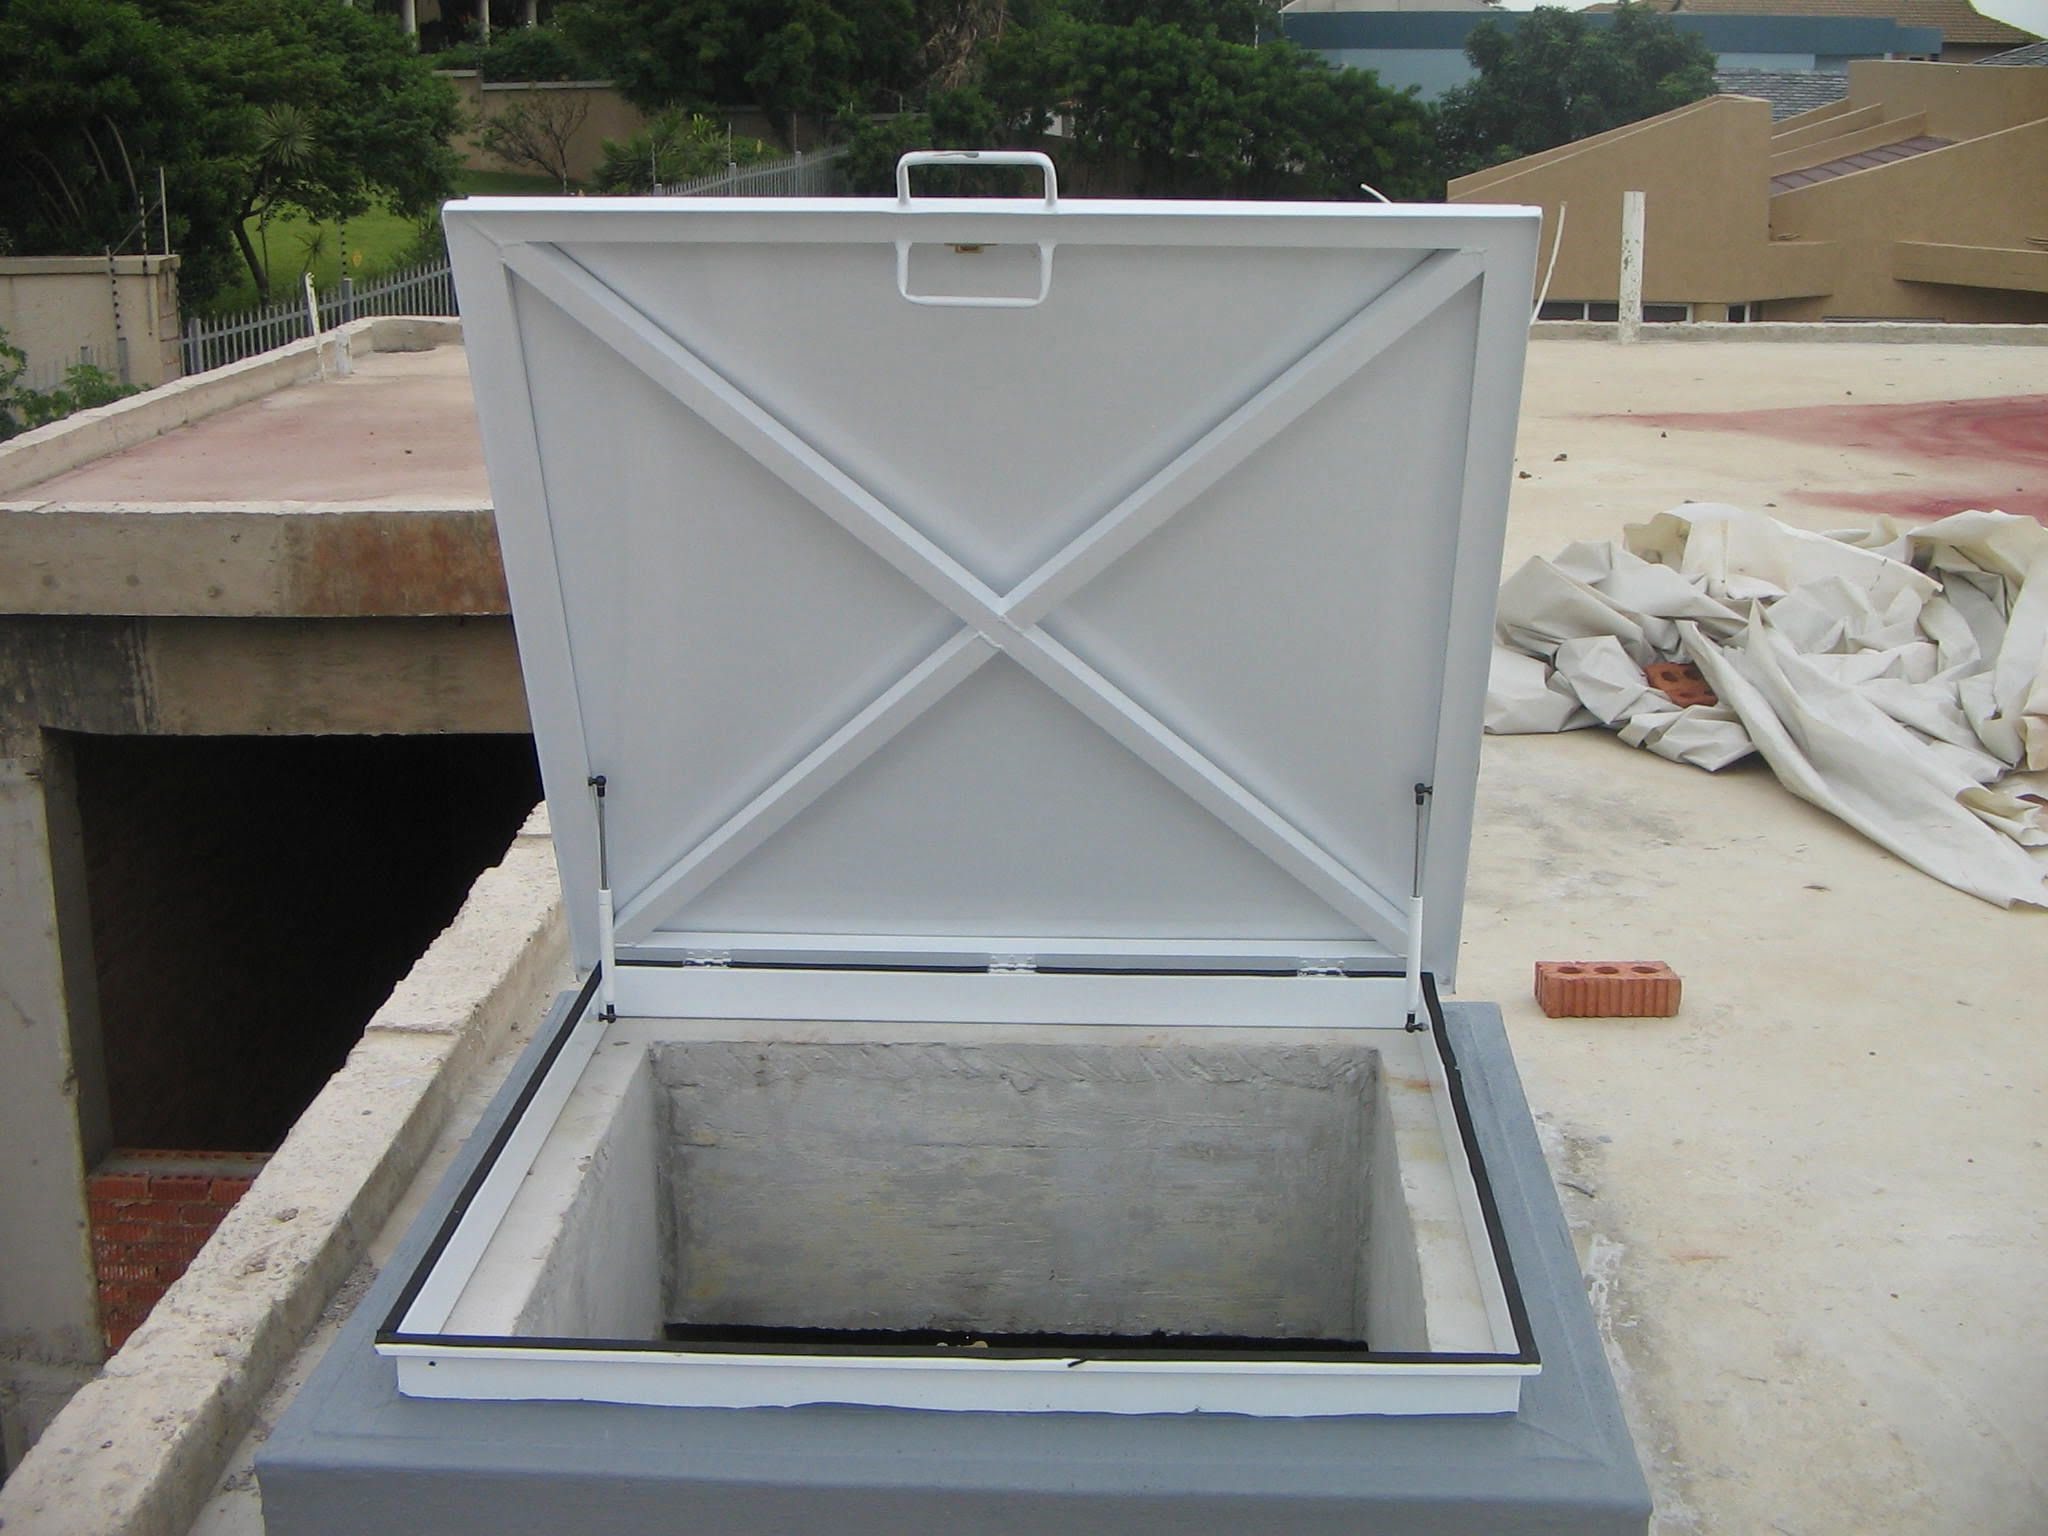
Building a DIY roof hatch can seem like a big project, but it's manageable with the right tools and a bit of patience. A roof hatch gives easy access to your home's roof, whether for repairs, inspections, or just enjoying a view. This guide will walk you through the essential steps needed to construct one yourself. With clear instructions and some basic materials, you'll have a functional hatch in no time. Whether you're a seasoned DIYer or a beginner, this project can be both enjoyable and rewarding. Ready to get started? Let's dive in!
Getting Ready for Your Project
- Safety Gear: Wear safety goggles, gloves, and a hard hat. Ensure you have a harness if working on a high roof.
- Workspace Setup: Clear the area around the hatch location. Ensure tools and materials are within easy reach.
- Measure and Mark: Use a tape measure to mark the hatch dimensions on the roof. Double-check measurements to avoid mistakes.
- Gather Tools: Have a saw, drill, screws, hammer, and nails ready. Ensure all tools are in good working condition.
- Check Weather: Plan the project on a clear day. Avoid working in rain or strong winds.
- Ladder Safety: Secure the ladder on stable ground. Have someone hold it while you climb.
- Inspect Roof: Check for any damage or weak spots. Repair these before starting the hatch installation.
- Material Prep: Cut wood or metal pieces to the required sizes. Pre-drill holes to make assembly easier.
- Emergency Plan: Have a first aid kit nearby. Know the quickest route to medical help if needed.
Gathering Materials and Tools
- Plywood: Used for the hatch door and frame. Choose a sturdy type, like 3/4-inch thick plywood.
- 2x4 Lumber: For framing the hatch opening. Provides structural support.
- Hinges: Allows the hatch door to open and close. Heavy-duty hinges work best.
- Latch or Lock: Keeps the hatch securely closed. A simple latch or a keyed lock can be used.
- Weatherstripping: Seals the hatch to prevent leaks. Foam or rubber strips work well.
- Screws and Nails: For assembling the frame and attaching the plywood. Use galvanized screws and nails to prevent rust.
- Saw: To cut the plywood and lumber to size. A circular saw or handsaw will do.
- Drill: For making holes and driving screws. A cordless drill is convenient.
- Measuring Tape: Ensures accurate measurements. Essential for cutting materials to the right size.
- Level: Ensures everything is straight and even. A small bubble level works fine.
- Hammer: For driving nails. A claw hammer is versatile.
- Screwdriver: For tightening screws. A multi-bit screwdriver is handy.
- Pencil: For marking measurements. Any standard pencil will do.
- Safety Gear: Includes gloves, safety glasses, and a dust mask. Protects you while working.
Required Skills and Time Commitment
Skill Level: Advanced. Building a roof hatch involves structural work, precise measurements, and safety precautions.
Time Required: 2-3 days. This includes planning, gathering materials, cutting, installing, and ensuring everything is secure.
Instructions for Building a Roof Hatch
Gather Materials:
- Plywood
- 2x4 lumber
- Hinges
- Latch
- Weatherstripping
- Screws
- Nails
- Measuring tape
- Circular saw
- Drill
- Hammer
Measure Opening:
- Measure the opening where the hatch will go.
- Add 1 inch to each side for the frame.
Cut Plywood:
- Cut plywood to fit the opening.
- Ensure it is slightly smaller than the opening for easy movement.
Build Frame:
- Cut 2x4 lumber to match the dimensions of the opening.
- Nail or screw the pieces together to form a rectangular frame.
Attach Plywood to Frame:
- Place plywood on top of the frame.
- Secure with screws around the edges.
Install Hinges:
- Attach hinges to one side of the frame.
- Secure the other side of the hinges to the roof opening.
Add Latch:
- Install a latch on the opposite side of the hinges.
- Ensure it locks securely.
Apply Weatherstripping:
- Place weatherstripping around the edges of the hatch.
- This will help seal out weather elements.
Test Hatch:
- Open and close the hatch to ensure smooth operation.
- Make adjustments if necessary.
Secure Hatch:
- Double-check all screws and nails.
- Ensure the hatch is firmly in place.
Helpful Tips and Tricks
Measure Twice, Cut Once: Always double-check measurements before cutting materials. This saves time and reduces waste.
Use Quality Materials: Opt for pressure-treated wood or metal for the frame. These materials resist weather damage better.
Seal Properly: Apply weatherstripping around the hatch door to prevent leaks. This keeps your home dry and energy-efficient.
Pre-drill Holes: Pre-drill screw holes to avoid splitting wood. This makes assembly smoother and more secure.
Reinforce the Frame: Add extra support beams if your roof is prone to heavy snow or strong winds. This ensures the hatch stays sturdy.
Install a Safety Latch: A safety latch prevents accidental openings. This is especially important if children are around.
Use Hinges with Bearings: Hinges with bearings make opening and closing the hatch easier. They also last longer than regular hinges.
Common Mistakes to Avoid:
Skipping Permits: Some areas require permits for roof modifications. Check local regulations to avoid fines.
Ignoring Insulation: Failing to insulate the hatch can lead to heat loss. Use foam board insulation to keep your home warm.
Poor Alignment: Misaligned hatches can cause leaks. Use a level to ensure everything lines up correctly.
Alternatives for Materials or Methods:
Plastic Hatch Covers: Consider plastic hatch covers for a lightweight, weather-resistant option. They are easier to install and maintain.
Prefabricated Kits: Use prefabricated roof hatch kits if you're short on time. These kits come with all necessary parts and instructions.
Metal Frames: Opt for metal frames instead of wood for added durability. Metal resists rot and pests better than wood.
Rubber Seals: Use rubber seals instead of traditional weatherstripping. Rubber provides a tighter seal and lasts longer.
Estimating the Cost
Plywood: $30 for a 4x8 sheet
2x4 Lumber: $3 per piece, need about 8 pieces, so $24
Hinges: $10 for a pair
Latch: $5
Weatherstripping: $10
Screws: $5 for a box
Wood Glue: $5
Paint or Sealant: $15
Insulation: $20
Tools:
Circular Saw: $50 (or borrow)
Drill: $40 (or borrow)
Measuring Tape: $5
Screwdriver: $5
Paintbrush: $3
Total estimated cost: $227
Budget-friendly alternatives:
Use reclaimed wood instead of buying new lumber.
Borrow tools from friends or neighbors.
Check local hardware stores for discounted materials.
Use leftover paint from previous projects.
Different Ways to Customize
Materials: Instead of using wood, try metal or fiberglass for a more durable hatch. Plywood works well for a basic hatch, but aluminum or steel can offer better weather resistance.
Colors: Paint the hatch to match your roof or home exterior. Use weatherproof paint in colors like gray, black, or white. For a more vibrant look, consider red, blue, or green.
Styles: Add a window to the hatch for natural light. Use frosted glass for privacy. Install a skylight instead of a solid hatch for a modern touch.
Handles and Locks: Choose decorative handles and locks to add style. Brass, chrome, or matte black finishes can make the hatch look more polished.
Insulation: Add insulation to the hatch to keep your home energy-efficient. Use foam or fiberglass insulation to reduce heat loss.
Hinges: Use heavy-duty hinges for better support. Stainless steel or brass hinges can add a touch of elegance.
Weatherstripping: Install weatherstripping around the edges to keep out rain and wind. Use rubber or foam strips for a tight seal.
Ladders: Attach a foldable ladder to the hatch for easy access. Aluminum or wooden ladders can be customized to fit your space.
Safety Features: Add a lock or latch to keep the hatch secure. Install a railing around the opening for extra safety.
Eco-Friendly Building Tips
Reclaimed wood can be used for the frame and hatch door. This reduces waste and gives the project a rustic look. Recycled metal can be used for hinges and handles. It’s sturdy and eco-friendly. Insulation made from recycled denim or sheep wool helps keep the house energy-efficient. Low-VOC paint or stain can be used to finish the wood, reducing harmful emissions. Solar-powered lights can be added around the hatch for safety and sustainability. Weatherstripping made from recycled rubber ensures a tight seal, preventing drafts and saving energy. Reclaimed glass can be used for any windows in the hatch, providing natural light without new resources.
Your Roof Hatch Awaits
Building a DIY roof hatch isn't just about saving money; it's about craftsmanship and personal satisfaction. You've learned to measure, cut, and assemble, turning raw materials into a functional piece of your home. Remember to double-check measurements and use quality materials for a sturdy, long-lasting hatch. Safety should always be a priority, so don't skip on protective gear and secure tools. With patience and attention to detail, your roof hatch will serve you well for years. Now, grab your tools, follow the steps, and enjoy the fruits of your labor. Happy building!
What materials do I need to build a DIY roof hatch?
You’ll need plywood, hinges, screws, weatherstripping, and sealant. A saw, drill, and measuring tape will also come in handy.
How do I measure the opening for the roof hatch?
Measure the length and width of the desired opening. Add a few inches to each side to ensure the hatch fits snugly.
How do I cut the plywood for the hatch?
Use a saw to cut the plywood to the measured dimensions. Make sure the edges are smooth to avoid splinters.
What’s the best way to attach the hinges?
Position the hinges on one side of the plywood. Mark the spots for the screws, then drill pilot holes. Secure the hinges with screws.
How do I make the hatch weatherproof?
Apply weatherstripping around the edges of the hatch. Use sealant to fill any gaps and prevent leaks.
Can I add a lock to my roof hatch?
Yes, you can install a simple latch or lock for added security. Just follow the manufacturer’s instructions for installation.
How do I maintain my DIY roof hatch?
Regularly check the weatherstripping and sealant for wear. Replace them as needed to keep the hatch weatherproof.