
Home>Home & Furniture>Living Room>How to Create Stunning DIY Art
Living Room
How to Create Stunning DIY Art
Published: August 6, 2024
Discover step-by-step tips and creative ideas for making stunning DIY art. Transform your space with personalized, budget-friendly projects that showcase your unique style.
(Many of the links in this article redirect to a specific reviewed product. Your purchase of these products through affiliate links helps to generate commission for Twigandthistle.com, at no extra cost. Learn more)
Creating your own art can be fun and rewarding. DIY projects let you express yourself while adding a personal touch to your space. Best of all, you don't need to be a professional artist to make something beautiful. With a few simple tools and some creativity, anyone can get started. In this guide, you'll find easy steps to create stunning DIY art. Whether painting, crafting, or recycling materials, there's something for everyone. Ready to roll up your sleeves and get creative? Let's dive into the world of DIY art and see what you can make!
Getting Ready for Your DIY Art Project
Gather Supplies: Collect all necessary materials like canvas, paints, brushes, and protective sheets. Make sure you have everything before starting.
Set Up Workspace: Choose a well-ventilated area with plenty of light. Lay down newspapers or a drop cloth to protect surfaces from paint spills.
Wear Protective Gear: Put on old clothes or an apron to avoid staining your good clothes. Use gloves if you want to keep your hands clean.
Organize Tools: Arrange your paints, brushes, and other tools within easy reach. This helps you stay focused and efficient.
Prepare Canvas: If using a canvas, apply a base coat of white or another neutral color. Let it dry completely before starting your artwork.
Sketch Your Design: Lightly sketch your design on the canvas with a pencil. This gives you a guide to follow when painting.
Test Colors: Before applying paint to the canvas, test your colors on a scrap piece of paper. This ensures you get the shades you want.
Ventilation: Ensure good airflow to avoid inhaling fumes from paints or solvents. Open windows or use a fan if needed.
Safety First: Keep a first aid kit nearby in case of minor accidents. Also, have a fire extinguisher handy if using flammable materials.
Clean Up: Have paper towels and water ready for quick clean-ups. This keeps your workspace tidy and reduces the risk of accidents.
Materials and Tools Needed
Canvas or Paper: The surface where your art will come to life. Choose a canvas for a more professional look or thick paper for easier handling.
Acrylic Paints: Versatile and quick-drying, these paints come in many colors. Perfect for beginners and experienced artists alike.
Paintbrushes: Different sizes and shapes help create various effects. Flat brushes cover large areas, while round brushes are great for details.
Palette: A flat surface for mixing paints. Can be a traditional artist's palette or a simple plastic plate.
Easel: Holds your canvas steady while you work. Optional but helpful for larger pieces.
Water Cup: For rinsing brushes between colors. Keeps your colors from getting muddy.
Paper Towels or Rags: Useful for cleaning brushes and wiping up spills.
Pencil and Eraser: Sketch your design before painting. Helps plan your composition.
Painter’s Tape: Creates clean lines and protects areas you don’t want to paint.
Apron or Old Clothes: Protects your clothing from paint splatters.
Varnish: Seals and protects your finished artwork. Adds a professional touch.
Reference Image: A photo or picture to guide your work. Helps with accuracy and inspiration.
Drop Cloth: Protects your workspace from paint spills. Can be an old sheet or plastic cover.
Sponges: Create texture and blend colors. Great for backgrounds and special effects.
Palette Knife: Mixes paint and applies thick layers. Adds texture and dimension to your art.
Skill Level and Time Required
Skill Level: Beginner
Time Required: 1-2 hours
- Gather Supplies: 10 minutes
- Prepare Workspace: 5 minutes
- Sketch Design: 15 minutes
- Paint or Color: 30-60 minutes
- Drying Time: 30 minutes
Step-by-Step Instructions
Gather Materials:
- Canvas or thick paper
- Acrylic paints
- Paintbrushes
- Palette or paper plate
- Water cup
- Paper towels
- Pencil
Prepare Your Workspace:
- Cover the table with old newspapers or a plastic sheet.
- Set up all materials within easy reach.
- Fill the water cup for rinsing brushes.
Sketch Your Design:
- Lightly draw your design on the canvas with a pencil.
- Keep it simple to start, like a tree, flower, or geometric shapes.
Choose Your Colors:
- Decide on a color scheme.
- Squeeze small amounts of paint onto the palette.
Start Painting:
- Begin with the background. Use larger brushes for broad areas.
- Paint from top to bottom to avoid smudging.
- Let the background dry before adding details.
Add Details:
- Use smaller brushes for finer details.
- Layer colors to add depth and texture.
- Allow each layer to dry before adding more.
Clean Up:
- Rinse brushes thoroughly in the water cup.
- Wipe brushes on paper towels.
- Dispose of any leftover paint properly.
Final Touches:
- Once dry, check for any areas needing touch-ups.
- Sign your artwork in a corner.
Display Your Art:
- Frame your piece or hang it as is.
- Choose a spot where it can be admired.
Tips and Tricks for Stunning DIY Art
Plan your design before starting. Sketch ideas on paper to visualize the final piece. Use quality materials like good brushes and paints for better results. Layer your colors to add depth and dimension. Start with lighter shades, then add darker ones. Mix textures by combining different materials like fabric, paper, or even natural elements like leaves.
Common mistakes to avoid: Don't rush the process. Allow each layer to dry completely before adding another. Avoid using too much water with acrylics; it can dilute the color. Don't overcrowd your canvas; sometimes less is more.
Alternatives for materials or methods: Instead of traditional canvas, try painting on wood or glass for a unique look. Use household items like sponges or toothbrushes to create interesting textures. If you don't have acrylics, watercolors or oil pastels can be great substitutes. For a different approach, try digital art using free software like GIMP or Krita.
Estimating the Cost of Your DIY Art
Canvas: A basic 16x20 inch canvas costs around $10. For a budget-friendly option, use cardboard or wood panels, which can be as low as $2.
Paint: Acrylic paint sets with basic colors cost about $15. For cheaper alternatives, consider poster paints, which can be found for $5.
Brushes: A set of various-sized brushes costs around $10. Budget-friendly options include sponge brushes or even old toothbrushes, which can be as low as $2.
Palette: A plastic palette costs around $5. Use a paper plate or an old plastic lid for a free alternative.
Easel: A small tabletop easel costs about $20. For a cheaper option, prop the canvas against a stack of books or a sturdy box.
Protective Covering: A plastic drop cloth costs around $5. Use old newspapers or a large trash bag cut open for a free option.
Total Cost: The total cost for materials and tools is around $65. Using budget-friendly alternatives, the cost can be reduced to approximately $20.
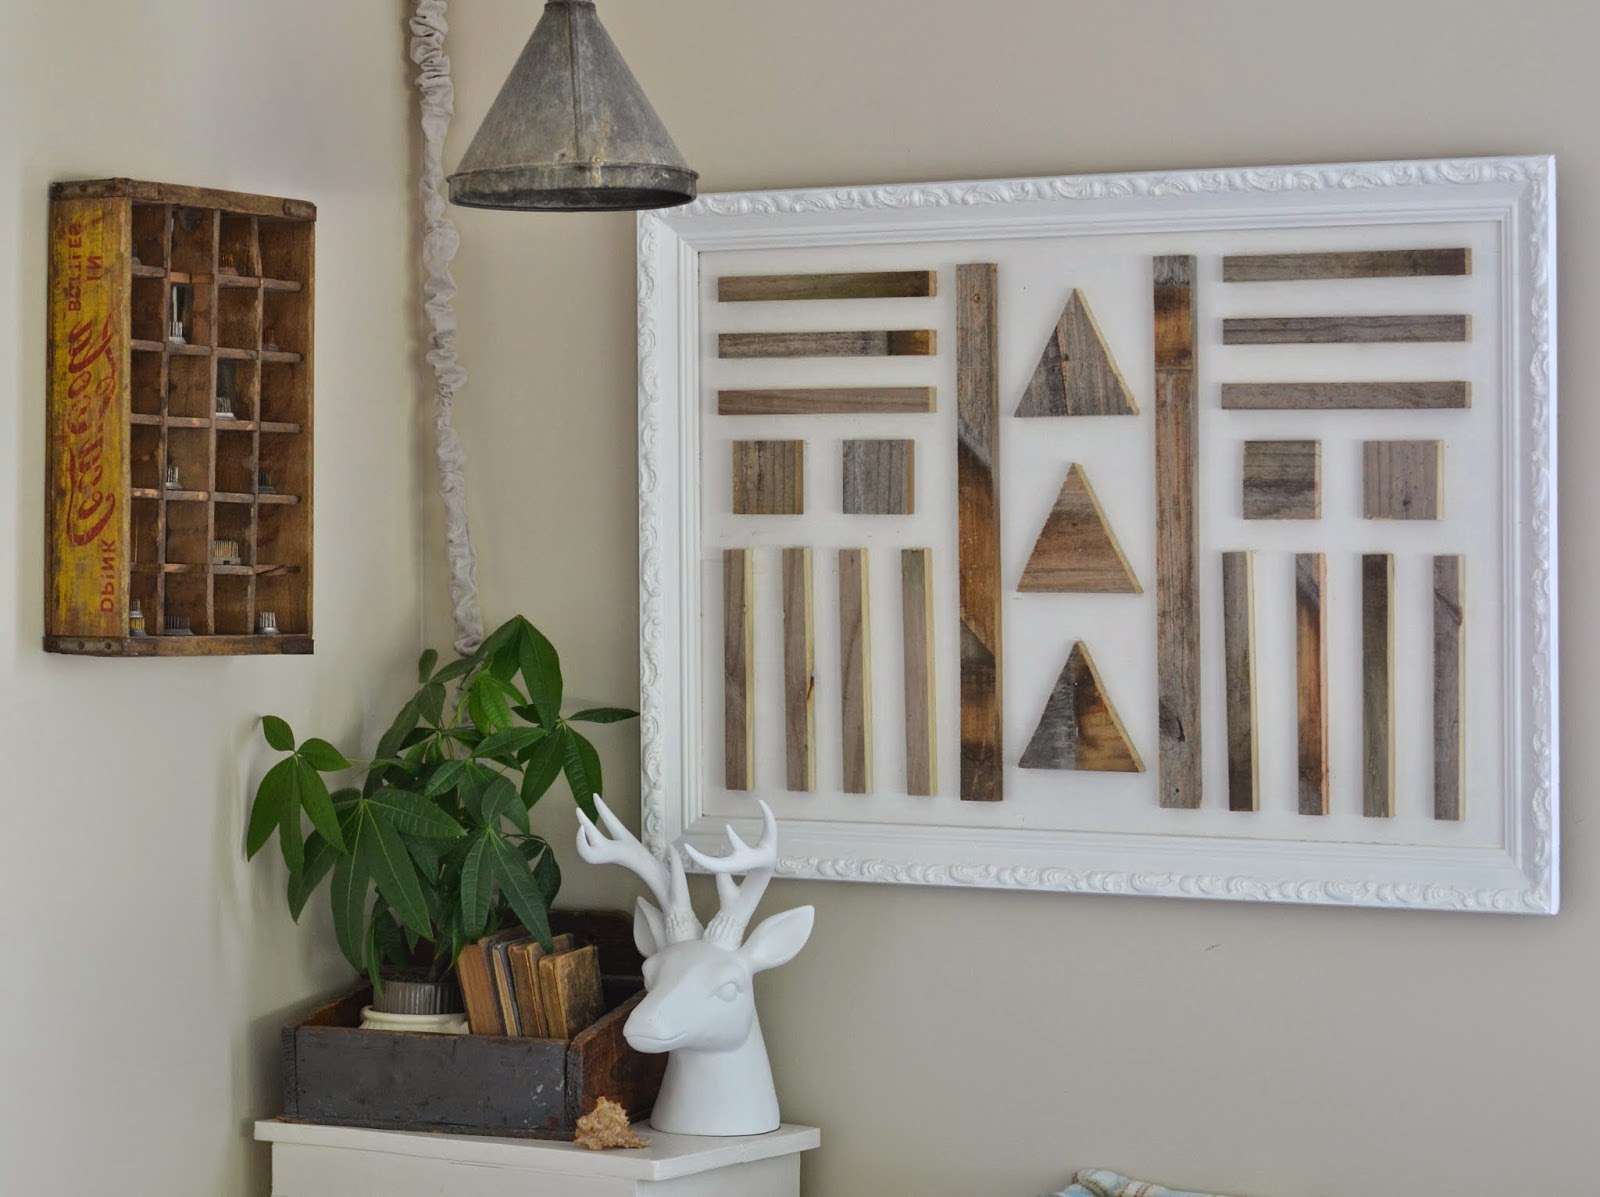
Creative Variations and Customizations
Alternative Materials: Instead of traditional canvas, try using wood panels, metal sheets, or fabric. Each material gives a different texture and feel to the artwork.
Colors: Experiment with bold, bright colors for a vibrant look or pastels for a softer, more calming effect. Metallic paints can add a touch of glamour, while neon colors can make the art pop.
Styles: Go for a minimalist style with simple lines and shapes, or try abstract art with splashes of color and random patterns. Geometric designs can add a modern touch, while floral patterns bring a natural, organic feel.
Techniques: Use stencils for precise shapes, or try freehand painting for a more personal touch. Collage techniques can add layers and depth, while spray painting offers a street-art vibe.
Frames: Customize the frame by painting it a contrasting color or adding decorative elements like beads or fabric. Floating frames can give a modern look, while vintage frames add a classic touch.
Themes: Choose a theme that resonates with you. Nature-inspired themes can include landscapes, animals, or plants. Urban themes might feature cityscapes or graffiti. Fantasy themes can include mythical creatures or dreamlike scenes.
Mixed Media: Combine different materials like paper, fabric, and metal to create a mixed media piece. This adds texture and interest to the artwork.
Personalization: Add personal touches like initials, dates, or favorite quotes. This makes the art unique and meaningful.
Lighting: Incorporate LED lights or fairy lights to make the art stand out, especially in low light. This adds a dynamic element to the piece.
Interactive Elements: Add movable parts or magnetic pieces that can be rearranged. This makes the art interactive and fun.
Recycled Materials: Use recycled items like bottle caps, old magazines, or fabric scraps. This is eco-friendly and adds a unique twist to the artwork.
Eco-Friendly Tips for Your Art Projects
Recycled paper can be used for making collages or paper mache projects. Old magazines and newspapers work great for this. Glass jars and bottles can be painted or turned into vases. Scrap wood from old furniture or pallets can be sanded and painted for wall art. Fabric scraps from old clothes can be sewn together to create unique tapestries. Plastic bottles can be cut and painted to make colorful sculptures. Cardboard boxes can be transformed into 3D art pieces. Natural materials like leaves, twigs, and stones can be used for eco-friendly art projects. Egg cartons can be painted and used to create flower art. Tin cans can be cleaned and painted for pencil holders or small planters. Broken jewelry can be repurposed into new, unique pieces of art. Wine corks can be glued together to form interesting shapes or patterns. Old CDs can be cut and used to create mosaic art. Buttons from old clothes can be used to add texture to paintings or collages. Shells collected from the beach can be used to create beautiful, natural art.
Your DIY Art Awaits
Creating stunning DIY art isn't just about following steps; it's about expressing yourself. You've got the tools, tips, and tricks to turn any idea into a masterpiece. Whether you're using paint, fabric, or recycled materials, the key is to let your creativity flow. Don't stress over perfection. Mistakes can lead to unexpected beauty. Keep experimenting with different techniques and materials. Share your creations with friends or online communities for feedback and inspiration. Remember, the joy of DIY art lies in the process as much as the result. So, grab your supplies, clear a space, and start crafting. Your next great piece is just a brushstroke, stitch, or glue dot away. Happy creating!
How do I choose the right materials for my DIY art project?
Start by considering the type of art you want to create. For painting, you'll need canvas, brushes, and paints. For sculpture, think about clay, wire, or wood. Always opt for high-quality materials to ensure your art lasts.
What are some easy DIY art projects for beginners?
Try painting abstract art, creating a collage, or making a simple sculpture. These projects don't require advanced skills and let you experiment with different techniques.
How can I find inspiration for my DIY art?
Look around your environment. Nature, magazines, and online platforms like Pinterest can spark ideas. Sometimes, just doodling can lead to a great concept.
What tools do I need for DIY art?
Basic tools include scissors, glue, brushes, and a ruler. Depending on your project, you might also need specialized tools like a hot glue gun or craft knife.
How do I make my DIY art look professional?
Pay attention to details. Use clean lines, balanced colors, and proper framing. Practice makes perfect, so don't get discouraged if your first attempts aren't flawless.
Can I use recycled materials for DIY art?
Absolutely! Recycled materials like old magazines, cardboard, and fabric scraps can add a unique touch to your art. Plus, it's eco-friendly.
How do I protect and preserve my DIY art?
Use a sealant or varnish to protect your work from dust and damage. Store pieces in a cool, dry place and avoid direct sunlight to prevent fading.