
Home>Home & Furniture>Kitchen>How to Build DIY Cabinet Doors
Kitchen
How to Build DIY Cabinet Doors
Published: July 25, 2024
Learn how to build DIY cabinet doors with our step-by-step guide. Transform your kitchen with custom cabinetry. Perfect for beginners and seasoned DIY enthusiasts alike!
(Many of the links in this article redirect to a specific reviewed product. Your purchase of these products through affiliate links helps to generate commission for Twigandthistle.com, at no extra cost. Learn more)
Ever stared at your old cabinet doors and thought, "I could make these look better"? Building your own cabinet doors isn't as hard as you might think. With some tools, a bit of patience, and a clear plan, you can transform that tired kitchen or bathroom into something fresh. Not only will it save you money, but it will also give you that satisfying feeling of creating something with your hands. Let's dive into the basics of this rewarding DIY project. Ready to get started? Let's get those tools out and make some sawdust!
Getting Ready for Your Project
Measure Your Cabinets: Use a tape measure to get the exact dimensions of your cabinet openings. Write these down.
Choose Your Materials: Decide on the type of wood or material you want for your doors. Popular choices include plywood, MDF, or solid wood.
Gather Tools and Supplies: Collect all necessary tools like a saw, drill, screws, wood glue, clamps, sandpaper, and paint or stain.
Set Up Your Workspace: Find a clean, flat area to work. Lay down a drop cloth to protect surfaces from dust and paint.
Safety Gear: Wear safety goggles, gloves, and a dust mask to protect yourself from wood particles and fumes.
Cut the Wood: Use your measurements to cut the wood pieces for the doors. Double-check measurements before cutting.
Sand the Edges: Smooth out any rough edges with sandpaper to prevent splinters and ensure a clean finish.
Assemble the Doors: Use wood glue and screws to put the pieces together. Clamp them tightly and let the glue dry.
Prime and Paint: Apply a primer coat if you plan to paint. Once dry, paint or stain the doors to your desired color.
Attach Hinges and Handles: Once the paint or stain is dry, attach the hinges and handles. Make sure they are aligned properly.
Install the Doors: Finally, attach the doors to your cabinets. Check that they open and close smoothly.
Essential Materials and Tools
Materials:
- Plywood or MDF: Used for the main panels of the doors. Plywood is strong and durable, while MDF is smooth and easy to paint.
- Wood Glue: Helps bond pieces of wood together securely.
- Wood Screws: Provides additional strength to the joints.
- Sandpaper: Smooths the wood surfaces before painting or staining.
- Paint or Stain: Adds color and protection to the wood.
- Hinges: Allows the doors to open and close.
- Handles or Knobs: Makes it easy to open the doors.
Tools:
- Measuring Tape: Ensures accurate measurements for cutting wood.
- Circular Saw or Table Saw: Cuts the wood to the required sizes.
- Drill: Makes holes for screws and hinges.
- Screwdriver: Tightens screws into place.
- Clamps: Holds pieces together while the glue dries.
- Paintbrush or Roller: Applies paint or stain evenly.
- Sanding Block or Electric Sander: Smooths the wood surfaces quickly.
Using these materials and tools, you can create sturdy, attractive cabinet doors for your home.
Required Skills and Time Commitment
Skill Level: Intermediate
Time Required: 6-8 hours
- Materials Gathering: 1 hour
- Measuring and Cutting: 2 hours
- Assembling: 2 hours
- Sanding and Finishing: 1-2 hours
Detailed Instructions for Building
Measure the Cabinet Opening
- Use a tape measure to find the height and width of the cabinet opening.
- Add 1 inch to both measurements for overlap.
Choose Your Wood
- Select wood that matches your existing cabinets or desired look.
- Common choices include plywood, MDF, or solid wood.
Cut the Wood Panels
- Use a table saw or circular saw to cut the wood to the measured dimensions.
- Sand the edges to smooth any rough spots.
Cut the Frame Pieces
- For a shaker-style door, cut four pieces of wood for the frame: two vertical stiles and two horizontal rails.
- Ensure the stiles are the same height as the door panel and the rails are the width minus the combined width of the stiles.
Assemble the Frame
- Apply wood glue to the ends of the rails.
- Attach the rails to the stiles using clamps to hold them in place.
- Reinforce with finishing nails or screws.
Attach the Panel to the Frame
- Place the panel inside the frame.
- Secure with wood glue and clamps.
- Let dry according to the glue’s instructions.
Sand the Entire Door
- Use fine-grit sandpaper to smooth the door surface.
- Pay extra attention to corners and edges.
Prime and Paint or Stain
- Apply a coat of primer if painting.
- Once dry, paint or stain the door to your desired color.
- Apply a second coat if needed.
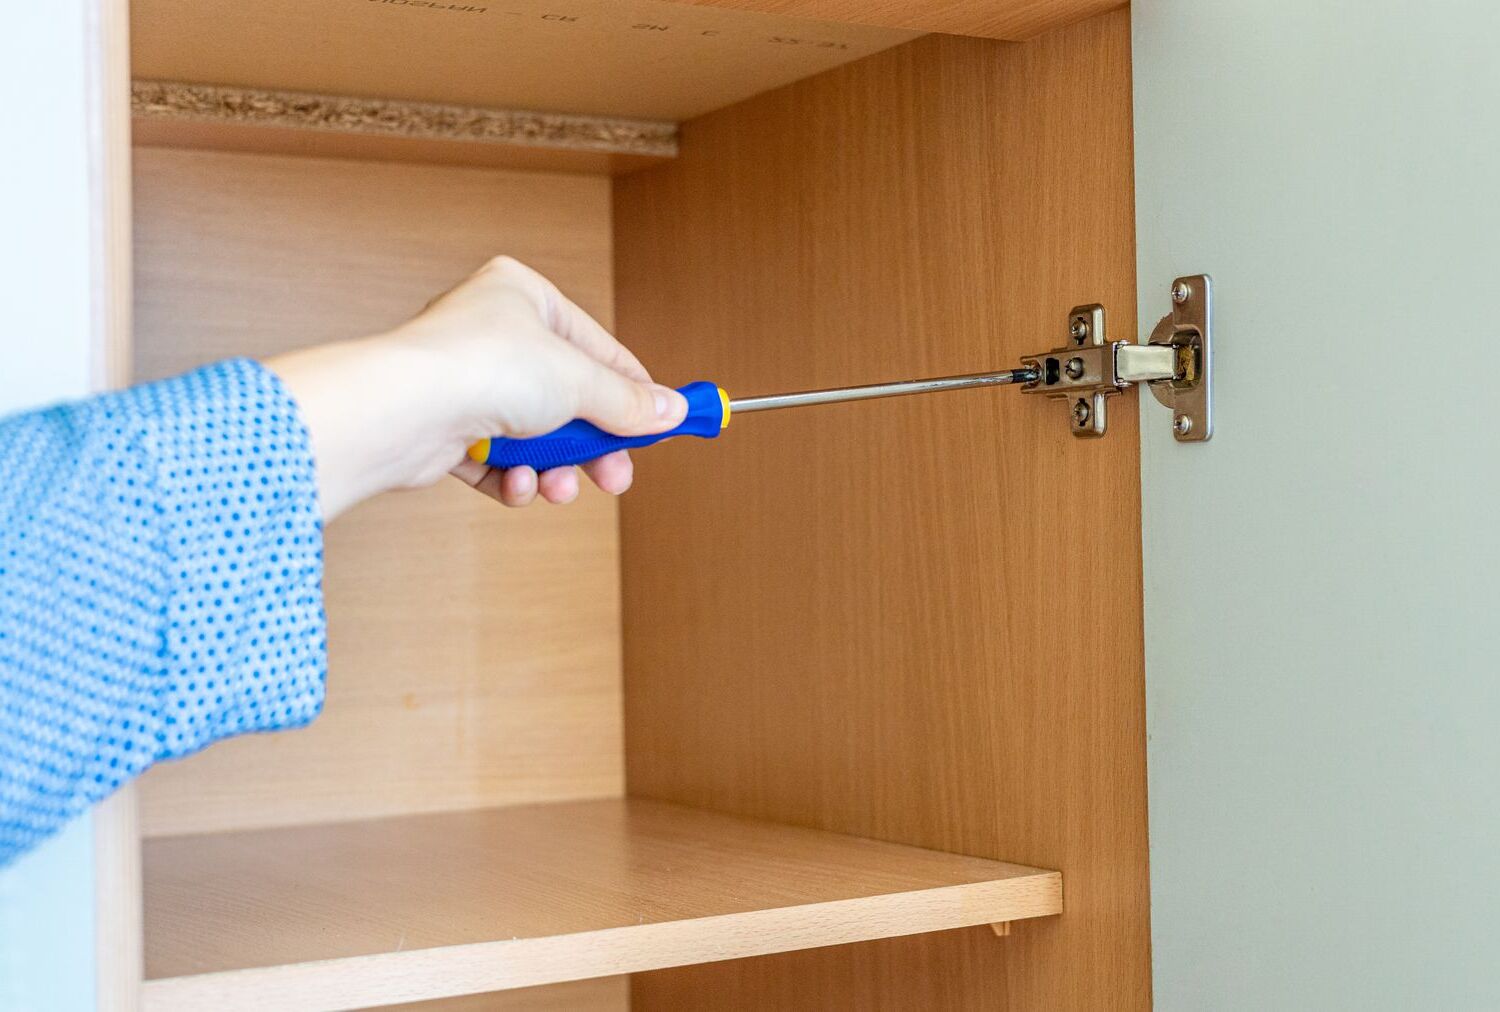
Attach Hinges
- Mark hinge placement on the door and cabinet frame.
- Pre-drill holes for screws.
- Attach hinges to the door first, then to the cabinet frame.
Install Door Handles or Knobs
- Measure and mark the placement for handles or knobs.
- Drill holes and attach the hardware.
Mount the Doors
- Align the doors with the cabinet opening.
- Secure the hinges to the cabinet frame.
- Adjust as needed for a perfect fit.
Helpful Tips and Tricks
Measure Twice, Cut Once: Always double-check measurements before cutting wood. Mistakes here can waste materials and time.
Use Quality Wood: Choose hardwood like oak or maple for durability. Plywood can work for a budget-friendly option.
Sand Smooth: Sand all pieces before assembly. This ensures a smooth finish and better paint or stain adhesion.
Pre-Drill Holes: Prevent wood from splitting by pre-drilling holes for screws.
Clamp for Stability: Use clamps to hold pieces together while the glue dries. This keeps everything aligned.
Paint or Stain Before Assembly: Painting or staining pieces before assembly can make the process easier and cleaner.
Use Pocket Holes: Pocket hole jigs create strong joints and hide screws. This gives a professional look.
Check for Square: Ensure corners are square using a carpenter's square. This keeps doors from looking crooked.
Install Hinges Properly: Mark hinge locations carefully. Misaligned hinges can cause doors to hang unevenly.
Soft-Close Hinges: Consider using soft-close hinges for a modern touch. They prevent doors from slamming.
Common Mistakes to Avoid:
Rushing Measurements: Hasty measurements lead to errors. Take your time.
Skipping Sanding: Rough surfaces make painting or staining difficult. Sanding is crucial.
Ignoring Wood Grain: Align wood grain for a uniform look. Mismatched grain can appear unprofessional.
Over-Tightening Screws: This can strip the wood or break screws. Tighten just enough to hold securely.
Alternatives for Materials or Methods:
MDF Instead of Hardwood: Medium-density fiberboard (MDF) is cheaper and easier to work with but less durable.
Ready-Made Doors: If building from scratch seems too hard, buy ready-made doors and customize them.
Peel-and-Stick Veneer: For a quick finish, use peel-and-stick veneer instead of paint or stain.
Estimating the Cost
Plywood: $50 for a 4x8 sheet
Wood glue: $5
Screws: $5 for a box
Hinges: $10 for a set of 2
Handles/knobs: $10 for a set of 2
Sandpaper: $5 for a pack
Paint or stain: $20
Paintbrushes: $10 for a set
Circular saw: $60 (if you don't have one)
Drill: $50 (if you don't have one)
Clamps: $15 for a set
Total cost: $240
Budget-friendly alternatives:
Plywood: Use MDF instead, $30 for a 4x8 sheet
Handles/knobs: Repurpose old ones, free or $5
Paintbrushes: Use old ones, free
Circular saw: Borrow from a friend or rent, $10
Drill: Borrow from a friend or rent, $10
Clamps: Use heavy objects as weights, free
Total cost with alternatives: $135
Different Variations and Customizations
Materials: Instead of traditional wood, try plywood, MDF (medium-density fiberboard), or reclaimed wood for a rustic look. Glass panels can add a modern touch.
Colors: Paint the doors in bold colors like navy blue or forest green for a statement piece. For a more classic look, use neutral colors like white, beige, or gray. Staining the wood can highlight its natural beauty.
Styles: Shaker-style doors are simple and timeless. Raised panel doors add a touch of elegance. Flat panel doors offer a sleek, modern appearance. For a farmhouse vibe, consider barn-style doors with cross braces.
Hardware: Swap out standard knobs for decorative handles or pulls in materials like brass, chrome, or ceramic. Hidden hinges can give a cleaner look, while exposed hinges add character.
Finishes: Use a high-gloss finish for a contemporary feel or a matte finish for a more subdued look. Distressing techniques can give the doors an antique appearance.
Inserts: Add wire mesh or fabric panels for a unique touch. Mirrored inserts can make a small space feel larger.
Trim: Add crown molding or decorative trim around the edges for extra detail. Beadboard panels can add texture and interest.
Personalization: Stencil or paint designs or patterns onto the doors. Use decals or stickers for a fun, temporary change.
Eco-Friendly Tips
Reclaimed wood is a fantastic option. It gives a rustic look and reduces waste. Check local salvage yards or old barns for materials.
Bamboo is another eco-friendly choice. It grows quickly and is very strong. Bamboo plywood can be found at many home improvement stores.
Recycled glass can be used for decorative panels. It adds a unique touch and keeps glass out of landfills.
Low-VOC paints and finishes are better for the environment and your health. They release fewer harmful chemicals into the air.
Upcycling old doors or furniture pieces can save money and resources. Sand them down and give them a fresh coat of paint or stain.
Use hand tools when possible. They use no electricity and give you more control over your work.
Opt for water-based adhesives. They are less toxic and easier to clean up.
Natural oils and waxes can be used to finish wood. They are biodegradable and safe for indoor air quality.
Sustainable hardware like recycled metal handles or knobs can add the finishing touch. Look for items made from recycled materials.
Plan your cuts carefully to minimize waste. Measure twice, cut once to make the most of your materials.
Bringing It All Together
Building DIY cabinet doors isn't just a fun project, it's a way to add a personal touch to your home. From measuring and cutting to sanding and painting, each step brings you closer to a finished product you can be proud of. Remember, patience and precision are your best friends in this process. Don't rush, and double-check your measurements. Mistakes happen, but they're part of learning. With the right tools and a bit of elbow grease, you'll have beautiful, custom cabinet doors in no time. So, roll up your sleeves, gather your materials, and get started. Your kitchen or bathroom will thank you for the upgrade. Happy building!
How do I measure for cabinet doors?
Measure the height and width of the cabinet opening. Add about 1/2 inch to each side for overlay doors.
What materials should I use?
Plywood or MDF are great for the panels. Use hardwood like oak or maple for the frames.
What tools will I need?
You'll need a saw, drill, sander, clamps, and a tape measure. A router helps with edge details.
How do I assemble the doors?
Cut the frame pieces and panel to size. Use wood glue and clamps to join the frame. Insert the panel and secure it.
How do I finish the doors?
Sand the doors smooth. Apply primer and paint or stain. Finish with a clear coat for protection.
Can I add decorative elements?
Yes! Use a router for grooves or add molding. You can also use glass inserts for a fancy look.
How do I install the doors?
Attach hinges to the door and cabinet frame. Align the door and screw the hinges in place. Adjust as needed for a perfect fit.