
Home>Home & Furniture>Kitchen>How to Build a DIY Barn Door Cabinet
Kitchen
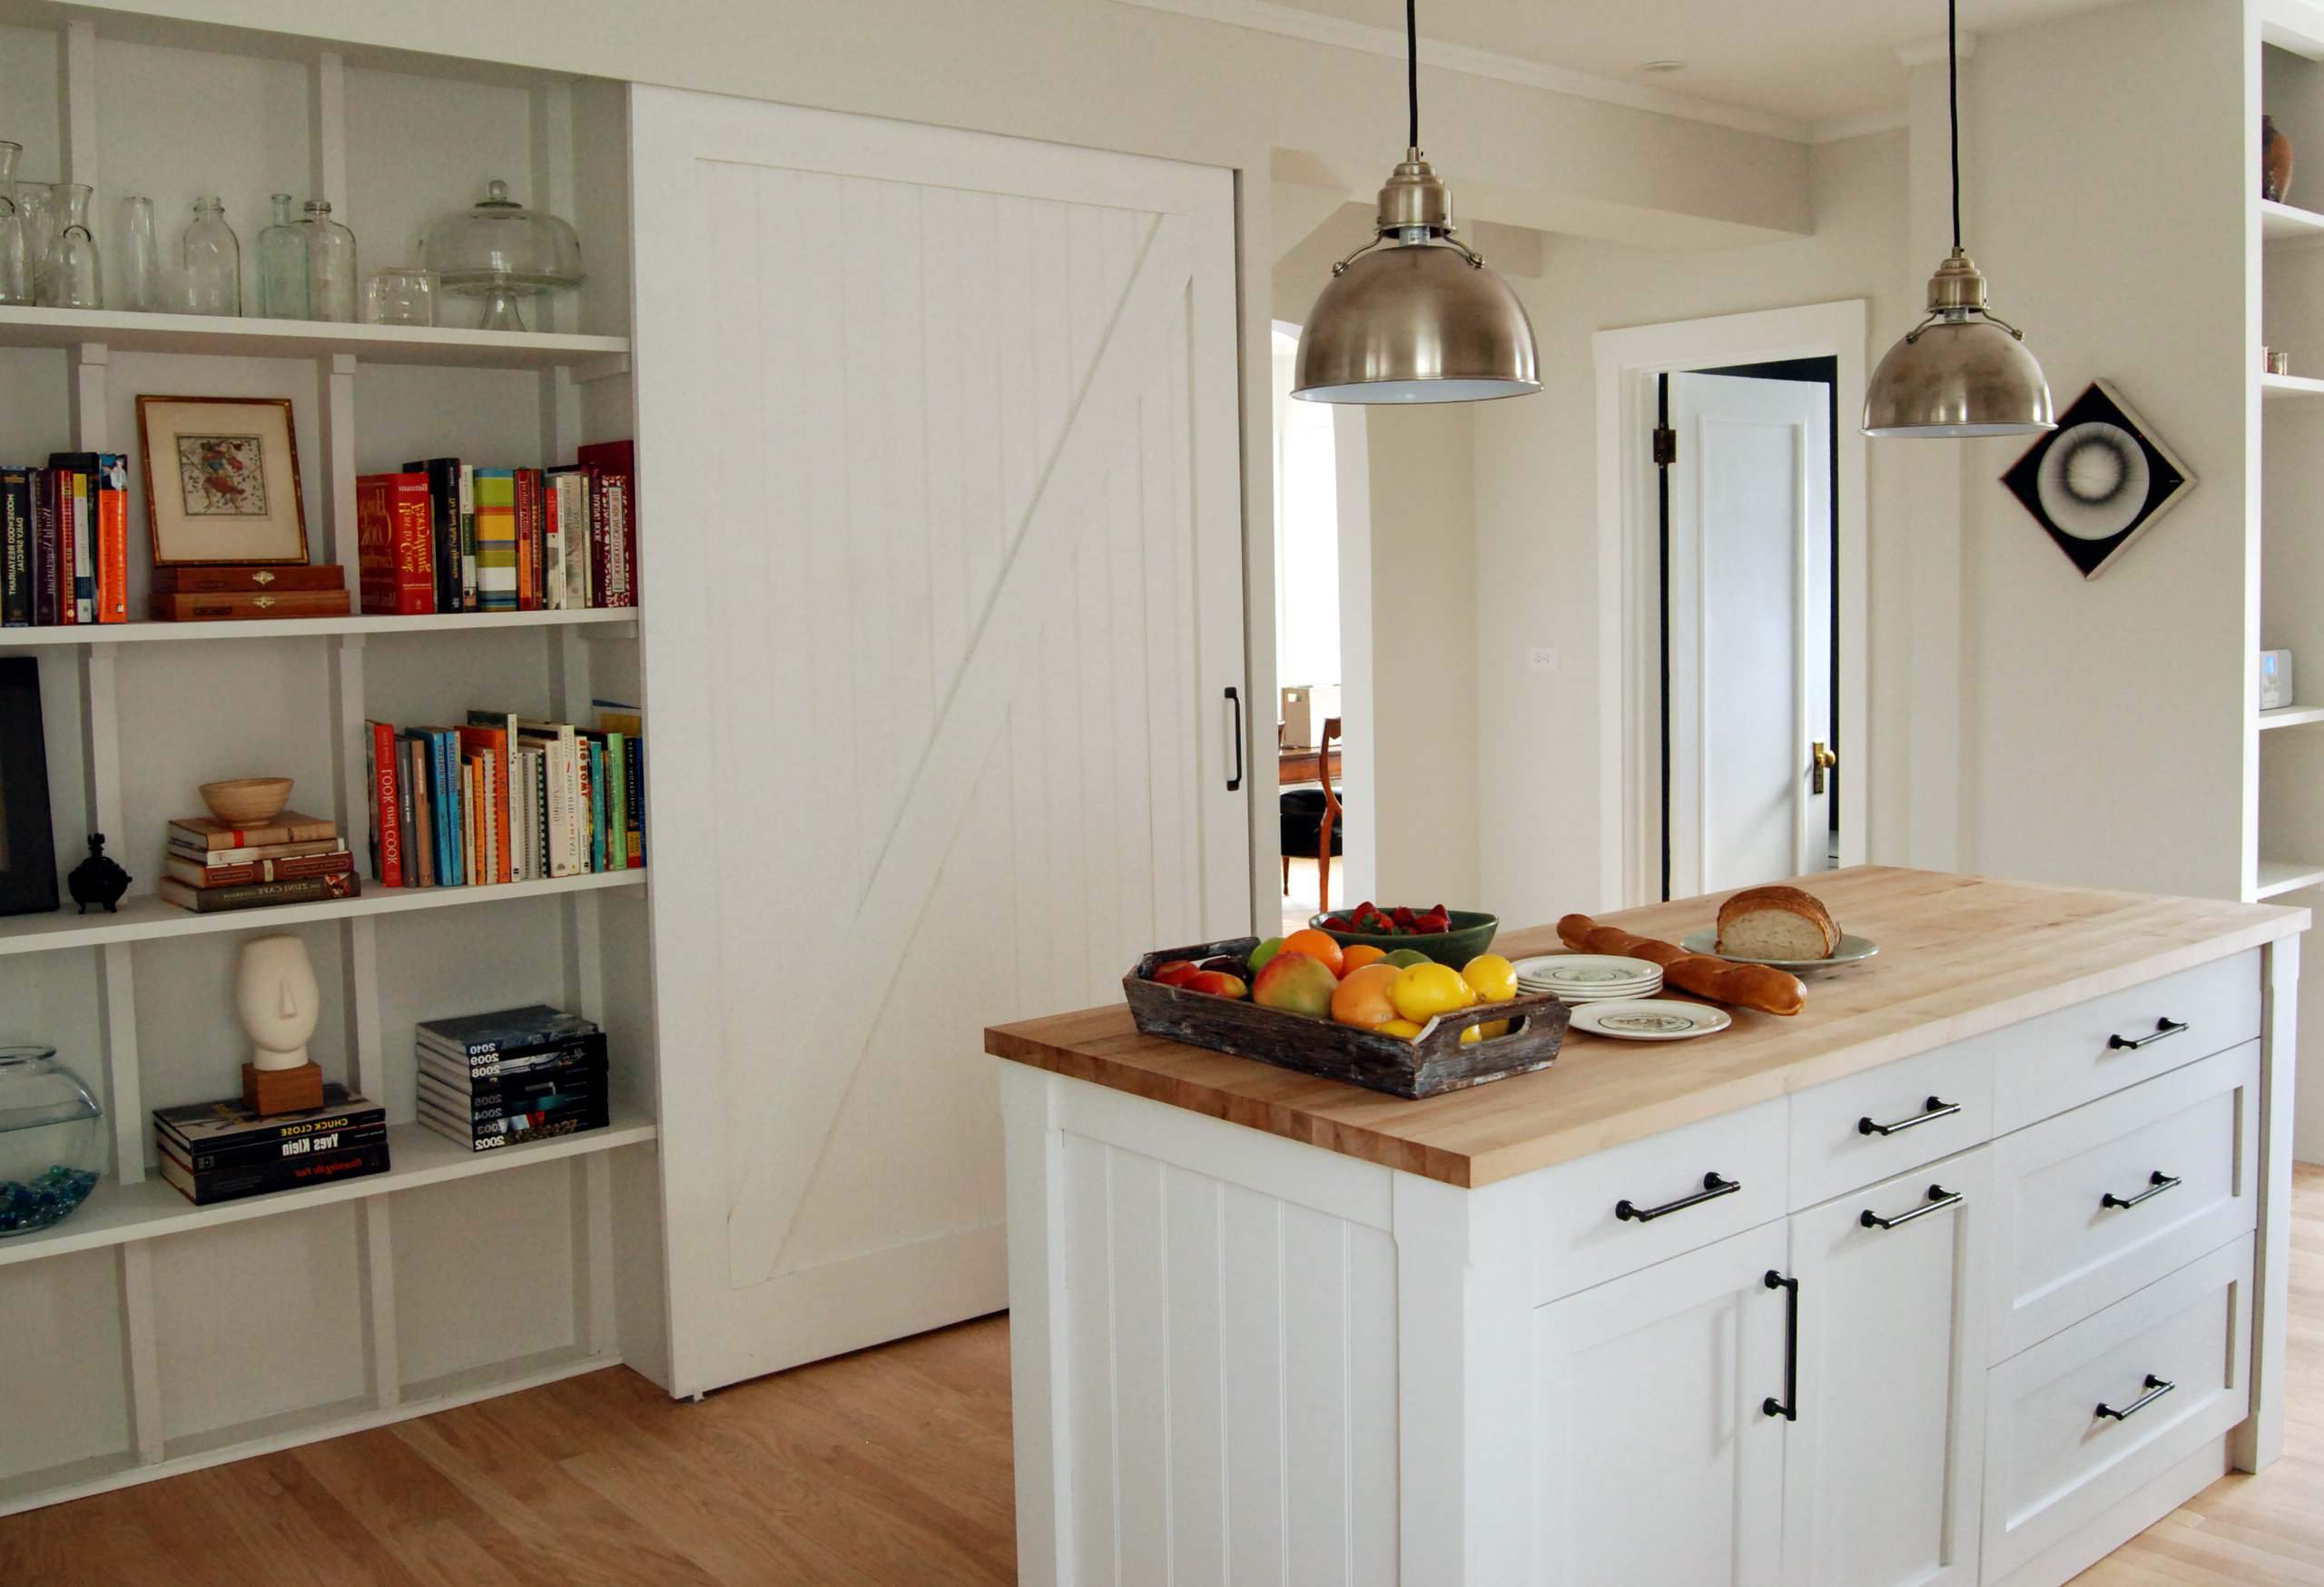
How to Build a DIY Barn Door Cabinet
Published: July 24, 2024
Learn how to build a DIY barn door cabinet with our step-by-step guide. Perfect for adding rustic charm to your home, this project is both fun and functional!
(Many of the links in this article redirect to a specific reviewed product. Your purchase of these products through affiliate links helps to generate commission for Twigandthistle.com, at no extra cost. Learn more)
Building your own barn door cabinet can be a fun project that adds charm to your home. Whether you need extra storage or a unique furniture piece, this DIY project fits the bill. With some basic tools, materials, and a bit of patience, you can create a stylish and functional cabinet. This guide will walk you through the steps, making it easy even if you’re new to woodworking. Ready to get started? Let’s dive into the process and see how you can craft your very own barn door cabinet for that rustic touch.
Getting Ready for Your Project
Gather Materials: Collect all necessary materials like wood, screws, hinges, handles, and barn door hardware. Ensure you have everything before starting to avoid interruptions.
Safety Gear: Wear safety goggles, gloves, and a dust mask to protect yourself from wood dust and debris. Keep a first aid kit nearby.
Workspace Setup: Clear a large, flat area to work in. Make sure it's well-lit and ventilated. Lay down a drop cloth to protect the floor from scratches and spills.
Measure and Cut: Measure the space where the cabinet will go. Cut the wood pieces to the required dimensions using a saw. Double-check measurements to ensure accuracy.
Sand the Wood: Sand all wood pieces to smooth out rough edges and surfaces. This will help with painting or staining later.
Pre-Drill Holes: Pre-drill holes for screws to prevent the wood from splitting. This makes assembly easier and more precise.
Dry Fit: Assemble the pieces without screws to ensure everything fits together properly. Make adjustments if needed.
Paint or Stain: Apply paint or stain to the wood pieces. Let them dry completely before moving on to assembly.
Organize Tools: Keep all tools like screwdrivers, drills, and measuring tape within easy reach. This will save time during assembly.
Read Instructions: If using a barn door hardware kit, read the instructions thoroughly. Familiarize yourself with the steps to avoid mistakes.
Check for Studs: Use a stud finder to locate wall studs where the cabinet will be mounted. This ensures a secure installation.
Clean Up: Keep your workspace tidy by cleaning up sawdust and debris regularly. This helps maintain a safe working environment.
Materials and Tools Checklist
Materials:
- Wood Boards: Used for the cabinet frame and shelves. Choose sturdy wood like pine or oak.
- Barn Door Hardware Kit: Includes tracks, rollers, and handles for the sliding door.
- Wood Screws: Secure the wood pieces together.
- Wood Glue: Adds extra strength to the joints.
- Sandpaper: Smooths the wood surfaces.
- Wood Stain or Paint: Finishes the wood to your desired color.
- Cabinet Hinges: Attach the doors if you prefer hinged doors over sliding ones.
- Door Pulls: Handles for opening the doors.
- Plywood: Used for the back panel of the cabinet.
- L-Brackets: Provide additional support to the structure.
Tools:
- Tape Measure: Measures wood pieces accurately.
- Circular Saw: Cuts the wood boards to size.
- Drill: Makes holes for screws and hardware.
- Screwdriver: Tightens screws.
- Hammer: Drives nails if needed.
- Level: Ensures everything is straight and even.
- Clamps: Hold pieces together while the glue dries.
- Paintbrush or Roller: Applies stain or paint to the wood.
- Sanding Block: Helps with smoothing edges and surfaces.
- Safety Gear: Includes gloves, goggles, and a dust mask for protection.
Skills Needed and Time Commitment
Skill Level: Intermediate
Time Required: Approximately 8-10 hours
- Gather Materials: 1 hour
- Cut Wood Pieces: 2 hours
- Assemble Frame: 2 hours
- Install Barn Door Hardware: 1 hour
- Paint or Stain: 2 hours
- Final Touches: 1 hour
Detailed Building Instructions
Gather Materials and Tools
- Plywood sheets
- 2x4 lumber
- Barn door hardware kit
- Screws and nails
- Wood glue
- Sandpaper
- Paint or stain
- Measuring tape
- Circular saw
- Drill
- Screwdriver
- Level
Cut the Wood
- Measure and cut plywood for the cabinet sides, top, bottom, and shelves.
- Cut 2x4 lumber for the frame.
Assemble the Frame
- Use 2x4 lumber to build the frame.
- Attach the sides, top, and bottom pieces with screws and wood glue.
- Ensure the frame is square using a level.
Attach the Shelves
- Measure and mark shelf positions inside the frame.
- Secure shelves with screws and wood glue.
Build the Barn Door
- Cut plywood for the barn door.
- Attach diagonal and horizontal trim pieces to the door using wood glue and nails.
Sand and Finish
- Sand all surfaces until smooth.
- Apply paint or stain to the cabinet and door. Let dry.
Install Barn Door Hardware
- Follow the hardware kit instructions to attach the track to the top of the cabinet.
- Mount the door rollers to the barn door.
- Hang the door on the track.
Final Touches
- Check the door slides smoothly.
- Adjust hardware if needed.
- Add handles or knobs to the door.
Helpful Tips and Tricks
Measure twice, cut once. Always double-check measurements before cutting wood. This saves time and materials.
Use a level. Ensure your cabinet is straight and even. A crooked cabinet looks unprofessional.
Pre-drill holes. This prevents wood from splitting when you insert screws.
Sand edges. Smooth edges give a polished look and prevent splinters.
Use wood glue. Combine screws with wood glue for a stronger hold.
Stain or paint before assembly. It's easier to reach all areas and avoid drips.
Install sliding hardware correctly. Follow instructions carefully for smooth door movement.
Common mistakes to avoid:
- Skipping the level. This results in a lopsided cabinet.
- Not pre-drilling. Wood can split, ruining your project.
- Rushing measurements. Incorrect cuts waste materials.
- Ignoring sanding. Rough edges look unfinished and can cause injuries.
- Forgetting wood glue. Screws alone may not hold well over time.
Alternatives for materials or methods:
- Plywood instead of solid wood. Plywood is cheaper and easier to work with.
- Pocket screws instead of nails. Pocket screws create a cleaner look and stronger joints.
- Ready-made sliding door kits. These save time and ensure smooth operation.
- Paint instead of stain. Paint can hide imperfections and offers more color options.
Budgeting for Your Barn Door Cabinet
Wood: For a standard-sized cabinet, you'll need about 4-6 sheets of plywood. Each sheet costs around $30-$50. Total: $120-$300.
Barn Door Hardware Kit: These kits, including tracks and rollers, range from $50-$150.
Screws and Nails: A box of each will cost around $10-$20. Total: $20-$40.
Paint or Stain: Depending on your choice, a gallon of paint or stain costs $20-$40.
Sandpaper: A pack costs about $5-$10.
Handles and Knobs: These can range from $10-$30 for a set.
Tools: If you don't already have them, you might need a drill ($50-$100), saw ($50-$150), measuring tape ($10), and level ($10-$20). Total: $120-$280.
Budget-Friendly Alternatives:
- Use reclaimed wood or pallet wood instead of new plywood. This can be free or very cheap.
- Look for second-hand barn door hardware on sites like Craigslist or Facebook Marketplace.
- Borrow tools from friends or rent them from a local hardware store.
Total estimated cost: $250-$850. Using budget-friendly options can reduce this to around $150-$400.
Creative Customization Ideas
Materials: Instead of traditional wood, use reclaimed wood for a rustic look or plywood for a budget-friendly option. For a modern twist, consider metal or glass panels.
Colors: Paint the cabinet in bold colors like navy blue or forest green for a statement piece. For a more subtle look, use neutral tones such as white, gray, or beige. You can also stain the wood to highlight its natural grain.
Styles: Add decorative trim or molding to the doors for a more elegant design. Use shiplap or beadboard for a farmhouse feel. For a contemporary style, opt for sleek, flat panels without any additional detailing.
Hardware: Swap out standard handles for vintage knobs or industrial pulls. Use black iron hardware for a classic barn door look or brushed nickel for a modern touch.
Sliding Mechanism: Choose a traditional barn door track or a soft-close mechanism for quieter operation. For a unique twist, use bypass sliding hardware to allow multiple doors to slide past each other.
Shelving: Customize the interior with adjustable shelves or pull-out drawers. Add baskets or bins for extra storage and organization.
Lighting: Install LED strip lights inside the cabinet for better visibility. Use battery-operated puck lights for a quick and easy lighting solution.
Decorative Elements: Add mirrors to the doors to make the room feel larger. Use chalkboard paint on one panel for a functional message board. Attach hooks or racks on the sides for hanging items.
Eco-Friendly Building Tips
Reclaimed Wood: Use old wood from pallets, barns, or other sources. This reduces waste and gives your cabinet a rustic look.
Eco-Friendly Paint: Choose paints with low or no VOCs (volatile organic compounds). These are better for your health and the environment.
Recycled Hardware: Look for hinges, handles, and other hardware at thrift stores or salvage yards. This saves money and resources.
Natural Finishes: Use beeswax or linseed oil instead of chemical-based finishes. They protect the wood and are biodegradable.
Energy-Efficient Tools: Use hand tools or energy-efficient power tools. This reduces electricity use and your carbon footprint.
Sustainable Fasteners: Opt for screws and nails made from recycled materials. They are just as strong and better for the planet.
Plan Efficiently: Measure twice, cut once. This minimizes waste and ensures you use materials wisely.
Upcycle Old Furniture: Repurpose parts from old furniture. This gives new life to items that might otherwise end up in a landfill.
Your DIY Barn Door Cabinet Awaits
Building a DIY barn door cabinet is a rewarding project. You've learned how to measure, cut, and assemble materials. You also discovered the importance of sanding and painting for a smooth finish. Installing the sliding door hardware might have seemed tricky, but patience and precision paid off. Now, you have a unique piece that adds charm to any room. Remember, every project improves your skills. Don't be afraid to make mistakes; they're part of the learning process. Enjoy your new cabinet and the satisfaction of knowing you built it yourself. Happy crafting!
What materials do I need to build a barn door cabinet?
You’ll need wood, screws, hinges, barn door hardware, paint or stain, sandpaper, and tools like a saw, drill, and measuring tape.
How much time will it take to complete this project?
It usually takes about one weekend. Cutting and assembling the wood might take a day, and painting or staining could take another day.
Do I need any special skills to build this?
Basic carpentry skills are helpful. If you can measure, cut, and use a drill, you’re good to go. Watching a few tutorial videos can also help.
Can I customize the size of the cabinet?
Absolutely! You can adjust the dimensions to fit your space. Just make sure to measure carefully and adjust your materials list accordingly.
What type of wood should I use?
Pine or plywood works well for most DIY projects. They’re easy to work with and relatively inexpensive. For a more rustic look, consider reclaimed wood.
How do I install the barn door hardware?
Follow the instructions that come with your hardware kit. Usually, it involves attaching a track to the top of the cabinet and hanging the door on rollers.
Can I paint or stain the cabinet?
Yes, you can either paint or stain the wood to match your decor. Make sure to sand the wood first for a smooth finish.