
Home>Home & Furniture>Kitchen>DIY Woodworking Projects: How to Make Wood Crafts
Kitchen
DIY Woodworking Projects: How to Make Wood Crafts
Published: July 28, 2024
Discover step-by-step DIY woodworking projects and learn how to make stunning wood crafts. Perfect for beginners and seasoned crafters alike. Get started today!
(Many of the links in this article redirect to a specific reviewed product. Your purchase of these products through affiliate links helps to generate commission for Twigandthistle.com, at no extra cost. Learn more)
Starting woodworking projects at home can be both fun and rewarding. You don't need to be a pro to create something beautiful or functional from wood. With a few basic tools and some simple techniques, you can make a variety of wooden crafts. Whether building a small shelf, crafting a picture frame, or making a birdhouse, woodworking offers a hands-on way to express creativity. It's a great hobby for anyone looking to spend time productively and make something they can truly be proud of. Plus, the skills you learn can be handy for future projects around the house.
Getting Ready for Your Woodworking Project
Gather Materials: Collect all necessary materials like wood, nails, screws, glue, and sandpaper. Ensure you have enough for the entire project.
Safety Gear: Wear safety goggles, gloves, and a dust mask to protect yourself from wood dust and splinters.
Workspace Setup: Clear a well-ventilated area for your workspace. Ensure you have a sturdy table or workbench.
Tools Check: Gather tools like a saw, hammer, drill, and measuring tape. Make sure they are in good working condition.
Measure Twice, Cut Once: Double-check all measurements before cutting any wood. This helps avoid mistakes and wasted materials.
Plan Your Design: Sketch out your project design. Having a clear plan will guide you through each step.
Pre-drill Holes: Pre-drill holes for screws to prevent the wood from splitting.
Test Fit: Before final assembly, do a test fit of all pieces to ensure everything aligns properly.
Clean Up: Keep your workspace clean to avoid accidents. Sweep away sawdust and keep tools organized.
Stay Focused: Avoid distractions while working. Stay focused to ensure safety and accuracy.
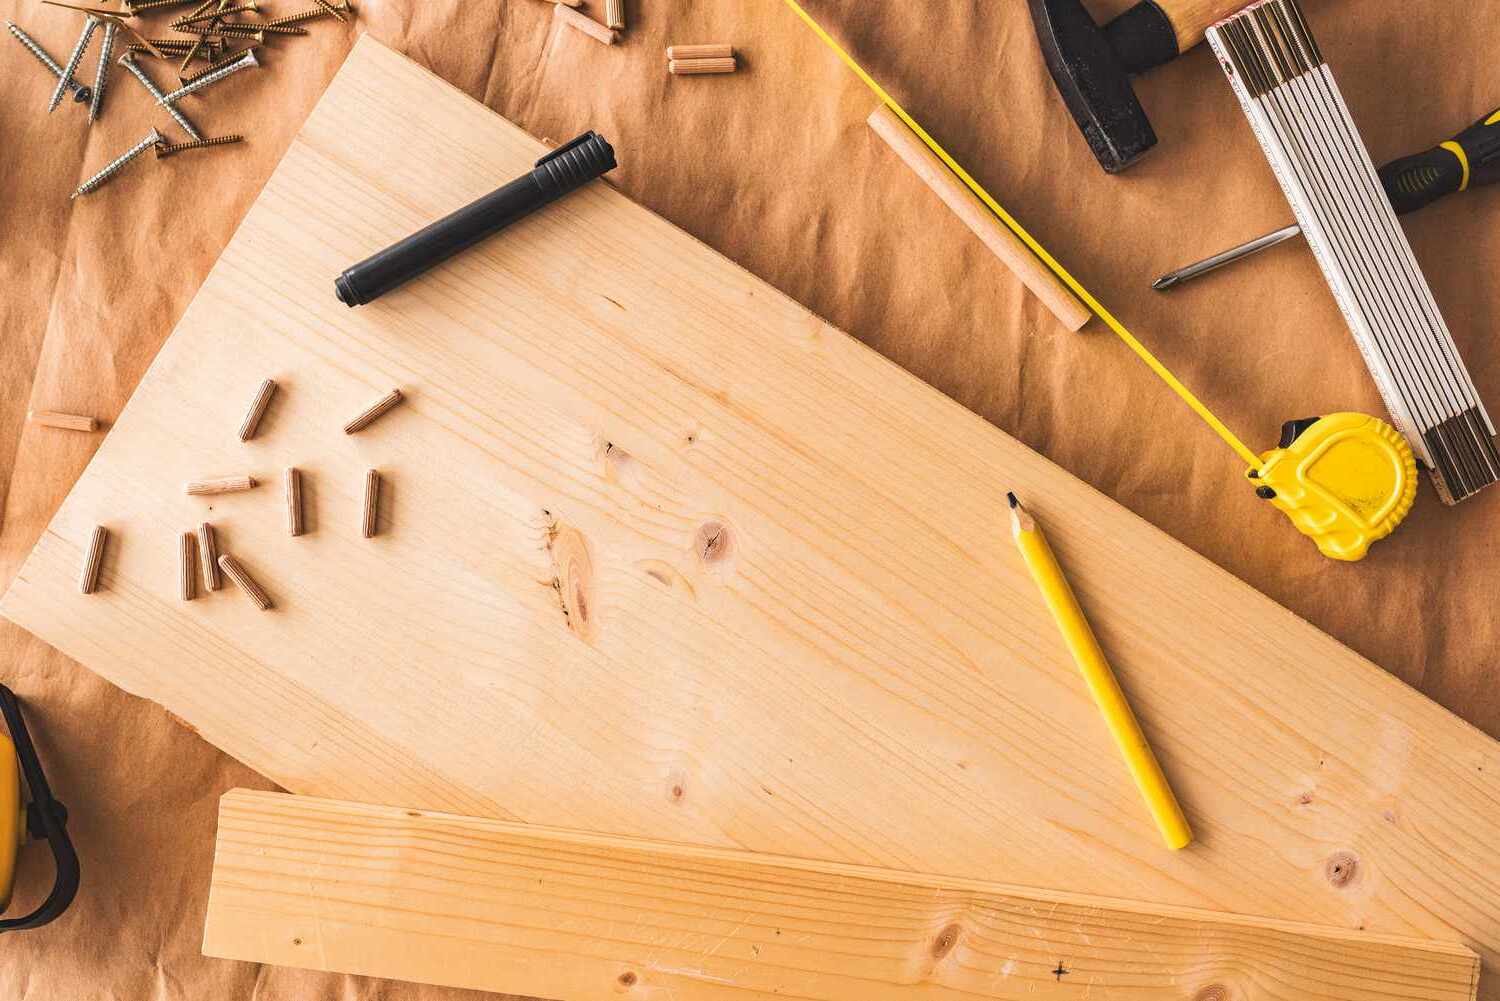
Essential Tools and Materials
Wood: Choose the type of wood based on your project. Pine, oak, and maple are common choices.
Measuring Tape: Essential for accurate measurements. Ensures pieces fit together perfectly.
Pencil: Mark measurements and cutting lines. Use a carpenter's pencil for better visibility.
Saw: A handsaw or circular saw cuts wood to size. Choose based on the complexity of your project.
Hammer: Drives nails into wood. A claw hammer also helps remove nails.
Nails and Screws: Fasten pieces together. Nails are quicker, screws provide stronger holds.
Screwdriver: Tightens screws. A power drill with screwdriver bits speeds up the process.
Wood Glue: Bonds pieces together. Provides extra strength along with nails or screws.
Clamps: Hold pieces in place while glue dries. Ensures a strong bond.
Sandpaper: Smooths rough edges and surfaces. Use different grits for best results.
Paint or Stain: Adds color and protects wood. Choose based on desired finish.
Paintbrushes: Apply paint or stain evenly. Different sizes for various parts of the project.
Safety Gear: Protects you while working. Includes safety glasses, gloves, and a dust mask.
Required Skills and Time Commitment
Skill Level: Beginner
Time Required: 2-4 hours
- Gather Materials: Collect wood pieces, sandpaper, nails, and paint.
- Cut Wood: Use a saw to cut wood into desired shapes.
- Sand Edges: Smooth edges with sandpaper.
- Assemble Pieces: Nail or glue pieces together.
- Paint or Stain: Apply paint or stain for a finished look.
- Dry Time: Allow paint or stain to dry completely.
This project is simple and perfect for beginners. It can be completed in an afternoon.
Detailed Steps to Follow
Choose Your Project
- Decide what you want to make: a birdhouse, picture frame, or small shelf.
- Find a simple design or blueprint online.
Gather Materials
- Get the right type of wood: pine, oak, or plywood.
- Collect necessary tools: saw, hammer, nails, screws, sandpaper, wood glue, and a measuring tape.
Measure and Mark
- Measure the wood pieces according to your design.
- Use a pencil to mark where cuts will be made.
Cut the Wood
- Carefully cut the wood along the marked lines using a saw.
- Ensure all pieces match the required dimensions.
Sand the Edges
- Smooth out rough edges with sandpaper.
- Make sure all surfaces are even and splinter-free.
Assemble the Pieces
- Apply wood glue to the edges that will be joined.
- Press pieces together and hold them in place with clamps until the glue dries.
Secure with Nails or Screws
- Reinforce joints by hammering in nails or using screws.
- Make sure everything is tightly secured.
Finish the Surface
- Sand the entire project to remove any rough spots.
- Apply wood stain or paint for a polished look.
Let it Dry
- Allow the stain or paint to dry completely.
- Check for any missed spots and touch up if needed.
Enjoy Your Craft
- Place your finished woodcraft in its intended spot.
- Show off your handiwork to friends and family.
Helpful Tips and Tricks
Measure Twice, Cut Once: Always double-check measurements before cutting. Mistakes here can waste materials and time.
Use Quality Tools: Invest in good tools. Sharp blades and sturdy clamps make projects easier and safer.
Sand Properly: Sand wood in the direction of the grain. This prevents scratches and gives a smoother finish.
Pre-Drill Holes: Pre-drill holes for screws to avoid splitting the wood. Use a bit slightly smaller than the screw.
Glue and Clamp: Apply wood glue to joints and clamp them until dry. This ensures strong, lasting bonds.
Finish with Care: Apply finishes like stain or varnish in thin, even coats. Let each coat dry completely before adding another.
Plan Your Project: Sketch your design and list materials before starting. This helps avoid last-minute trips to the store.
Safety First: Always wear safety goggles and a dust mask. Work in a well-ventilated area to avoid inhaling dust or fumes.
Common Mistakes to Avoid:
Skipping Safety Gear: Not wearing safety gear can lead to injuries. Always protect your eyes and lungs.
Rushing the Process: Rushing can lead to mistakes. Take your time for better results.
Ignoring Wood Grain: Cutting against the grain can cause splintering. Always cut with the grain.
Alternatives for Materials or Methods:
Plywood Instead of Solid Wood: Plywood is often cheaper and more stable than solid wood. It’s great for large surfaces.
Pocket Hole Jigs: Use pocket hole jigs for hidden joints. They make strong, invisible connections.
Water-Based Finishes: Water-based finishes dry faster and have less odor than oil-based ones. They’re easier to clean up, too.
Estimating the Project Cost
Wood: $50-$100 depending on type and quantity. Pine is cheaper, while oak or walnut costs more.
Saw: $20-$50 for a basic hand saw. A circular saw costs $50-$100.
Hammer: $10-$20 for a standard hammer.
Nails/Screws: $5-$15 for a box.
Sandpaper: $5-$10 for a pack.
Wood Glue: $5-$10 per bottle.
Measuring Tape: $5-$15.
Clamps: $10-$30 for a set.
Safety Gear: $10-$20 for goggles and gloves.
Stain/Paint: $10-$20 per can.
Brushes/Rollers: $5-$15 for a set.
Drill: $30-$60 for a basic model.
Budget-Friendly Alternatives:
- Use reclaimed wood or pallets, often free or very cheap.
- Borrow tools from friends or family.
- Look for second-hand tools at garage sales or thrift stores.
- Use basic hand tools instead of power tools to save money.
Ideas for Customizing Your Project
Alternative materials can add a unique touch to wood crafts. Instead of traditional wood, consider using reclaimed wood for a rustic look or plywood for a modern, sleek finish. Bamboo is another eco-friendly option that offers a different texture and color.
Colors can dramatically change the appearance of wood crafts. Use wood stains to enhance the natural grain, or paint for a bold, vibrant look. Chalk paint can give a vintage, shabby-chic style, while metallic paints add a touch of glamour.
Styles can vary based on personal preference. For a minimalist design, keep lines clean and simple. Rustic styles often incorporate distressed finishes and natural imperfections. Mid-century modern designs feature tapered legs and geometric shapes. Farmhouse styles use white paint and natural wood tones for a cozy, welcoming feel.
Hardware choices can also customize wood crafts. Use antique knobs and handles for a vintage look, or sleek, modern hardware for a contemporary feel. Leather pulls can add a unique, handcrafted touch.
Finishes can protect and enhance wood projects. Polyurethane provides a durable, glossy finish, while Danish oil offers a natural, matte look. Beeswax can give a soft, hand-rubbed finish, perfect for smaller items like cutting boards or toys.
Engraving or wood burning can add personalized details, such as names, dates, or intricate designs. Decoupage with paper or fabric can introduce patterns and textures not achievable with paint alone.
Joinery techniques can also vary. Dovetail joints are strong and decorative, while butt joints are simple and quick. Mortise and tenon joints offer a traditional, sturdy connection, ideal for furniture.
Incorporating other materials like metal or glass can create mixed-media pieces. Metal legs on a wooden table or a glass top on a wooden base can add interest and contrast.
Lighting can be integrated into wood projects. Adding LED strips or recessed lights can highlight features and create ambiance.
Eco-Friendly Woodworking Tips
Reclaimed wood is a great choice. It comes from old barns, factories, or even pallets. Using it reduces waste and gives a unique look to your projects.
Bamboo grows quickly and is very strong. It's a renewable resource, making it an eco-friendly option.
Cork is another sustainable material. Harvested from the bark of cork oak trees, it doesn't harm the tree. Cork is lightweight and easy to work with.
Milk paint is a non-toxic paint made from milk protein, lime, and natural pigments. It’s safe for the environment and gives a vintage look.
Beeswax polish is a natural way to finish wood. It protects and enhances the wood's natural beauty without harmful chemicals.
Recycled hardware like old hinges, knobs, and handles can add character to your projects. Check thrift stores or salvage yards for these items.
Solar-powered tools can reduce your carbon footprint. They use renewable energy, making your woodworking more sustainable.
Water-based adhesives are less harmful than solvent-based ones. They have fewer volatile organic compounds (VOCs), making them better for the environment.
Composting wood scraps instead of throwing them away can help reduce waste. Small pieces can break down and enrich the soil.
Upcycling old furniture into new pieces is both creative and sustainable. It saves resources and gives new life to old items.
Your Next Steps
You've got the basics down, so now it's time to grab your tools and start creating. Remember, practice makes perfect. Don't get discouraged by mistakes; they're part of the learning process. Start with simple projects and gradually take on more complex ones. Always prioritize safety by wearing protective gear and working in a well-ventilated area.
Join online communities or local workshops to share your progress and get feedback. These can be great sources of inspiration and support. Keep your workspace organized to make your projects more efficient and enjoyable.
Finally, have fun with your woodworking. It's not just about the end product but also the journey of creating something with your own hands. Happy crafting!
What tools do I need to start woodworking?
You'll need basic tools like a saw, hammer, measuring tape, screwdriver, and sandpaper. For more advanced projects, consider getting a power drill, jigsaw, and clamps.
How do I choose the right wood for my project?
Softwoods like pine are great for beginners because they're easier to work with. Hardwoods like oak and maple are more durable but can be tougher to cut and shape.
What's the best way to finish my wood project?
Sand your project smooth, then apply a wood stain or paint. Finish with a clear coat like polyurethane to protect the wood and give it a nice shine.
How do I make sure my measurements are accurate?
Use a measuring tape and marking tools like a pencil or chalk. Double-check measurements before cutting to avoid mistakes.
Can I use reclaimed wood for my projects?
Absolutely! Reclaimed wood adds character and is eco-friendly. Just make sure to clean it thoroughly and check for nails or screws before starting.
How do I join pieces of wood together?
You can use nails, screws, or wood glue. For stronger joints, consider using dowels, biscuits, or pocket holes.
What safety precautions should I take?
Always wear safety goggles and gloves. Use ear protection when working with loud tools. Keep your workspace clean to avoid accidents.