
Home>Home & Furniture>Kitchen>DIY Wainscoting for Kitchen Island
Kitchen
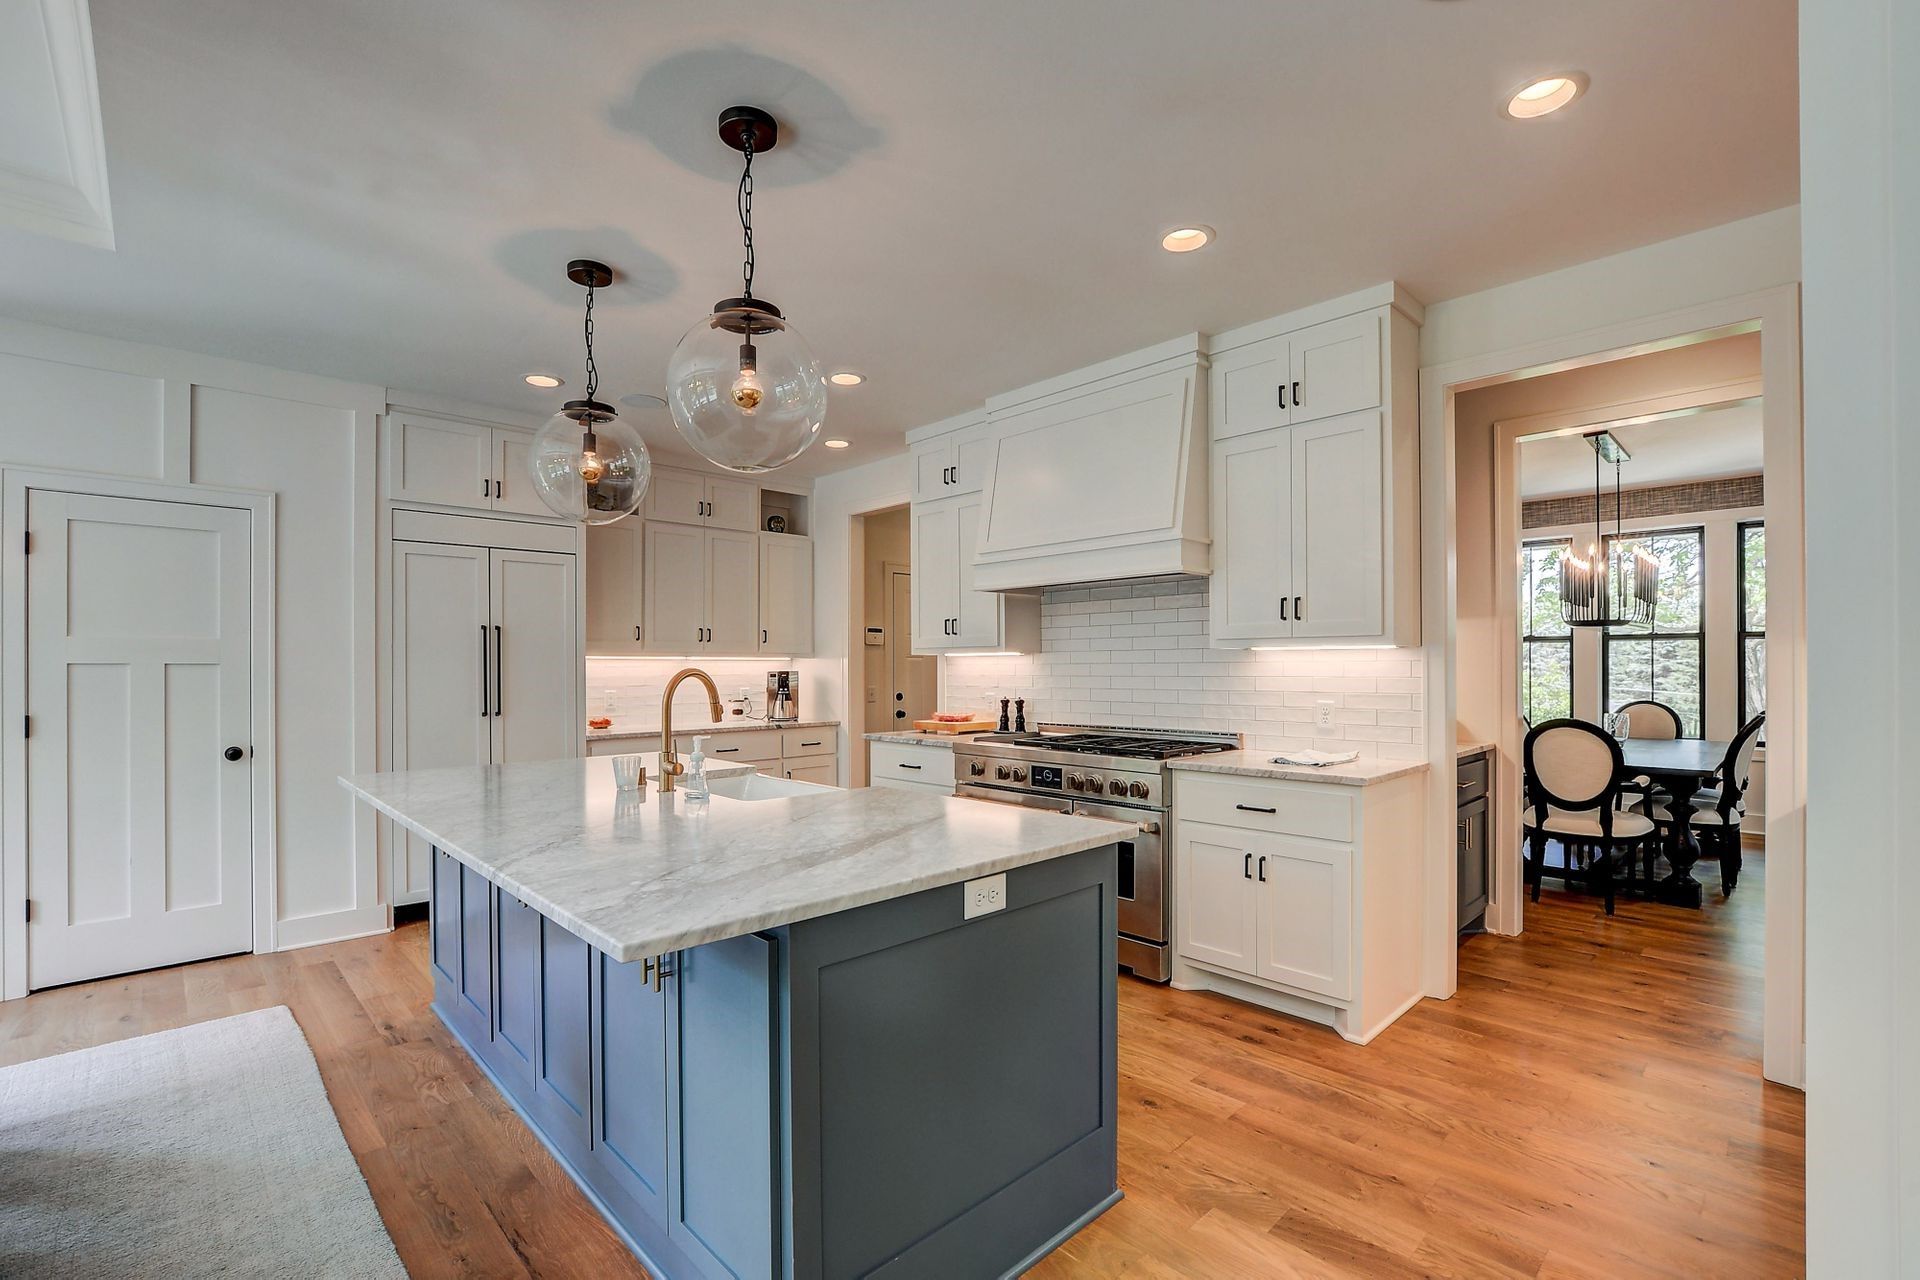
DIY Wainscoting for Kitchen Island
Published: August 5, 2024
Transform your kitchen island with DIY wainscoting! Learn step-by-step instructions, tips, and tricks to add elegance and charm to your kitchen space.
(Many of the links in this article redirect to a specific reviewed product. Your purchase of these products through affiliate links helps to generate commission for Twigandthistle.com, at no extra cost. Learn more)
Thinking about giving your kitchen island a fresh look? DIY wainscoting can be a simple yet stylish solution. This project lets you add texture and character without breaking the bank. Whether you're a seasoned DIYer or a beginner, wainscoting is a manageable task. With some basic tools, a bit of patience, and a little creativity, you'll transform your kitchen island into a charming focal point. Ready to get started? Let's dive into the world of wainscoting and see how you can achieve a stunning new look for your kitchen island!
Getting Ready for Your Project
Gather Materials: Get wainscoting panels, trim pieces, measuring tape, level, saw, adhesive, nails, hammer, paint, paintbrushes, sandpaper, and safety gear.
Measure the Island: Measure the height and width of each side of the kitchen island. Write down these measurements to ensure you cut the panels correctly.
Cut Panels: Use a saw to cut the wainscoting panels and trim pieces to fit the measured dimensions. Sand the edges to smooth them out.
Safety First: Wear safety goggles and gloves while cutting and sanding. Ensure the workspace is well-ventilated if painting or using adhesives.
Prepare the Surface: Clean the kitchen island surface where the wainscoting will be applied. Remove any grease, dirt, or old paint.
Dry Fit Panels: Place the cut panels against the island without adhesive to check the fit. Adjust as needed.
Apply Adhesive: Apply a strong adhesive to the back of each panel. Press the panels firmly against the island, starting from one corner and working your way around.
Nail Panels: Secure the panels with nails for extra hold. Use a hammer to drive nails into the corners and along the edges.
Attach Trim: Cut and attach trim pieces to cover the edges and seams of the panels. Use adhesive and nails to secure them.
Paint and Finish: Once the adhesive is dry, paint the wainscoting to match your kitchen decor. Let the paint dry completely before using the island.
Clean Up: Clean your workspace and store any leftover materials safely. Dispose of any waste properly.
What You Need: Materials and Tools
Wainscoting Panels: These are the main materials for covering the sides of the kitchen island. Choose panels that match your kitchen’s style.
Measuring Tape: Essential for measuring the dimensions of the island to ensure the panels fit perfectly.
Pencil: Used for marking measurements on the panels and island.
Level: Ensures the panels are straight and even.
Saw: Needed for cutting the panels to the correct size. A miter saw or circular saw works well.
Adhesive: Strong glue to attach the panels to the island. Construction adhesive is recommended.
Nail Gun: Secures the panels to the island more firmly. A hammer and nails can also work.
Caulk: Fills gaps between panels and the island for a seamless look.
Paint or Stain: Finishes the wainscoting to match or complement the kitchen decor.
Sandpaper: Smooths out any rough edges on the panels before installation.
Safety Gear: Includes gloves, safety glasses, and a dust mask to protect while cutting and sanding.
Skill Level and Time Commitment
Skill Level: Intermediate
Time Required: 4-6 hours
- Measure and Cut Panels: 1-2 hours
- Sand and Prime: 1 hour
- Attach Panels: 1-2 hours
- Caulk and Paint: 1-2 hours
How to Do It: Step-by-Step Guide
Measure the Island:
- Use a tape measure to get the height and width of each side of the kitchen island.
- Write down these measurements.
Choose Wainscoting Panels:
- Visit a hardware store to select wainscoting panels that match your kitchen’s style.
- Purchase enough panels to cover the measured area.
Cut the Panels:
- Use a saw to cut the panels to fit the height and width of the island.
- Sand the edges to smooth them out.
Prepare the Surface:
- Clean the island surface with a damp cloth to remove any dirt or grease.
- Let it dry completely.
Attach the Panels:
- Apply construction adhesive to the back of each panel.
- Press the panels firmly onto the island, starting from one corner and working your way around.
Secure with Nails:
- Use a nail gun to secure the panels in place.
- Space the nails about 6 inches apart along the edges and in the center of each panel.
Fill Nail Holes:
- Use wood filler to fill in any nail holes.
- Let the filler dry, then sand it smooth.
Add Trim:
- Measure and cut trim pieces to fit around the edges of the panels.
- Attach the trim using construction adhesive and nails.
Paint or Stain:
- Choose a paint or stain that matches your kitchen decor.
- Apply a coat of primer first, then paint or stain the panels and trim.
Seal the Surface:
- Apply a clear sealant to protect the wainscoting from spills and stains.
- Let it dry completely before using the island.
Helpful Tips and Tricks
Measure twice, cut once. Accurate measurements save time and materials. Use a level to ensure panels are straight.
Pre-paint the wainscoting panels before installation. Touch-ups are easier than painting after.
Use adhesive and nails. Adhesive holds panels in place while nails secure them.
Caulk gaps between panels and the wall. This gives a seamless look.
Sand edges of panels for a smooth finish. Rough edges can ruin the appearance.
Common mistakes to avoid:
Skipping primer. Always prime panels before painting to prevent peeling.
Ignoring wall prep. Clean and smooth walls before attaching panels.
Not checking for studs. Secure panels to studs for stability.
Alternatives for materials or methods:
MDF panels instead of wood. MDF is cheaper and easier to work with.
Peel-and-stick wainscoting. Quicker installation, no nails or adhesive needed.
Paintable wallpaper. Mimics wainscoting without the bulk.
Budgeting Your DIY Project
Materials:
- Wainscoting Panels: $50-$100
- Trim/Molding: $20-$40
- Primer and Paint: $30-$50
- Wood Filler: $5-$10
- Caulk: $5-$10
- Sandpaper: $5-$10
Tools:
- Miter Saw: $100-$200 (or rent for $20-$30/day)
- Nail Gun: $50-$100 (or rent for $15-$25/day)
- Level: $10-$20
- Tape Measure: $5-$15
- Paintbrushes/Rollers: $10-$20
- Caulk Gun: $5-$10
Total Cost: $295-$585 (if buying tools) or $155-$265 (if renting tools)
Budget-Friendly Alternatives:
- Hand Saw: $10-$20 (instead of miter saw)
- Hammer and Nails: $10-$15 (instead of nail gun)
- Borrow Tools: Free (if possible from friends or family)
Different Styles and Customizations
Materials: Instead of traditional wood panels, try beadboard, shiplap, or MDF. For a more rustic look, use reclaimed wood. If you prefer a sleek, modern style, consider metal sheets or PVC panels.
Colors: Paint the wainscoting in bold colors like navy blue or forest green for a dramatic effect. For a classic look, use white or cream. To match a farmhouse style, try pastel shades like soft blue or mint green.
Styles: Experiment with different panel designs. Use raised panels for a traditional look or flat panels for a contemporary feel. For added texture, consider board and batten or picture frame wainscoting.
Finishes: Add a stain to highlight the natural wood grain or use a high-gloss paint for a polished finish. For a vintage touch, try a distressed or weathered finish.
Accents: Incorporate decorative molding or trim at the top and bottom of the wainscoting. Add corner brackets or corbels for extra detail. For a unique touch, install LED strip lights along the top edge.
Height: Vary the height of the wainscoting. Standard height is about 36 inches, but you can go higher for a more dramatic effect or lower for a subtle accent.
Patterns: Create a herringbone or chevron pattern with the panels for a modern twist. Use alternating colors or stains to make the pattern stand out.
Eco-Friendly Ideas for Your Project
Reclaimed Wood: Use old barn wood or pallets. Sand and stain them for a rustic look.
Bamboo Panels: Bamboo grows quickly, making it a sustainable choice. It's also durable and stylish.
Recycled MDF: Medium-density fiberboard made from recycled wood fibers. Paint or veneer it for a smooth finish.
Cork: Cork is renewable and provides a unique texture. Seal it to protect against moisture.
Salvaged Materials: Look for old doors, shutters, or paneling at salvage yards. Cut them to fit your island.
Low-VOC Paints: Use paints with low volatile organic compounds. They’re better for indoor air quality.
Natural Sealants: Opt for sealants made from natural oils or waxes. They protect wood without harmful chemicals.
Eco-Friendly Adhesives: Choose adhesives with low environmental impact. Water-based options are a good pick.
Recycled Metal: Incorporate metal accents from recycled sources. Adds a modern touch while being green.
DIY Tools: Use hand tools or energy-efficient power tools. Reduces energy consumption during your project.
Your Kitchen Island's New Look
Adding wainscoting to your kitchen island transforms the space with a touch of elegance. This DIY project isn't just about aesthetics; it also adds durability to your island. By following the steps, you've learned how to measure, cut, and install the panels. You've also discovered the importance of priming and painting for a polished finish.
Remember, patience and precision are key. Don't rush the process. Take your time to ensure each panel fits perfectly. The end result will be worth the effort. Now, your kitchen island stands out as a stylish centerpiece, reflecting your personal touch. Enjoy the compliments from friends and family. You've not only enhanced your kitchen's look but also gained valuable DIY skills. Keep experimenting with other projects, and who knows what you'll create next? Happy DIY-ing!
What tools do I need for DIY wainscoting on a kitchen island?
You’ll need a measuring tape, saw, nail gun, level, wood glue, paint, and wainscoting panels. A sander can help smooth out rough edges.
How do I measure for wainscoting panels?
Measure the height and width of your kitchen island. Divide the width by the number of panels you want. This gives you the width of each panel. Don’t forget to account for the spacing between panels.
Can I install wainscoting over existing materials?
Yes, you can install wainscoting over drywall, plywood, or even tile. Just make sure the surface is clean and dry before starting.
How do I attach the wainscoting panels?
Apply wood glue to the back of each panel, then press it onto the island. Use a nail gun to secure the panels in place. Make sure they’re level before nailing.
Should I paint the wainscoting before or after installation?
It’s easier to paint the panels before installing them. This way, you can ensure even coverage and avoid getting paint on other parts of the island.
How do I finish the edges of the wainscoting?
Use trim or molding to cover the edges. This gives a polished look and hides any gaps. Attach the trim with wood glue and a nail gun.
Is wainscoting durable for a kitchen island?
Yes, wainscoting is quite durable. It can withstand bumps and scratches. Just make sure to use a high-quality paint or finish to protect the wood.