
Home>Home & Furniture>Kitchen>DIY Table Centerpiece Ideas
Kitchen
DIY Table Centerpiece Ideas
Published: July 25, 2024
Discover creative DIY table centerpiece ideas to elevate your dining experience. From rustic to elegant, find inspiration to craft the perfect centerpiece for any occasion.
(Many of the links in this article redirect to a specific reviewed product. Your purchase of these products through affiliate links helps to generate commission for Twigandthistle.com, at no extra cost. Learn more)
Creating your own table centerpiece can be a fun and rewarding project. Whether you're planning a special dinner, celebrating the holidays, or just wanting to add a personal touch to your dining table, DIY centerpieces offer endless possibilities. You don't need to be a crafting expert to make something beautiful. With a few simple materials and a bit of creativity, anyone can design a unique center. From seasonal themes to everyday elegance, these ideas will inspire you to get crafting. Dive in and discover how easy it is to make your table the star of the room.
Preparation Steps
Gather Materials: Collect all necessary items like flowers, vases, candles, glue, and decorative elements. Make sure everything is within reach.
Clear Workspace: Find a clean, flat surface to work on. Remove any clutter to avoid accidents or losing small pieces.
Safety Gear: Wear gloves to protect your hands from glue or sharp objects. Use safety glasses if cutting or drilling.
Measure and Plan: Measure the table to ensure the centerpiece fits well. Sketch a rough design to visualize the final look.
Cut and Prep: If using wood or other materials, cut them to size beforehand. Sand any rough edges to prevent splinters.
Organize Tools: Keep tools like scissors, glue guns, and rulers organized. This saves time and reduces frustration.
Ventilation: Work in a well-ventilated area if using strong adhesives or paints to avoid inhaling fumes.
Test Stability: Before final assembly, test the stability of each component. Ensure nothing wobbles or tips over easily.
Dry Run: Arrange all elements without glue or permanent fixtures to see how they look together. Make adjustments as needed.
Clean Up: Have a trash bin nearby for scraps and used materials. Keep a damp cloth handy for quick clean-ups.
Materials and Tools Needed
- Vase or Container: Holds flowers or decorative items.
- Flowers: Fresh or artificial, add color and beauty.
- Floral Foam: Keeps flowers in place inside the vase.
- Candles: Provide a warm, inviting glow.
- Ribbons: Adds a decorative touch to the arrangement.
- Scissors: Cuts ribbons, flowers, and other materials.
- Glue Gun: Secures items together quickly.
- Decorative Stones or Beads: Adds texture and fills empty spaces.
- Greenery: Foliage like ferns or leaves to complement flowers.
- Twine or String: Ties elements together or adds rustic charm.
- Paint or Markers: Personalizes containers or other elements.
- Measuring Tape: Ensures everything fits perfectly on the table.
- Craft Knife: Cuts precise shapes or trims materials.
- Small Ornaments: Adds unique, themed touches.
- Table Runner: Provides a base for the centerpiece, enhancing its look.
Skill Level and Time Required
Skill Level: Beginner
Time Required: 1-2 hours
- Gather Materials: 10-15 minutes
- Assemble Base: 20-30 minutes
- Add Decorations: 30-45 minutes
- Final Touches: 10-15 minutes
Step-by-Step Instructions
Gather Materials
- Mason jars or small vases
- Fresh or faux flowers
- Candles
- Decorative stones or beads
- Ribbon or twine
- Scissors
Prepare the Jars
- Clean mason jars or vases thoroughly.
- Dry completely to avoid any moisture damage.
Add Base Layer
- Place decorative stones or beads at the bottom of each jar.
- Fill about one-third of the jar.
Insert Flowers
- Trim flower stems to fit the jar height.
- Arrange flowers inside the jar, spreading them evenly.
Add Candles
- Place a small candle in the center of the flowers.
- Ensure the candle is stable and not touching the flowers.
Decorate the Jar
- Wrap ribbon or twine around the jar's neck.
- Tie a bow or knot for a finished look.
Final Touches
- Adjust flowers and candles for balance.
- Light the candle if using real ones.
Place on Table
- Position the centerpiece in the middle of the table.
- Ensure it's secure and won't tip over easily.
Helpful Tips and Tricks
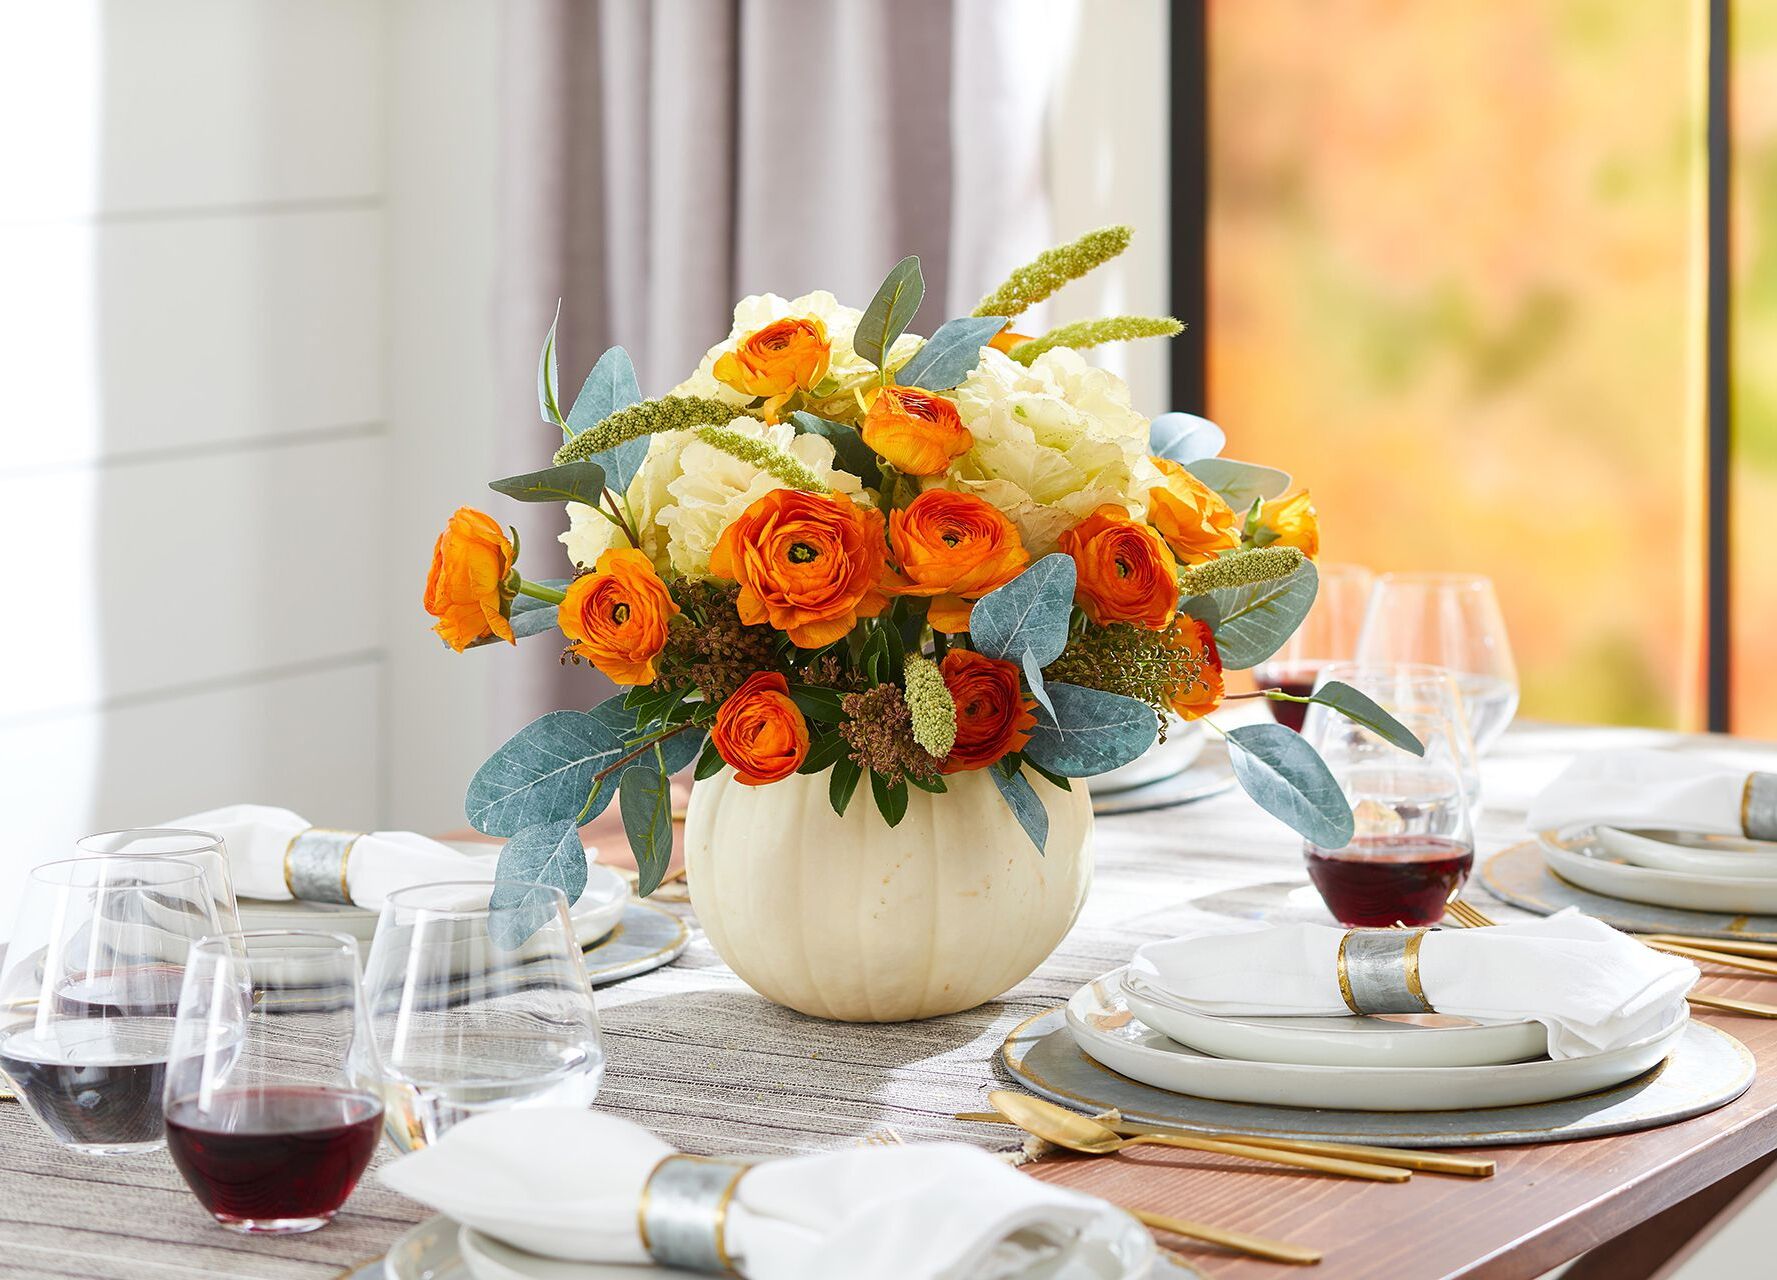
Use seasonal items like pumpkins in fall or flowers in spring. Mix heights to create visual interest. Group items in odd numbers for a balanced look. Incorporate candles for a cozy feel. Use a tray to keep everything organized.
Common mistakes to avoid: Overcrowding the table, using items too tall that block views, and not considering the table's size.
Alternatives: Instead of fresh flowers, use artificial flowers for a longer-lasting option. Swap candles for LED lights if you have kids or pets. Use recycled jars instead of buying new vases.
Estimating the Cost
Materials:
- Wooden Plank: $10-$15
- Paint/Stain: $5-$10
- Sandpaper: $3
- Mason Jars: $1 each (3 jars = $3)
- Candles: $1 each (3 candles = $3)
- Flowers (Artificial): $5-$10
- Glue: $2
Tools:
- Paintbrush: $2
- Saw: $10-$15 (if you don't have one)
- Drill: $20-$30 (if you don't have one)
Total Cost: $61-$93
Budget-Friendly Alternatives:
- Use recycled jars instead of buying new ones.
- Skip the drill if you can borrow one.
- Use leftover paint from other projects.
- Collect natural elements like pinecones or branches instead of buying artificial flowers.
Unique Variations and Customizations
Materials: Use wood slices for a rustic look, or mirrored trays for a modern touch. Glass jars can be painted or wrapped with twine for a farmhouse style. Metal buckets add an industrial vibe.
Colors: Choose neutral tones like beige or white for a minimalist feel. Bright colors like yellow or red can make the centerpiece pop. Metallics like gold or silver add a touch of elegance.
Styles: For a vintage look, use old books stacked with a small vase on top. A bohemian style can be achieved with colorful fabrics and wildflowers. Seasonal themes work well too, like pumpkins and leaves for fall or seashells and sand for summer.
Alternative Ideas: Instead of flowers, use succulents or herbs in small pots. Candles in various heights can create a cozy atmosphere. Fruit bowls can be both decorative and functional.
Personal Touches: Add photos in small frames or handwritten notes for a personal touch. DIY crafts like paper flowers or origami can make the centerpiece unique. Family heirlooms or souvenirs from trips can also be incorporated.
Eco-Friendly Tips
Reclaimed Wood: Use old wood from pallets or furniture. Sand it down, then stain or paint it for a rustic look.
Glass Jars: Repurpose jars from sauces or jams. Fill them with flowers, candles, or fairy lights.
Wine Corks: Collect corks from wine bottles. Glue them together to form a base for candles or small plants.
Fabric Scraps: Use leftover fabric to create table runners or wrap around vases. Mix and match patterns for a unique touch.
Pinecones and Twigs: Gather natural items from your yard. Arrange them in a bowl or vase for a woodland theme.
Old Books: Stack vintage books as a base. Add a small plant or candle on top for a literary vibe.
Tin Cans: Clean and paint old cans. Use them as vases or utensil holders.
Seashells: Collect shells from the beach. Place them in a clear bowl or scatter them around candles.
Paper Flowers: Make flowers from recycled paper. Arrange them in a vase for a long-lasting centerpiece.
Mason Jars: Paint or decorate jars. Fill them with seasonal items like acorns, berries, or leaves.
Bringing It All Together
Crafting your own table centerpiece can be a fun, rewarding project. With a bit of creativity, some basic materials, and a dash of patience, you can create something truly unique. Whether you're using fresh flowers, candles, or repurposed items, the key is to let your personality shine through. Don't be afraid to experiment with different textures, colors, and heights. Remember, there's no right or wrong way to do it. The most important thing is that you enjoy the process and love the result. So, gather your supplies, roll up your sleeves, and get crafting. Your table will thank you, and your guests will be impressed. Happy DIY-ing!
How can I make a simple table centerpiece?
Use a mason jar, some fresh flowers, and a bit of twine. Fill the jar with water, arrange the flowers, and tie the twine around the jar's neck for a rustic look.
What materials do I need for a fall-themed centerpiece?
Grab some mini pumpkins, pinecones, and autumn leaves. Arrange them in a shallow wooden tray or bowl. Add a few candles for a cozy touch.
How do I create a centerpiece for a holiday dinner?
Use a long tray or runner. Place candles of varying heights in the center. Surround them with ornaments, pine branches, and ribbon in holiday colors.
Can I make a centerpiece with items I already have at home?
Absolutely! Use books, vases, or bowls you already own. Add some greenery from your yard and a few candles. Mix and match for a unique look.
What's a quick and easy centerpiece idea for a birthday party?
Fill a clear vase with colorful balloons or confetti. Add a birthday banner or sign on a stick. Simple, festive, and fun!
How do I make a centerpiece that lasts?
Use succulents or artificial flowers. Place them in a decorative pot or tray. They look great and require minimal upkeep.
What are some budget-friendly centerpiece ideas?
Use recycled jars, bottles, or cans. Paint them or wrap them in fabric or paper. Fill with wildflowers or branches from your yard.