
Home>Home & Furniture>Kitchen>DIY Kitchen Table Ideas: Step-by-step Projects
Kitchen
DIY Kitchen Table Ideas: Step-by-step Projects
Published: July 30, 2024
Discover creative DIY kitchen table ideas with our step-by-step projects. Transform your kitchen with unique, personalized tables that blend style and functionality effortlessly.
(Many of the links in this article redirect to a specific reviewed product. Your purchase of these products through affiliate links helps to generate commission for Twigandthistle.com, at no extra cost. Learn more)
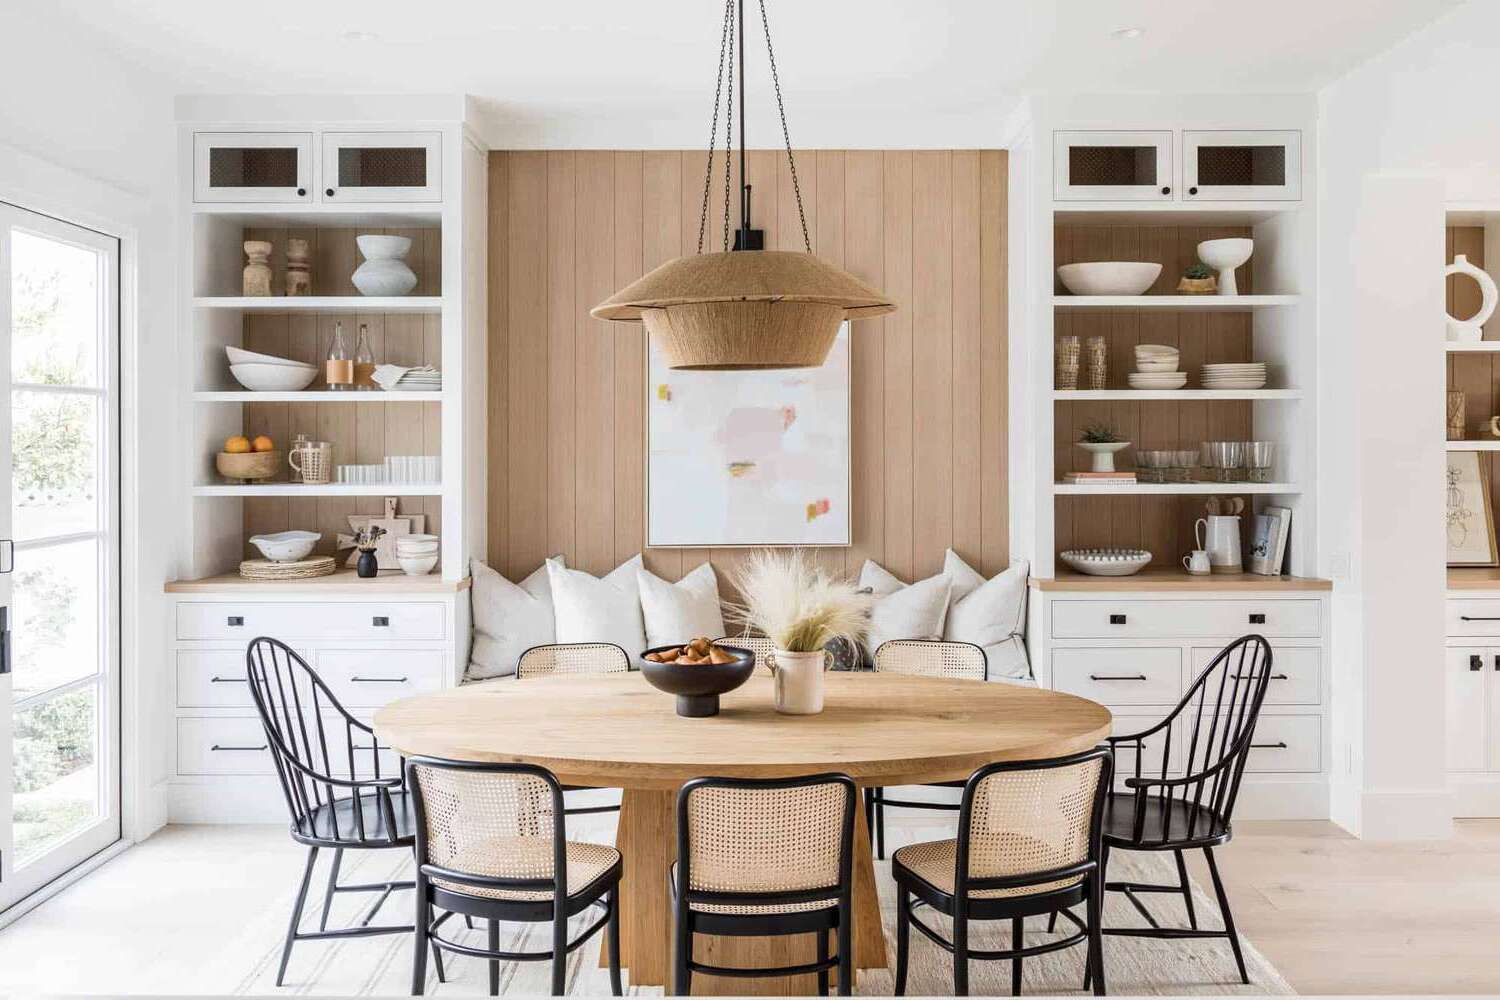
Looking to refresh your kitchen without breaking the bank? Building your own table can be a fun and rewarding project. It's a great way to personalize your space and learn new skills. Whether you're a beginner or have some woodworking experience, these DIY kitchen table ideas will help you create the perfect centerpiece for mealtime. Grab some basic tools, a few materials, and get ready to transform your dining area. From rustic farmhouse styles to sleek modern designs, there's a project here for everyone. Let's dive into the world of DIY and see how you can make your own unique kitchen table.
Getting Ready for Your Project
Gather Materials: Collect all necessary tools and materials like wood, screws, nails, sandpaper, paint, and brushes. Make sure everything is within reach.
Safety Gear: Wear safety goggles, gloves, and a dust mask to protect yourself from dust and debris. Keep a first aid kit nearby.
Clear Workspace: Ensure your workspace is clean and spacious. Remove any clutter to avoid accidents. A well-lit area is ideal.
Measure and Cut: Measure the wood pieces according to your table design. Use a saw to cut the wood accurately. Double-check measurements to avoid mistakes.
Sand Wood: Smooth the edges and surfaces of the wood pieces with sandpaper. This helps in getting a polished finish and prevents splinters.
Pre-drill Holes: Pre-drill holes where screws or nails will go. This prevents the wood from splitting and makes assembly easier.
Lay Out Pieces: Arrange all the pieces on the floor to visualize the final product. This helps in identifying any missing parts or adjustments needed.
Check Instructions: Review your step-by-step guide or instructions to ensure you understand each step. This avoids confusion during the assembly process.
Test Fit: Before final assembly, do a test fit of all pieces. Make sure everything aligns properly and fits together as planned.
Ventilation: If using paint or wood stain, ensure your workspace is well-ventilated. Open windows or use fans to circulate air.
Organize Tools: Keep your tools organized and within reach. This saves time and makes the process smoother.
Plan Breaks: Schedule short breaks to avoid fatigue. Working while tired can lead to mistakes or accidents.
Gathering Essential Materials and Tools
- Wood Planks: These form the tabletop. Choose hardwood like oak or maple for durability.
- Table Legs: Can be pre-made or crafted from wood. Metal legs offer a modern look.
- Screws and Nails: Essential for securing parts together. Use wood screws for a strong hold.
- Wood Glue: Adds extra strength to joints. Apply it before screwing or nailing.
- Sandpaper: Smooths rough edges and surfaces. Start with coarse grit, finish with fine grit.
- Wood Stain or Paint: Adds color and protects the wood. Choose based on your desired finish.
- Polyurethane: Seals and protects the wood surface. Provides a durable, clear finish.
- Measuring Tape: Ensures accurate measurements. Crucial for cutting wood to the right size.
- Saw: Cuts wood planks and legs. A circular saw or handsaw works well.
- Drill: Makes holes for screws. A cordless drill offers flexibility.
- Clamps: Hold pieces together while glue dries. Prevents movement for a strong bond.
- Screwdriver: Tightens screws. A power screwdriver speeds up the process.
- Level: Ensures the table is even. Prevents wobbling.
- Pencil: Marks measurements and cut lines. Essential for accuracy.
- Safety Gear: Includes gloves, goggles, and a dust mask. Protects you while working.
Required Skills and Time Commitment
Skill Level: Intermediate
Time Required: 10-15 hours
- Gather Materials: 1 hour
- Cut Wood Pieces: 2 hours
- Assemble Table Frame: 3 hours
- Attach Tabletop: 2 hours
- Sand and Finish: 2-3 hours
Detailed Instructions for Your DIY Table
Gather Materials
- Wood planks (for tabletop)
- Table legs or sturdy wooden beams
- Screws and nails
- Wood glue
- Sandpaper
- Wood stain or paint
- Paintbrushes
- Measuring tape
- Saw
- Drill
Measure and Cut Wood
- Measure the desired length and width of the tabletop.
- Cut wood planks to size using a saw.
- Cut table legs or beams to the desired height.
Assemble Tabletop
- Lay wood planks side by side to form the tabletop.
- Apply wood glue between each plank.
- Clamp planks together and let dry.
Attach Support Beams
- Cut two support beams to fit the width of the tabletop.
- Attach beams underneath the tabletop using screws and a drill.
Attach Table Legs
- Position table legs at each corner of the tabletop.
- Secure legs to the support beams with screws.
Sand the Table
- Sand the entire table to smooth out rough edges.
- Start with coarse sandpaper, then use finer grit for a smooth finish.
Stain or Paint
- Apply wood stain or paint to the table using a paintbrush.
- Let the first coat dry, then apply a second coat if needed.
Final Touches
- Inspect the table for any rough spots or missed areas.
- Sand and touch up as necessary.
- Allow the table to dry completely before use.
Helpful Tips and Tricks
Measure twice, cut once. Always double-check measurements before cutting wood. This prevents waste and ensures pieces fit together properly.
Use quality wood. Pine, oak, or maple are sturdy choices. Avoid particleboard; it’s less durable.
Sand thoroughly. Smooth surfaces make painting or staining easier and give a professional look.
Pre-drill holes. This prevents wood from splitting when you insert screws.
Seal the wood. Use a clear sealant or polyurethane to protect against spills and stains.
Level the legs. Ensure all legs are the same length to avoid wobbling.
Common mistakes to avoid:
Skipping the sanding. Rough surfaces make finishing difficult and can cause splinters.
Using the wrong screws. Wood screws are best. Avoid drywall screws; they’re too brittle.
Not using clamps. Clamps hold pieces together while glue dries, ensuring strong joints.
Alternatives for materials or methods:
Repurpose old wood. Use reclaimed wood from pallets or old furniture for a rustic look.
Metal legs. Instead of wooden legs, use metal pipes or hairpin legs for a modern touch.
Butcher block top. Instead of a plain wood top, consider a butcher block for a durable, stylish surface.
Estimating the Cost of Your Project
Wood: $50-$150, depending on type and quality. Pine is cheaper, while oak or walnut costs more.
Screws and Nails: $10-$20 for a mixed pack.
Wood Glue: $5-$10 for a bottle.
Sandpaper: $5-$10 for various grits.
Stain or Paint: $10-$30, depending on brand and color.
Polyurethane Finish: $10-$20 for a quart.
Brushes and Rags: $5-$15 for a set.
Saw: $50-$100 for a basic circular saw. Borrowing one can save money.
Drill: $30-$60 for a basic model. Borrowing is also an option.
Clamps: $20-$40 for a set.
Measuring Tape and Square: $10-$20 for both.
Safety Gear: $10-$20 for goggles and gloves.
Total Cost: $215-$495, depending on choices and tool availability.
Budget-Friendly Alternatives:
- Use reclaimed wood or pallets: Free or very cheap.
- Borrow or rent tools from friends or a local library.
- Opt for basic paint instead of high-end stains.
- Use hand tools like a hand saw and screwdriver to save on power tools.
Creative Variations and Customizations
Materials: Instead of traditional wood, try reclaimed wood for a rustic look or plywood for a budget-friendly option. For a modern touch, consider metal legs paired with a glass tabletop. Concrete can also be used for an industrial style.
Colors: Paint the table in bold colors like navy blue or forest green for a statement piece. For a more subtle look, use pastel shades or neutral tones like beige or grey. Staining the wood can bring out its natural beauty while adding a layer of protection.
Styles: For a farmhouse style, use distressed wood and white paint. A mid-century modern table can be achieved with clean lines and tapered legs. For a minimalist approach, keep the design simple with straight edges and a monochrome palette.
Tabletop Designs: Create a herringbone pattern with wood pieces for a unique look. Use tile inlays for a colorful and easy-to-clean surface. Epoxy resin can be poured over objects like coins or photos for a personalized touch.
Leg Designs: Try hairpin legs for a sleek, modern look. Turned legs can add a classic, elegant touch. For a more industrial feel, use pipe legs made from metal plumbing pipes.
Additional Features: Add drawers under the tabletop for extra storage. Install casters on the legs for easy mobility. Attach a folding leaf to extend the table when needed.
Eco-Friendly Tips for Your DIY Table
Reclaimed Wood: Use old barn wood, pallets, or wood from demolished buildings. Sand and treat it to make it smooth and safe.
Eco-friendly Paint: Choose non-toxic, water-based paints. These have fewer harmful chemicals and are better for the environment.
Natural Finishes: Use beeswax or linseed oil instead of synthetic varnishes. These provide a beautiful finish and are safer for you and the planet.
Recycled Metal: For table legs or accents, use metal from old furniture or scrap yards. Clean and polish it to give it a new life.
Bamboo: This fast-growing plant is a great sustainable option. It's strong, durable, and looks fantastic.
Salvaged Stone: Use leftover granite or marble pieces for a unique tabletop. These can often be found at construction sites or stone yards.
Upcycled Furniture: Repurpose old tables or other furniture pieces. A fresh coat of paint or new hardware can make them look brand new.
Eco-friendly Adhesives: Use glues and adhesives that are low in volatile organic compounds (VOCs). These are less harmful to your health and the environment.
Natural Fabrics: For any upholstery, choose organic cotton, hemp, or linen. These materials are sustainable and biodegradable.
Solar-powered Tools: Whenever possible, use tools that run on solar power. This reduces your carbon footprint and saves energy.
Your DIY Kitchen Table Awaits
Building your own kitchen table isn't just about saving money. It's about creating something unique and personal. You've got the skills and tools to make a table that fits your style and needs. From choosing the right wood to applying the final coat of finish, every step is a chance to learn and grow. Don't worry if it doesn't turn out perfect. Imperfections add character. Plus, you can always tweak and improve it over time. So, gather your materials, roll up your sleeves, and get started. Your dream kitchen table is just a few steps away. Happy building!
How do I choose the right wood for my kitchen table?
Look for hardwoods like oak, maple, or walnut. They're durable and can handle daily use. Avoid softwoods like pine; they dent easily.
What tools will I need to build a kitchen table?
Basic tools include a saw, drill, sander, and measuring tape. A clamp and level will help keep things steady and straight.
How long does it take to build a kitchen table?
Depending on your experience and the complexity of the design, it can take anywhere from a weekend to a couple of weeks.
Can I build a kitchen table without any prior woodworking experience?
Absolutely! Start with a simple design and follow step-by-step instructions. Watch tutorials online for extra guidance.
How do I finish the table to make it last longer?
Sand the surface smooth, then apply a stain or paint. Finish with a clear coat like polyurethane to protect against spills and scratches.
What are some design ideas for a DIY kitchen table?
Consider a farmhouse style with a rustic look, a modern design with clean lines, or a convertible table that can expand for guests.
How much will it cost to build my own kitchen table?
Costs vary based on materials and tools. On average, expect to spend between $100 and $300, which is often cheaper than buying new.