
Home>Home & Furniture>Kitchen>DIY Guide: Making Drawers Step-by-Step
Kitchen
DIY Guide: Making Drawers Step-by-Step
Published: July 27, 2024
Learn how to make drawers step-by-step with our comprehensive DIY guide. Perfect for beginners and seasoned woodworkers. Enhance your kitchen storage today!
(Many of the links in this article redirect to a specific reviewed product. Your purchase of these products through affiliate links helps to generate commission for Twigandthistle.com, at no extra cost. Learn more)
Building your own drawers can be a rewarding project that adds a personal touch to your furniture. Whether you need extra storage in your kitchen, bedroom, or workshop, crafting custom drawers ensures they fit your exact needs and space. This guide will walk you through each step, making the process simple and enjoyable. No need to feel overwhelmed; with a few basic tools and materials, you'll have sturdy, functional drawers in no time. Ready to roll up your sleeves? Let's get started on creating drawers that are both practical and tailored to your style.
Getting Ready for the Project
- Gather Materials: Collect wood, screws, nails, drawer slides, handles, and a measuring tape.
- Safety Gear: Wear safety goggles, gloves, and a dust mask.
- Workspace Setup: Clear a large, flat area. Ensure good lighting and ventilation.
- Tools Ready: Have a saw, drill, screwdriver, hammer, and sandpaper handy.
- Measure Twice: Measure the space where the drawer will fit. Double-check dimensions.
- Cut Wood: Cut wood pieces to size for the drawer sides, front, back, and bottom.
- Pre-Drill Holes: Pre-drill holes to prevent wood from splitting when assembling.
- Sand Edges: Smooth all cut edges with sandpaper to avoid splinters.
- Dry Fit: Assemble pieces without glue or screws to ensure everything fits correctly.
- Mark Drawer Slides: Mark where the drawer slides will be attached inside the cabinet.
Gather Your Materials and Tools
Materials:
- Plywood: Used for the drawer sides, front, back, and bottom.
- Wood Glue: Bonds the wood pieces together.
- Drawer Slides: Allows the drawer to open and close smoothly.
- Screws: Secures the drawer slides and other parts.
- Wood Stain or Paint: Finishes the drawer for a polished look.
- Sandpaper: Smooths the wood surfaces.
- Drawer Pulls or Knobs: Provides a handle for opening the drawer.
Tools:
- Tape Measure: Measures the wood pieces accurately.
- Saw: Cuts the plywood to the required sizes.
- Drill: Makes holes for screws and drawer pulls.
- Screwdriver: Tightens screws.
- Clamps: Holds wood pieces together while the glue dries.
- Sanding Block or Electric Sander: Smooths the wood surfaces.
- Paintbrush or Rag: Applies wood stain or paint.
Plywood forms the main structure. Wood glue bonds parts securely. Drawer slides ensure smooth operation. Screws hold everything together. Wood stain or paint adds a finished look. Sandpaper smooths rough edges. Drawer pulls make opening easy.
Tape measure ensures accurate cuts. Saw cuts plywood to size. Drill makes necessary holes. Screwdriver tightens screws. Clamps hold pieces while glue dries. Sanding block smooths surfaces. Paintbrush or rag applies stain or paint.
Required Skills and Time Commitment
Skill Level: Intermediate
Time Required: 4-6 hours
Important Keywords:
- Skill Level
- Time Required
- Intermediate
- 4-6 hours
- Measure and Cut Wood: 1 hour
- Assemble Drawer Box: 1.5 hours
- Install Drawer Slides: 1 hour
- Attach Drawer Front: 30 minutes
- Finish and Paint: 1-2 hours
Detailed Instructions for Making Drawers
Gather Materials:
- Plywood or hardwood
- Drawer slides
- Screws
- Wood glue
- Sandpaper
- Measuring tape
- Saw
- Drill
- Screwdriver
Measure and Cut Wood:
- Measure the drawer opening.
- Cut four pieces for the sides.
- Cut one piece for the bottom.
Assemble the Frame:
- Apply wood glue to the edges.
- Attach the sides to form a rectangle.
- Secure with screws.
Attach the Bottom:
- Apply glue to the bottom edges of the frame.
- Place the bottom piece inside the frame.
- Secure with screws.
Install Drawer Slides:
- Attach one part of the slide to the drawer.
- Attach the other part to the cabinet.
- Ensure they align properly.
Sand and Finish:
- Sand all surfaces to smooth out rough edges.
- Apply paint or stain if desired.
Insert Drawer:
- Slide the drawer into the cabinet.
- Test for smooth operation.
Adjust if Necessary:
- Make any needed adjustments for a perfect fit.
- Tighten screws or sand edges as required.
Helpful Tips and Tricks
Measure Twice, Cut Once: Always double-check measurements before cutting wood. This avoids wasting materials and ensures pieces fit together properly.
Use Quality Wood: Opt for hardwood like oak or maple for durability. Plywood can work for the drawer bottom.
Pre-Drill Holes: Prevent wood from splitting by pre-drilling holes for screws.
Square Corners: Use a carpenter's square to ensure corners are 90 degrees. This keeps drawers from being lopsided.
Glue and Screw: Apply wood glue before screwing pieces together for a stronger bond.
Smooth Edges: Sand all edges to prevent splinters and ensure a smooth finish.
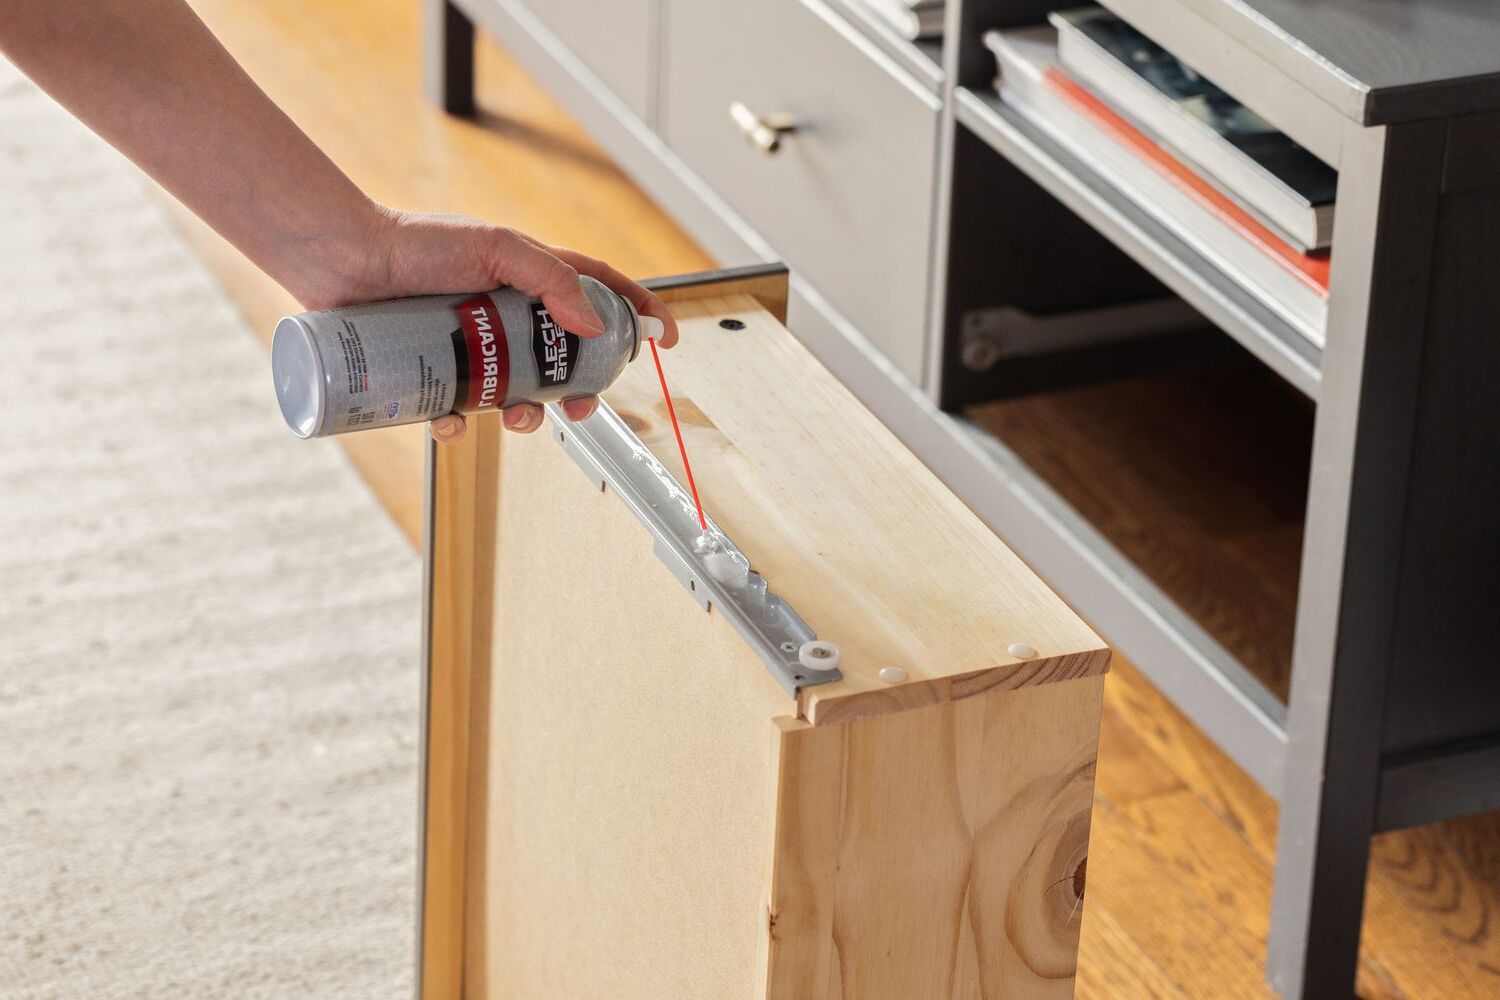
Drawer Slides: Install drawer slides accurately. Misaligned slides cause drawers to stick or not close properly.
Common Mistakes to Avoid:
Rushing: Take your time. Rushing leads to mistakes and poor craftsmanship.
Ignoring Grain Direction: Pay attention to wood grain direction. It affects strength and appearance.
Wrong Tools: Using incorrect tools can damage wood or make the job harder. Invest in basic tools like a saw, drill, and sander.
Alternatives for Materials or Methods:
Pocket Hole Jigs: Use a pocket hole jig for hidden screws and stronger joints.
Softwood: If hardwood is too expensive, consider softwood like pine. It’s easier to work with but less durable.
Metal Drawer Slides: Instead of wooden slides, use metal ones for smoother operation and longer life.
Wood Glue Alternatives: If wood glue isn't available, use epoxy for a strong bond.
Hand Tools: If power tools aren’t an option, hand tools like a hand saw and manual drill can work, though they require more effort.
Estimating the Cost
Materials:
- Plywood (4x8 sheet): $50
- Drawer Slides (set of 2): $15
- Wood Glue: $5
- Screws: $5
- Drawer Pulls (set of 2): $10
- Sandpaper: $5
- Wood Finish: $10
Tools:
- Circular Saw: $60
- Drill: $40
- Tape Measure: $10
- Clamps: $20
- Screwdriver: $10
Total Cost: $240
Budget-Friendly Alternatives:
- Plywood: Use MDF (Medium Density Fiberboard) instead, $30
- Circular Saw: Borrow from a friend or rent, $0
- Drawer Pulls: Use basic knobs, $5
- Wood Finish: Use leftover paint from another project, $0
Total Cost with Alternatives: $155
Different Ways to Customize Your Drawers
Materials: Instead of using plywood, try solid wood like oak or maple for a more durable drawer. For a budget-friendly option, consider MDF or particle board.
Colors: Paint the drawers in bold colors like navy blue or emerald green for a modern look. For a classic style, use stains in shades like walnut or cherry.
Styles: Add decorative trim or molding to the drawer fronts for a more elegant appearance. Use recessed handles for a sleek, minimalist design.
Handles: Swap out standard knobs for vintage pulls or leather straps to give the drawers a unique touch. Brass or chrome handles can add a touch of sophistication.
Drawer Slides: Instead of basic side-mount slides, use undermount slides for a cleaner look and smoother operation. Soft-close slides can prevent slamming and add a touch of luxury.
Liners: Line the inside of the drawers with felt or decorative paper to protect the contents and add a pop of color. Cork liners can also provide a non-slip surface.
Joinery: Experiment with different joinery techniques like dovetail joints for a traditional, strong connection. Box joints can also add a decorative element to the drawer sides.
Size: Customize the size of the drawers to fit specific needs. Make deeper drawers for storing larger items or shallow ones for smaller accessories.
Fronts: Use glass or acrylic fronts for a modern, transparent look. Carved wood fronts can add a rustic, handcrafted feel.
Feet: Add small feet or casters to the bottom of the drawers for easy mobility and a unique look. Bun feet can give a more traditional appearance.
Eco-Friendly Tips for Your Project
Reclaimed Wood: Use old furniture or pallets. Sand and refinish them for a fresh look. This reduces waste and gives character to your drawers.
Eco-friendly Plywood: Choose plywood made from sustainably sourced wood. Look for certifications like FSC (Forest Stewardship Council).
Natural Finishes: Opt for water-based stains or paints. They emit fewer harmful chemicals compared to oil-based ones.
Recycled Hardware: Use handles and knobs from old furniture. Thrift stores or online marketplaces often have unique options.
Bamboo: This fast-growing plant makes a great alternative to traditional wood. It's durable and sustainable.
Non-toxic Glue: Select adhesives labeled as non-toxic or low-VOC (volatile organic compounds). These are safer for you and the environment.
Hand Tools: Whenever possible, use hand tools instead of power tools. This saves energy and reduces your carbon footprint.
Recycled Paper Plans: Print your project plans on recycled paper or use digital versions to save trees.
Upcycled Drawer Liners: Use old fabric or wallpaper scraps as drawer liners. This adds a personal touch and reduces waste.
Local Materials: Buy materials from local suppliers to cut down on transportation emissions. This supports local businesses too.
Your DIY Drawer Journey
Building your own drawers isn't just about saving money; it's about creating something with your own hands. You've learned how to measure, cut, assemble, and finish your drawers. Each step, from selecting the right wood to applying the final coat of paint, adds a personal touch to your project. Mistakes might happen, but that's part of the learning process. Don't get discouraged. With practice, your skills will improve, and your projects will look more professional. Remember, the satisfaction of completing a DIY project is unmatched. So, grab your tools, get creative, and start your next project. Happy building!
How do I measure for drawer dimensions?
Measure the width, height, and depth of the drawer opening. Subtract about 1/2 inch from each measurement to ensure the drawer fits smoothly.
What materials do I need?
You’ll need plywood or solid wood for the drawer box, drawer slides, screws, wood glue, and a saw. A tape measure and drill are also handy.
How do I assemble the drawer box?
Cut the wood to size, then use wood glue and screws to attach the sides to the front and back pieces. Attach the bottom piece last.
How do I install drawer slides?
Attach one part of the slide to the drawer and the other part to the cabinet. Make sure they’re level and aligned properly. Follow the manufacturer’s instructions for best results.
Can I paint or stain the drawers?
Absolutely! Sand the wood first, then apply your paint or stain. Let it dry completely before installing the drawer.
What tools will I need?
Basic tools include a saw, drill, screwdriver, tape measure, and clamps. A sander can help smooth the wood before finishing.
How do I ensure the drawer is square?
Measure the diagonals of the drawer box. If both measurements are equal, your drawer is square. Adjust as needed before securing everything tightly.