
Home>Home & Furniture>Garage & Basement>How to Build Adjustable Garage Shelving
Garage & Basement
How to Build Adjustable Garage Shelving
Published: September 24, 2024
Learn how to build adjustable garage shelving with our step-by-step guide. Maximize your storage space efficiently and keep your garage organized with customizable shelves.
(Many of the links in this article redirect to a specific reviewed product. Your purchase of these products through affiliate links helps to generate commission for Twigandthistle.com, at no extra cost. Learn more)
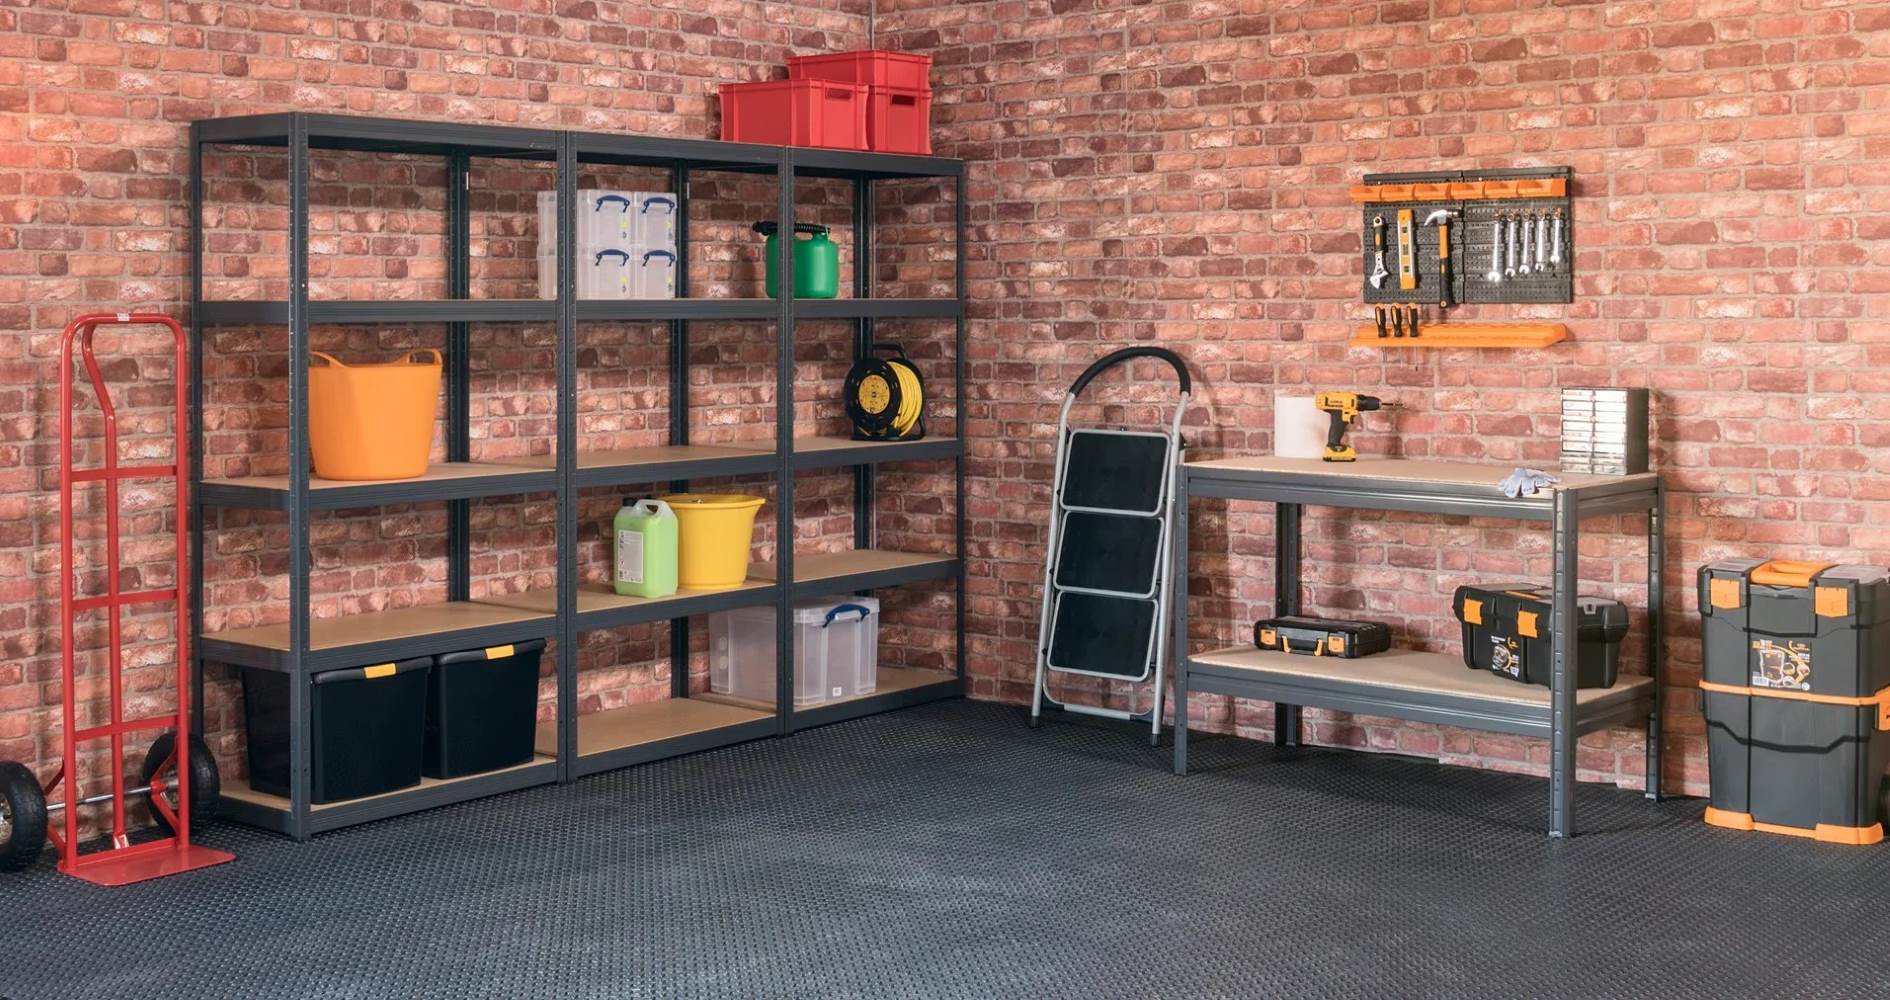
Looking to maximize your garage space? Building adjustable shelving can provide a practical solution for organizing tools, storage bins, and other essentials. With just a few materials and some basic tools, you can create a customizable system that grows with your needs. This guide will walk you through the steps to create sturdy, adjustable shelves, perfect for any garage. Whether you're a seasoned DIY enthusiast or a beginner, this project is both manageable and rewarding. Ready to transform your cluttered garage into a well-organized space? Let’s get started on your adjustable shelving journey!
Preparation Steps
Measure the Space: Use a tape measure to find the height, width, and depth of the area where the shelves will go. Write down these measurements.
Gather Materials: Get plywood, brackets, screws, and a level. Make sure you have enough for the entire project.
Safety Gear: Wear safety goggles, gloves, and a dust mask. This protects your eyes, hands, and lungs from debris.
Clear the Area: Move any items out of the way. Sweep the floor to remove dust and dirt.
Set Up Workspace: Lay out tools and materials in an organized manner. Make sure everything is within easy reach.
Mark Studs: Use a stud finder to locate wall studs. Mark these spots with a pencil for secure shelf mounting.
Cut Plywood: Use a saw to cut plywood to the desired shelf sizes. Sand edges to smooth out rough spots.
Pre-Drill Holes: Drill pilot holes in the plywood and wall where screws will go. This prevents wood from splitting.
Check Level: Use a level to ensure shelves will be straight. Mark lines on the wall as guides.
Assemble Tools: Gather a drill, screwdriver, and measuring tape. Keep these tools handy for easy access.
Materials and Tools Needed
Plywood Sheets: Used for the shelves. Choose a sturdy type, like 3/4-inch thick plywood, to hold heavy items.
2x4 Lumber: Forms the frame and supports. These provide the structure and stability for the shelving unit.
Shelf Brackets: Metal brackets that hold the shelves in place. Adjustable ones allow you to change shelf heights as needed.
Wood Screws: Secure the plywood and 2x4s together. Use different lengths, like 2-inch and 3-inch screws, for various parts of the project.
Drill: Essential for making holes and driving screws. A cordless drill is convenient for mobility.
Measuring Tape: Ensures accurate measurements for cutting wood and placing shelves.
Level: Keeps shelves straight and even. A 4-foot level works well for this project.
Circular Saw: Cuts the plywood and 2x4s to the required sizes. A saw guide helps make straight cuts.
Safety Gear: Includes safety glasses, ear protection, and gloves. Protects you while cutting and assembling.
Pencil: Marks measurements on wood. A carpenter’s pencil is easy to see and use.
Clamps: Holds wood pieces together while you drill and screw. Makes assembly easier and more precise.
Sandpaper: Smooths rough edges on cut wood. Medium-grit sandpaper works well for this purpose.
Stud Finder: Locates wall studs for securely attaching the shelving unit. Ensures the shelves can hold heavy items without falling.
Paint or Stain: Optional for finishing the shelves. Protects the wood and gives a polished look.
Skill Level and Time Required
Skill Level: Intermediate
Time Required: 6-8 hours
- Gather Materials: 1 hour
- Measure and Cut Wood: 2 hours
- Assemble Shelves: 2 hours
- Install Shelves: 1-2 hours
Step-by-Step Instructions
Gather Materials and Tools
- Plywood sheets (for shelves)
- 2x4 lumber (for frame)
- Shelf brackets
- Screws
- Drill
- Measuring tape
- Saw
- Level
Measure and Cut Lumber
- Measure the height, width, and depth of the shelving unit.
- Cut 2x4s to the desired lengths for vertical supports and horizontal braces.
Assemble the Frame
- Lay out the vertical supports on the ground.
- Attach horizontal braces between the vertical supports using screws.
- Ensure the frame is square and level.
Install Shelf Brackets
- Decide the height for each shelf.
- Attach shelf brackets to the vertical supports at the chosen heights.
- Use a level to make sure brackets are even.
Cut Plywood Shelves
- Measure the distance between the vertical supports.
- Cut plywood sheets to fit between the supports.
Attach Shelves
- Place plywood shelves on the brackets.
- Secure shelves to brackets with screws.
Secure the Unit to the Wall
- Position the shelving unit against the wall.
- Use screws to anchor the unit to wall studs for stability.
Adjust Shelves as Needed
- To change shelf height, remove screws, reposition brackets, and reattach shelves.
Helpful Tips and Tricks
Measure your garage space carefully. Plan your shelving layout before buying materials. Use stud finders to locate wall studs for secure mounting. Pre-drill holes to prevent wood from splitting. Level each shelf to ensure stability. Use brackets for extra support if storing heavy items. Label shelves to keep things organized.
Common mistakes to avoid: Not measuring accurately, skipping the stud finder, overloading shelves, and not leveling properly.
Alternatives: Instead of wood, use metal shelves for durability. Consider plastic shelving for lightweight storage. Use adjustable brackets instead of fixed ones for more flexibility.
Estimating the Cost
Materials:
- Plywood Sheets (4x8 feet): $40 each (need 2) = $80
- 2x4 Lumber (8 feet): $4 each (need 10) = $40
- Shelf Brackets: $5 each (need 12) = $60
- Wood Screws: $10
- Wood Glue: $5
- Sandpaper: $5
Tools:
- Circular Saw: $50 (or borrow one)
- Drill: $40 (or borrow one)
- Measuring Tape: $10
- Level: $15
- Safety Gear (gloves, goggles): $20
Total Cost: $335
Budget-Friendly Alternatives:
- Plywood Sheets: Use OSB (Oriented Strand Board) instead, $20 each = $40
- 2x4 Lumber: Look for reclaimed wood or discounted lumber = $20
- Shelf Brackets: Use metal L-brackets from a dollar store = $12
- Wood Screws: Buy in bulk or use leftover screws = $5
- Wood Glue: Use generic brand = $3
- Sandpaper: Use leftover sandpaper or buy in bulk = $3
Tools:
- Circular Saw: Borrow from a friend or rent = $0
- Drill: Borrow from a friend or rent = $0
- Measuring Tape: Use an existing one = $0
- Level: Use a smartphone app = $0
- Safety Gear: Use existing gear = $0
Total Budget-Friendly Cost: $83
Different Variations and Customizations
Materials: Instead of using wood, try metal or plastic for a more modern look. Metal shelves offer durability, while plastic ones are lightweight and easy to clean.
Colors: Paint the shelves in bright colors like red, blue, or green to add some personality to your garage. For a more sophisticated look, use neutral colors like gray, black, or white.
Styles: Opt for industrial-style shelving with exposed brackets and pipes for a rugged appearance. If you prefer a sleeker look, go for floating shelves with hidden supports.
Shelf Types: Use slatted shelves for better airflow and to prevent dust buildup. Solid shelves provide a cleaner look and are easier to wipe down.
Adjustability: Incorporate sliding tracks or pegboard systems to make adjusting the shelf height even easier. Modular shelves can be rearranged to fit different storage needs.
Accessories: Add hooks or baskets to the sides of the shelves for extra storage. Label holders can help keep everything organized.
Lighting: Install LED strip lights underneath each shelf to improve visibility. Motion-sensor lights can be a convenient addition.
Finishes: Use stain or varnish to protect wooden shelves and give them a polished look. For metal shelves, consider a powder-coated finish for added durability.
Brackets: Choose decorative brackets for a touch of style. Heavy-duty brackets can support more weight if you plan to store heavy items.
Back Panels: Add back panels to the shelves for a more finished look and to prevent items from falling off the back. Pegboard panels can also provide additional storage options.
Eco-Friendly Tips
Reclaimed Wood: Use old pallets or leftover wood from other projects. Sand and treat the wood to ensure durability.
Metal Brackets: Opt for recycled metal brackets. They provide strong support and reduce waste.
Adjustable Shelf Tracks: Look for tracks made from recycled materials. These allow you to change shelf heights easily.
Eco-Friendly Paint: Choose low-VOC or zero-VOC paints to finish your shelves. These paints are better for the environment and your health.
Recycled Plastic Bins: Store items in bins made from recycled plastic. They are sturdy and help reduce plastic waste.
Natural Finishes: Use natural oils or beeswax to finish the wood. These are less harmful than chemical-based finishes.
Energy-Efficient Tools: Use hand tools or energy-efficient power tools to minimize energy consumption.
Reuse Screws and Nails: If you have old screws and nails, reuse them. It saves money and reduces waste.
Plan Efficiently: Measure twice, cut once. This reduces material waste and ensures you use only what you need.
Local Materials: Source materials locally to reduce the carbon footprint associated with transportation.
Your Garage, Your Rules
Building adjustable garage shelving isn't just about organization; it's about customization. You've got the tools, the materials, and the know-how. Now, it's time to put them to use. Remember, measure twice, cut once. Secure those brackets tightly. Don't skimp on the screws. Your shelves should be as sturdy as they are versatile.
Once everything's in place, step back and admire your work. You've created a space that works for you, not the other way around. Whether storing tools, seasonal decorations, or sports equipment, your new shelves will handle it all. Plus, the satisfaction of knowing you did it yourself? Priceless.
So, grab that drill, get those shelves up, and transform your garage into a well-organized haven. Happy building!
How much weight can these shelves hold?
The weight capacity depends on the materials you use. Generally, sturdy wood or metal shelves can hold up to 200-300 pounds per shelf.
What tools do I need for this project?
You’ll need a drill, screws, measuring tape, level, saw, and safety gear like gloves and goggles.
How long will it take to build?
Depending on your experience, it might take anywhere from a few hours to a full day. Take your time to ensure everything is level and secure.
Can I customize the shelf sizes?
Absolutely! You can adjust the height, width, and depth to fit your garage space and storage needs.
What materials should I use?
Plywood, 2x4s, and metal brackets are common choices. Make sure to pick materials that are durable and can handle the weight of what you plan to store.
Do I need to anchor the shelves to the wall?
Yes, anchoring the shelves to the wall adds stability and prevents them from tipping over, especially if you’re storing heavy items.
How do I make the shelves adjustable?
Use shelf brackets and tracks that allow you to move the shelves up and down. This way, you can change the shelf height as needed.