
Home>Home & Furniture>Garage & Basement>DIY Unfinished Garage Ideas
Garage & Basement
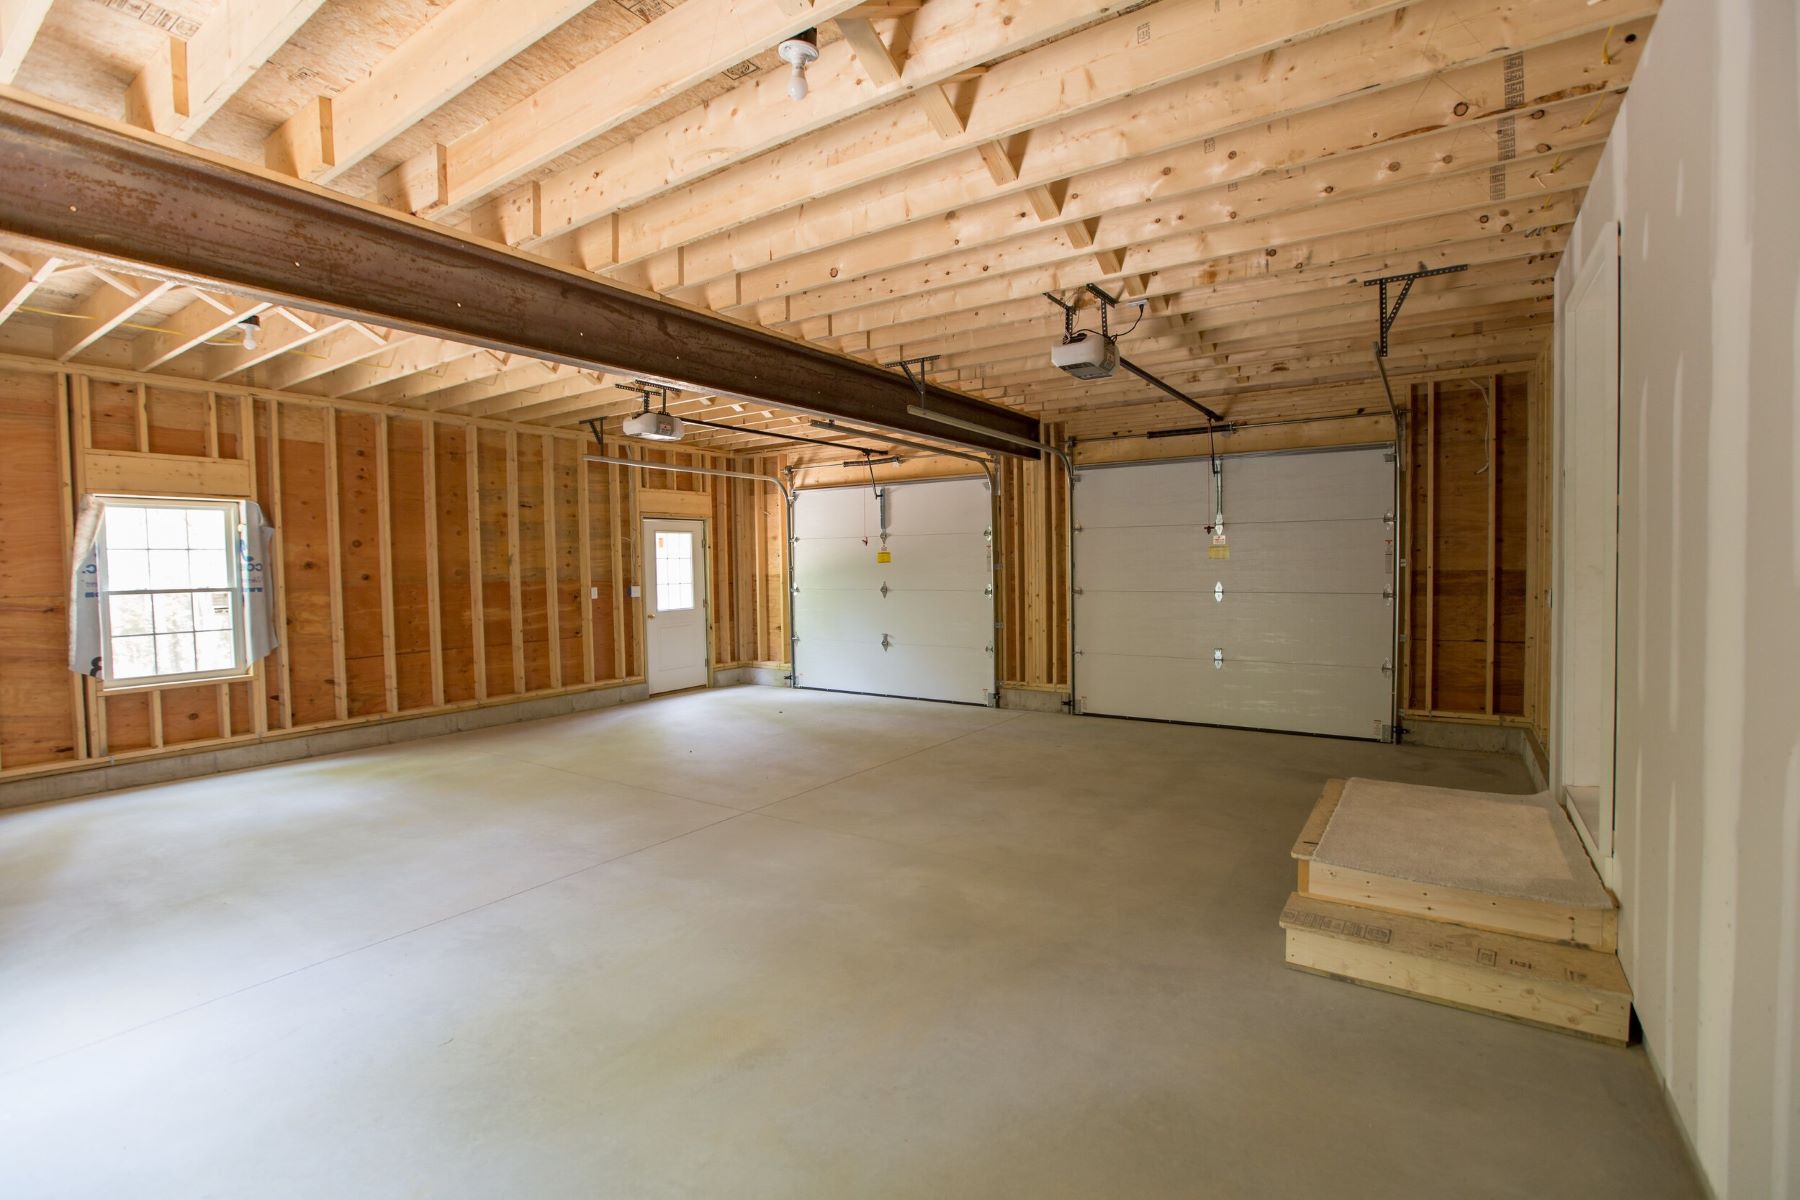
DIY Unfinished Garage Ideas
Published: September 25, 2024
Discover creative DIY unfinished garage ideas to transform your space into a functional and stylish area. Get inspired with budget-friendly tips and step-by-step guides!
(Many of the links in this article redirect to a specific reviewed product. Your purchase of these products through affiliate links helps to generate commission for Twigandthistle.com, at no extra cost. Learn more)
Thinking about giving your unfinished garage a makeover? This project doesn’t have to be expensive. With a few creative ideas, you can transform it into a useful space. Whether you need a workshop, storage area, or even a basic studio, many possibilities exist. You don’t need to be an expert to get started. Simple tools, a bit of time, and clear steps can make a big difference. Ready to turn that cluttered area into something special? Let’s explore some practical ways to make it happen. Your garage can be more than just a place for your car and old boxes.
Preparation Steps
Clear the Space: Remove all items from the garage. This includes tools, boxes, and any clutter. A clean workspace helps you see what needs attention.
Inspect for Damage: Check walls, floors, and ceilings for cracks, leaks, or mold. Fix any issues before starting your project.
Gather Tools and Materials: Make sure you have all necessary tools like hammers, screwdrivers, paint, and wood. Having everything ready saves time.
Set Up a Workspace: Create a designated area for cutting, painting, and assembling. Use a sturdy table or workbench.
Plan Layout: Sketch a layout of where you want shelves, workbenches, or storage units. This helps visualize the final look.
Wear Safety Gear: Always wear safety goggles, gloves, and a mask. This protects you from dust, debris, and harmful fumes.
Ventilation: Ensure proper ventilation by opening windows or using fans. This keeps the air fresh and reduces inhalation of harmful particles.
Lighting: Install temporary lighting if needed. Good lighting helps you see details and avoid mistakes.
Check Electrical Outlets: Make sure all outlets are working and safe to use. If needed, call an electrician for repairs.
Measure Twice, Cut Once: Double-check measurements before cutting materials. This prevents waste and ensures accuracy.
Gather Your Materials and Tools
- Plywood Sheets: Used for creating shelves or covering walls. Plywood is sturdy and easy to cut.
- 2x4 Lumber: Essential for framing walls, building workbenches, or creating storage solutions.
- Drywall: Covers the framing to give walls a finished look. It’s easy to paint and customize.
- Insulation: Keeps the garage temperature stable. Comes in rolls or panels.
- Paint: Adds color to walls, shelves, and other surfaces. Choose a durable, easy-to-clean type.
- Screws and Nails: Fasten materials together. Different sizes for various tasks.
- Pegboard: Great for organizing tools. Easy to install and customize.
- Hooks and Brackets: Hang tools, bikes, and other items. Keeps the floor clear.
- Lighting Fixtures: Brighten the space. LED lights are energy-efficient and long-lasting.
- Workbench Kit: Provides a sturdy surface for projects. Often includes storage options.
- Storage Bins: Organize smaller items. Clear bins make it easy to see contents.
- Tool Chest: Keeps tools organized and accessible. Look for one with wheels for mobility.
- Utility Sink: Handy for cleaning up after projects. Requires plumbing skills to install.
- Floor Mats: Protect the floor and provide comfort. Choose durable, easy-to-clean options.
- Extension Cords: Reach power tools and lights. Heavy-duty cords are best for garages.
- Safety Gear: Includes gloves, goggles, and masks. Protects you while working.
- Measuring Tape: Ensures accurate cuts and placements. A must-have for any project.
- Circular Saw: Cuts wood and other materials. Essential for building and customizing.
- Drill and Bits: Drills holes and drives screws. Versatile and indispensable.
- Level: Ensures shelves and frames are straight. Crucial for a professional finish.
Required Skills and Time Commitment
Skill Level: Intermediate
Time Required: 1-2 weekends
Insulating Walls: Adding insulation to garage walls helps regulate temperature. This task requires basic carpentry skills and can take 4-6 hours.
Installing Shelving: Shelves provide storage and organization. This project involves measuring, drilling, and mounting, taking about 3-5 hours.
Painting Walls: Fresh paint brightens up the space. Prepping, priming, and painting can take 6-8 hours.
Epoxy Flooring: Epoxy coating protects and beautifies the floor. Cleaning, prepping, and applying epoxy takes 8-10 hours.
Adding Lighting: Better lighting improves visibility. Installing new fixtures or upgrading existing ones takes 2-4 hours.
Detailed Step-by-Step Guide
Clean and Declutter
- Remove all items from the garage.
- Sweep and mop the floor.
- Dispose of unwanted items or donate them.
Plan Your Layout
- Decide how you want to use the space (storage, workshop, gym).
- Sketch a rough layout on paper.
Install Shelving and Storage
- Measure the walls for shelves.
- Use a stud finder to locate wall studs.
- Mount shelves securely using screws and brackets.
- Add hooks or pegboards for tools and equipment.
Improve Lighting
- Replace old bulbs with bright LED lights.
- Install additional light fixtures if needed.
- Consider adding task lighting over work areas.
Insulate and Weatherproof
- Measure walls and ceiling for insulation.
- Cut insulation to fit and secure it in place.
- Seal gaps around windows and doors with weatherstripping.
Paint the Walls and Floor
- Choose a durable paint for walls and floor.
- Apply primer first, then paint.
- Use a roller for large areas and a brush for edges.
Create Workstations
- Build or buy a sturdy workbench.
- Add a comfortable chair or stool.
- Organize tools and materials within easy reach.
Add Personal Touches
- Hang posters or artwork.
- Install a sound system or TV.
- Add rugs or mats for comfort.
Organize and Label
- Place items in labeled bins or containers.
- Arrange items by category (tools, sports equipment, seasonal items).
- Keep frequently used items easily accessible.
Maintain Regularly
- Sweep and clean the garage periodically.
- Reorganize as needed to keep the space functional.
- Check for any repairs or updates needed over time.
Helpful Tips and Tricks
Maximize vertical space by installing shelves and pegboards. This keeps items off the floor and makes finding tools easier. Use clear bins for storage so you can see what's inside without opening them. Label everything to stay organized.
Insulate the garage door to keep the space warmer in winter and cooler in summer. This makes it more comfortable for projects year-round. Install good lighting. Bright LED lights help you see better and make the garage feel more inviting.
Create zones for different activities. Have a spot for tools, another for gardening supplies, and a separate area for sports equipment. This keeps everything in its place.
Common mistakes to avoid include overloading shelves, which can cause them to collapse. Make sure to use heavy-duty brackets and anchors. Avoid using cardboard boxes for storage; they can attract pests and deteriorate over time. Instead, use plastic bins.
Alternatives for materials or methods: Instead of expensive metal shelves, consider using sturdy wooden shelves. They can be just as strong and often cheaper. For insulation, if foam panels are too pricey, use fiberglass batts. They work well and cost less.
Estimating Your Project Costs
Insulation: $200-$500. Drywall: $150-$300. Paint: $50-$100. Shelving: $100-$200. Lighting: $50-$150. Flooring: $200-$600. Tools: $100-$300.
Total: $850-$2,150.
Budget-friendly alternatives: Use foam board insulation instead of fiberglass, costing around $100. Opt for second-hand shelving from thrift stores, costing $50-$100. Choose LED strip lights for $20-$50. Paint the floor instead of installing new flooring, costing $30-$50.
Creative Variations and Customizations
Shelving: Use wooden planks for a rustic look or metal shelves for a modern feel. Paint shelves in bright colors to add personality.
Flooring: Consider epoxy coating for a sleek, durable finish. For a budget-friendly option, use interlocking foam tiles.
Lighting: Install LED strip lights for energy efficiency. Hang vintage-style bulbs for a retro vibe.
Workbenches: Build with reclaimed wood for a unique touch. Add a stainless steel top for a professional look.
Storage: Use pegboards for tool organization. Install cabinets with chalkboard paint doors for labeling.
Walls: Paint with bold colors or use wall decals for decoration. Install slat walls for flexible storage options.
Ceiling: Hang bicycle racks or overhead storage for extra space. Use exposed beams for an industrial style.
Doors: Replace with sliding barn doors for a rustic feel. Paint existing doors with bright, contrasting colors.
Windows: Add frosted film for privacy. Install window boxes for a touch of greenery.
Ventilation: Install a ceiling fan for airflow. Use vented skylights for natural light and ventilation.
Eco-Friendly Sustainability Tips
Reclaimed Wood: Use old pallets or barn wood for shelving or workbenches. Sand and seal them for a polished look.
Recycled Metal: Old metal pipes can become sturdy supports for shelves or hanging tools. Clean and paint them to prevent rust.
Insulation: Choose eco-friendly insulation like recycled denim or cellulose made from recycled paper. These materials keep the garage warm without harming the environment.
LED Lighting: Replace old bulbs with LED lights. They use less energy and last longer, saving money and reducing waste.
Natural Ventilation: Install vents or windows to improve airflow. This reduces the need for electric fans or air conditioning.
Eco-Friendly Paint: Use low-VOC or zero-VOC paint to reduce harmful fumes. These paints are better for your health and the planet.
Rainwater Collection: Set up a rain barrel to collect water for washing your car or cleaning the garage. This conserves water and reduces your utility bill.
Recycled Rubber Flooring: Use rubber mats made from recycled tires. They are durable, easy to clean, and provide a cushioned surface.
Solar Panels: Install small solar panels to power lights or tools. This reduces reliance on the grid and lowers electricity costs.
Compostable Cleaning Supplies: Use natural cleaning products like vinegar, baking soda, or lemon juice. These are effective and break down easily without harming the environment.
Your Garage, Your Masterpiece
Transforming your unfinished garage into a functional space doesn't have to be complicated. With some creativity and elbow grease, you can turn it into a workshop, home gym, or even a cozy retreat. Start by organizing your tools and materials, then move on to insulating and painting the walls. Add shelving and storage solutions to keep everything tidy. Don't forget about lighting; a well-lit garage makes all the difference. Finally, personalize the space with decor that reflects your style. Whether you're a DIY enthusiast or just need extra room, your garage can become a valuable extension of your home. So, grab those tools, roll up your sleeves, and get to work. Your dream garage is just a few projects away.
How can I make my unfinished garage more functional?
Start by decluttering and organizing. Install shelves and pegboards for tools. Add a workbench for projects. Consider lighting upgrades and insulating walls for comfort.
What are some budget-friendly flooring options?
Epoxy paint is a great choice. It's durable and easy to clean. Rubber mats or interlocking tiles can also be affordable and provide a cushioned surface.
How can I improve the lighting in my garage?
Swap out old bulbs for LED lights. They’re brighter and more energy-efficient. Adding task lighting over work areas can help too.
What’s the best way to insulate an unfinished garage?
Use foam board or fiberglass insulation for walls. Insulate the garage door with a kit. Seal any gaps to keep drafts out.
Can I create a small gym in my unfinished garage?
Absolutely! Lay down some rubber flooring for cushioning. Add mirrors to one wall. Set up your equipment and make sure you have good ventilation.
How do I keep my garage organized?
Use storage bins for small items. Label everything. Install cabinets for larger tools. Keep frequently used items within easy reach on pegboards.
What are some creative ways to use an unfinished garage?
Turn it into a craft room, home office, or even a man cave. Add some comfortable seating, a mini-fridge, and your favorite decor.