
Home>Home & Furniture>Garage & Basement>DIY Shoe Storage Solutions for Your Garage
Garage & Basement
DIY Shoe Storage Solutions for Your Garage
Published: September 24, 2024
Discover creative and practical DIY shoe storage solutions for your garage. Maximize space, keep your footwear organized, and make your garage clutter-free with these tips!
(Many of the links in this article redirect to a specific reviewed product. Your purchase of these products through affiliate links helps to generate commission for Twigandthistle.com, at no extra cost. Learn more)
Do you find it difficult to keep your garage organized, especially with shoes scattered everywhere? Sorting out footwear chaos can be a game-changer for maintaining a tidy space. With a bit of creativity and some handy tools, you can transform your garage into a well-organized haven. From simple shelves to repurposed materials, the possibilities for DIY shoe storage are endless. Not only will this project help declutter, but it also adds a touch of personal flair to your garage. Ready to tackle those piles of sneakers and boots? Let's dive into some fun, practical solutions for shoe storage!
Getting Ready for the Project
Measure the Space: Use a tape measure to determine the dimensions of the area where the shoe storage will go. Write down the height, width, and depth.
Choose Materials: Decide if you want to use wood, metal, or plastic. Each has different tools and safety needs.
Gather Tools: Collect a saw, drill, screws, measuring tape, level, and safety gear like gloves and goggles.
Clear the Area: Remove any items from the garage space where the storage will be built. Sweep and clean the area to avoid tripping hazards.
Plan the Design: Sketch a simple design of your shoe storage. Include shelves, cubbies, or hooks based on your needs.
Cut Materials: Use the saw to cut wood or other materials to the sizes needed for your design. Wear gloves and goggles for protection.
Assemble Pieces: Follow your design to put together the storage unit. Use a level to ensure shelves are straight.
Secure to Wall: If your design requires, use screws and a drill to attach the storage unit to the garage wall. This prevents tipping.
Safety Check: Double-check all screws and connections. Make sure everything is sturdy and safe.
Organize Shoes: Place shoes in the new storage unit, keeping heavier items on the bottom for stability.
What You Need: Materials and Tools
Plywood Sheets: These will form the main structure of your shoe storage. Choose sturdy, high-quality plywood to ensure durability.
Wood Screws: Essential for securing the plywood pieces together. Make sure to get screws that are long enough to hold the wood firmly.
Wood Glue: Provides additional strength to the joints. Use it along with screws for a more secure build.
Measuring Tape: Accurate measurements are crucial for a well-fitting storage unit. A measuring tape helps ensure all pieces are cut to the correct size.
Circular Saw: Needed for cutting the plywood sheets to the required dimensions. A circular saw makes straight, clean cuts.
Drill: Used for making pilot holes for screws and for driving screws into the wood. A cordless drill is convenient for mobility.
Sandpaper: Smooths out rough edges and surfaces. Use different grits to achieve a fine finish.
Paint or Wood Stain: Adds a protective layer and enhances the appearance of your shoe storage. Choose a color or finish that matches your garage decor.
Paintbrushes or Rollers: Needed for applying paint or stain. Brushes are good for detailed work, while rollers cover larger areas quickly.
Level: Ensures your storage unit is even and balanced. A level helps prevent a lopsided structure.
Clamps: Hold pieces of wood together while the glue dries. Clamps keep everything in place for a strong bond.
Pencil: For marking measurements and cutting lines. A pencil is essential for planning and precision.
Safety Gear: Includes safety glasses, gloves, and a dust mask. Protect yourself from wood dust and potential injuries.
Shelf Brackets: Provide additional support for the shelves. Use sturdy brackets to hold the weight of multiple shoes.
Hinges: If you plan to add doors to your storage unit, hinges are necessary. Choose strong, durable hinges for frequent use.
Handles or Knobs: Make it easier to open and close doors. Handles or knobs add a finishing touch to your storage unit.
Skill Level and Time Commitment
Skill Level: Intermediate
Time Required: 4-6 hours
- Planning and Measuring: 1 hour
- Gathering Materials: 30 minutes
- Cutting and Preparing Wood: 1 hour
- Assembling the Storage Unit: 2 hours
- Painting or Staining (Optional): 1-2 hours
How to Build Your Shoe Storage
Gather Materials
- Wooden boards or plywood
- Screws and nails
- Drill
- Saw
- Measuring tape
- Sandpaper
- Paint or wood stain (optional)
- Brackets (if wall-mounted)
Measure Space
- Measure the area where the shoe storage will go.
- Decide on the dimensions of your shoe rack.
Cut Wood
- Use a saw to cut the wooden boards to the desired size.
- Sand the edges to smooth them out.
Assemble Frame
- Lay out the cut pieces to form the frame.
- Drill pilot holes to prevent wood from splitting.
- Screw the pieces together to form the basic structure.
Add Shelves
- Measure and mark where each shelf will go.
- Attach shelves using screws or nails.
- Ensure shelves are level.
Sand and Paint
- Sand the entire structure to remove rough spots.
- Paint or stain the wood if desired. Let it dry completely.
Install (if wall-mounted)
- Mark where the brackets will go on the wall.
- Drill holes and attach brackets securely.
- Mount the shoe rack onto the brackets.
Organize Shoes
- Place shoes on the shelves.
- Arrange by type or frequency of use for easy access.
Helpful Tips and Tricks
Use vertical space: Install shelves or racks on the walls to keep shoes off the floor. This saves space and makes it easier to clean.
Repurpose old furniture: An old bookshelf or dresser can become a perfect shoe organizer. Just remove some shelves or drawers to fit boots or larger shoes.
Use clear bins: Store shoes in clear plastic bins. This keeps them dust-free and makes it easy to see what’s inside without opening each box.
Label everything: If using bins or boxes, label them. This helps everyone find their shoes quickly.
Install hooks: Use heavy-duty hooks for hanging shoes with loops or laces. This works well for sports shoes or boots.
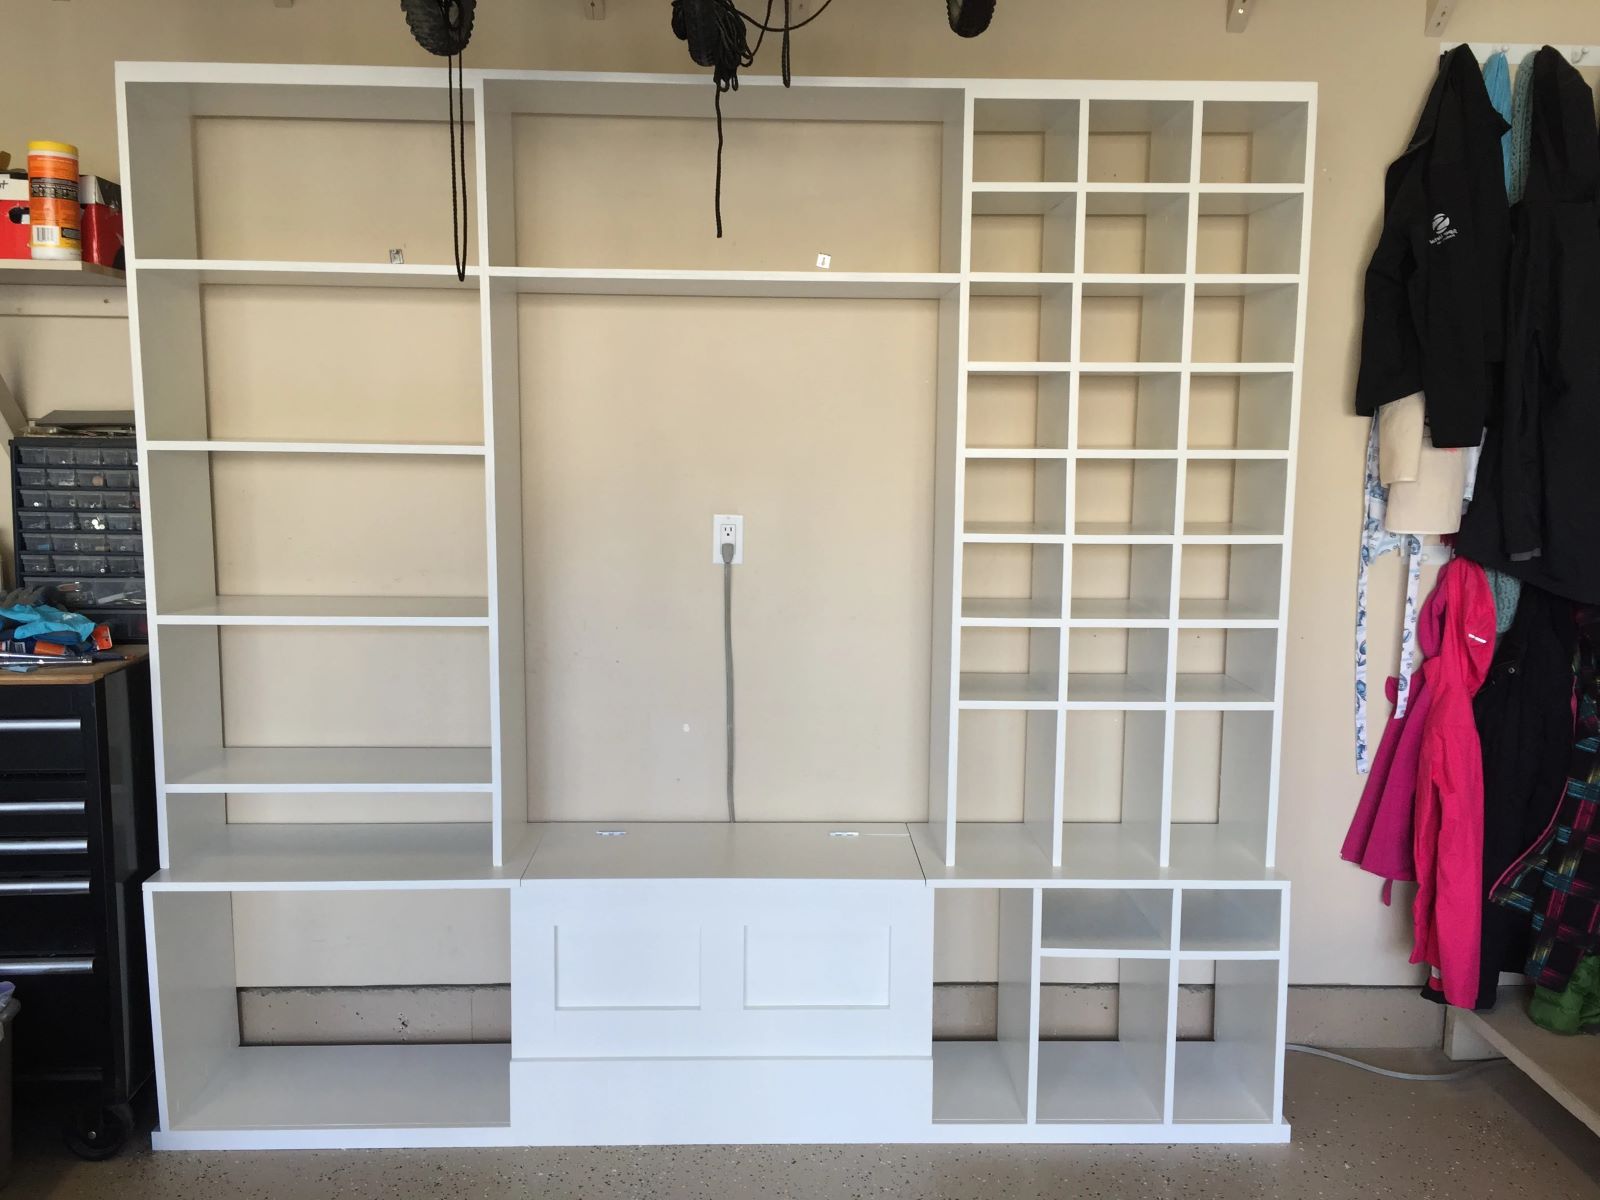
Create a shoe cubby: Build a simple cubby system with plywood or buy a pre-made one. Each family member can have their own section.
Use a pegboard: Attach a pegboard to the wall and use hooks to hang shoes. This is adjustable and can fit different shoe sizes.
Common mistakes to avoid:
- Overloading shelves: Don’t put too many shoes on one shelf. It can become unstable and fall.
- Ignoring ventilation: Shoes need air to prevent odors. Avoid airtight containers.
- Skipping measurements: Measure your space before buying or building storage. Ensure everything fits well.
- Using weak materials: Choose sturdy materials that can handle the weight of multiple shoes.
Alternatives for materials or methods:
- PVC pipes: Cut large PVC pipes into sections and stack them to create individual shoe slots.
- Wire racks: Use wire racks instead of wooden shelves. They are lighter and often cheaper.
- Fabric shoe organizers: Hang fabric shoe organizers on the back of the garage door. They are easy to install and move.
- Wood crates: Stack wooden crates for a rustic look. They can be rearranged easily.
Budgeting for Your DIY Project
Materials:
- Plywood: $30-$50 per sheet (you may need 2-3 sheets)
- Wood Screws: $5-$10 per box
- Wood Glue: $5-$10 per bottle
- Paint or Stain: $10-$20 per can
- Sandpaper: $5-$10 per pack
- Brackets (if wall-mounted): $10-$20 per set
Tools:
- Circular Saw: $50-$100 (or rent for $10-$20 per day)
- Drill: $30-$60
- Measuring Tape: $5-$10
- Paintbrushes: $5-$10
- Clamps: $10-$20
Total Estimated Cost: $165-$340
Budget-Friendly Alternatives:
- Use reclaimed wood or pallets: Often free or very cheap
- Borrow tools from friends or family
- Use cinder blocks and wood planks for a simple, sturdy solution: $20-$40
- Plastic storage bins: $5-$10 each
Personalize Your Shoe Storage
Alternative Materials: Use wooden crates for a rustic look or PVC pipes for a modern touch. Metal shelves offer durability, while plastic bins provide a lightweight option.
Colors: Paint shelves in bright colors to add vibrancy or neutral tones for a clean, minimalist look. Stain wood for a natural finish or use spray paint for quick color changes.
Styles: Create a wall-mounted rack to save floor space or a freestanding unit for flexibility. Cubby-style shelves keep shoes organized, while angled shelves make it easy to see each pair. Rolling carts add mobility, and stackable bins allow for easy expansion.
Additional Features: Add hooks for hanging items like hats or bags. Install sliding doors to hide shoes when not in use. Incorporate labels for easy identification or cushioned seating for comfort while putting on shoes.
Eco-Friendly Ideas for Your Garage
Reclaimed Wood: Use old pallets or scrap wood to build shelves. Sand them down and apply a non-toxic finish for a polished look.
Repurposed Crates: Wooden or plastic crates can be stacked or mounted on walls. Paint them with eco-friendly paint to match your garage.
Old Furniture: Convert an old bookshelf or dresser into shoe storage. Remove unnecessary parts and give it a fresh coat of low-VOC paint.
Cardboard Boxes: Reinforce sturdy cardboard boxes with eco-friendly glue. Cover them with fabric scraps for a neat appearance.
Metal Pipes: Use leftover metal pipes to create a hanging shoe rack. Attach them to the wall with brackets made from recycled materials.
Bamboo: Build a shoe rack using bamboo, a fast-growing and sustainable resource. Bamboo is strong and naturally resistant to pests.
Fabric Pockets: Sew pockets from old fabric or clothes. Hang them on the back of a door or wall for an easy shoe storage solution.
Recycled Plastic: Use recycled plastic bins or containers. They are durable and can be easily cleaned.
Pegboards: Install a pegboard made from recycled materials. Use hooks to hang shoes, keeping them off the floor.
Cork Boards: Cork is renewable and biodegradable. Create a cork board shoe organizer by attaching cork tiles to a wooden frame.
Your Garage, Your Rules
Creating DIY shoe storage for your garage doesn't have to be complicated. With a few simple materials and a bit of creativity, you can transform that cluttered space into an organized haven. Whether you choose shelves, cubbies, or hanging racks, the key is to make it functional and accessible. Don't forget to involve the whole family in the process; it can be a fun project for everyone. Plus, when everyone has a hand in creating the storage, they're more likely to use it properly. So grab your tools, roll up your sleeves, and get started. Your garage will thank you, and so will your shoes.
How can I maximize shoe storage space in my garage?
Use vertical space! Install shelves or cubbies on the walls. Stackable shoe racks also help keep things organized.
What materials work best for garage shoe storage?
Metal and plastic are durable and easy to clean. Wood can work too, but make sure it’s treated to resist moisture.
How do I keep shoes from getting dirty in the garage?
Use closed storage like bins or cabinets. Place a mat at the entrance to wipe off dirt before storing shoes.
Can I build my own shoe storage?
Absolutely! DIY shelves or cubbies are simple projects. You’ll need some basic tools, wood, and brackets.
What’s a quick solution for storing shoes?
Try a hanging shoe organizer on the back of a door. It’s easy to install and keeps shoes off the floor.
How do I organize shoes for a large family?
Assign each person a specific shelf or bin. Labeling helps everyone know where their shoes go.
Are there any budget-friendly shoe storage ideas?
Use plastic crates or cardboard boxes. Stack them to create a makeshift shelf system.